<?xml version="1.0" encoding="utf-8"?>
<androidx.constraintlayout.widget.ConstraintLayout xmlns:android="http://schemas.android.com/apk/res/android"
    xmlns:app="http://schemas.android.com/apk/res-auto"
    android:layout_width="match_parent"
    android:layout_height="match_parent">

    <io.getstream.chat.android.ui.feature.channels.header.ChannelListHeaderView
        android:id="@+id/channelListHeaderView"
        android:layout_width="0dp"
        android:layout_height="wrap_content"
        app:layout_constraintEnd_toEndOf="parent"
        app:layout_constraintStart_toStartOf="parent"
        app:layout_constraintTop_toTopOf="parent" />

    <io.getstream.chat.android.ui.feature.channels.list.ChannelListView
        android:id="@+id/channelListView"
        android:layout_width="0dp"
        android:layout_height="0dp"
        app:layout_constraintBottom_toBottomOf="parent"
        app:layout_constraintEnd_toEndOf="parent"
        app:layout_constraintStart_toStartOf="parent"
        app:layout_constraintTop_toBottomOf="@id/channelListHeaderView" />

</androidx.constraintlayout.widget.ConstraintLayout>Building a Channel List Screen
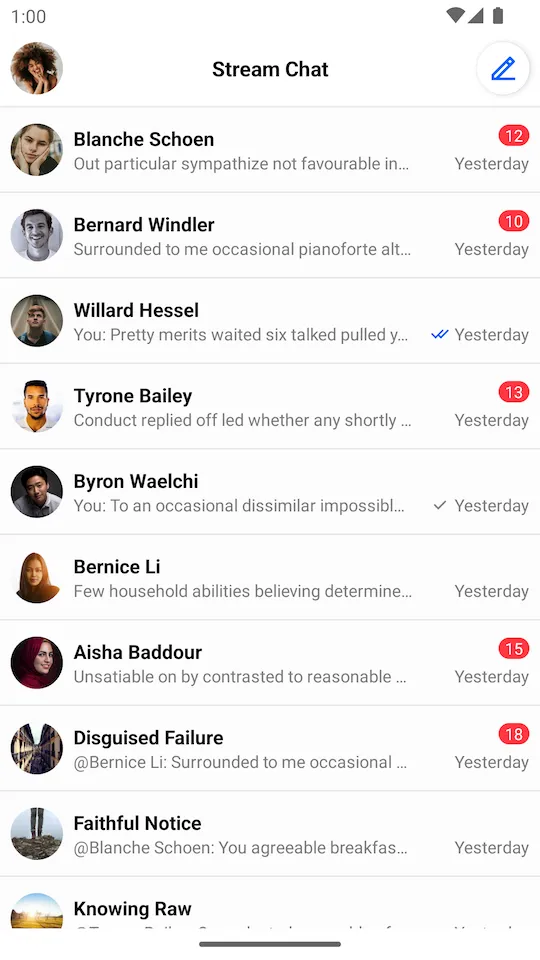
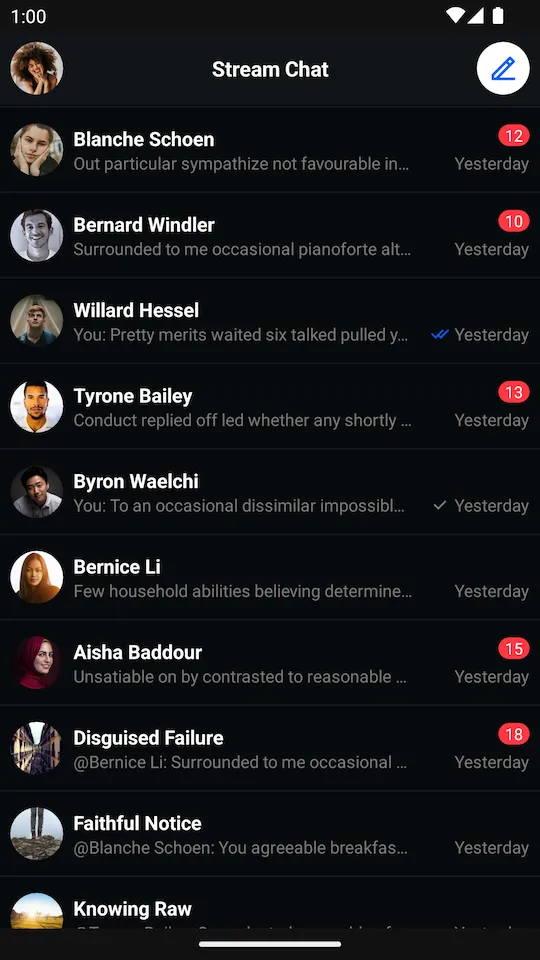
The ChannelListHeaderView and ChannelListView components work best together to display a list of channels.
This is what a screen made up of these two components looks like:
| Light Mode | Dark Mode |
|---|---|
 |  |
You can find the full code from this guide on GitHub. To check the final result, clone the repository, select the stream-chat-android-ui-guides module on your Android Studio like the image below, and run the module. 
To add these Views to your app, first create them in an XML layout:
The Android SDK comes with ViewModels for its components which are responsible for providing all necessary data.
You can instantiate the ChannelListHeaderViewModel and ChannelListViewModel in your Fragment or Activity like this:
val channelListHeaderViewModel: ChannelListHeaderViewModel by viewModels()

val channelListFactory: ChannelListViewModelFactory = ChannelListViewModelFactory(
    filter = Filters.and(
        Filters.eq("type", "messaging"),
        Filters.`in`("members", listOf(ChatClient.instance().getCurrentUser()!!.id)),
    ),
    sort = QuerySortByField.descByName("last_updated"),
    limit = 30,
)
val channelListViewModel: ChannelListViewModel by viewModels { channelListFactory }
ChannelListHeaderViewModel channelListHeaderViewModel = new ViewModelProvider(this).get(ChannelListHeaderViewModel.class);
FilterObject filter = Filters.and(
Filters.eq("type", "messaging"),
Filters.in("members", Collections.singletonList(ChatClient.instance().getCurrentUser().getId()))
);
ViewModelProvider.Factory factory = new ChannelListViewModelFactory.Builder()
.filter(filter)
.sort(QuerySortByField.descByName("last_updated"))
.limit(30)
.build();
ChannelListViewModel channelListViewModel = new ViewModelProvider(this, factory).get(ChannelListViewModel.class);Then, use bindView to connect the ViewModel and the View, populating the View with data and handling its input events.
channelListHeaderViewModel.bindView(channelListHeaderView, viewLifecycleOwner)
channelListViewModel.bindView(channelListView, viewLifecycleOwner)ChannelListHeaderViewModelBinding.bind(channelListHeaderViewModel, channelListHeaderView, getViewLifecycleOwner());
ChannelListViewModelBinding.bind(channelListViewModel, channelListView, getViewLifecycleOwner());bindView sets listeners on the view and the ViewModel. Any additional listeners should be set after calling bindView.
From that point, ChannelListHeaderView will be able to display the current user avatar as well as online status, while ChannelListView will display the list of channels. Displaying empty and loading states, as well as pagination will be handled automatically.
ChannelListViewModelFactory allows customizing filter and sort options. See Querying Channels for more info.
To customize how real-time events affect the channel list (e.g., when using multiple lists filtered by channel type), see Channels State and Filtering.