<?xml version="1.0" encoding="utf-8"?>
<merge xmlns:android="http://schemas.android.com/apk/res/android"
    xmlns:app="http://schemas.android.com/apk/res-auto"
    xmlns:tools="http://schemas.android.com/tools"
    tools:parentTag="androidx.constraintlayout.widget.ConstraintLayout">

    <EditText
        android:id="@+id/inputField"
        android:layout_width="0dp"
        android:layout_height="wrap_content"
        android:layout_margin="8dp"
        app:layout_constraintBottom_toBottomOf="parent"
        app:layout_constraintEnd_toStartOf="@+id/sendButton"
        app:layout_constraintStart_toStartOf="parent"
        app:layout_constraintTop_toTopOf="parent" />

    <Button
        android:id="@+id/sendButton"
        android:layout_width="wrap_content"
        android:layout_height="wrap_content"
        android:layout_margin="8dp"
        android:text="Send"
        app:layout_constraintBottom_toBottomOf="parent"
        app:layout_constraintEnd_toEndOf="parent"
        app:layout_constraintTop_toTopOf="parent" />

</merge>Customizing Message Composer
You can find the full code from this guide on GitHub. To check the final result, clone the repository, select the stream-chat-android-ui-guides module on your Android Studio as shown in the image below, and run the module. 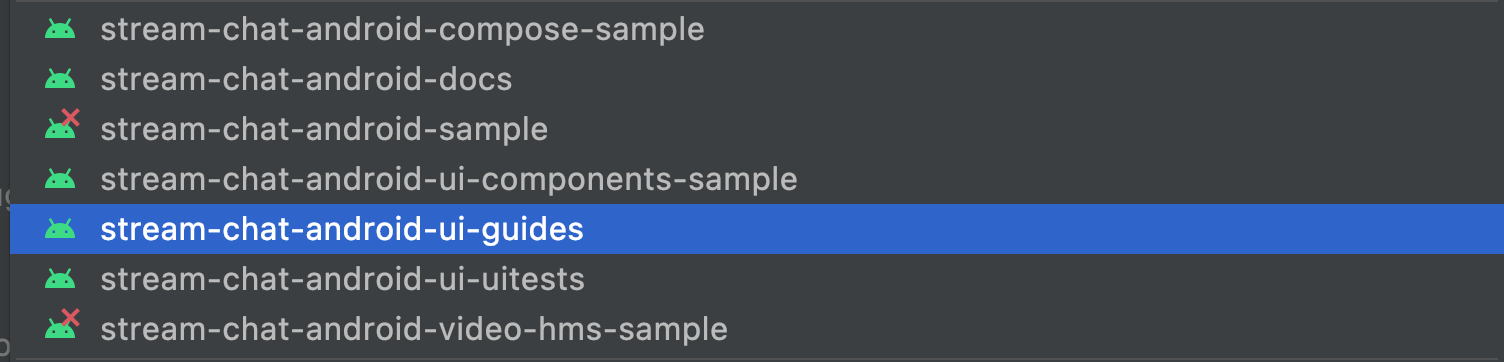
If the built-in Message Composer View and its available customization options don't fit your app's needs, you can create a Message Composer View of your own.
Note that the UI Components Message Composer View supports many advanced features that you'll otherwise have to implement yourself if you want to use them in your app:
- Sending and editing messages
- Handling threads and replies
- Supporting typing indicators
- Browsing for and adding image and file attachments
- Input validation such as a max length
- Commands and mentions
Now, let's see how you can build a custom Message Composer View from scratch.
This sample is meant to be as simple as possible. You might want to structure your actual custom views in more advanced ways than shown here.
Creating a Layout
For this example, you'll create a custom View that extends ConstraintLayout. It'll inflate the following layout internally, which consists of a simple EditText and a Button.
Create a new class called CustomMessageComposerView, extending ConstraintLayout and adding the necessary basic View constructors. You can use View Binding to inflate the layout created above and easily access the Views it contains.
class CustomMessageComposerView : ConstraintLayout {

    private val binding = ViewCustomMessageComposerBinding.inflate(LayoutInflater.from(context), this)

    constructor(context: Context) : super(context)

    constructor(context: Context, attrs: AttributeSet?) : super(context, attrs)

    constructor(context: Context, attrs: AttributeSet?, defStyleAttr: Int) : super(context, attrs, defStyleAttr)
}
You can add this custom Message Composer View to your layout like so, combining it with other UI Components:
<androidx.constraintlayout.widget.ConstraintLayout xmlns:android="http://schemas.android.com/apk/res/android"
    xmlns:app="http://schemas.android.com/apk/res-auto"
    android:layout_width="match_parent"
    android:layout_height="match_parent">

    <io.getstream.chat.android.ui.feature.messages.list.MessageListView
        android:id="@+id/messageListView"
        android:layout_width="0dp"
        android:layout_height="0dp"
        app:layout_constraintBottom_toTopOf="@+id/customMessageComposerView"
        app:layout_constraintEnd_toEndOf="parent"
        app:layout_constraintStart_toStartOf="parent"
        app:layout_constraintTop_toTopOf="parent" />

    <com.example.CustomMessageComposerView
        android:id="@+id/customMessageComposerView"
        android:layout_width="0dp"
        android:layout_height="wrap_content"
        app:layout_constraintBottom_toBottomOf="parent"
        app:layout_constraintEnd_toEndOf="parent"
        app:layout_constraintStart_toStartOf="parent" />

</androidx.constraintlayout.widget.ConstraintLayout>
Running the app now shows the new Message Composer View, which you can freely style to fit your app's requirements.
 |
|---|
Sending and Editing Messages
Let's add support for sending and editing messages:
class CustomMessageComposerView : ConstraintLayout {

    private val binding = ViewCustomMessageComposerBinding.inflate(LayoutInflater.from(context), this)

    private lateinit var channelClient: ChannelClient

    private var messageToEdit: Message? = null

    constructor(context: Context) : super(context)
    constructor(context: Context, attrs: AttributeSet?) : super(context, attrs)
    constructor(context: Context, attrs: AttributeSet?, defStyleAttr: Int) : super(context, attrs, defStyleAttr)

    init {
        // 1
        binding.sendButton.setOnClickListener {
            val text = binding.inputField.text.toString()

            val messageToEdit = messageToEdit
            if (messageToEdit != null) {
                // 2
                channelClient.updateMessage(messageToEdit.copy(text = text)).enqueue()
            } else {
                // 3
                channelClient.sendMessage(Message(text = text, parentId = null)).enqueue()
            }

            // 4
            this.messageToEdit = null
            binding.inputField.setText("")
        }
    }

    fun setChannelClient(channelClient: ChannelClient) {
        this.channelClient = channelClient
    }

    // 5
    fun editMessage(message: Message) {
        this.messageToEdit = message
        binding.inputField.setText(message.text)
    }
}In the snippet above, you:
- Set a click listener on the Send button.
- Read the current value from the input field.
- Send a new message or update the existing one.
- Clear the input for the next message.
- Add a method to allow editing existing messages.
Finally, initialize the composer with ChatClient and let the message composer know when we are editing a message:
customMessageComposerView.setChannelClient(ChatClient.instance().channel(cid))

messageListView.setMessageEditHandler(customMessageComposerView::editMessage)Now you can send a message to the chat. Let's see how to add support for threads.
Handling Threads
Message List View has built-in support for threads, and your custom Message Composer View can be integrated with threads as well:
class CustomMessageComposerView : ConstraintLayout {

    private val binding = ViewCustomMessageComposerBinding.inflate(LayoutInflater.from(context), this)

    private lateinit var channelClient: ChannelClient

    private var messageToEdit: Message? = null
    private var parentMessage: Message? = null

    constructor(context: Context) : super(context)
    constructor(context: Context, attrs: AttributeSet?) : super(context, attrs)
    constructor(context: Context, attrs: AttributeSet?, defStyleAttr: Int) : super(context, attrs, defStyleAttr)

    init {
        binding.sendButton.setOnClickListener {
            val text = binding.inputField.text.toString()

            val messageToEdit = messageToEdit
            if (messageToEdit != null) {
                channelClient.updateMessage(messageToEdit.copy(text = text)).enqueue()
            } else {
                channelClient.sendMessage(Message(text = text, parentId = parentMessage?.id)).enqueue()
            }

            this.messageToEdit = null
            binding.inputField.setText("")
        }
    }

    fun setChannelClient(channelClient: ChannelClient) {
        this.channelClient = channelClient
    }

    fun editMessage(message: Message) {
        this.messageToEdit = message
        binding.inputField.setText(message.text)
    }

    fun setActiveThread(parentMessage: Message) {
        this.parentMessage = parentMessage
        this.messageToEdit = null
        binding.inputField.setText("")
    }

    fun resetThread() {
        this.parentMessage = null
        this.messageToEdit = null
        binding.inputField.setText("")
    }
}Notice how the new parentMessage field is used to track if you are inside a thread. If that's the case, then you need to pass the parent message ID when sending a new message using the ChannelClient::sendMessage method.
To complete the feature, let the message composer know when we are entering or leaving a thread:
customMessageComposerView.setChannelClient(ChatClient.instance().channel(cid))

messageListView.setMessageEditHandler(customMessageComposerView::editMessage)

messageListViewModel.mode.observe(viewLifecycleOwner) { mode ->
    when (mode) {
        is MessageMode.MessageThread -> {
            customMessageComposerView.setActiveThread(mode.parentMessage)
        }
        is MessageMode.Normal -> {
            customMessageComposerView.resetThread()
        }
    }
}