Migration Guide from Dolby.io to Stream SDK
Summary
This migration guide is designed to assist developers in transitioning their Audio room applications from the Dolby.io Conference SDK to the Stream SDK. Our aim is to provide a comprehensive, step-by-step walkthrough that not only highlights the differences between the two SDKs but also showcases the unique features and enhancements offered by Stream. Whether you are looking to leverage advanced functionalities, improve performance, or simply explore new avenues with Stream, this guide will equip you with all the necessary tools and knowledge for a seamless migration.
Introduction
While Dolby.io offers high-quality sound and reliable streaming for audio conferencing, it struggles with adaptability and scalability to keep up with evolving digital communication needs. In contrast, Stream SDK offers a modern, scalable solution with advanced features like enhanced data security and an intuitive API, designed to meet the diverse demands of contemporary audio communication.
Through this guide, you will:
- Discover the fundamental differences and similarities between Dolby.io and Stream SDKs, particularly in the context of Audio room applications.
- Receive detailed, step-by-step instructions to ensure a smooth and efficient migration process.
- Learn about the additional capabilities and benefits that Stream SDK brings to your audio conferencing solutions.
- Find solutions to common challenges and answers to frequently asked questions during the transition.
By the end of this guide, you will be equipped with a thorough understanding of how Stream SDK can enhance your audio conferencing applications, providing a clear rationale for its adoption as a superior alternative to Dolby.io in your technology stack. In case you are looking for another video or audio appication type, you can look into our tutorials of Audio Room, Video calling and Livestreaming for help.
Prerequisites
Before diving into the migration process, it's essential to establish a clear starting point and outline the capabilities of the existing SwiftUI Audio room application using Dolby.io SDK. The application currently includes the following features:
- Join/Leave a Call: Users can join or leave audio calls, facilitating easy participation in audio conferences.
- View Participants: The app displays a list or grid of participants currently in the call, making it easy to see who is involved in the conference.
- Mute/Unmute Functionality: Users have the ability to mute and unmute themselves, providing control over their participation in the conversation.
- Speaking Indicator: When a participant speaks, their avatar is highlighted, visually indicating who is actively contributing to the conversation.
As we migrate to Stream SDK, we will not only replicate these existing features but also introduce additional functionalities to enhance the user experience and leverage the advanced capabilities of the Stream SDK. The added features will include:
- Improved Audio Quality: Leveraging Stream's superior audio processing to provide clearer and more reliable audio communication.
- Enhanced User Interface: A more intuitive and user-friendly interface, taking advantage of SwiftUI's capabilities.
- Simpler code: Implementing an Audio room app with the Stream SDK should be easy and the code should be clear.
- Request to speak: We will implement a simple permission system, where a participants can request to talk and a host can approve or reject their request.
This guide assumes that you have the following setup and knowledge:
- A working SwiftUI Audio room application built with Dolby.io SDK (We have built demo that can be found here).
- Basic knowledge of audio streaming concepts and audio room functionalities.
- Familiarity with Swift and SwiftUI for iOS app development.
- Access to both Dolby.io and Stream SDKs, along with necessary developer accounts and permissions.
With these prerequisites in place, you'll be well-prepared to embark on the migration process, transforming your app with enhanced features and capabilities offered by the Stream SDK.
Key Differences
Grasping the core differences between Dolby.io SDK and Stream SDK greatly aids in ensuring a smooth migration process. This section emphasizes the significant distinctions that will influence the adaptation of your existing AudioRoom application as you transition to the Stream SDK.
Latest technologies:
- Dolby.io SDK: This SDK does not natively support Swift concurrency, and its APIs are not fully optimized for SwiftUI. This can result in more complex integration with SwiftUI-based applications and may require additional workarounds to manage asynchronous operations.
- Stream SDK: In contrast, Stream SDK is designed with native support for Swift concurrency, offering a more seamless integration with SwiftUI. This results in a more straightforward, efficient coding experience, particularly for developers working with modern Swift development practices.
Terminology: Conference vs. Call:
- Dolby.io SDK: In Dolby.io, the primary feature of connecting users in an audio session is referred to as a 'Conference'. This terminology is consistent across their documentation and API.
- Stream SDK: Stream SDK, on the other hand, uses the term 'Call' to describe similar functionality. This is more than just a semantic difference; it reflects in the API naming conventions and documentation. Being aware of this terminology change is crucial for understanding the Stream SDK's structure and documentation.
Extensibility and Permission System:
- Dolby.io SDK: While Dolby.io SDK offers a range of features for audio conferencing, it may not provide as much flexibility when it comes to extending the SDK's capabilities, particularly regarding building a custom permission system.
- Stream SDK: Stream SDK stands out with its extensibility, especially in implementing advanced features like a permission system. This flexibility allows for more granular control over user roles and permissions, which is particularly beneficial for creating more sophisticated or customized audio room experiences.
In summary, the Stream SDK offers a more modern and streamlined approach, focusing ease of integration and stability. Its terminology and extensible nature also make it a more versatile choice for building advanced audio and video applications.
Step-by-Step Migration
The migration from Dolby.io SDK to Stream SDK involves a series of structured steps designed to ensure a seamless transition of your Audio room application. This section breaks down the migration process into manageable phases, guiding you through each critical aspect of the transition. Follow these steps closely to adapt your existing SwiftUI application to leverage the capabilities of Stream SDK effectively.
5.1 Setup and Initialization
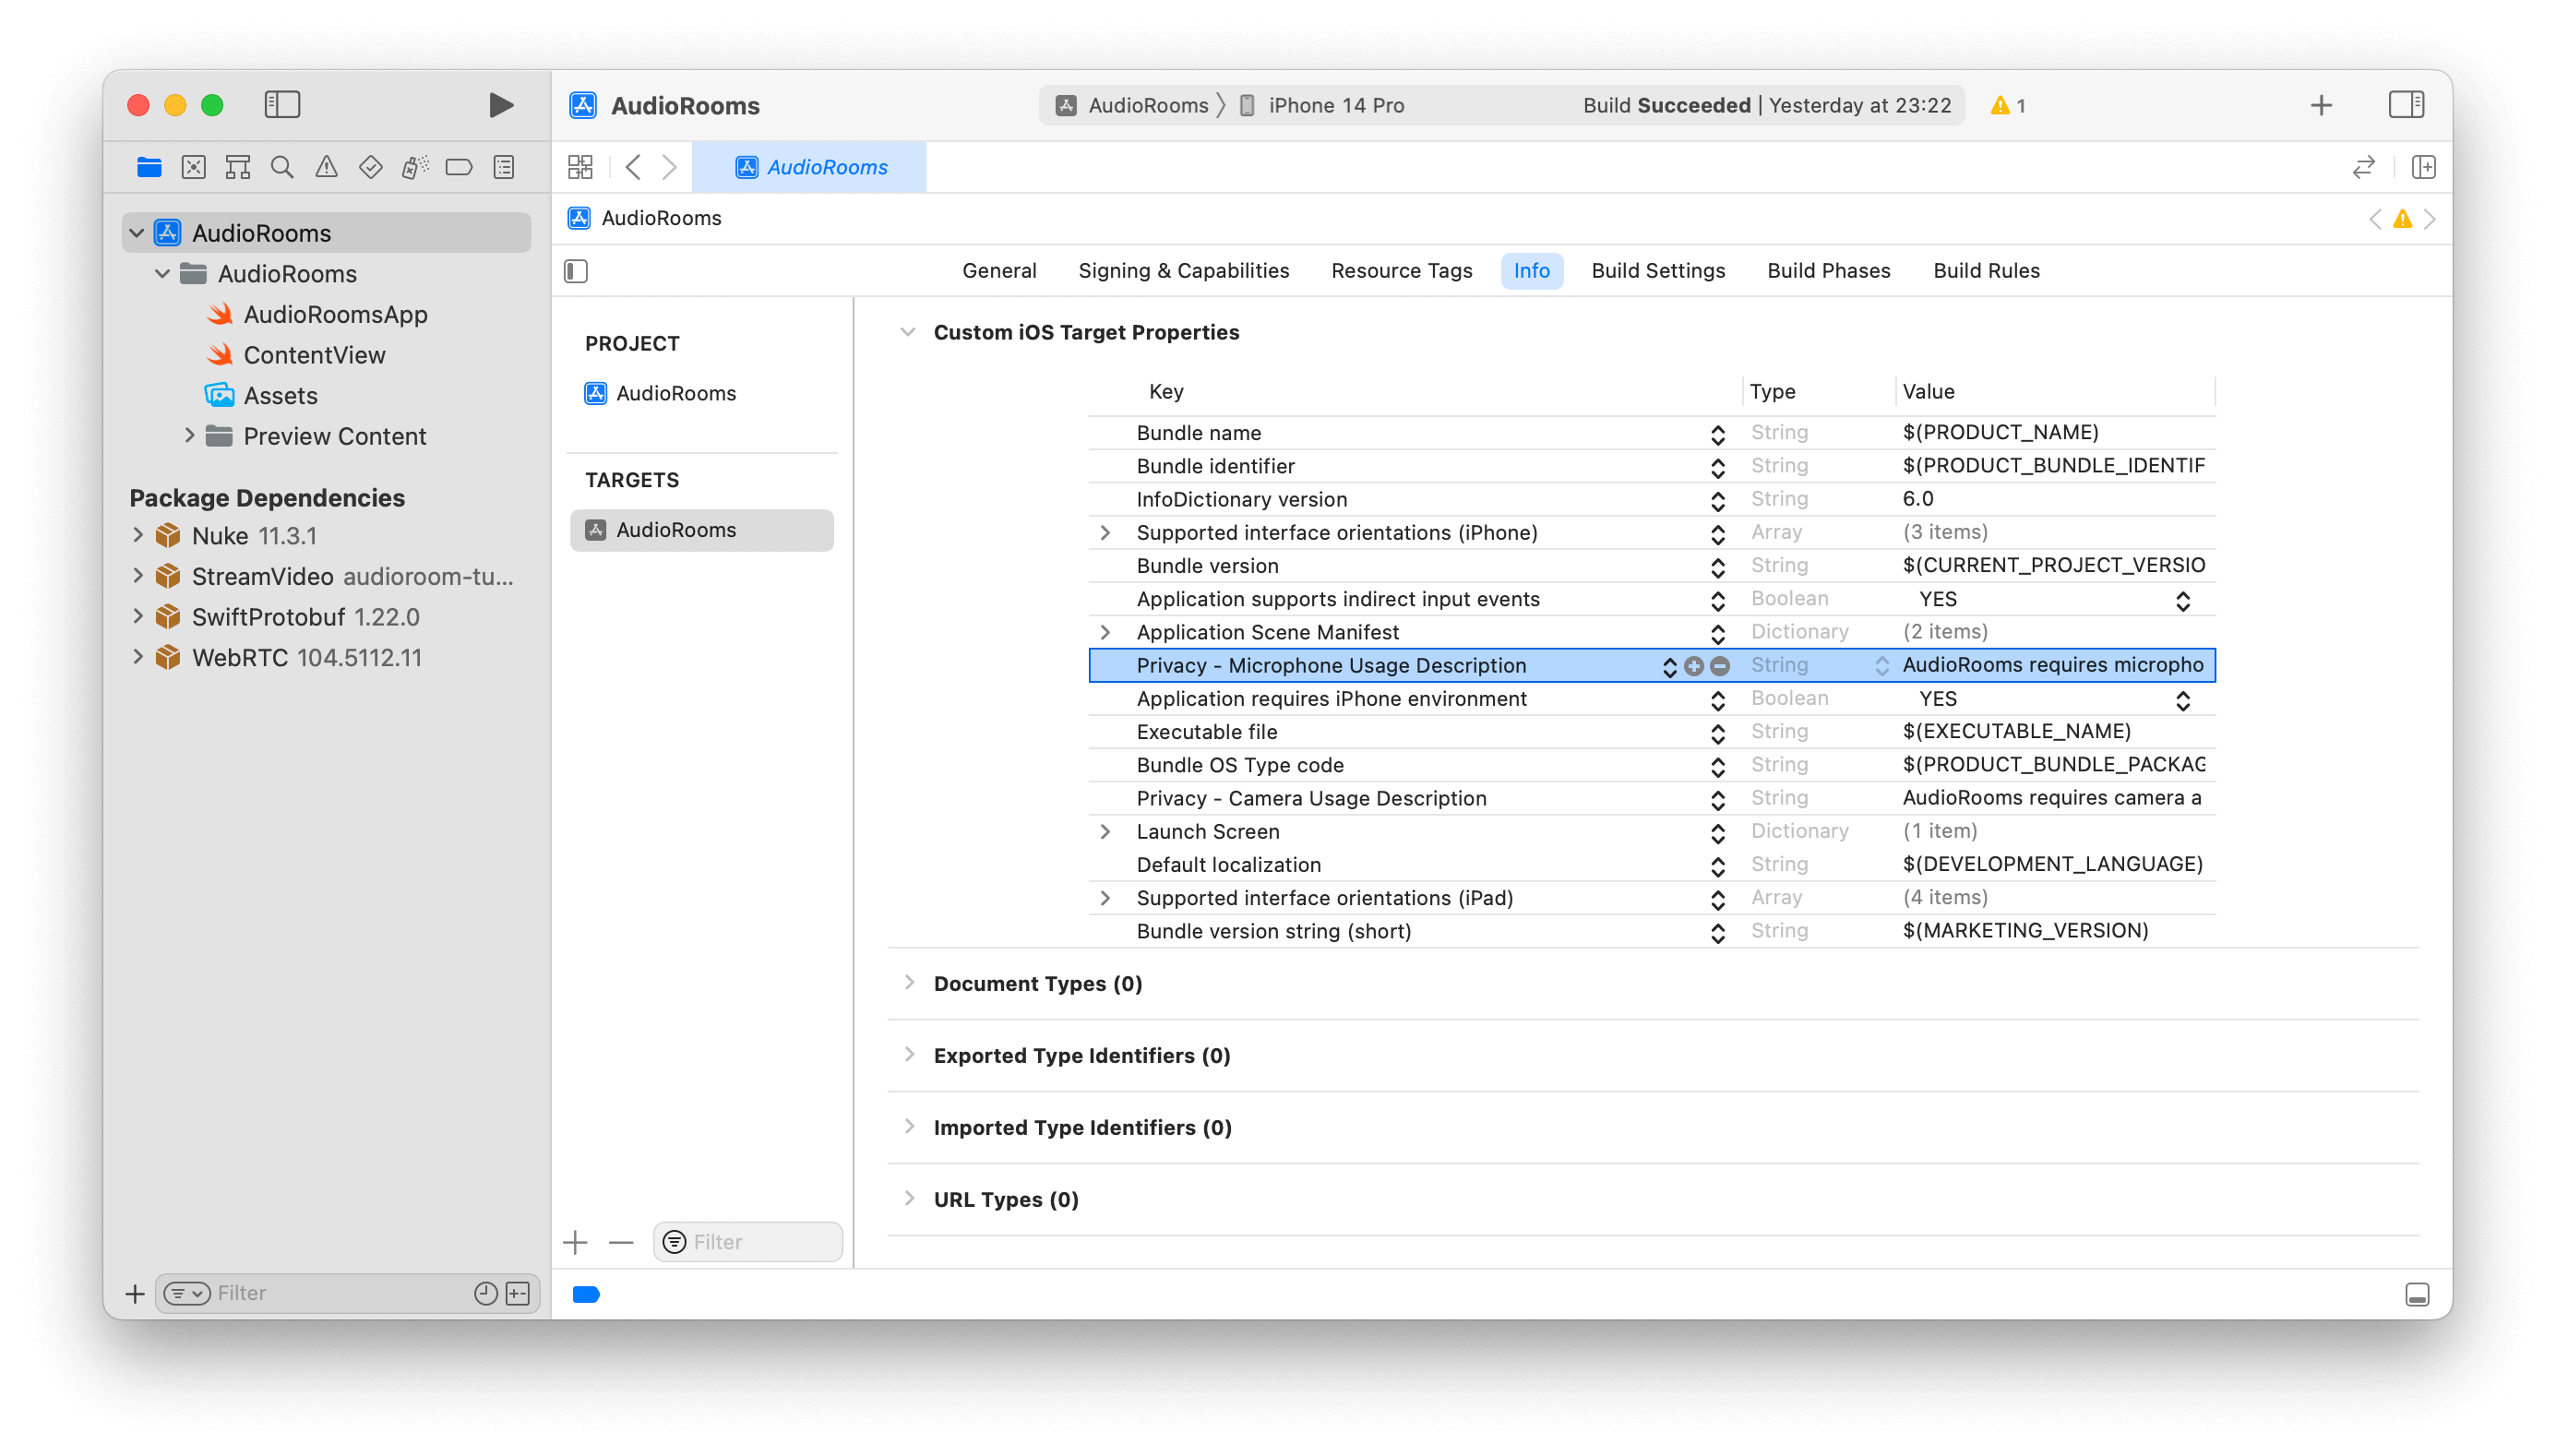
Both SDKs are readily accessible through all major package managers, simplifying their integration into your project. The setup and initialization process for both SDKs involves similar steps, ensuring a smooth transition. You need to make sure that you have updated your Info.plist with the required Microphone access key:
Privacy - Microphone Usage Description- "Audio rooms requires microphone access in order to capture and transmit audio
5.2 User Authentication
User authentication is a critical component of both Dolby.io and Stream SDKs. Although both provide demo tokens (from Dolby.io dasboard or the Audio room tutorial page), they require slightly different configurations. Below, we present the configuration steps for each SDK side by side, allowing for an easy comparison and understanding of the differences and similarities.
Dolby.io SDK utilizes a specific method for user authentication. Follow these steps to configure authentication in your implementation. Here's the code block for setting up user authentication with Dolby.io SDK:
let token = "THE_YOU_GOT_TOKEN_FROM_DASHBOARD"
VoxeetSDK.shared.initialize(accessToken: token) { closure, isExpired in
   closure(token)
}

let user = VTParticipantInfo(
      externalID: UUID().uuidString,
      name: "Obi-Wan Kenobi",
      avatarURL: "https://picsum.photos/120"
)

VoxeetSDK.shared.session.open(info: user) { error in
      if let error {
         /* Do something with the error */
      } else {
         /* Do something with the user */
      }
}
While Stream's SDK does that with the following code:
private var client: StreamVideo
private let apiKey: String = "" // The API key can be found in the Credentials section
private let token: String = "" // The Token can be found in the Credentials section
private let userId: String = "" // The User Id can be found in the Credentials section
private let callId: String = "" // The CallId can be found in the Credentials section

let user = User(
   id: userId,
   name: "Obi-Wan Kenobi", // name and imageURL are used in the UI
   imageURL: .init(string: "https://picsum.photos/120")
)

 // Initialize Stream Video client
self.client = StreamVideo(
   apiKey: apiKey,
   user: user,
   token: .init(stringLiteral: token)
)
Here are credentials to try out the app with:
| Property | Value |
|---|---|
| API Key | Waiting for an API key ... |
| Token | Token is generated ... |
| User ID | Loading ... |
| Call ID | Creating random call ID ... |
5.3 Conference/Call Management
Managing conferences in Dolby.io SDK and calls in Stream SDK involves different approaches, particularly in how the primary object that manages the conference or call is handled and interacted with.
In the Dolby.io SDK, the management of a conference is centered around the SDK's singleton, which houses a ConferenceService. This service is the key to interacting with the currently active conference. Here's a brief overview:
- Singleton Pattern: Dolby.io SDK uses a singleton pattern to manage conferences which handles the Global shared state. Unfortunately, this pattern greatly reduces testability.
- Conference Service: The
ConferenceServicewithin the singleton is responsible for all conference-related operations. - Active Conference Interaction: The
ConferenceServiceallows for interaction with the active conference, handling tasks like joining, leaving, or managing the conference. - Outdated API: The API relies on completionHandlers to inform calling points about the result of each call.
// Create a new conference
VoxeetSDK.shared
   .conference
   .create(options: options) { conference in
      // Conference was created succesfully
   } fail: {
      // Conference creation failed
   }

// Join a conference
VoxeetSDK.shared
   .conference
   .join(conference: conference) { response in
         // Succefully joined the conference
   } fail: {
      // Failed to join the conference
   }
Conversely, the Stream SDK adopts a different approach. It creates Call objects from the StreamVideo client, and these call objects are then used throughout the lifecycle of the call for various operations.
- Direct Object Creation: Stream SDK allows the creation of call objects directly from the StreamVideo client.
- Lifecycle Management: The Call object in Stream SDK manages all aspects of the call's lifecycle.
- Operation Handling: This object is used for performing operations during the call, including joining, leaving, and managing call features.
- Swift Concurrency: Call's API is built with Swift Concurrency in mind, providing full support on all operations using the convenient
try awaitsyntax.
// Create the call object
self.call = client.call(callType: "audio_room", callId: callId)

// Join the call
// - Allows you to define the members of this Audio room.
// - Allows you to define custom fields that will be appended on the call object.
try await call.join(
    create: true,
    options: .init(
        members: [
            .init(userId: "john_smith"),
            .init(userId: "jane_doe"),
        ],
        custom: [
            "title": .string("SwiftUI heads"),
            "description": .string("Talking about SwiftUI")
        ]
    )
)
For details on joining or creating a call you can visit our docs here.
5.4 Advanced Features
The Stream SDK comes with a built-in permission system, providing a foundational layer for implementing custom user interaction features in your application. This system is particularly useful for managing user roles and permissions dynamically during an audio call.
- Built-In Functionality: The permission system is an integral part of the Stream SDK, eliminating the need for external dependencies or complex custom implementations.
- Flexibility and Control: It offers granular control over user roles and actions within a call, enabling a more tailored user experience.
Implementing "Request to Speak" Feature:
With the Stream SDK's permission system, you can implement a "Request to Speak" feature, where participants can request permission to speak, and the host or moderator can grant or deny this request. This feature enhances the interactivity and orderliness of your Audio room, especially in scenarios with multiple participants.
- User Request Handling: Participants can send a request to speak, which is managed by the SDK's permission system.
- Moderator Control: The host or moderator can easily review and respond to these requests, maintaining a smooth flow of conversation.
Requesting permission to speak is easy. Let's first have a quick look at how the SDK call object exposes this:
let response = try await call.request(permissions: [.sendAudio])
Permission requests are exposed from call.state on the permissionRequests published variable.
if let request = call.state.permissionRequests.first {
    // reject it
    request.reject()

    // grant it
    try await call.grant(request: request)
}
By integrating these advanced features, your Audio room application not only gains enhanced functionality but also provides a more engaging and controlled environment for users. This makes the Stream SDK a powerful tool for developing sophisticated audio conferencing applications. You can find more details about the permissions in the Stream SDK here.
Sample Code Comparison
The end result for the app built with Stream SDK is 220 lines (for a fully working Audio room app)
import StreamVideoSwiftUI
import SwiftUI
import StreamVideo

@main
struct AudioroomsApp: App {
    @State var call: Call
    @ObservedObject var state: CallState
    @State private var callCreated: Bool = false

    private var client: StreamVideo
    private let apiKey: String = "" // The API key can be found in the Credentials section
    private let userId: String = "" // The User Id can be found in the Credentials section
    private let token: String = "" // The Token can be found in the Credentials section
    private let callId: String = "" // The CallId can be found in the Credentials section

    init() {
        let user = User(
            id: userId,
            name: "Obi-Wan Kenobi", // name and imageURL are used in the UI
            imageURL: .init(string: "https://picsum.photos/120")
        )

        // Initialize Stream Video client
        self.client = StreamVideo(
            apiKey: apiKey,
            user: user,
            token: .init(stringLiteral: token)
        )

        // Initialize the call object
        let call = client.call(callType: "audio_room", callId: callId)

        self.call = call
        self.state = call.state
    }

    var body: some Scene {
        WindowGroup {
            VStack {
                if callCreated {
                    DescriptionView(
                        title: call.state.custom["title"]?.stringValue,
                        description: call.state.custom["description"]?.stringValue,
                        participants: call.state.participants
                    )
                    ParticipantsView(
                        participants: call.state.participants
                    )
                    Spacer()
                    ControlsView(call: call, state: state)
                } else {
                    Text("loading...")
                }
            }.task {
                Task {
                    guard !callCreated else { return }
                    try await call.join(
                        create: true,
                        options: .init(
                            members: [
                                .init(userId: "john_smith"),
                                .init(userId: "jane_doe"),
                            ],
                            custom: [
                                "title": .string("SwiftUI heads"),
                                "description": .string("talking about SwiftUI")
                            ]
                        )
                    )
                    callCreated = true
                }
            }
        }
    }
}

struct ControlsView: View {
    var call: Call
    @ObservedObject var state: CallState

    var body: some View {
        HStack {
            MicButtonView(microphone: call.microphone)
            LiveButtonView(call: call, state: state)
        }
    }
}

struct DescriptionView: View {
    var title: String?
    var description: String?
    var participants: [CallParticipant]

    var body: some View {
        VStack {
            VStack {
                Text("\(title ?? "")")
                  .font(.title)
                  .frame(maxWidth: .infinity, alignment: .leading)
                  .lineLimit(1)
                  .padding([.bottom], 8)

                Text("\(description ?? "")")
                  .font(.body)
                  .frame(maxWidth: .infinity, alignment: .leading)
                  .lineLimit(1)
                  .padding([.bottom], 4)

                Text("\(participants.count) participants")
                  .font(.caption)
                  .frame(maxWidth: .infinity, alignment: .leading)
            }.padding([.leading, .trailing])
        }
    }
}

struct LiveButtonView: View {
    var call: Call
    @ObservedObject var state: CallState

    var body: some View {
        if state.backstage {
            Button {
                Task {
                    try await call.goLive()
                }
            } label: {
                Text("Go Live")
            }
            .buttonStyle(.borderedProminent).tint(.green)
        } else {
            Button {
                Task {
                    try await call.stopLive()
                }
            } label: {
                Text("Stop live")
            }
            .buttonStyle(.borderedProminent).tint(.red)
        }
    }
}

struct MicButtonView: View {
    @ObservedObject var microphone: MicrophoneManager

    var body: some View {
        Button {
           Task {
               try await microphone.toggle()
           }
        } label: {
            Image(systemName: microphone.status == .enabled ? "mic.circle" : "mic.slash.circle")
                .foregroundColor(microphone.status == .enabled ? .red : .primary)
                .font(.title)
        }
    }
}

struct ParticipantsView: View {
    var participants: [CallParticipant]

    var body: some View {
        LazyVGrid(columns: [GridItem(.adaptive(minimum: 100))], spacing: 20) {
            ForEach(participants) {
                ParticipantView(participant: $0)
            }
        }
    }
}

struct ParticipantView: View {
    var participant: CallParticipant

    var body: some View {
        VStack{
            ZStack {
                Circle()
                    .fill(participant.isSpeaking ? .green : .white)
                    .frame(width: 68, height: 68)
                AsyncImage(
                    url: participant.profileImageURL,
                    content: { image in
                        image.resizable()
                            .aspectRatio(contentMode: .fit)
                            .frame(maxWidth: 64, maxHeight: 64)
                            .clipShape(Circle())
                    },
                    placeholder: {
                        Image(systemName: "person.crop.circle").font(.system(size: 60))
                    }
                )
            }
            Text("\(participant.name)")
        }
    }
}

struct PermissionRequestsView: View {
    var call: Call
    @ObservedObject var state: CallState

    var body: some View {
        if let request = state.permissionRequests.first {
            HStack {
                Text("\(request.user.name) requested to \(request.permission)")
                Button {
                   Task {
                       try await call.grant(request: request)
                   }
                } label: {
                    Label("", systemImage: "hand.thumbsup.circle").tint(.green)
                }
                Button(action: request.reject) {
                    Label("", systemImage: "hand.thumbsdown.circle.fill").tint(.red)
                }
            }
        }
    }
}
While for the one built with Dolby SDK it's close to 400 lines:
import SwiftUI
import VoxeetSDK
import Combine

@main
struct DolbyAudio roomApp: App {
    private static let token: String = "YOUR_DOLBY_TOKEN"
    private static let callId: String = "A_CALL_ID"

    @State private var callCreated = false
    @StateObject private var viewModel: VoxeetSDKViewModel

    init() {
        self._viewModel = .init(wrappedValue: .init(Self.token, callId: Self.callId))
    }

    var body: some Scene {
        WindowGroup {
            VStack {
                DescriptionView(
                    viewModel: viewModel,
                    title: viewModel.callId,
                    description: "Call Description n/a",
                    participants: viewModel.participants
                )
                ParticipantsView(
                    viewModel: viewModel
                )
                Spacer()
                ControlsView(viewModel: viewModel)
            }
        }
    }
}

final class VoxeetSDKViewModel: ObservableObject, VTConferenceDelegate {

    @Published var participants: [VTParticipant] = []
    @Published var isMuted: Bool = false
    @Published var speakingParticipants: [VTParticipant] = []
    @Published var hasActiveCall = false {
        didSet {
            if hasActiveCall {
                speakingParticipantsCancellable = Timer
                    .publish(every: 1, on: .main, in: .default)
                    .autoconnect()
                    .receive(on: DispatchQueue.global(qos: .userInteractive))
                    .sink { [weak self] _ in self?.updateSpeakingParticipants() }
            } else {
                speakingParticipantsCancellable?.cancel()
            }
        }
    }

    var localParticipant: VTParticipant? { VoxeetSDK.shared.session.participant }

    private var speakingParticipantsCancellable: AnyCancellable?
    let callId: String

    init(_ token: String, callId: String) {
        self.callId = callId
        VoxeetSDK.shared.initialize(accessToken: token) { [token] closure, isExpired in
            closure(token)
        }

        VoxeetSDK.shared.notification.push.type = .none
        VoxeetSDK.shared.conference.defaultBuiltInSpeaker = true
        VoxeetSDK.shared.conference.defaultVideo = false

        VoxeetSDK.shared.conference.delegate = self
    }

    @discardableResult
    func connectUser(name: String, avatarURL: String? = nil) async throws -> VTParticipantInfo {
        try await withUnsafeThrowingContinuation { continuation in
            let user = VTParticipantInfo(
                externalID: UUID().uuidString,
                name: name,
                avatarURL: avatarURL
            )

            VoxeetSDK.shared.session.open(info: user) { error in
                if let error {
                    continuation.resume(throwing: error)
                } else {
                    continuation.resume(returning: user)
                }
            }
        }
    }

    @discardableResult
    func joinCall() async throws -> VTConference {
        try await withUnsafeThrowingContinuation { continuation in
            let options = VTConferenceOptions()
            options.params.dolbyVoice = true
            options.alias = callId

            VoxeetSDK.shared
                .conference
                .create(options: options) { conference in
                    debugPrint(conference)
                    VoxeetSDK.shared
                        .conference
                        .join(conference: conference) { response in
                            debugPrint(response)
                            DispatchQueue.main.async { [weak self] in
                                self?.isMuted = VoxeetSDK.shared.conference.isMuted()
                                self?.hasActiveCall = true
                            }
                            continuation.resume(returning: conference)
                        } fail: { continuation.resume(throwing: $0) }

                } fail: { continuation.resume(throwing: $0) }
        }
    }

    func toggleAudio() {
        let newValue = !isMuted
        VoxeetSDK.shared.conference.mute(newValue) { [weak self] error in
            DispatchQueue.main.async {
                if let error {
                    debugPrint("\(error)")
                } else {
                    self?.isMuted = newValue
                }
            }
        }
    }

    func leave() {
        VoxeetSDK.shared.conference.leave { error in
            if let error {
                debugPrint("\(error)")
            } else {
                DispatchQueue.main.async { [weak self] in
                    self?.hasActiveCall = false
                }
            }
        }
    }

    func statusUpdated(status: VTConferenceStatus) {

    }

    func permissionsUpdated(permissions: [Int]) {

    }

    func participantAdded(participant: VTParticipant) {
        updateParticipants()
    }

    func participantUpdated(participant: VTParticipant) {
        updateParticipants()
    }

    func streamAdded(participant: VTParticipant, stream: MediaStream) {
        updateParticipants()
    }

    func streamUpdated(participant: VTParticipant, stream: MediaStream) {
        updateParticipants()
    }

    func streamRemoved(participant: VTParticipant, stream: MediaStream) {
        updateParticipants()
    }

    private func updateParticipants() {
        participants = VoxeetSDK.shared.conference
            .current?
            .participants
            .filter({ $0.streams.isEmpty == false }) ?? []
    }

    private func updateSpeakingParticipants() {
        let localParticipant = self.localParticipant
        let speakingParticipants = participants
            .filter {
                if $0.id != nil, $0.id == localParticipant?.id {
                    if !isMuted {
                        return VoxeetSDK.shared.conference.isSpeaking(participant: $0)
                    } else {
                        return false
                    }
                } else {
                    return VoxeetSDK.shared.conference.isSpeaking(participant: $0)
                }
            }

        DispatchQueue.main.async { [weak self] in
            self?.speakingParticipants = speakingParticipants
        }
    }
}

struct DescriptionView: View {
    @ObservedObject var viewModel: VoxeetSDKViewModel
    var title: String?
    var description: String?
    var participants: [VTParticipant]

    var body: some View {
        VStack {
            VStack {
                Text("\(title ?? "")")
                    .font(.title)
                    .frame(maxWidth: .infinity, alignment: .leading)
                    .lineLimit(1)
                    .padding([.bottom], 8)

                if viewModel.hasActiveCall {
                    Text("\(description ?? "")")
                        .font(.body)
                        .frame(maxWidth: .infinity, alignment: .leading)
                        .lineLimit(1)
                        .padding([.bottom], 4)

                    Text("\(participants.count) participants")
                        .font(.caption)
                        .frame(maxWidth: .infinity, alignment: .leading)
                }
            }.padding([.leading, .trailing])
        }
    }
}

struct ControlsView: View {
    @ObservedObject var viewModel: VoxeetSDKViewModel

    var body: some View {
        HStack {
            MicButtonView(viewModel: viewModel)
            LiveButtonView(viewModel: viewModel)
        }
    }
}

struct MicButtonView: View {

    @ObservedObject var viewModel: VoxeetSDKViewModel

    var body: some View {
        if viewModel.hasActiveCall {
            Button {
                viewModel.toggleAudio()
            } label: {
                Image(systemName: viewModel.isMuted ? "mic.slash.circle" : "mic.circle")
                    .foregroundColor(viewModel.isMuted ? .red : .primary)
                    .font(.title)
            }
        } else {
            EmptyView()
        }
    }
}

struct LiveButtonView: View {

    @ObservedObject var viewModel: VoxeetSDKViewModel

    var body: some View {
        if viewModel.hasActiveCall {
            Button {
                Task {
                    viewModel.leave()
                }
            } label: {
                Text("Leave")
            }
            .buttonStyle(.borderedProminent).tint(.red)
        } else {
            Button {
                Task {
                    do {
                        try await viewModel.connectUser(
                            name: "Obi-Wan Kenobi",
                            avatarURL: "https://picsum.photos/120"
                        )
                        try await viewModel.joinCall()
                    } catch {
                        fatalError("\(error)")
                    }
                }
            } label: {
                Text("Join")
            }
        }
    }
}

struct ParticipantView: View {
    var participant: VTParticipant
    let viewModel: VoxeetSDKViewModel

    @State private var isSpeaking = false

    var body: some View {
        VStack{
            ZStack {
                Circle()
                    .fill(isSpeaking ? .green : .white)
                    .frame(width: 68, height: 68)
                    .overlay(
                        AsyncImage(
                            url: .init(string: participant.info.avatarURL ?? ""),
                            content: { image in
                                image.resizable()
                                    .aspectRatio(contentMode: .fit)
                                    .frame(maxWidth: 64, maxHeight: 64)
                                    .clipShape(Circle())
                            },
                            placeholder: {
                                Image(systemName: "person.crop.circle").font(.system(size: 60))
                            }
                        )
                    )
            }
            if participant == viewModel.localParticipant {
                Text("\(participant.info.name ?? "N/A")(You)")
            } else {
                Text("\(participant.info.name ?? "N/A")")
            }
        }
        .onReceive(viewModel.$speakingParticipants) { speakingParticipants in
            isSpeaking = speakingParticipants.first { $0.id != nil && $0.id == participant.id } != nil
        }
    }
}

struct ParticipantsView: View {
    @ObservedObject var viewModel: VoxeetSDKViewModel

    var body: some View {
        if viewModel.hasActiveCall {
            LazyVGrid(columns: [GridItem(.adaptive(minimum: 100))], spacing: 20) {
                ForEach(viewModel.participants, id: \.info) {
                    ParticipantView(participant: $0, viewModel: viewModel)
                }
            }
        }
    }
}
Support and Resources
For comprehensive guidance on working with the Stream SDK, we recommend exploring the following tutorials provided by Stream. These resources offer in-depth insights into building various types of applications, including Audio room, Livestream, and Video Calling, using the Stream SDK.
Audio room Tutorial:
- Link: Stream Audio room Tutorial
- Overview: This tutorial focuses on building an Audio room application. It covers everything from setup and configuration to implementing key features specific to audio conferencing.
- Useful For: Developers looking to build or migrate audio conferencing applications.
Livestream Tutorial:
- Link: Stream Livestream Tutorial
- Overview: This resource guides you through creating a livestreaming application. It includes details on setting up live video streams and managing interactive features.
- Useful For: Those interested in integrating live video streaming functionalities into their applications.
Video Calling Tutorial:
- Link: Stream Video Calling Tutorial
- Overview: This tutorial provides insights into developing a video calling feature using Stream SDK. It details the implementation of video calls, handling call states, and UI integration.
- Useful For: Developers aiming to add or enhance video calling capabilities in their apps.
Leveraging these tutorials will not only assist you in the migration process but also expand your understanding and skills in building diverse applications with the Stream SDK. Each tutorial is designed to address specific use cases and functionalities, making them valuable resources for developers at any skill level. Additionally, for any specific queries or support, the Stream developer community and our support team are available to assist you.
Conclusion
As we reach the end of this migration guide, it's clear that the Stream SDK stands out as a more feature-rich and user-friendly option compared to Dolby.io SDK, especially for developers working in the modern iOS ecosystem. Stream's commitment to leveraging the latest technologies in Swift and SwiftUI makes it not only a future-proof choice but also ensures a smoother and more efficient development experience.
Stream SDK's rich features, including a built-in permission system and advanced call management, along with SwiftUI optimization, offer a comprehensive toolkit for sophisticated voice and video applications, enhancing functionality and user engagement. Its use of modern Swift technologies like concurrency streamlines coding, reduces development time, and boosts app performance, making it a highly beneficial choice for developers.
In summary, migrating to the Stream SDK complements your existing tech stack, seamlessly integrating to enhance your audio conferencing experience. This SDK empowers you to develop more dynamic, scalable, and feature-rich applications with ease, blending effortlessly with both modern and traditional technologies. This transition represents an opportunity to elevate the experience of you Audio room app.
We hope this guide has been a valuable resource in your migration journey and look forward to seeing the innovative applications you will create with the Stream SDK.