import SwiftUI
import StreamVideo
import StreamVideoSwiftUI

@main
struct VideoDemoSwiftUIApp: App {

    @State var streamVideo: StreamVideo?
    @State var streamVideoUI: StreamVideoUI?

    init() {
        setupStreamVideo(with: "key1", userCredentials: .demoUser)
    }

    private func setupStreamVideo(
        with apiKey: String,
        userCredentials: UserCredentials
    ) {
        let streamVideo = StreamVideo(
            apiKey: apiKey,
            user: userCredentials.user,
            token: userCredentials.token,
            tokenProvider: { result in
                // Call your networking service to generate a new token here.
                // When finished, call the result handler with either .success or .failure.
                result(.success(userCredentials.token))
            }
        )
        self.streamVideo = streamVideo
        streamVideoUI = StreamVideoUI(streamVideo: streamVideo)
    }

    var body: some Scene {
        WindowGroup {
            ContentView()
        }
    }
}Quickstart
Introduction
StreamVideo is a highly customizable SDK that facilitates adding calling (audio and video) support to your apps. The SDK consists of three parts:
- low-level client - responsible for establishing calls, built on top of WebRTC.
- SwiftUI SDK - SwiftUI components for different types of call flows.
- UIKit SDK - UIKit wrapper over the SwiftUI components, for easier usage in UIKit based apps.
Integrating the SDK
To get started with the StreamVideo SDK, make sure you install the SDK, as described here.
Setting up the StreamVideoUI object
StreamVideo is the main access point to our SDK. It's created with the following values:
apiKey- your unique API key that's available in your dashboard.user- theUserInfostruct that contains information about the currently logged in user.token- the current user'sToken.tokenProvider- called when a token is expired. We strongly recommend that you use token that expires (for security reasons), and provide a way for the SDK to fetch a new token when the current one expires, with thetokenProviderclosure.
Depending on your app architecture, you can keep the StreamVideo in a place where the lifecycle is tied to the lifecycle of the currently logged in user.
In this example, for simplicity, we will add it in the SwiftUI App file, as a @State variable, and set it up on init. In your app, you should setup the StreamVideoUI object after you login your user.
Additionally, if you use our SwiftUI SDK, you should create the StreamVideoUI object, which allows you to customize the fonts, colors and icons of the standard UI components.
Open up the file VideoDemoSwiftUIApp in your Xcode project and add the following contents to it:
In this example, we're using a hardcoded demo user with a token. Note that this token is for demonstration purposes only - in production, you should generate tokens server-side with appropriate expiration times.
struct UserCredentials {
    let user: User
    let token: UserToken
}

extension UserCredentials {
    static let demoUser = UserCredentials(
        user: User(
            id: "testuser",
            name: "Test User",
            imageURL: URL(string: "https://vignette.wikia.nocookie.net/starwars/images/2/20/LukeTLJ.jpg")!,
            customData: [:]
        ),
        token: UserToken(rawValue: "YOUR_TOKEN_HERE") // Replace with a valid token from your backend
    )
}
With this, our StreamVideoUI object is setup, and the UI components are ready to be used inside your app.
Let's see an example on how to invoke a call. The UI would be simple - just a text field to enter the call id and a button to start the call.
Add the following code in the ContentView file in Xcode.
import StreamVideo
import StreamVideoSwiftUI
import SwiftUI

struct ContentView: View {

    @Injected(\.streamVideo) var streamVideo

    @StateObject var callViewModel = CallViewModel()
    @State var callId = ""

    var body: some View {
        VStack {
            TextField("Insert a call id", text: $callId)
                .textFieldStyle(.roundedBorder)
                .padding()

            Button {
                resignFirstResponder()
                callViewModel.startCall(
                    callType: "default",
                    callId: callId,
                    members: [/* Your list of participants goes here. */]
                )
            } label: {
                Text("Start a call")
            }
        }
        .padding()
        .modifier(CallModifier(viewModel: callViewModel))
    }
}
Here, you need to create the CallViewModel, which deals with the call related state and provides access to features like muting audio/video, changing the camera, starting / stopping calls etc.
In the example, we're also setting a CallModifier to the view. With this modifier, the calling support is added to your view. The modifier handles everything from reporting incoming / outgoing calls to showing the appropriate UI based on the call state.
The way we retrieve the streamVideo object here is through the @Injected property wrapper (read more on this page.)
UI Customizations
Appearance
When you create the StreamVideoUI object, you can optionally provide your own version of the Appearance class, that will allow you to customize things like fonts, colors, icons and sounds used in the SDK.
For example, let's change the default hang up icon. For this, we would need to create a new Images class, and modify its hangup property. Then, we need to initialize the Appearance class with the updated Images and pass it to the StreamVideoUI object.
var images = Images()
images.hangup = Image(systemName: "phone.down")
let appearance = Appearance(images: images)
streamVideo = StreamVideoUI(
    apiKey: "your_api_key",
    user: userCredentials.userInfo,
    token: userCredentials.token,
    videoConfig: VideoConfig(),
    tokenProvider: { result in
        result(.success(user.token))
    },
    appearance: appearance
)
If you want to learn about all the possible appearance customizations (fonts, colors, icons and sounds), please check the following page.
View Customizations
The SwiftUI SDK allows complete view swapping of some of its components. This means you can, for example, create your own (different) outgoing call view and inject it in the slot of the default one. For most of the views, the SDK doesn't require anything else than the view to conform to the standard SwiftUI View protocol and return a view from the body variable.
To abstract away the creation of the views, a protocol called ViewFactory is used in the SDK. This protocol defines the swappable views of the video experience. There are default implementations for all the views used in the SDK. If you want to customize a view, you will need to provide your own implementation of the ViewFactory, but you will need to implement only the view you want to swap.
For example, let's customize the outgoing call view and attach a text overlay to it. For this, we will need to implement the makeOutgoingCallView(viewModel: CallViewModel) -> some View in the ViewFactory:
class CustomViewFactory: ViewFactory {

    func makeOutgoingCallView(viewModel: CallViewModel) -> some View {
        // Here you can also provide your own custom view.
        // In this example, we are re-using the standard one, while also adding an overlay.
        let view = DefaultViewFactory.shared.makeOutgoingCallView(viewModel: viewModel)
        return view.overlay(
            Text("Custom text overlay")
        )
    }
}
Next, when you attach the CallModifier to your hosting view, you need to inject the newly created CustomViewFactory. The SDK will use the views you have provided in your custom implementation, while it will default back to the ones from the SDK in the slots where you haven't provided any implementation.
In order to inject the ViewFactory, you will need to update the CallModifier initializer.
@StateObject var callViewModel = CallViewModel()
    @State var callId = ""

    var body: some View {
        VStack {
            TextField("Insert a call id", text: $callId)
                .textFieldStyle(.roundedBorder)
                .padding()

            Button {
                resignFirstResponder()
                callViewModel.startCall(
                    callType: "default",
                    callId: callId,
                    members: [/* Your list of participants goes here. */]
                )
            } label: {
                Text("Start a call")
            }
        }
        .padding()
        .modifier(CallModifier(viewFactory: CustomViewFactory(), viewModel: callViewModel))
    }
For the full list of supported view slots that can be swapped, please refer to this page.
Permissions
Making a video call requires the usage of the camera and the microphone of the device. Therefore, you need to request permissions to use them in your app. In order to do this, you will need to add the following keys and values in your Info.plist file.
Privacy - Camera Usage Description - "Your_app_name requires camera access in order to capture and transmit video"
Privacy - Microphone Usage Description - "Your_app_name requires microphone access in order to capture and transmit audio"
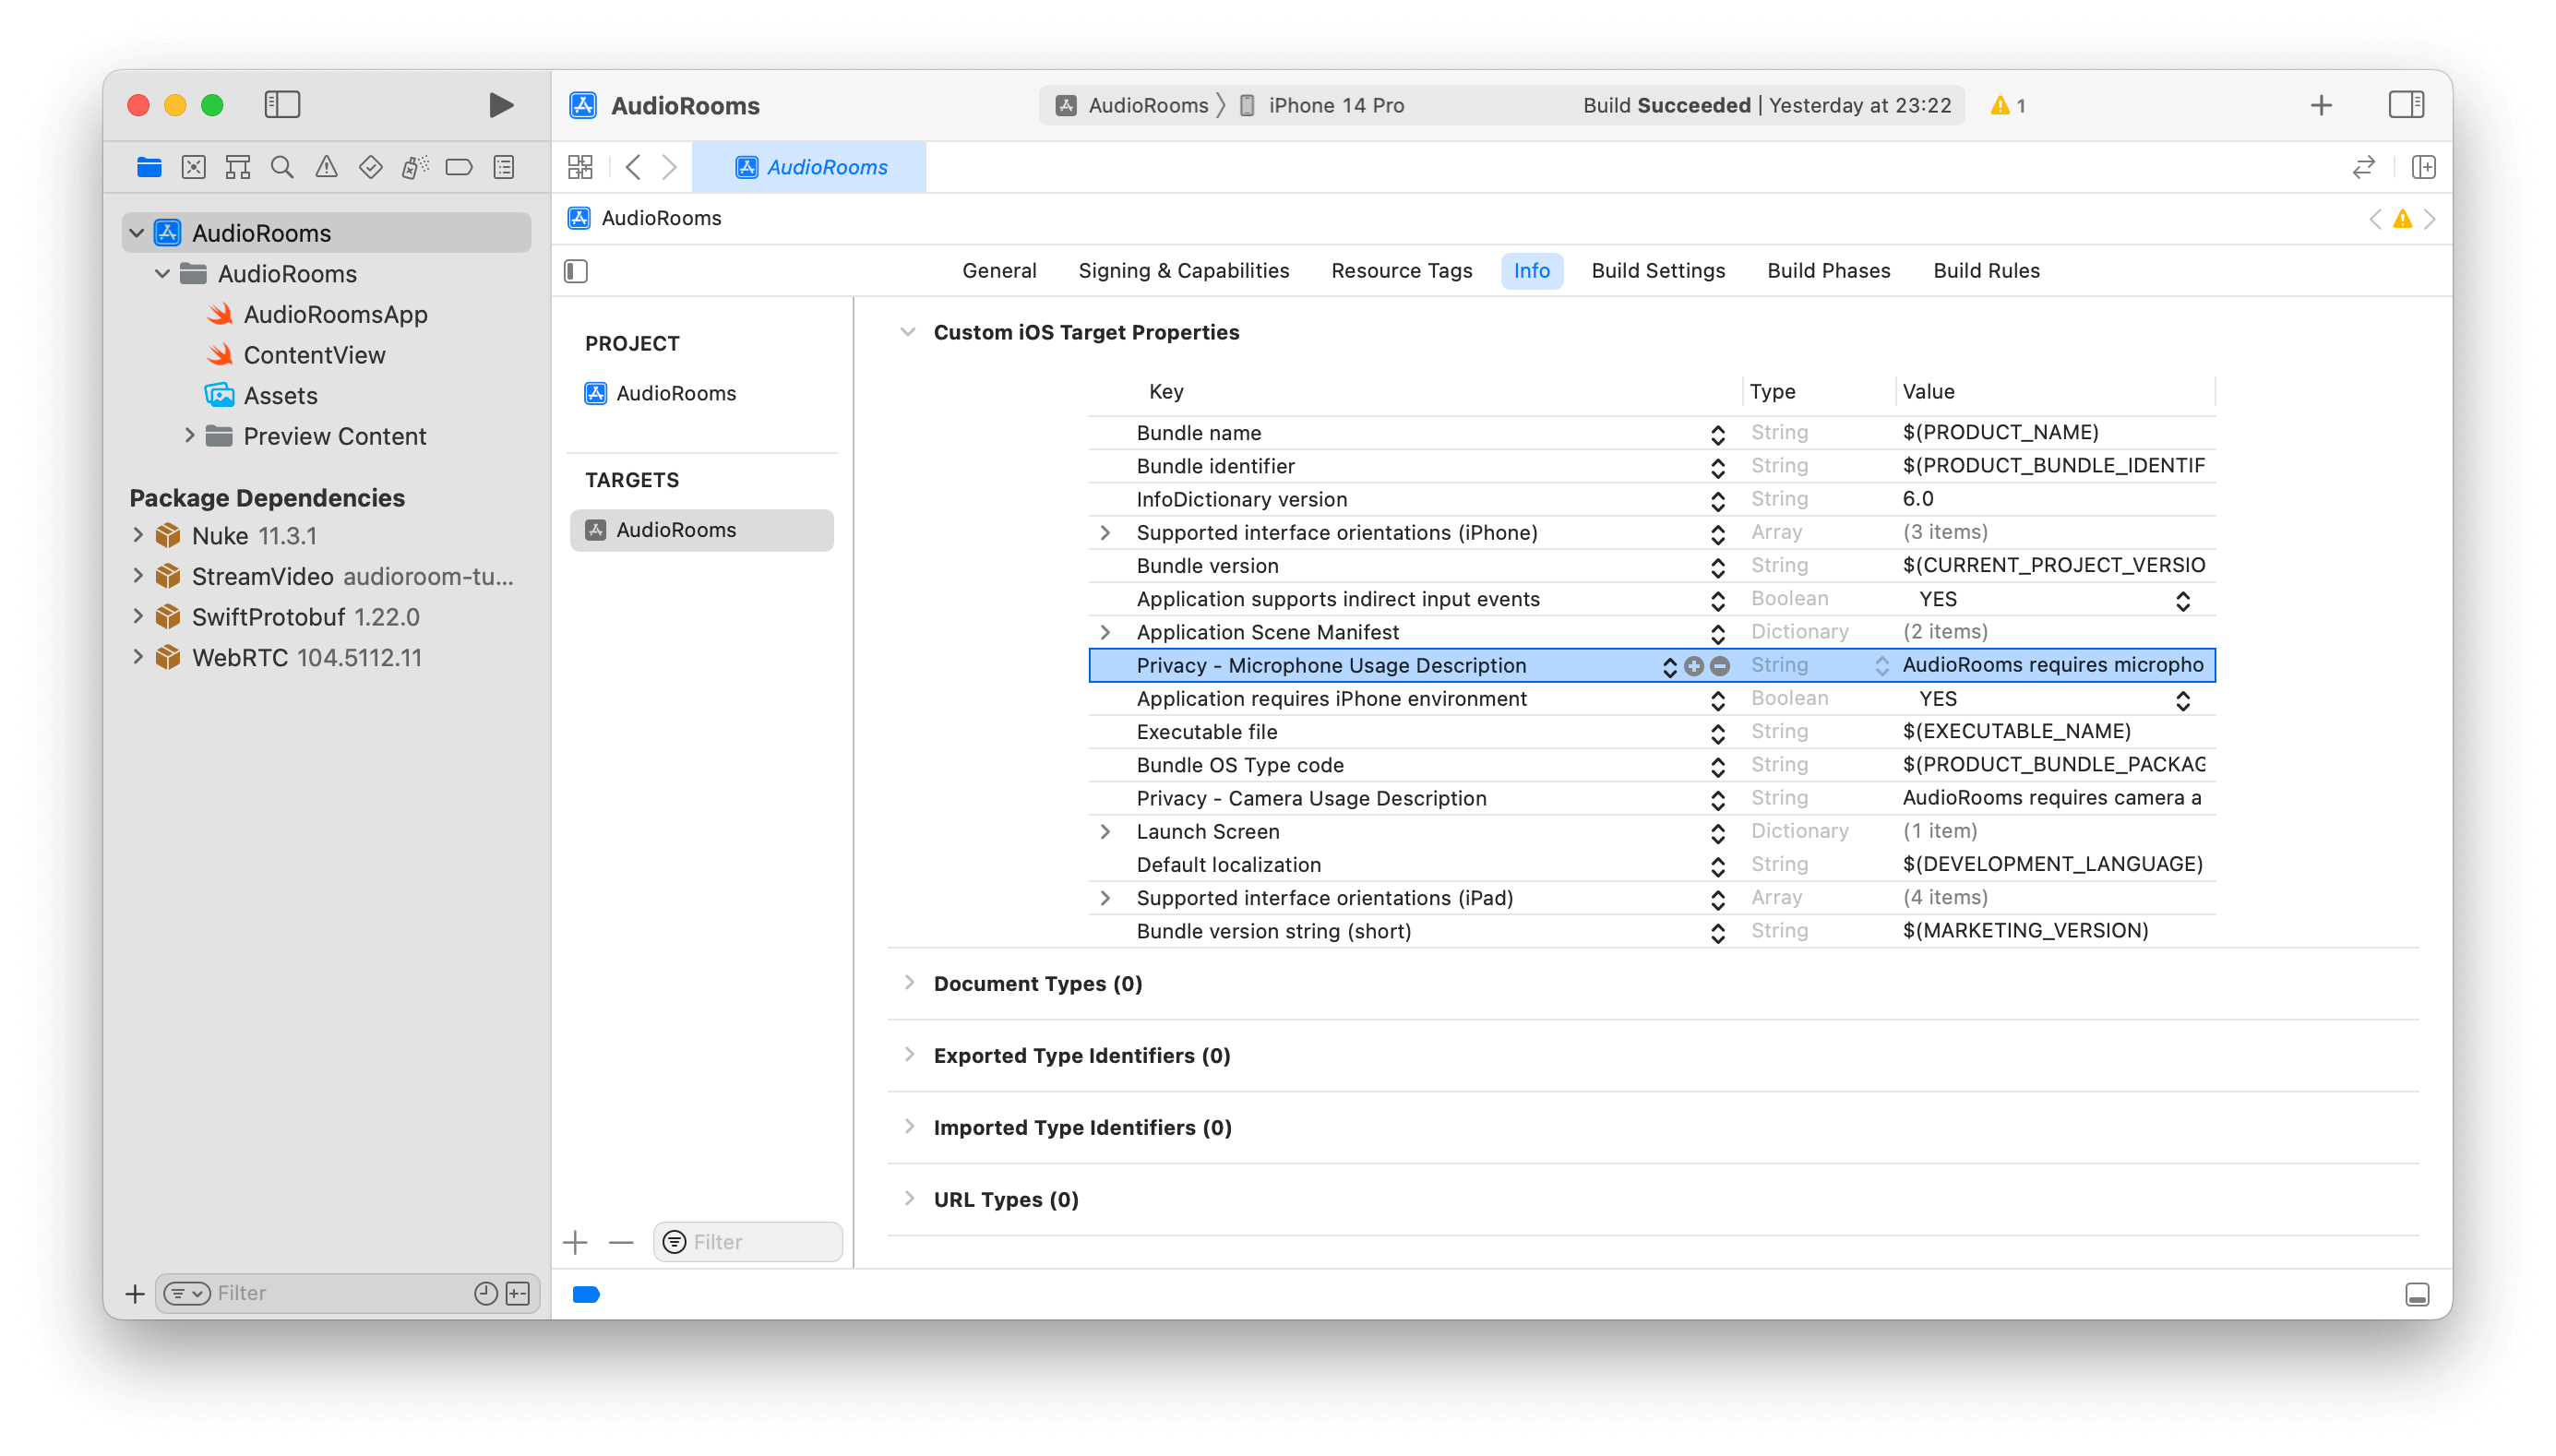
You should replace "Your_app_name" (or also use your custom strings instead).
With this, you should be able to test a video call between two devices.
The call id should be the same on the different devices that are part of the call.