func makeIncomingCallView(viewModel: CallViewModel, callInfo: IncomingCall) -> some View {
    CustomIncomingCallView(callInfo: callInfo, callViewModel: viewModel)
}Incoming Call
The IncomingCallView lets you easily build UI when you're being called or ringed by other people in an app. It's used to show more information about the participants and the call itself, as well as give you the option to reject or accept the call.
Custom Incoming Call View
If you want to customize (or completely replace) the IncomingCallView, you should use the ViewFactory method makeIncomingCallView:
For example, let's build an incoming call view that can be used in a healthcare app.
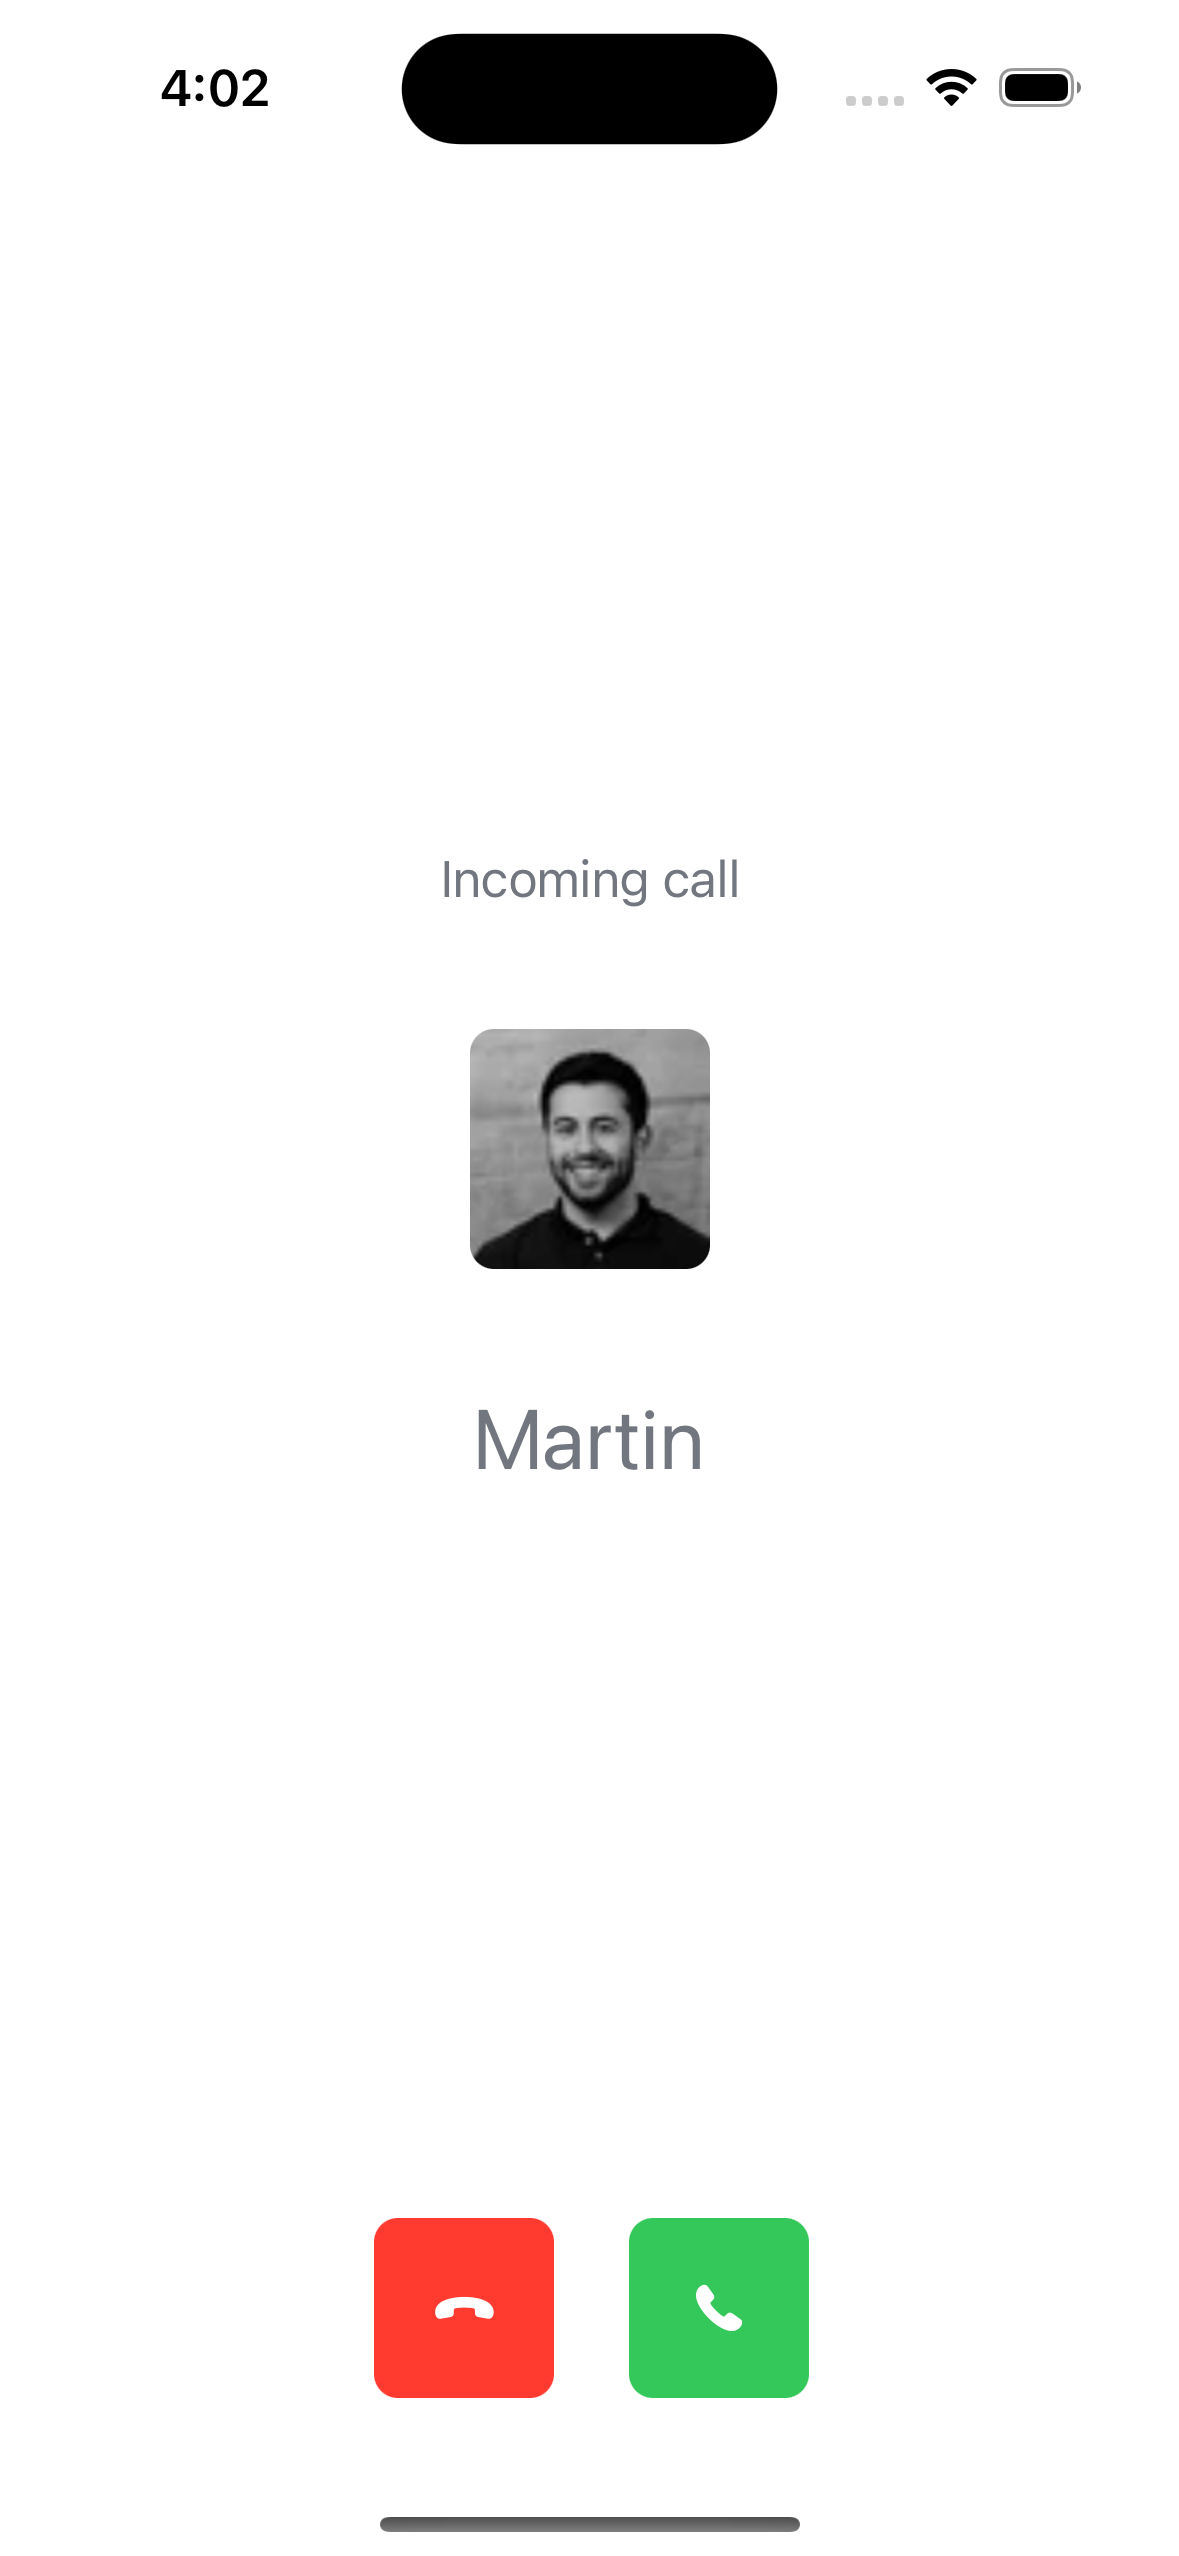
Next, let's see how we can build this view:
struct CustomIncomingCallView: View {

    @Injected(\.colors) var colors

    @ObservedObject var callViewModel: CallViewModel
    @StateObject var viewModel: IncomingViewModel

    init(
        callInfo: IncomingCall,
        callViewModel: CallViewModel
    ) {
        self.callViewModel = callViewModel
        _viewModel = StateObject(
            wrappedValue: IncomingViewModel(callInfo: callInfo)
        )
    }

    var body: some View {
        VStack {
            Spacer()
            Text("Incoming call")
                .foregroundColor(Color(colors.textLowEmphasis))
                .padding()

            LazyImage(url: callInfo.caller.imageURL)
                .frame(width: 80, height: 80)
                .clipShape(RoundedRectangle(cornerRadius: 8))
                .padding()

            Text(callInfo.caller.name)
                .font(.title)
                .foregroundColor(Color(colors.textLowEmphasis))
                .padding()

            Spacer()

            HStack(spacing: 16) {
                Spacer()

                Button {
                    callViewModel.rejectCall(callType: callInfo.type, callId: callInfo.id)
                } label: {
                    Image(systemName: "phone.down.fill")
                        .foregroundColor(.white)
                        .padding()
                        .background(
                            RoundedRectangle(cornerRadius: 8)
                                .fill(Color.red)
                                .frame(width: 60, height: 60)
                        )
                }
                .padding(.all, 8)

                Button {
                    callViewModel.acceptCall(callType: callInfo.type, callId: callInfo.id)
                } label: {
                    Image(systemName: "phone.fill")
                        .foregroundColor(.white)
                        .padding()
                        .background(
                            RoundedRectangle(cornerRadius: 8)
                                .fill(Color.green)
                                .frame(width: 60, height: 60)
                        )
                }
                .padding(.all, 8)

                Spacer()
            }
            .padding()

        }
        .background(Color.white.edgesIgnoringSafeArea(.all))
    }

    var callInfo: IncomingCall {
        viewModel.callInfo
    }

}
The incoming call view is built from standard SwiftUI components, as well as StreamLazyImage, for displaying the caller's avatar. In the view, we just display the data of the IncomingCall and we provide buttons to accept or reject the call.