let sepia: VideoFilter = {
    let sepia = VideoFilter(id: "sepia", name: "Sepia") { input in
        let sepiaFilter = CIFilter(name: "CISepiaTone")
        sepiaFilter?.setValue(input.originalImage, forKey: kCIInputImageKey)
        return sepiaFilter?.outputImage ?? input.originalImage
    }
    return sepia
}()Video & Audio filters
Video Filters
Some calling apps allow filters to be applied to the current user's video, such as blurring the background, adding AR elements (glasses, moustaches, etc) or applying image filters (such as sepia, bloom etc). StreamVideo's iOS SDK has support for injecting your custom filters into the calling experience.
How does this work? If you initialized the SDK with custom filters support and the user selected a filter, you will receive each frame of the user's local video as CIImage, allowing you to apply the filters. This way you have complete freedom over the processing pipeline.
You can find a working example of the filters (together with other great example projects) in our VideoWithChat sample project. Here is how the project you are about to build will look like in the end:
Adding a Video Filter
The VideoFilter class allows you to create your own filters. It contains the id and name of the filter, along with an async function that converts the original CIImage to an output CIImage. If no filter is selected, the same input image is returned.
For example, let's add a simple "Sepia" filter, from the default CIFilter options by Apple:
You can now create a helper FilterService, that will keep track of the available filters, as well as hold state information about the selected filter and whether the filters picker is shown:
class FiltersService: ObservableObject {
    @Published var filtersShown = false
    @Published var selectedFilter: VideoFilter?

    static let supportedFilters = [sepia]
}
Next, you need to pass the supported filters to the StreamVideo object, via its VideoConfig and connect the user:
let streamVideo = StreamVideo(
    apiKey: apiKey,
    user: userCredentials.user,
    token: token,
    videoConfig: VideoConfig(
        videoFilters: FiltersService.supportedFilters
    ),
    tokenProvider: { result in
        // Unrelated code skipped. Check repository for complete code:
        // https://github.com/GetStream/stream-video-ios-examples/blob/main/VideoWithChat/VideoWithChat/StreamWrapper.swift
    }
)
connectUser()

private func connectUser() {
    Task {
        try await streamVideo.connect()
    }
}
Now, let's enable the filter selection in the user interface. One option is to include the filters in the call controls shown at the bottom of the call view. For this, the first step is to override the makeCallControlsView function in your custom implementation of the ViewFactory:
class VideoViewFactory: ViewFactory {

    /* ... Previous code skipped. */

    func makeCallControlsView(viewModel: CallViewModel) -> some View {
        ChatCallControls(viewModel: viewModel)
    }
}
You will now create the ChatCallControls view that does two things. It will first place an icon to toggle the filters menu (via the filtersService.filtersShown property) and allows users to select the filter they want to apply.
Second, it will conditionally show a list of the filters with a button for each one to (de-)select it.
In this section, only the code to show the filters is added. You can see the full code here, but let's have a look at the simplified version:
struct ChatCallControls: View {
    var body: some View {
        VStack {
            HStack {
                /* Skip unrelated code */
                // 1. Button to toggle filters view
                Button {
                    withAnimation {
                        filtersService.filtersShown.toggle()
                    }
                } label: {
                    CallIconView(
                        icon: Image(systemName: "camera.filters"),
                        size: size,
                        iconStyle: filtersService.filtersShown ? .primary : .transparent
                    )
                }
                /* Skip unrelated code */
            }

            if filtersService.filtersShown {
                HStack(spacing: 16) {
                    // 2. Show a button for each filter
                    ForEach(FiltersService.supportedFilters, id: \.id) { filter in
                        Button {
                            withAnimation {
                                // 3. Select or de-select filter on tap
                                if filtersService.selectedFilter?.id == filter.id {
                                    filtersService.selectedFilter = nil
                                } else {
                                    filtersService.selectedFilter = filter
                                }
                                viewModel.setVideoFilter(filtersService.selectedFilter)
                            }
                        } label: {
                            Text(filter.name)
                                .background(filtersService.selectedFilter?.id == filter.id ? Color.blue : Color.gray)
                            /* more modifiers */
                        }

                    }
                }
            }
        }
        /* more modifiers */
    }
}
Here are the three things this code does:
- Adding the icon for the filters, that will control the
filtersShownstate. - Whenever the
filtersShownis true, you're showing the list of the available filters. - When a user taps on a filter, the
CallViewModel'ssetVideoFiltermethod is called. This will enable or disable the video filter for the ongoing call.
That is everything that is needed for a basic video filter support.
Adding AI Filters
Face filters
In some cases, you might also want to apply AI filters. That can be an addition to the user's face (glasses, moustaches, etc), or an ML filter. In this section this use-case will be covered. Specifically, you will show Stream's logo over the user's face. Whenever the user moves along, you will update the logo's location.
The code will be slightly simplified for the sake of this guide. If you want to see the entire example with the full code, you can see the sample on GitHub.
To do this, you will use the Vision framework and the VNDetectFaceRectanglesRequest. First, let's create the method that will detect the faces:
func detectFaces(image: CIImage) async throws -> CGRect {
    return try await withCheckedThrowingContinuation { continuation in
        let detectFaceRequest = VNDetectFaceRectanglesRequest { (request, error) in
            if let result = request.results?.first as? VNFaceObservation {
                continuation.resume(returning: result.boundingBox)
            } else {
                continuation.resume(throwing: ClientError.Unknown())
            }
        }
        let vnImage = VNImageRequestHandler(ciImage: image, orientation: .downMirrored)
        try? vnImage.perform([detectFaceRequest])
    }
}
The VNDetectFaceRectanglesRequest does not support the async/await syntax yet, so it is converted using the withCheckedThrowingContinuation mechanism (see Apple documentation.
Next, let's add some helper methods, that will allow conversion between CIImage and UIImage, as well as the possibility to draw over an image:
func convert(ciImage: CIImage) -> UIImage {
    let context = CIContext(options: nil)
    let cgImage = context.createCGImage(ciImage, from: ciImage.extent)!
    let image = UIImage(cgImage: cgImage, scale: 1, orientation: .up)
    return image
}

@MainActor
func drawImageIn(_ image: UIImage, size: CGSize, _ logo: UIImage, inRect: CGRect) -> UIImage {
    let format = UIGraphicsImageRendererFormat()
    format.scale = 1
    format.opaque = true
    let renderer = UIGraphicsImageRenderer(size: size, format: format)
    return renderer.image { context in
        image.draw(in: CGRect(origin: CGPoint.zero, size: size))
        logo.draw(in: inRect)
    }
}
With those two helpers in place, you can now implement your custom AI filter. The same principle applies when creating a VideoFilter as in the first part of this guide.
let stream: VideoFilter = {
    let stream = VideoFilter(id: "stream", name: "Stream") { input in
        // 1. detect, where the face is located (if there's any)
        guard let faceRect = try? await detectFaces(image: input.originalImage) else { return input.originalImage }
        let converted = convert(ciImage: input.originalImage)
        let bounds = input.originalImage.extent
        let convertedRect = CGRect(
            x: faceRect.minX * bounds.width - 80,
            y: faceRect.minY * bounds.height,
            width: faceRect.width * bounds.width,
            height: faceRect.height * bounds.height
        )
        // 2. Overlay the rectangle onto the original image
        let overlayed = drawImageIn(converted, size: bounds.size, streamLogo, inRect: convertedRect)

        // 3. convert the created image to a CIImage
        let result = CIImage(cgImage: overlayed.cgImage!)
        return result
    }
    return stream
}()
Here's what this code does:
- It's detecting the face rectangle using the
detectFacesmethod you defined earlier and it converts theCIImagetoUIImage. The rectangle to the real screen dimensions (since it returns percentages). - This information is passed to the
drawImageInmethod, that adds the logo at theconvertedRectframe. - The result is then converted back to a
CIImageand returned.
The last remaining thing to do is to add the stream filter in the supported filters method. This is done in the FiltersService class:
static let supportedFilters = [sepia, stream]The end result will look like this (supposedly with a different face):
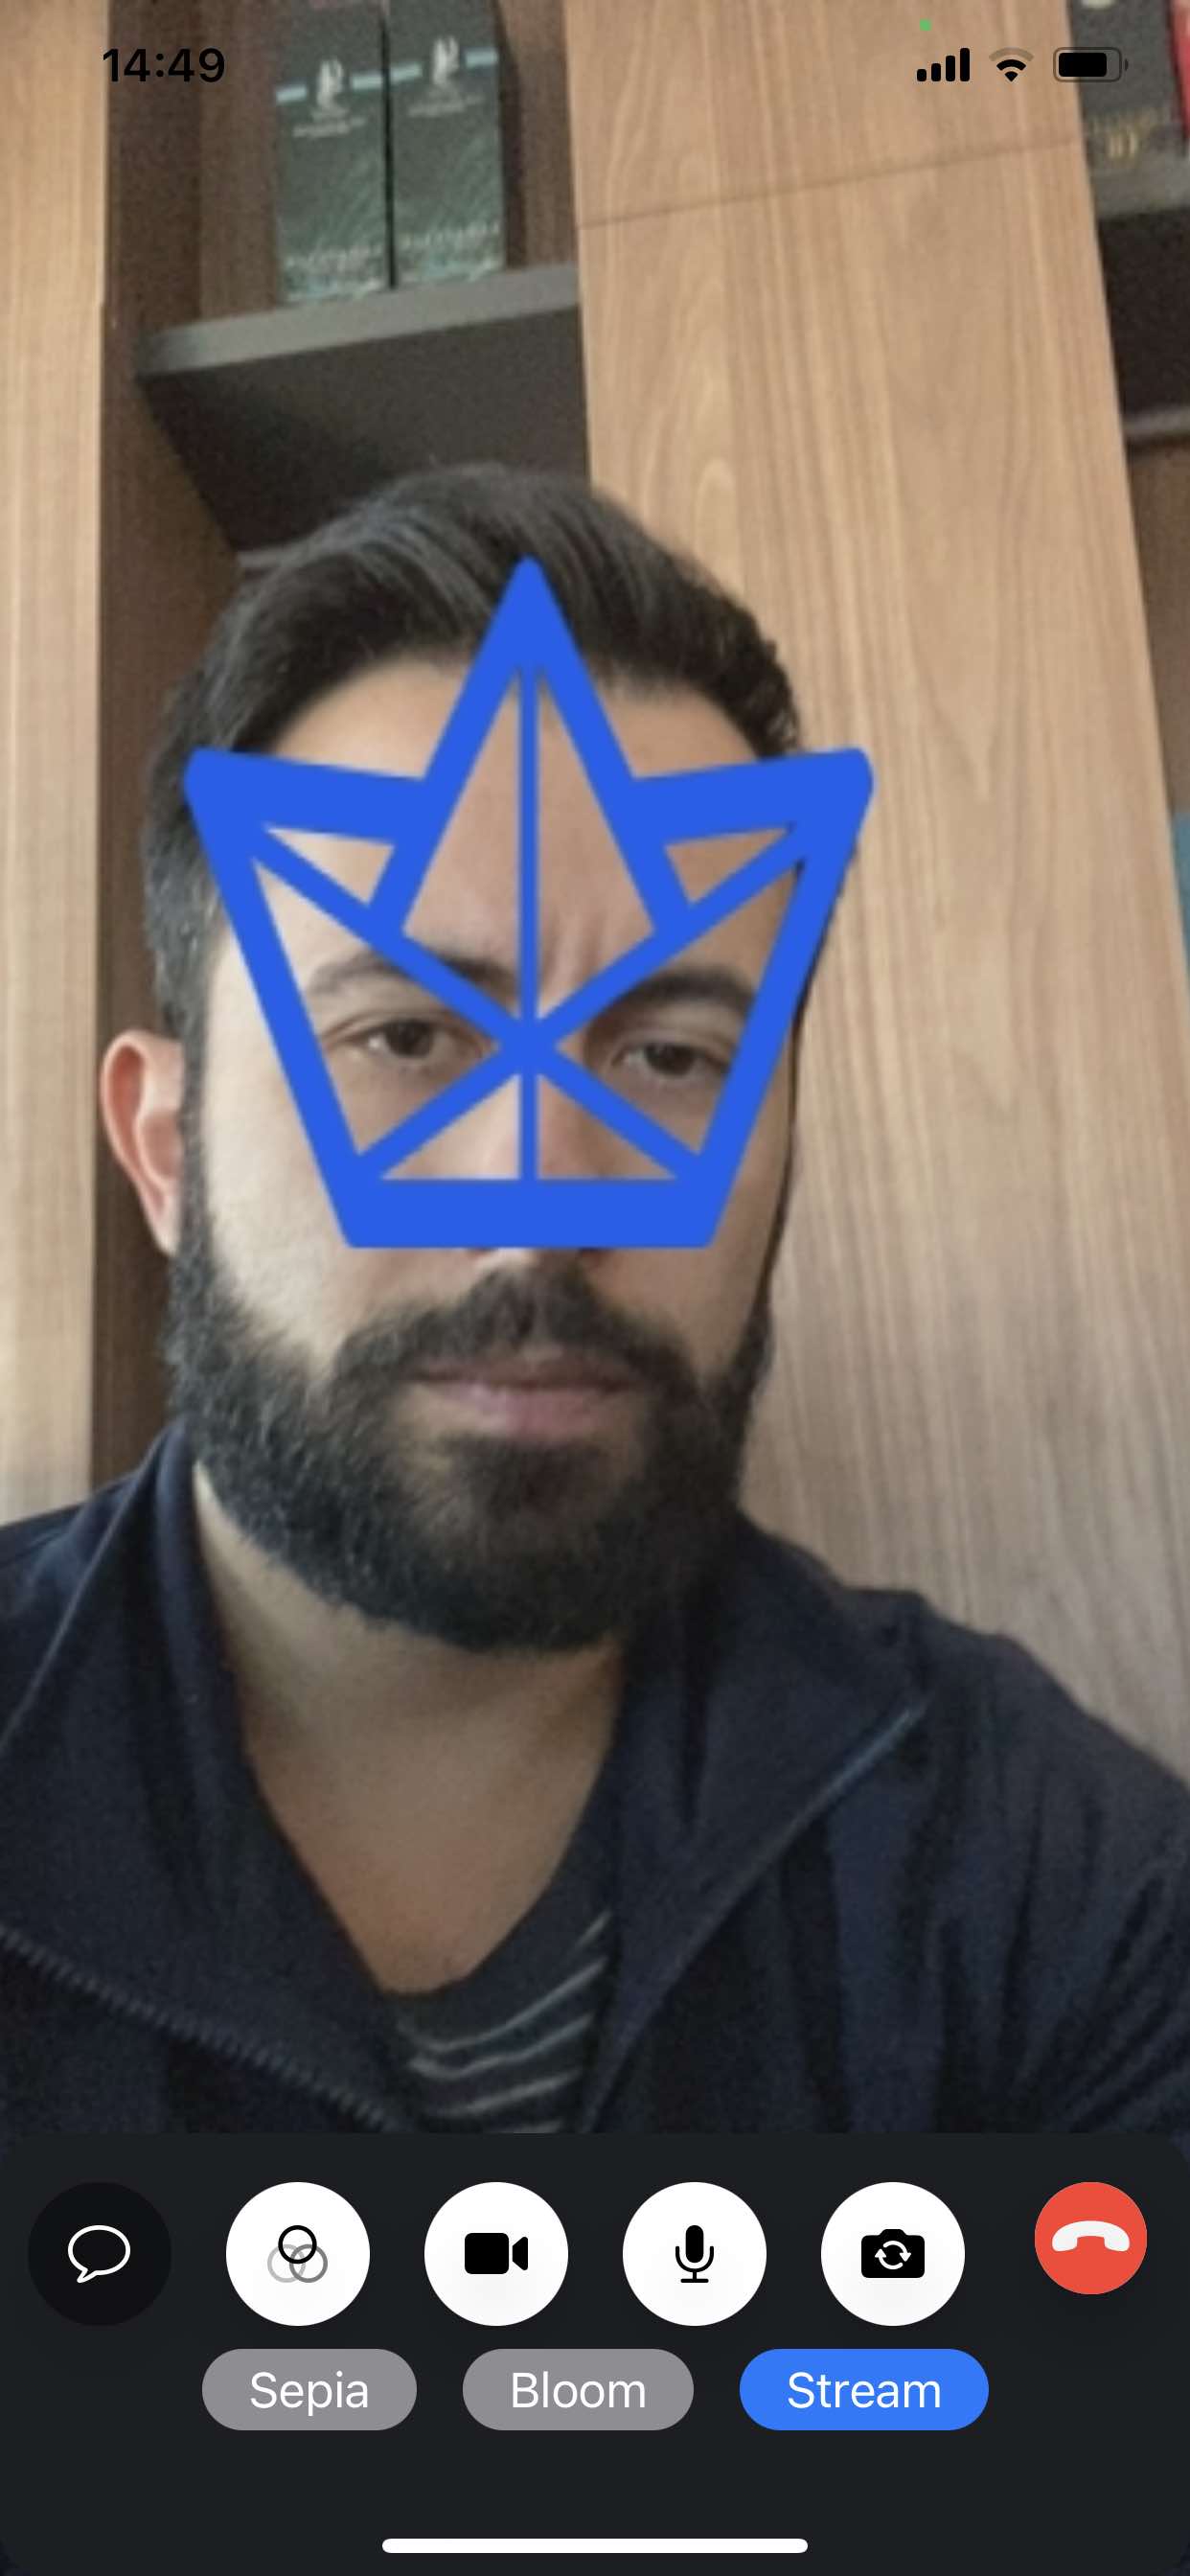
This guide shows you a concrete example how to add a specific AI filter. However, with the way this is structured we aim to give you full control over what you can build with this.
We would love to see the cool things you'll build with this functionality, feel free to tweet about them and tag us.
Background filters
A very common use-case during a videoCall is to apply some effect on our backgrounds. Those backgrounds can vary but the most common ones are blurring and adding a static image. StreamVideo leverages Apple's Vision technology and ships with those 2 filters out of the box. Below we are going to show you how to use each of them.
By simply calling the setVideoFilter(_: VideoFilter) method on your Call object you can apply or remove the provided filter.
Background blurring
Button {
    call.setVideoFilter(.blurredBackground)
} label: {
    Text("Apply blur background filter")
}

Button {
    call.setVideoFilter(nil)
} label: {
    Text("Remove background filter")
}
Background set to a static image
For setting a static image as the participant's background we simply need to load our image and provide it to the filter. Finally we pass the filter to the call similarly on how we did before with the blur filter.
Button {
    call.setVideoFilter(.imageBackground(CIImage(image: uiImage)!, id: "my-awesome-image-background-filter"))
} label: {
    Text("Apply image background filter")
}

Button {
    call.setVideoFilter(nil)
} label: {
    Text("Remove background filter")
}
Audio Filters
The StreamVideo SDK also supports audio processing of the local track. This opens up possibilities for noise cancellation, voice changing or other audio effects.
StreamVideo allows any audio filter that conforms to the AudioFilter protocol below:
public protocol AudioFilter: Sendable {
    /// Unique identifier for the audio filter.
    var id: String { get }

    /// Initializes the audio filter with specified sample rate and number of channels.
    func initialize(sampleRate: Int, channels: Int)

    /// Applies the defined audio effect to the given audio buffer.
    func applyEffect(to audioBuffer: inout RTCAudioBuffer)

    /// Releases resources associated with the audio filter.
    func release()
}
In the following example, we will build a simple audio filter that gives the user's voice a robotic touch.
final class RobotVoiceFilter: AudioFilter {

    let pitchShift: Float

    init(pitchShift: Float) {
        self.pitchShift = pitchShift
    }

    // MARK: - AudioFilter

    var id: String { "robot-\(pitchShift)" }

    func applyEffect(to buffer: inout RTCAudioBuffer) {
        let frameSize = 256
        let hopSize = 128
        let scaleFactor = Float(frameSize) / Float(hopSize)

        let numFrames = (buffer.frames - frameSize) / hopSize

        for channel in 0..<buffer.channels {
            let channelBuffer = buffer.rawBuffer(forChannel: channel)

            for i in 0..<numFrames {
                let inputOffset = i * hopSize
                let outputOffset = Int(Float(i) * scaleFactor) * hopSize

                var outputFrame = [Float](/video/docs/ios/advanced/apply-video-filters/repeating: 0.0, count: frameSize/)

                // Apply pitch shift
                for j in 0..<frameSize {
                    let shiftedIndex = Int(Float(j) * pitchShift)
                    let originalIndex = inputOffset + j
                    if shiftedIndex >= 0 && shiftedIndex < frameSize && originalIndex >= 0 && originalIndex < buffer.frames {
                        outputFrame[shiftedIndex] = channelBuffer[originalIndex]
                    }
                }

                // Copy back to the input buffer
                for j in 0..<frameSize {
                    let outputIndex = outputOffset + j
                    if outputIndex >= 0 && outputIndex < buffer.frames {
                        channelBuffer[outputIndex] = outputFrame[j]
                    }
                }
            }
        }
    }
}
The filter is initalized with pitch shift, which configures how much the channel buffer's indexes should be shifted for the effect. We use a default value of 0.8, but you can configure it depending on how "robotic" the voice should be.
This is a simple algorithm that just does shifting of the indexes. For a more complex one, you can also use some voice processing library. The important part is that you update the channelBuffer with the filtered values.
Finally, we apply the audio filter on our call, like below:
// Get a call object
let call = streamVideo.call(callType: "default", callId: UUID().uuidString)

// Create our audio filter
let filter = RobotVoiceFilter(pitchShift: 0.8)

// Apply the audio filter on the call. To deactivate the filter we can simply pass `nil`.
call.setAudioFilter(filter)