try await call.collectUserFeedback(
    rating: rating, // a rating grade from 1 - 5,
    reason: "it worked great!", // the main feedback
    custom: [
         // ... any extra properties that you wish to collect
         "callWasAwesome": .bool(true)
    ]
)Call Quality Rating
Introduction
In this guide, we are going to show how one can build a call quality rating form on top of our Swift Video SDK. It is a good practice to ask your end users about their overall experience after the end of the call or, while being in a call.
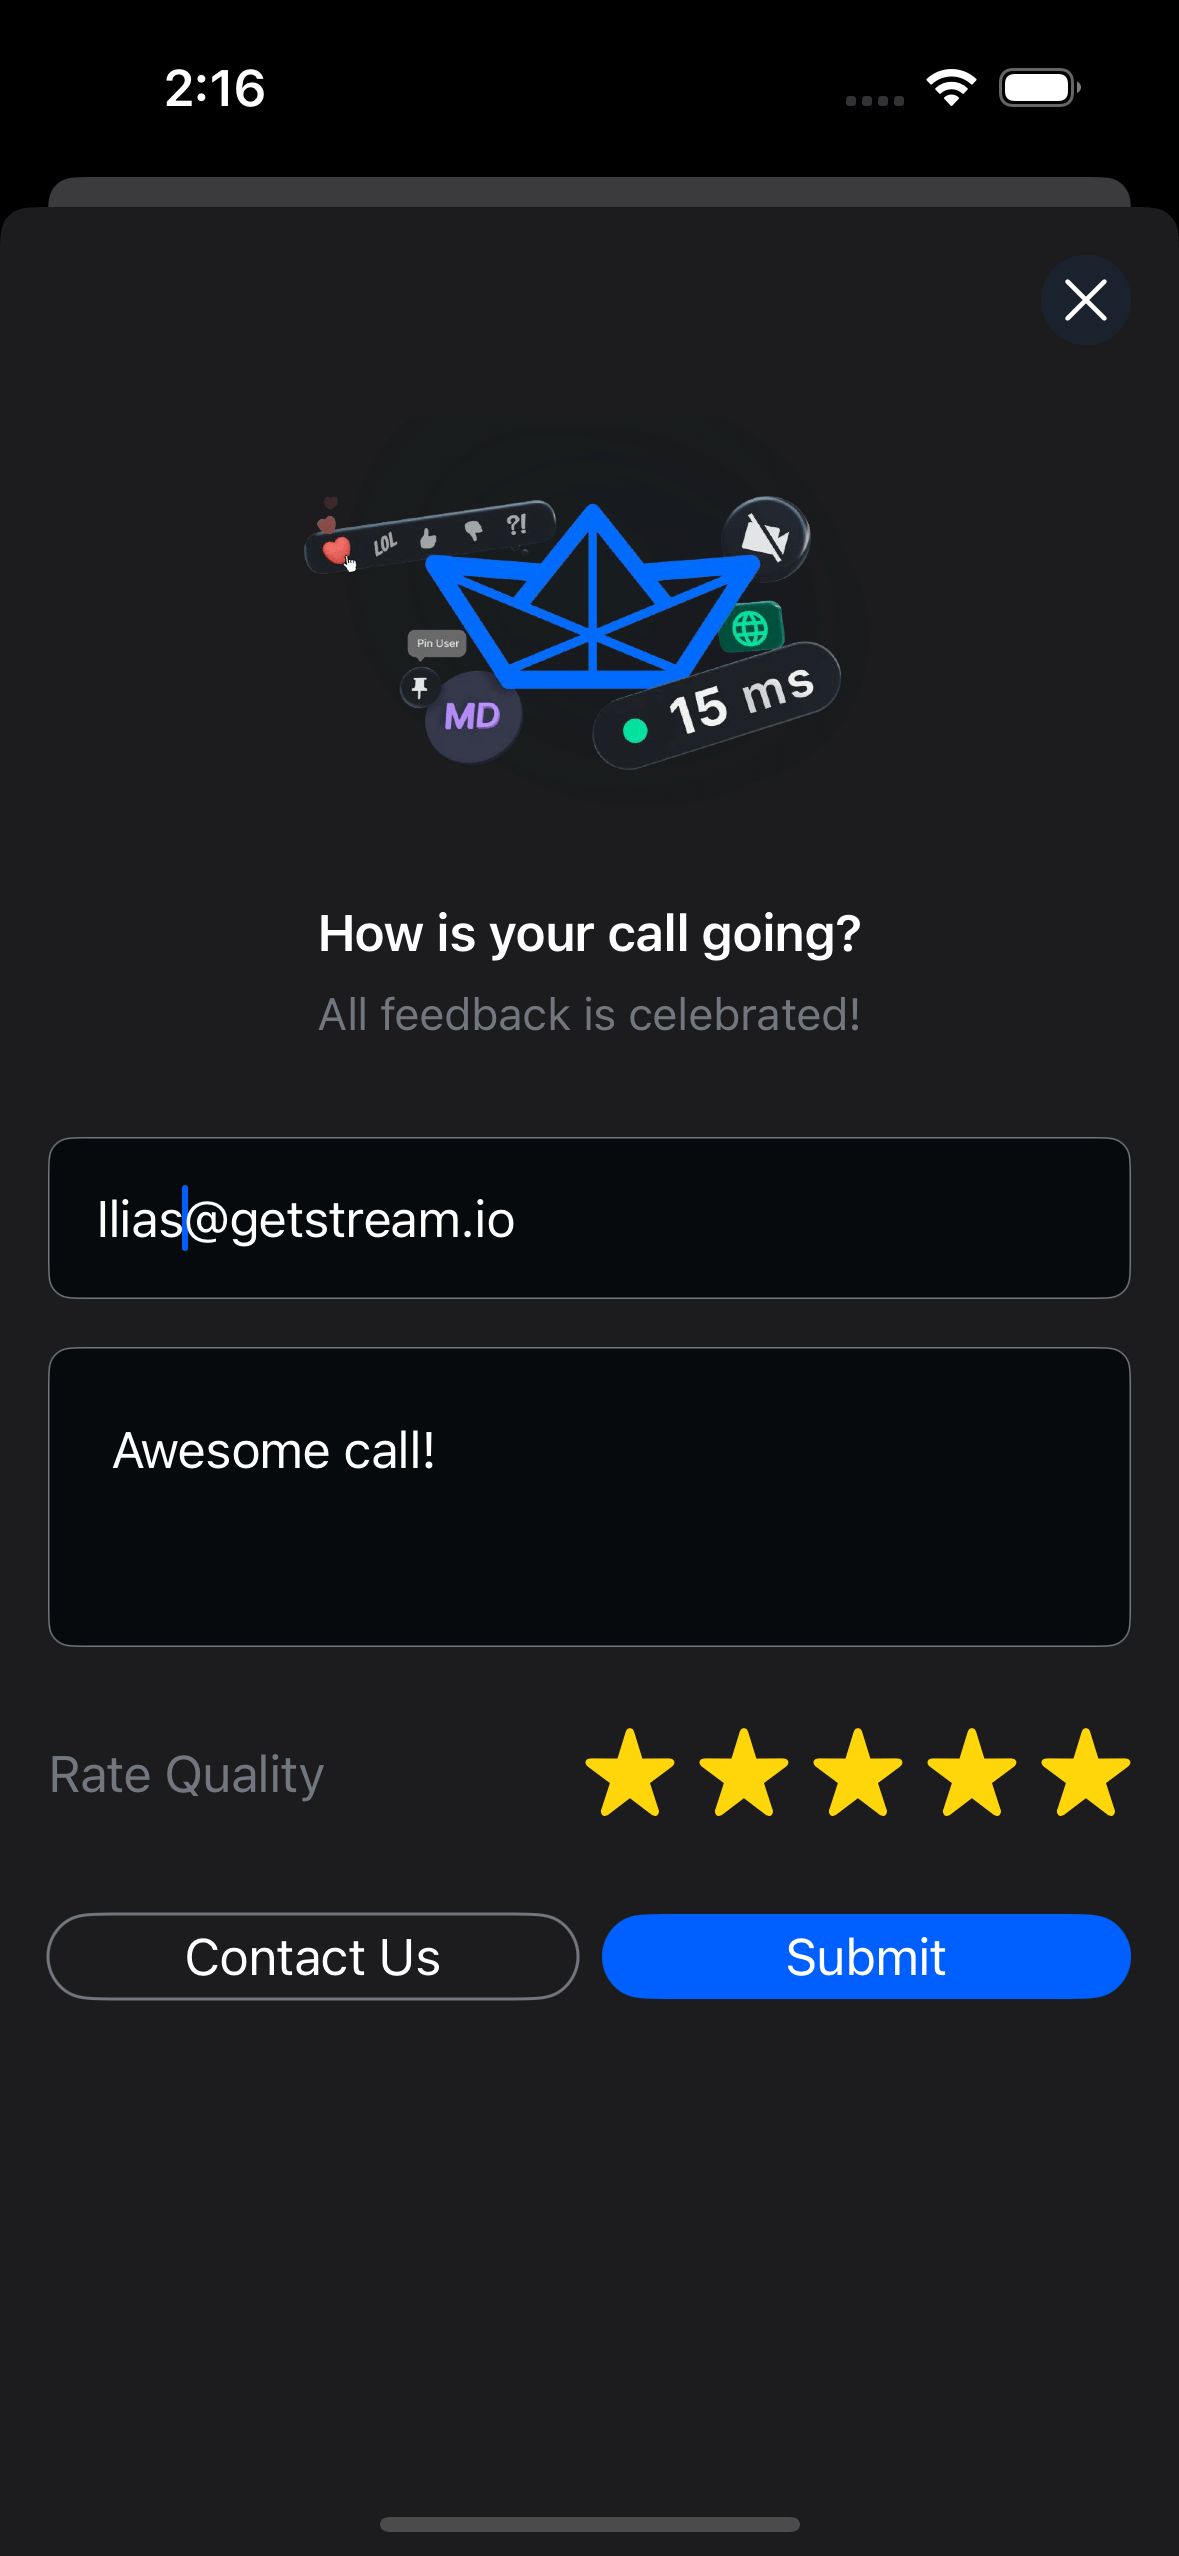
Here is a preview of the component we are going to build:
Submit Feedback API
Our Swift Video SDK provides an API for collecting this feedback which later can be seen in the call stats section of our dashboard.
Implementation
We are going to present a simple view that will be presented as a modal to the user and ask for feedback.
The feedback view we are going to show will look like the one on the image above and is represented by this code:
struct DemoFeedbackView: View {

    @Environment(\.openURL) private var openURL
    @Injected(\.appearance) private var appearance

    @State private var email: String = ""
    @State private var comment: String = ""
    @State private var rating: Int = 1
    @State private var isSubmitting = false

    private var call: Call
    private var dismiss: () -> Void
    private var isSubmitEnabled: Bool { !email.isEmpty && !isSubmitting }

    init(_ call: Call, dismiss: @escaping () -> Void) {
        self.call = call
        self.dismiss = dismiss
    }

    var body: some View {
        ScrollView {
            VStack(spacing: 32) {
                Image(.feedbackLogo)

                VStack(spacing: 8) {
                    Text("How is your call going?")
                        .font(appearance.fonts.headline)
                        .foregroundColor(appearance.colors.text)
                        .lineLimit(1)

                    Text("All feedback is celebrated!")
                        .font(appearance.fonts.subheadline)
                        .foregroundColor(.init(appearance.colors.textLowEmphasis))
                        .lineLimit(2)
                }
                .frame(maxWidth: .infinity, alignment: .center)
                .multilineTextAlignment(.center)

                VStack(spacing: 27) {
                    VStack(spacing: 16) {
                        TextField(
                            "Email Address *",
                            text: $email
                        )
                        .textFieldStyle(DemoTextfieldStyle())

                        DemoTextEditor(text: $comment, placeholder: "Message")
                    }

                    HStack {
                        Text("Rate Quality")
                            .font(appearance.fonts.body)
                            .foregroundColor(.init(appearance.colors.textLowEmphasis))
                            .frame(maxWidth: .infinity, alignment: .leading)

                        DemoStarRatingView(rating: $rating)
                    }
                }

                HStack {
                    Button {
                        resignFirstResponder()
                        openURL(.init(string: "https://getstream.io/video/#contact")!)
                    } label: {
                        Text("Contact Us")
                    }
                    .frame(maxWidth: .infinity)
                    .foregroundColor(appearance.colors.text)
                    .padding(.vertical, 4)
                    .clipShape(Capsule())
                    .overlay(Capsule().stroke(Color(appearance.colors.textLowEmphasis), lineWidth: 1))

                    Button {
                        resignFirstResponder()
                        isSubmitting = true
                        Task {
                            do {
                                try await call.collectUserFeedback(
                                    rating: rating,
                                    reason: """
                                    \(email)
                                    \(comment)
                                    """
                                )
                                Task { @MainActor in
                                    dismiss()
                                }
                                isSubmitting = false
                            } catch {
                                log.error(error)
                                dismiss()
                                isSubmitting = false
                            }
                        }
                    } label: {
                        if isSubmitting {
                            ProgressView()
                        } else {
                            Text("Submit")
                        }
                    }
                    .frame(maxWidth: .infinity)
                    .foregroundColor(appearance.colors.text)
                    .padding(.vertical, 4)
                    .background(isSubmitEnabled ? appearance.colors.accentBlue : appearance.colors.lightGray)
                    .disabled(!isSubmitEnabled)
                    .clipShape(Capsule())
                }

                Spacer()
            }
            .padding(.horizontal)
        }
    }
}
The View uses a simple star rating View implementation:
struct DemoStarRatingView: View {
    var rating: Binding<Int>

    private var range: ClosedRange<Int>

    init(
        rating: Binding<Int>,
        minRating: Int = 1,
        maxRating: Int = 5
    ) {
        self.rating = rating
        range = minRating...maxRating
    }

    var body: some View {
        HStack {
            ForEach(range, id: \.self) { index in
                Image(systemName: index <= rating.wrappedValue ? "star.fill" : "star")
                    .resizable()
                    .frame(width: 30, height: 30)
                    .foregroundColor(.yellow)
                    .onTapGesture {
                        rating.wrappedValue = index
                    }
            }
        }
    }
}
With the FeedbackView declared, the next step is to find a way to inject the View in the call's lifecycle in order to be presented to the user at the right time. To simplify this step, the Swift Video SDK provides the onCallEnded ViewModifier . The modifier accepts two closures with inputs an optional Call object while only the second one also receives a dismiss closure.
The first closure can be used to provide additional logic when calculating the decision to present or not the modal. The second closure is a ViewBuilder that will be called to provide the modal's content.
The example below, presents the feedback modal only to the call's creator.
struct CallContainer: View {
    @Injected(\.streamVideo) var streamVideo

    var body: some View {
        YourRootView()
            .modifier(CallModifier(viewModel: viewModel))
            .onCallEnded(presentationValidator: { call in call?.state.createdBy?.id == streamVideo.user.id }) { call, dismiss in
                if let call {
                    DemoFeedbackView(call, dismiss: dismiss)
                }
            }
    }
}
The ViewModifier observes the Call's lifecycle and looks for the following triggering criteria:
- Once the active call has ended
- If the max number of joined participants, during call's duration, grew to more than one
- It will evaluate the
presentationValidator
Then the modifier will trigger the provided closure and will expect a view that will presented inside the modal.
The ViewModifier will provide you with a dismiss closure that you can use in your UI to dismiss the modal.
Viewing Feedback
The feedback collected through collectUserFeedback is available in your Stream Dashboard under the call statistics section. You can use this data to:
- Track overall call quality trends
- Identify problematic calls or patterns
- Gather qualitative feedback from users
- Improve your application based on user input
Best Practices
- Timing: Present the feedback form immediately after the call ends while the experience is fresh
- Simplicity: Keep the form short - a star rating with an optional comment field works well
- Non-intrusive: Always provide a way to dismiss the form without submitting
- Custom data: Use the
customparameter to collect additional context relevant to your app