AudioVolumeIndicator(
	audioLevels: [0.8, 0.9, 0.7],
	maxHeight: 14,
    minValue: 0,
    maxValue: 1
)Audio Volume Indicator
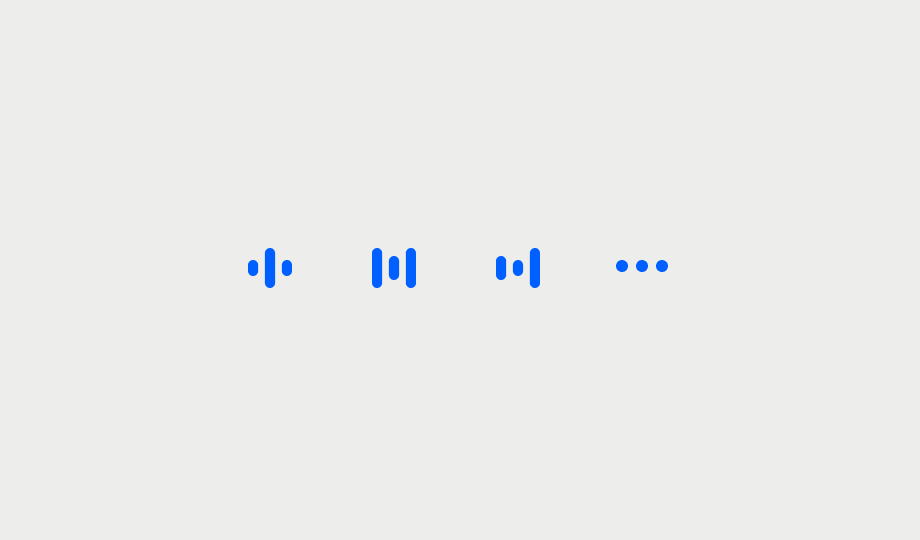
The audio indicator gives you a visual feedback when a user is speaking. To understand who's speaking we provide call.state.dominantSpeaker and call.state.activeSpeakers. On the participant you can observe participant.isSpeaking, participant.isDominantSpeaker, participant.audioLevel and participant.audioLevels.
Audio Volume Indicator
You can use the AudioVolumeIndicator component to display the audio levels of the participant. For example, you can store the last few audioLevel value of the participant and provide them to the component for visualization.
Here's an example how to do that:
The component expects the following parameters:
audioLevels- array ofFloatvalues that are going to be displayed.maxHeight- the max height of one tick of the indicator.minValue- the min value that can be displayed.maxValue- the max value that can be dispalyed.
Showing Audio Levels in Lobby
If you want to build a custom pre-joining (lobby) view, that's displayed to users before they join the call, you might want to show an indicator of the audio levels of the current user.
In order to do this, you can use the MicrophoneChecker and the MicrophoneCheckView from the StreamVideo SwiftUI SDK. The MicrophoneChecker is an observable class that provides updates for the last audioLevels of the current user. The MicrophoneCheckView presents them in a reusable view component.
Both components are used in our LobbyView, that you can also directly use in your apps.
Here's an example usage. First, you instantiate the MicrophoneChecker class, e.g. as a @StateObject, if it's used directly in your SwiftUI views:
@StateObject var microphoneChecker = MicrophoneChecker()Optionally, you can provide a valueLimit in the initalizer of the MicrophoneChecker. By default, this value is 3, which means it returns the last three audioLevels. You can pass a bigger number if you want to show more values to the user.
Then, in the MicrophoneCheckView, you pass the audioLevels array, as well as the microphoneChecker.isSilent value. If this value is true, the UI shows warning to the user that they might have an issue with their microphone.
MicrophoneCheckView(
	audioLevels: microphoneChecker.audioLevels,
	microphoneOn: callViewModel.callSettings.audioOn,
    isSilent: microphoneChecker.isSilent,
	isPinned: false
)