


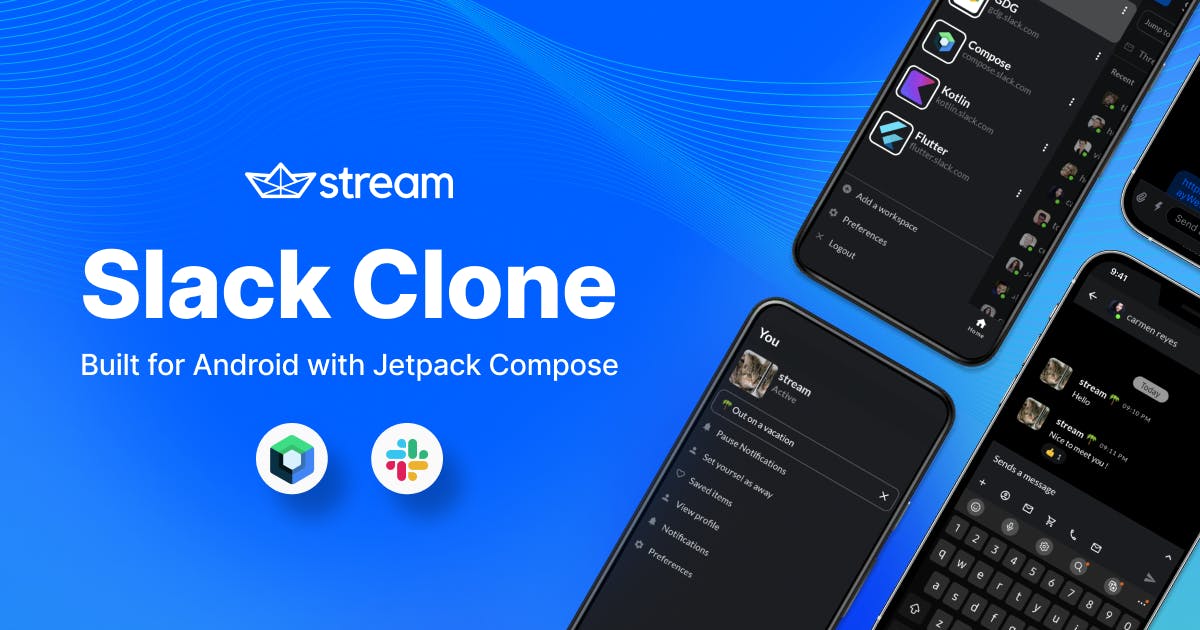
Are you a developer working in an organization? If yes, then you've probably used Slack before, or at least know what it is. As one of the leading workplace chat apps, millions of teams have adopted Slack and communicate over the platform every day.
But have you ever thought about what it would take to build a Slack clone yourself? We did.
After discovering Anmol Verma's open-source repository that clones the Slack UI, we wanted to integrate Stream's Compose Chat SDK into the repo to make it a fully functioning application.
In this post, I will walk you through the process of integrating our chat SDK to create an open-source Slack project.
Check out the preview below to see what we will build in action:
Prerequisites
Let's discuss the requirements of this project. You'll need a basic understanding of the following tools and technologies:
The Existing Slack Clone Project
Big thanks to the guy who created this Slack Android Clone that we will use in this project. If you want to code along with this tutorial, plesae clone this project to go through the code.
In the image below, you'll find the structure of the existing project.

Let's briefly discuss each module. The project uses clean architecture. As you can see, we have many modules for different application features.
We can divide the project into the following layers:
- User Interface Layer: The responsibility of the UI Layer is to render the application data on the screen. UI elements must be updated whenever the application data changes from user interaction or external communication with the network and database.
- Presentation Layer: The responsibility of the Presentation Layer is to interact and notify data changes between UI layers and Domain layers. It also holds and restores data in configuration changes.
- Domain Layer: The Domain layer is responsible for abstracting complex business logic to improve its reusability. This layer transforms the complex application data into suitable types for Presentation layers and groups similar business logic as a single feature.
- Data Layer: The responsibility of the Data Layer is to deliver the result of business logic executions, such as CRUD operations (Create, Retrieve, Update, Delete - all system events). This layer can be designed with various strategies, like Repository or DataSource, for dividing the responsibility of executions.
Integrating Chat in the Project vs Integrating Stream
Now, let's discuss a critical question:
Why should you integrate Stream?
Can't you just integrate chat without Stream?
Yes, you can, but it is not that easy. Building chat from scratch requires a lot of developers and a lot of time. Following this tedious process to make something you can quickly get makes no sense.
At Stream, we provide a fully scalable chat infrastructure you can use in any project. Now let's see how we will integrate into this project.
Getting Started With the Stream Chat SDK
Enough discussion. Now, let's dive into the real stuff. To get started with Stream, the first thing you need is a Stream Account.
You can sign up for a free Stream trial here.
Once you have an account, create a project in your Stream Dashboard.

After you create a project, grab your API Key and Secret.

Stream Fundamentals
Let's quickly go over some basic Stream terminology that we will use throughout this tutorial:
ChatClient: The main entry point for all low-level chat operations, like connecting and disconnecting users to the Stream server or sending, updating, and pinning messages.
User: To make a chat, we need to connect a user to the Stream SDK, and for this, there is a model class for the user that we can use.
Channel: The main thing if you want to create a chat with Stream.
Every channel in Stream is unique, and we can create a unique channel with a list of different members in it or with a unique channel id.
Initializing Stream
The first thing needed is the ChatClient. And initializing it is also straightforward. In Android, you can use an Initializer to initialize the ChatClient or you can do it inside the Application Class.
To do this inside the module feat-chatcore, I've created a class. Here I am using an Initializer.
1234567891011121314151617181920212223class StreamChatInitializer : Initializer<Unit> {

 override fun create(context: Context) {
   // Set up the OfflinePlugin for offline storage
   val offlinePluginFactory = StreamOfflinePluginFactory(
     config = Config(
       backgroundSyncEnabled = true,
       userPresence = true,
       persistenceEnabled = true,
       uploadAttachmentsNetworkType = UploadAttachmentsNetworkType.NOT_ROAMING,
     ),
     appContext = context,
   )

   // Set up the client for API calls with the plugin for offline storage
   ChatClient.Builder("your api key", context)
     .withPlugin(offlinePluginFactory)
     .logLevel(ChatLogLevel.DEBUG)
     .build()
 }

 override fun dependencies(): List<Class<out Initializer<*>>> = emptyList()
}
This is the first step if you are using our SDK. You need to instantiate the ChatClient.
As we used an initializer here, we need to define it inside AndroidManifest.xml so that it can initalize our chat client on the app startup.
12345678910111213141516171819<?xml version="1.0" encoding="utf-8"?>
<manifest xmlns:android="http://schemas.android.com/apk/res/android"
   xmlns:tools="http://schemas.android.com/tools"
   package="io.getstream.slackclone.chatcore">

   <application>

       <provider
           android:name="androidx.startup.InitializationProvider"
           android:authorities="${applicationId}.androidx-startup"
           android:exported="false"
           tools:node="merge">
           <meta-data
               android:name="io.getstream.slackclone.chatcore.startup.StreamChatInitializer"
               android:value="androidx.startup" />
       </provider>
   </application>

</manifest>
We have the ChatClient now that we can use. But to get the ChatClient instance we will define a module. Here I am using Hilt for the dependency management.
So define an object inside the data module.
12345678@Module
@InstallIn(SingletonComponent::class)
object ChatModule {

 @Provides
 @Singleton
 fun provideStreamChatClient() = ChatClient.instance()
}
As we are using Hilt here, we also need to override the Application class in the main app module.
12@HiltAndroidApp
class SlackCloneApp : Application()
And make sure that you add this class in your main manifest file.
12<application
 android:name="io.getstream.slackclone.SlackCloneApp"
Modifying the Repository
Now go to the domain layer, and there you will see this interface ChannelsRepository. Inside this repository we will add two more functions.
12suspend fun createChannel(domainLayerChannels: DomainLayerChannels.SlackChannel)
suspend fun sendMessageToChannel(channelMessage: ChannelMessage)
As you know, to make a chat with Stream SDK, we create a channel. Now in this project, whenever an item from the home screen is selected we will create a channel for that so that we can implement the actual chat.
Once we have the channel created, we can send messages to that channel and that is why I've created the next function. Now let's write the implementations of these functions.
Open the class SlackChannelRepositoryImpl. Because ChatClient is needed to create a channel, we will add it in the constructor parameter. We will get the dependency easily because we have already defined the module that provides ChatClient and we have already initialized the ChatClient using an Initializer.
1234567class SlackChannelsRepositoryImpl @Inject constructor(
 private val slackChannelDao: SlackChannelDao,
 private val slackUserChannelMapper: EntityMapper<DomainLayerUsers.SlackUser, DBSlackChannel>,
 private val slackChannelMapper: EntityMapper<DomainLayerChannels.SlackChannel, DBSlackChannel>,
 private val coroutineMainDispatcherProvider: CoroutineDispatcherProvider,
 private val chatClient: ChatClient
)
Now with the help of this chat client, we will write the createChannel implementation.
123456789101112override suspend fun createChannel(domainLayerChannels: DomainLayerChannels.SlackChannel) {
 val user = chatClient.getCurrentUser() ?: User()
 chatClient.createChannel(
   channelType = "messaging",
   channelId = domainLayerChannels.uuid ?: "",
   memberIds = listOf(user.id),
   extraData = mapOf(
     "name" to (domainLayerChannels.name ?: ""),
     "image" to (domainLayerChannels.avatarUrl ?: "")
   )
 ).await()
}
We have the function ready that will create a channel for our chat. Now, let's also define the function that will send a message to the channel.
12345678override suspend fun sendMessageToChannel(channelMessage: ChannelMessage) {
 val channelClient = chatClient.channel(channelMessage.cid)
 chatClient.sendMessage(
   channelType = channelClient.channelType,
   channelId = channelClient.channelId,
   message = Message(text = channelMessage.message)
 ).await()
}
One more class needs to be created. As you can see, the function sendMessageToChannel has a parameter of type ChannelMessage, that is nothing but the following data class.
1234data class ChannelMessage(
 val cid: String,
 val message: String
)
To identify the channel where we want to send the message we need the cid, and the message is the message that needs to be sent.
So we have the implementations of both functions. Now we can use them to create a channel and send messages to a channel.
Use Cases
Create a Channel
To create a channel I will define a use case.
12345class UseCaseCreateRemoteChannel(private val channelsRepository: ChannelsRepository) : BaseUseCase<Unit, DomainLayerChannels.SlackChannel> {
 override suspend fun perform(params: DomainLayerChannels.SlackChannel) {
   channelsRepository.createChannel(params)
 }
}
Now whenever we need to create an actual channel for the chat we will use this use case.
Send a Message
The same way we will define one more use case to send messages to the channel.
12345class UseCaseSendMessageToChannel(private val channelsRepository: ChannelsRepository) : BaseUseCase<Unit, ChannelMessage> {
 override suspend fun perform(params: ChannelMessage) {
   channelsRepository.sendMessageToChannel(params)
 }
}
Creating a ViewModel for Our Chat Screen
Now we will define a ViewModel to operate these functions. Because our UI will interact only with the ViewModel and ViewModel will call all the required functions.
In the existing project, there is already a defined ViewModel named ChatScreenVM, but we will change it with the following code.
1234567891011121314151617181920212223242526272829303132@HiltViewModel
class ChatScreenVM @Inject constructor(
 private val useCaseRemoteChannel: UseCaseCreateRemoteChannel,
 private val useCaseSendMessageToChannel: UseCaseSendMessageToChannel,
 private val channelMapper: UiModelMapper<DomainLayerChannels.SlackChannel, UiLayerChannels.SlackChannel>
) : ViewModel() {
 val message = MutableStateFlow("")
 val chatBoxState = MutableStateFlow(BoxState.Collapsed)

 fun createChannel(uiLayerChannels: UiLayerChannels.SlackChannel) {
   viewModelScope.launch {
     useCaseRemoteChannel.perform(
       channelMapper.mapToDomain(uiLayerChannels)
     )
   }
 }

 fun sendMessage(cid: String, message: String) {
   viewModelScope.launch {
     useCaseSendMessageToChannel.perform(ChannelMessage(cid, message))

     // clear chat box & input states
     chatBoxState.value = BoxState.Collapsed
     this@ChatScreenVM.message.value = ""
   }
 }

 fun switchChatBoxState() {
   chatBoxState.value =
     if (chatBoxState.value == BoxState.Collapsed) BoxState.Expanded else BoxState.Collapsed
 }
}
This view model contains two major functions: createChannel creates a channel and sendMessage sends messages to that channel.
We also have one other function, switchChatBoxState, which switches the chat box state. Now we will operate with this view model in our UI.
As it is a HiltViewModel, Hilt will automatically give the instance, but to make the instance of this view model, we need the required dependencies that are defined in the constructor parameter.
We will provide the dependencies from an existing module that is already there in the project.
Open UseCaseModule and define the following two Provides functions.
123456789@Provides
@ViewModelScoped
fun provideUseCaseCreateRemoteChannel(channelsRepository: ChannelsRepository) =
 UseCaseCreateRemoteChannel(channelsRepository)

@Provides
@ViewModelScoped
fun provideUseCaseSendMessageToChannel(channelsRepository: ChannelsRepository) =
 UseCaseSendMessageToChannel(channelsRepository)
Now, Hilt will get the required dependencies. If you are thinking about the last parameter that is a channelMapper in the ChatScreenVM's constructor, it is already a constructor injection, and you do not need to define anything for it.
**Note:**You can check
io.getstream.slackclone.chatcore.ChannelUIModelMapper.
Our ViewModel is ready, and now we can call these functions from the UI.
Creating a Channel
We have everything ready that is required to make a channel, so now let's create it.
Open DashboardUI.kt and change viewModel.requestFetch(it) with viewModel.createChannel(it). The createChannel() is the function that we just created to make a channel.
Now, whenever an item is selected from the home screen, we will create an actual remote channel for the chat.
We have the channel ready, we just need to send the message to this channel now.
Sending a Message
Now, let's send the message to our channel.
Open ChatMessageBox.kt and modify the function SendMessageButton with the following code:
12345678910111213141516171819@Composable
private fun SendMessageButton(
 modifier: Modifier = Modifier,
 viewModel: ChatScreenVM,
 message: String,
 slackChannel: Channel
) {
 IconButton(
   onClick = {
     viewModel.sendMessage(slackChannel.cid, message)
   }, enabled = message.isNotEmpty(), modifier = modifier
 ) {
   Icon(
     Icons.Default.Send,
     contentDescription = null,
     tint = if (message.isEmpty()) SlackCloneColorProvider.colors.sendButtonDisabled else SlackCloneColorProvider.colors.sendButtonEnabled
   )
 }
}
To send the message we need the cid that we have inside the Channel instance and we also need the message that we want to send. Finally, to send the message we require the ChatScreenVM as the function is defined there and we perform these operations inside a ViewModel only.
Now, you also need to make changes where SendMessageButton is being called as per the modification here; in other words, you need to pass the channel instance that is the new parameter.
Testing the App
That's it! You can try running your application to see if it is working:
Final Words
That is all for this post, friends. I hope you enjoyed learning in this tutorial. If you have any questions, you can reach out to us on Twitter @getstream_io.
And you can also get the forked repo of the completed project here.
Thank You,
Belal