

With the rise in popularity of applications like the AI companion Replika or language learning apps that offer a way to talk with an AI to learn a new language, you may be asking yourself, "How can I achieve this in my app?"
There are different ways to integrate an AI chatbot, and there are some awesome tutorials on how to train a model from scratch. However, in this tutorial, we'll focus on providing a full-blown AI chat interface that glues together the Stream Chat SDKs, our front- and back-end, and DialogGPT via the Huggingface Inference API and a webhook server in Python.
The objective of this tutorial is to learn how to leverage Stream webhooks to react to events in your app and act accordingly. For development purposes (and to simplify this article), we won't deploy our webhook. We'll use a tunneling service instead. But, keep in mind that in production you will have to deploy your webhook server at some point.
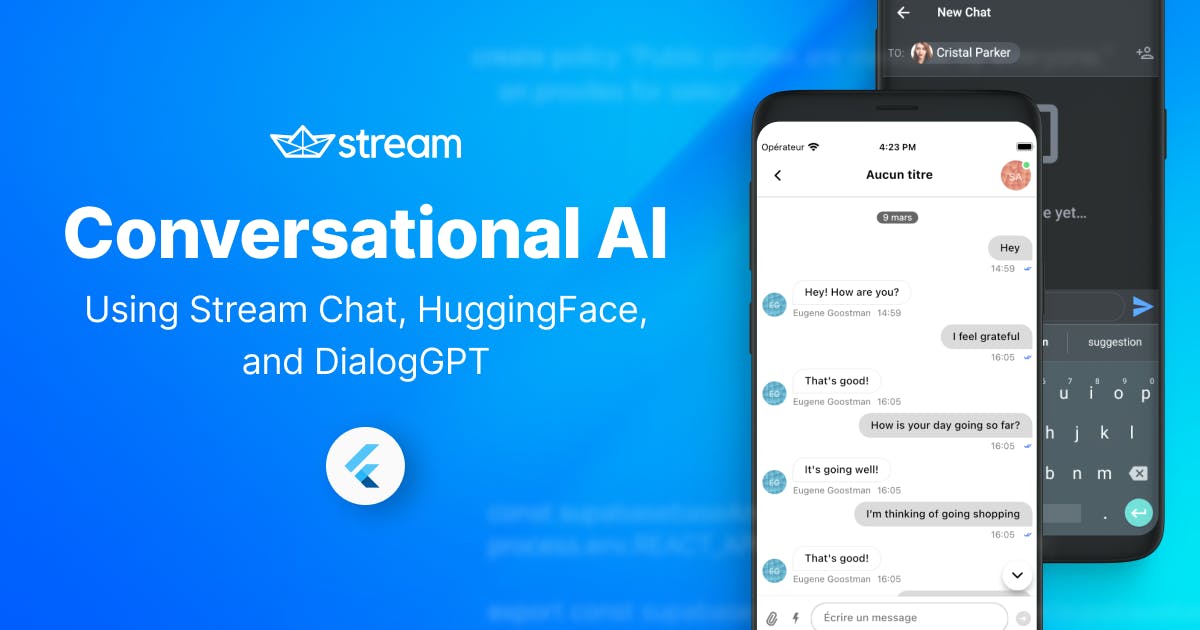
This is what we are going to build:
What Is Conversational AI?
Conversational artificial intelligence (AI) is an area of computer science and artificial intelligence that focuses on creating intelligent agents that can engage in natural conversations with humans. These agents may be used to provide customer service, help people find information, or perform other tasks.
According to HuggingFace, "DialogGPT is a pre-trained dialogue response generation model, for multi-turn conversations. The human evaluation results indicate that the response generated from DialoGPT is comparable to human response quality under a single-turn conversation Turing Test."
What Is a Tunneling Service?
A tunneling service is a reverse proxy service that allows developers to securely expose a local development server to the Internet. In this tutorial, we'll use a provider called ngrok. It will provide us with a public URL that can be used to access the local development server. Ngrok also provides a web interface that can be used to inspect traffic passing through the tunnel.
What Is a Webhook?
A webhook is an API endpoint that is used to trigger a certain action. When that action is triggered, the webhook will send a JSON payload to the specified URL. In the context of a chat API, a webhook can be used to send messages to a chatbot or to trigger a certain action when a message is received.
Requirements
- some knowledge of Python and Flutter
- ngrok
Project structure
We are building a full-stack project, so let's keep things clean and organized.

To get the same project structure, run these commands in your terminal:
123456mkdir conversational-ai-flutter
flutter create client
mkdir server
cd server
touch requirements.txt
touch main.py
Python Dependencies
In this tutorial, we'll use the following dependencies:
- Stream Chat Python SDK (but feel free to use the serverside SDKs that best fit your stack)
- Starlette and Unicorn for our web server
- Requests to query our model hosted on the Huggingface Inference API
1234stream-chat==4.1.0
requests==2.26.0
starlette==0.17.1
uvicorn==0.16.0
To install these dependencies, run pip install -r requirements.txt
Type Safety: Quicktype
As Dart developers, we love types, right? Python is a dynamically typed language, but it has support for type hints. We'll use Quicktype to generate the models (accessing dictionary keys can be error-prone). It will also make the code easier to read and maintain.
Given sample API responses, Quicktype will generate JSON (de)serializers in your language of choice, making it a breeze to work with JSON type-safely.
To generate types using Quicktype, you can install it and use their CLI or use their web version.
In their web interface, you can paste JSON on the left, and code appears on the right.

Querying Huggingface
To query HuggingFace, we will send a POST request to the following URL:
https://api-inference.huggingface.co/models/microsoft/DialoGPT-medium
The JSON data is converted to a dictionary and sent to the server.
The response is assigned to the variable response and parsed as a DialoGPTResponse object (that we generated using the method explained in the previous section).
12345678910import requests
from input import DialoGPTInput, Inputs
from response import DialoGPTResponse, dialo_gpt_response_from_dict

def query_huggingface_dialogpt(json_data: DialoGPTInput) -> DialoGPTResponse:
    response = requests.post(
        'https://api-inference.huggingface.co/models/microsoft/DialoGPT-medium', json=json_data.to_dict())
    json_dict = response.json()
    result = dialo_gpt_response_from_dict(json_dict)
    return result
Serverside: Our Webhook Logic
Let's instantiate the StreamChat library. It's considered a best practice to import the API key and secret from the environment variables using os.environ.get() instead of hardcoding them.
Starlette is the web framework that we are using to build our application.
123456789import os
from starlette.applications import Starlette
from stream_chat import StreamChat

your_api_key = os.environ.get('api_key')
your_api_secret = os.environ.get('api_secret')

chat = StreamChat(api_key=your_api_key, api_secret=your_api_secret)
app = Starlette(debug=True)
Let's define our API endpoint. We are using the @app.route decorator, which tells Starlette to respond to all requests that come on the /chatEvent route.
123@app.route('/chatEvent', methods=['POST'])
async def chatEvent(request):
    return JSONResponse({"text": "revent received"})
Let's parse the chat event. In order to do so, we call the request.json() function to get the JSON data. Then, we use the data in the request to create an Event object we created earlier. We generated the type using Quicktype like in the previous section:
12data = await request.json()
 event = event_from_dict(data)
The event.type is a string that contains the type of event that has occurred. The event.message.user.id is a string that contains the ID of the user who sent the message.
If the message author is not our bot ("eugene-goostman") and the event type is a new message (i.e. "message.new"), we will call our created channel called my-ai-friend of type messaging. We split the messages in the channel into two lists: the past user inputs and the generated responses.
123456789101112if event.type == "message.new" and event.message.user.id != "eugene-goostman":

        channel = chat.channel("messaging", "my-ai-friend")
        result = channel.query(
            messages={"limit": 300}
        )
        channel_query = channel_from_dict(result)
        messages = channel_query.messages
        generated_responses = [
            m.text for m in messages if m.user.id == "eugene-goostman"]
        past_user_inputs = [
            m.text for m in messages if m.user.id == "sacha-arbonel"]
We also take the text in the message received from the event and send those three parameters - message text, past user inputs, and generated responses - to HuggingFace's Inference API.
We are using the query_huggingface_dialogpt method from the hugging face library to get the response from DialoGPT.
12345from huggingface import query_huggingface_dialogpt
from input import DialoGPTInput, Inputs
json_data = DialoGPTInput(inputs=Inputs(
            generated_responses=generated_responses, past_user_inputs=past_user_inputs, text=event.message.text))
        response = query_huggingface_dialogpt(json_data)
Finally, we are extracting the last generated response from the DialoGPT response and sending it via the StreamChat library to the channel my-ai-friend.
1234generated_responses = response.conversation.generated_responses
array_length = len(generated_responses)
last_generated_response = generated_responses[array_length - 1]
channel.send_message({"text": last_generated_response}, "eugene-goostman")
Once that's done we can just run python main.py.
Then, run our tunneling service, in our case: ngrok http 8000. You should get something like in the screenshot below:

Setting Up Our Webhook URL in the Dashboard
Stream needs to know where to send events. In order to do that, we need to register the endpoint ngrok generated for us in our dashboard:

Client Side: Create the Flutter Chat UI
Now it's just a matter of taking the sample app from the pub and running it with our credentials. We watch the my-ai-friend channel and connect the current user.:
123456789101112131415161718192021222324252627282930import 'package:flutter/material.dart';
import 'package:stream_chat_flutter/stream_chat_flutter.dart';
import 'package:stream_chat_localizations/stream_chat_localizations.dart';

void main() async {
  WidgetsFlutterBinding.ensureInitialized();

  final client = StreamChatClient(
    'ay57s8swfnan',
    logLevel: Level.INFO,
  );

  await client.connectUser(
    User(id: 'sacha-arbonel'),
    '''eyJhbGciOiJIUzI1NiIsInR5cCI6IkpXVCJ9.eyJ1c2VyX2lkIjoic2FjaGEtYXJib25lbCJ9.fzDKEyiQ40J4YYgtZxpeQhn6ajX-GEnKZOOmcb-xa7M''',
  );

  final channel = client.channel('messaging', id: 'my-ai-friend');

  await channel.watch();

  runApp(
    MyApp(
      client: client,
      channel: channel,
    ),
  );
}
...
// the remaining boilerplate code
Conclusion: What's Next?
In this article, we provided a production-ready chat interface to the excellent Huggingface Inference API to discuss with our very own Conversational AI friend. We could have used other service providers, like text-to-speech or speech-to-text services, to give AI assistants even more human-like interactions (like Lifelike Speech Synthesis using WaveNet voices). This would enable audio responses to a user's text message or vice versa.
We could also run sentiment analysis on the user's texts, or use a model to caption text in images and respond with the most appropriate GIF or answer. We could also use a more powerful model like GPT3 (depends on your budget? ) and design custom prompts based on your use case. The possibilities are endless.
To find the full working code for this project, you can go to the GitHub link below.
GitHub: https://github.com/GetStream/conversational-ai-flutter