let cid = ChannelId(type: "messaging", id: "channel-id")
let channelController = ChatClient.shared.channelController(for: cid)
let channelVC = ChatChannelVC.make(with: channelController)

let navVC = UINavigationController(rootViewController: channelVC)
present(navVC, animated: true)Channel
The ChatChannelVC is the component presented when a channel is selected from the channel list. This component is responsible to render the messages from a channel, as well as create new messages for the same channel.
The channel view consists of the following components:
ChatChannelHeaderView: responsible to display the channel information in thenavigationItem.titleView.ChatMessageListVC: responsible to render the messages from the channel.ComposerVC: responsible of creating new messages.
Basic Usage
By default, the ChatChannelVC is created when a channel is selected in the ChatChannelListVC. But if you have your own channel list and want to create the channel view programmatically, you do so by following the example below:
Modal Presentation
If you need to present the channel view modally, you should use the StreamModalTransitioningDelegate provided by the SDK. This is required because the channel view uses an inverted table view for the message list, which needs special handling during modal transitions.
Here's how to use the Stream's custom modal presentation:
import StreamChatUI

let streamModalTransitioningDelegate = StreamModalTransitioningDelegate()

let cid = "channel-id"
let channelVC = ChatChannelVC()
channelVC.channelController = ChatClient.shared.channelController(for: cid)

let navVC = UINavigationController(rootViewController: channelVC)
navVC.transitioningDelegate = streamModalTransitioningDelegate
navVC.modalPresentationStyle = .custom

present(navVC, animated: true, completion: nil)
Make sure to keep a strong reference to the streamModalTransitioningDelegate. If you don't maintain a strong reference, the transitioning delegate will be deallocated and the custom transition won't work properly.
Channel Query
When creating a ChannelController for the ChatChannelVC you can provide ChannelQuery different from the one used by default. The ChannelQuery contains the query parameters for fetching the channel from Stream's backend. It has the following initializer:
public init(
    cid: ChannelId,
    pageSize: Int? = .messagesPageSize,
    paginationParameter: PaginationParameter? = nil,
    membersLimit: Int? = nil,
    watchersLimit: Int? = nil
)
PageSize
The page size is used to specify how many messages the channel will fetch initially and per page. It is set to 25 by default.
PaginationParameter
The pagination parameter can be used to filter specific messages, like for example, to fetch messages only after or before a certain message. Example:
// Fetch messages after the message with id: "message-id-1"
PaginationParameter.greaterThan("message-id-1")

// Fetch messages before the message with id: "message-id-2"
PaginationParameter.lessThan("message-id-2")
MembersLimit
This argument is used to specify the maximum number of members to be fetched along with the channel info.
WatchersLimit
This argument is used to specify the maximum number of watchers to be fetched along with the channel info.
UI Customization
You can customize how the ChatChannelVC looks by subclassing it and swapping the component in Components configuration in case you are using the ChatChannelListVC:
Components.default.channelVC = CustomChatChannelVC.selfYou can find more information on how the components configuration works here.
Keep in mind this component is only responsible for composing the ChatChannelHeaderView, ChatMessageListVC and ChatMessageComposerVC components together. In case you want to customize the rendering of the messages, you should read the Message documentation.
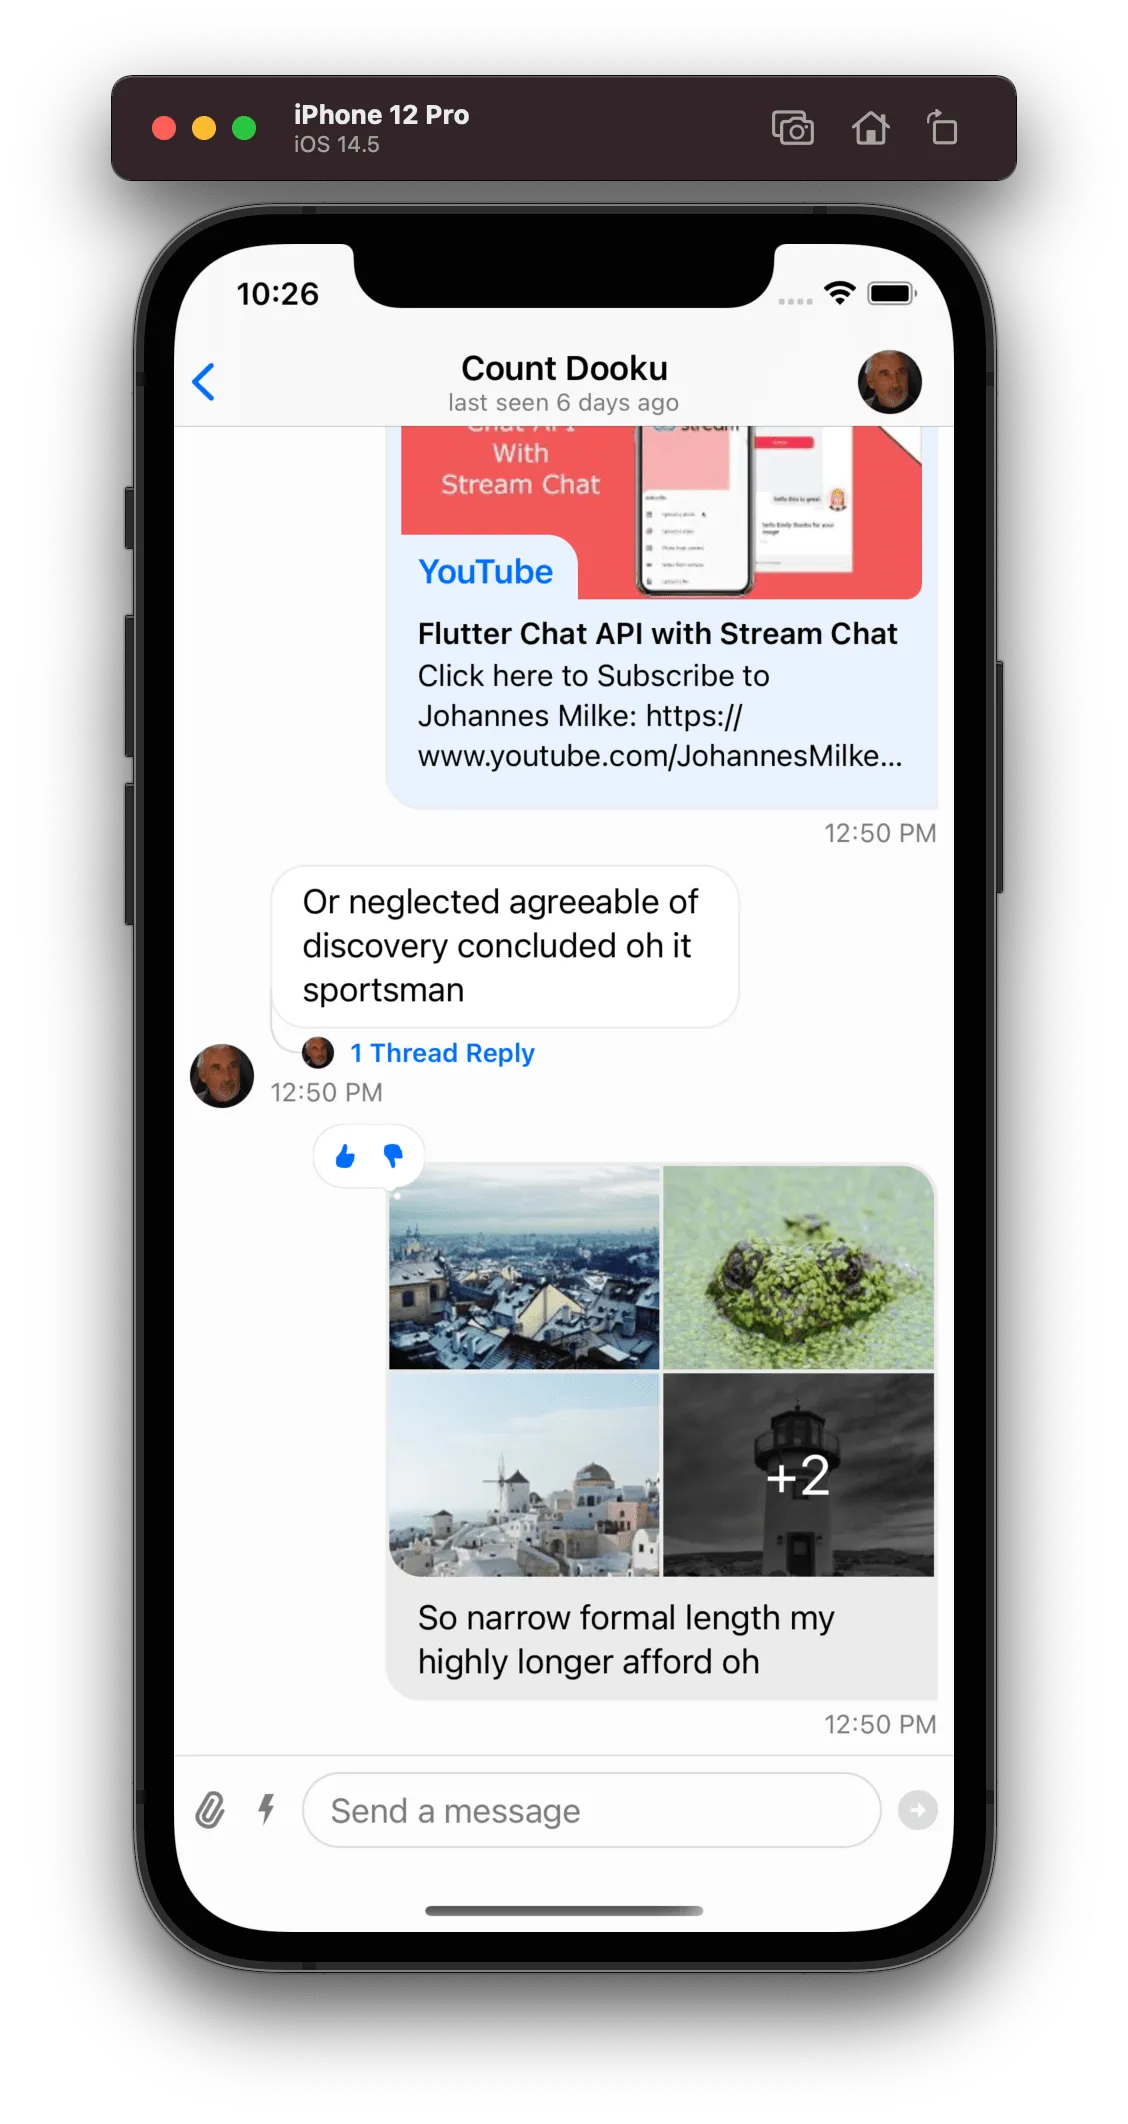
Channel Header View
As an example of how to customize the ChatChannelHeaderView, let's change it to display "typing..." in the bottom label of the header if someone is currently typing in the channel.
| Default Style | Custom Style |
|---|---|
 |  |
We need to subclass the ChatChannelHeaderView and override the subtitleText to change how the subtitle label is displayed. The header by default subscribes to channel events since it conforms to ChatChannelControllerDelegate, so we need to observe the typing events and override the subtitle when someone is typing.
class CustomChatChannelHeaderView: ChatChannelHeaderView {
    var typingUsers = Set<ChatUser>()

    // Handle typing events
    override func channelController(
        _ channelController: ChatChannelController,
        didChangeTypingUsers typingUsers: Set<ChatUser>
    ) {
        // Save the current typing users but the current user.
        // Then update the content.
        self.typingUsers = typingUsers.filter { $0.id != currentUserId }
        updateContentIfNeeded()
    }

    // The subtitleText is responsible to render the status of the members.
    override var subtitleText: String? {
        if !typingUsers.isEmpty {
            return "typing..."
        }

        return super.subtitleText
    }
}
Finally, we have to tell the SDK to use our custom component instead of the default one:
Components.default.channelHeaderView = CustomChatChannelHeaderView.selfChannel Avatar Size
It is really easy to change the channel avatar size displayed by default in the navigationItem.rightBarButtonItem. The only thing that is needed is to override the channelAvatarSize property, like this:
class CustomChatChannelVC: ChatChannelVC {
    override var channelAvatarSize: CGSize {
        CGSize(width: 40, height: 40)
    }
}
Channel View Layout
Like with any Stream's component, you can customize the layout of the ChatChannelVC by overriding the setUpLayout() function. In the following example, we add a video player on top of the message list to replicate a live stream event use case.
import AVFoundation

class CustomChatChannelVC: ChatChannelVC {

    let url = URL(
        string: "https://devstreaming-cdn.apple.com/videos/streaming/examples/bipbop_adv_example_hevc/master.m3u8"
    )!

    lazy var videoView: UIView = UIView()

    lazy var videoPlayer: AVPlayer = {
        let asset = AVAsset(url: url)
        let playerItem = AVPlayerItem(asset: asset)
        return AVPlayer(playerItem: playerItem)
    }()

    lazy var playerLayer: AVPlayerLayer = {
        AVPlayerLayer(player: videoPlayer)
    }()

    override func viewDidLayoutSubviews() {
        super.viewDidLayoutSubviews()

        playerLayer.frame = videoView.bounds
        playerLayer.videoGravity = .resizeAspect
    }

    override func setUp() {
        super.setUp()

        videoPlayer.play()
    }

    override func setUpLayout() {
        super.setUpLayout()

        view.addSubview(videoView)
        videoView.layer.addSublayer(playerLayer)
        videoView.translatesAutoresizingMaskIntoConstraints = false

        NSLayoutConstraint.activate([
            videoView.leadingAnchor.constraint(equalTo: view.safeAreaLayoutGuide.leadingAnchor),
            videoView.trailingAnchor.constraint(equalTo: view.safeAreaLayoutGuide.trailingAnchor),
            videoView.topAnchor.constraint(equalTo: view.safeAreaLayoutGuide.topAnchor),
            videoView.bottomAnchor.constraint(equalTo: messageListVC.view.topAnchor),
            videoView.heightAnchor.constraint(equalTo: view.widthAnchor, multiplier: 9/16)
        ])
    }
}
Result
| Before | After |
|---|---|
 | 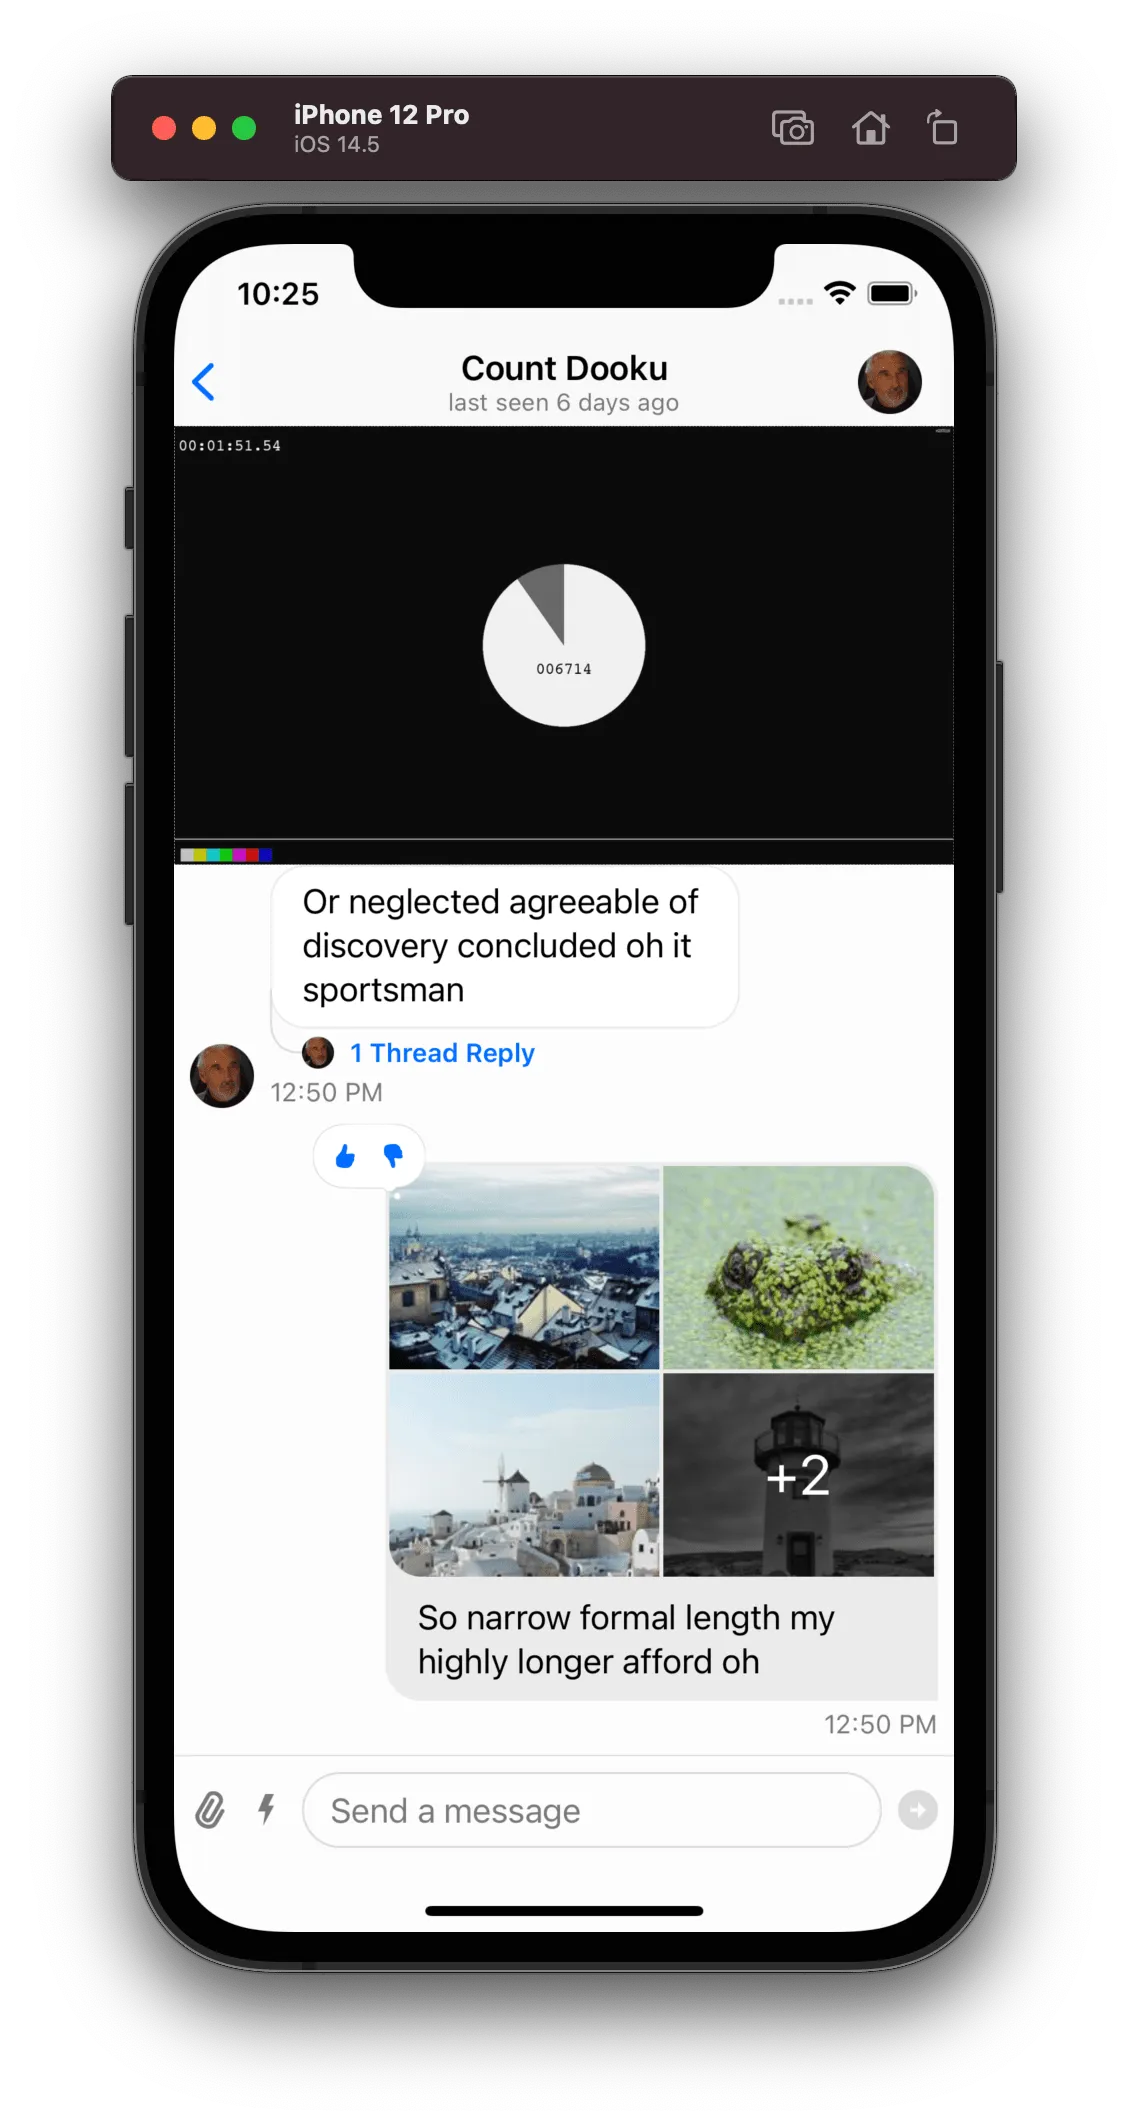 |