let blockController = chatClient.userController(userId: userToBlock.id)
blockController.block { error in
    if let error {
        // handle error
    } else {
        // user is blocked
    }
}Blocking Users
Introduction
Blocking users is an essential feature in a chat app because it enhances user safety and experience. It allows individuals to protect themselves from harassment, spam, and unwanted interactions. By giving users control over their interactions, it helps maintain privacy, reduces the risk of online bullying, and promotes a respectful community atmosphere.
As a result, some app stores require this functionality as part of their review process.
Stream Chat
The Stream Chat SDK provides a way for blocking and unblocking users, as well as listing all of the blocked users.
When you block a user, you won’t receive any direct messages from that user anymore. However, if you share a group with other participants, you will still receive messages from the blocked user.
In this cookbook, we will see how to implement this feature in your chat apps, using the Stream Chat SDK.
Low-Level Client support
The low-level client provides the following methods related to user blocking.
Block a user
In order to block a user, you need to create a user controller with the id of the user you wish to block.
Unblock a user
Similarly, to unblock a blocked user, you need to create a user controller with the id of the user you wish to unblock.
let unblockController = chatClient.userController(userId: userToUnblock.id)
unblockController.unblock { error in
    if let error {
        // handle error
    } else {
        // user is unblocked
    }
}
Listing blocked users
In order to see the list of your blocked users, you need to create an instance of the CurrentChatUserController. From there, you can access the currentUser, and its property blockedUserIds:
let userController = chatClient.currentUserController()
let blockedUserIds = userController.currentUser?.blockedUserIds ?? []
You can use this code to check if a user is blocked, and show the corresponding block or unblock action.
if blockedUserIds.contains(userId) {
    // user is blocked.
}
Message actions
You can use the logic above to create your own custom message actions that will involve user blocking.
However, the SwiftUI SDK provides message blocking actions out of the box - you just need to turn them on with the userBlockingEnabled property in the MessageListConfig:
let utils = Utils(
    messageListConfig: MessageListConfig(userBlockingEnabled: true),
)
let streamChat = StreamChat(chatClient: chatClient, utils: utils)
Displaying blocked users
Next, let’s see how we can build a custom UI that will show the list of blocked users. This will allow easier overview for the users about who they blocked, as well as provide an easy way to unblock them if needed.
Here’s a screenshot showing how the list will look like.
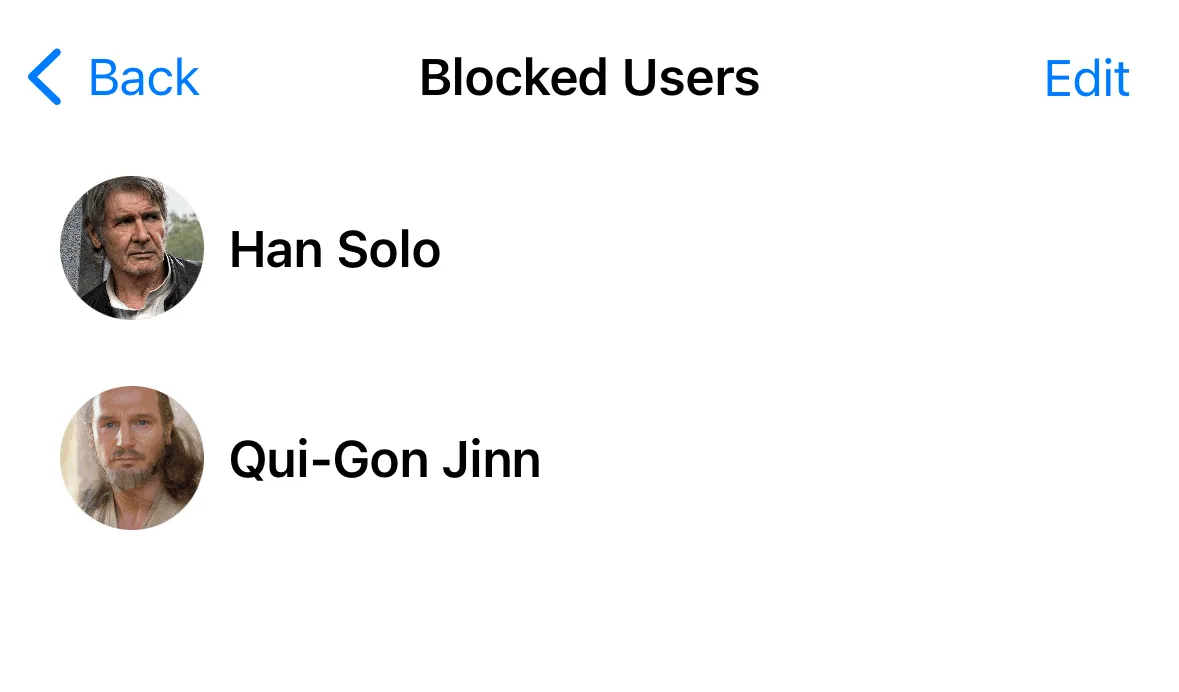
First, let’s define the BlockedUsersView, which can be invoked from your user’s profile, for example.
struct BlockedUsersView: View {

    @StateObject var viewModel = BlockedUsersViewModel()

    var body: some View {
        ZStack {
            if !viewModel.blockedUsers.isEmpty {
                List {
                    ForEach(viewModel.blockedUsers) { blockedUser in
                        HStack {
                            MessageAvatarView(avatarURL: blockedUser.imageURL, size: .init(width: 48, height: 48))
                            Text(blockedUser.name ?? blockedUser.id)
                                .font(.headline)
                            Spacer()
                        }
                        .listRowSeparator(.hidden)
                    }
                    .onDelete(perform: delete)
                }
                .toolbar {
                    EditButton()
                }
                .listStyle(.plain)
            } else {
                VStack {
                    Text("There are currently no blocked users.")
                        .padding()
                    Spacer()
                }
            }
        }
        .onAppear {
            viewModel.loadBlockedUsers()
        }
        .navigationTitle("Blocked Users")
    }

    func delete(at offsets: IndexSet) {
        if let first = offsets.first, first < viewModel.blockedUsers.count {
            viewModel.unblock(user: viewModel.blockedUsers[first])
        }
    }
}
There’s nothing special in this view, it just shows the blocked users in a list, and exposes a delete action, which will remove the blocked user from the list.
The data is populated from a BlockedUsersViewModel. Let’s see its implementation next.
class BlockedUsersViewModel: ObservableObject {

    @Injected(\.chatClient) var chatClient

    @Published var blockedUsers = [ChatUser]()

    private let currentUserController: CurrentChatUserController

    init() {
        currentUserController = InjectedValues[\.chatClient].currentUserController()
        currentUserController.synchronize()
    }

    func loadBlockedUsers() {
        let blockedUserIds = currentUserController.currentUser?.blockedUserIds ?? []
        for blockedUserId in blockedUserIds {
            if let user = currentUserController.dataStore.user(id: blockedUserId) {
                blockedUsers.append(user)
            } else {
                let controller = chatClient.userController(userId: blockedUserId)
                controller.synchronize { [weak self] _ in
                    if let user = controller.user {
                        self?.blockedUsers.append(user)
                    }
                }
            }
        }
    }

    func unblock(user: ChatUser) {
        let unblockController = chatClient.userController(userId: user.id)
        unblockController.unblock { [weak self] error in
            if error == nil {
                self?.blockedUsers.removeAll { blocked in
                    blocked.id == user.id
                }
            }
        }
    }
}
In the view model above, we are using the low-level client capabilities we explained at the beginning of the cookbook.
In the UI, we also want to present the names and images of the blocked users. To do that, we need to load the ChatUser object based on the id. In the loadBlockedUsers method, we are checking if we have the user locally. If not, we create a user controller with the blocked user id, and fetch it from the backend.
The unblock method is similar to the code sample we discussed above.
Summary
In this cookbook we have seen the capabilities of the Stream Chat SDK for blocking users. We have also seen how to add message actions to block and unblock users, as well as a custom UI for displaying the blocked users.
It is recommended to use these actions, in order to avoid issues during app store reviews, especially on the Apple platforms.