

TL;DR
- This is a build log of scaffolding a SwiftUI Stream Chat app from one prompt using Xcode 26.3's coding agent, Stream's Agent Skills, and Claude.
- Adding a compose feature surfaced a real WebSocket race condition that the agent diagnosed by reading the SDK source, not guessing.
- Xcode's agent handles SDK work and visual verification via Previews; you run CLI commands in a separate terminal; the agent environment doesn't inherit your shell PATH.
If you build iOS apps, you build with Xcode. And as of 26.3, you have a partner there: the built-in coding agent.
Anthropic's Claude Agent and OpenAI's Codex now run directly inside the Xcode IDE. Give them a goal, rather than line-by-line instructions, and they explore the project, edit files, change build settings, and check their own work by building, fixing errors, and capturing SwiftUI Previews. The Claude side runs on the same agent harness as Claude Code, so you get subagents and background tasks without leaving Xcode.
For Stream, this means the ability to build directly in Xcode with a combination of AI and the Stream Swift SDK. Combine that with Stream's Agent Skills, and you can give your coding agents direct access to the latest documentation from Stream, so they can build a working chat against the current SDK, not the changed or invented APIs a stock model reaches for on its own.
This is what we're doing here, end-to-end. We're scaffolding a small SwiftUI chat app from nothing but a simple prompt, then letting Xcode, Claude, and Stream Agent Skills build it.
Prerequisites
- Xcode 26.3 or later, running on macOS 26.
- A paid Anthropic account (Claude Pro, Max, Team, or Enterprise) to access the Claude Agent in Xcode.
- Node.js, for the
npx skills addinstaller. - A free Stream account.
Getting the Skills Into Your Project
Create a SwiftUI App project in Xcode first (File > New > Project > iOS > App). Then, from the project folder in your terminal, install the two skills you need:
12npx skills add GetStream/agent-skills --skill stream-swift
npx skills add GetStream/agent-skills --skill stream
stream-swift carries knowledge of the Swift and SwiftUI SDKs. stream handles credentials and seeding data.
The installer asks which agents to target and whether to install for this project or globally. Choose this project, and the skills land in .agents/skills/ at the repo root, where Xcode's Claude Agent detects them automatically when you reopen the project.
If you'd rather have them available everywhere, install globally and point Xcode's agent at them by symlinking your global agent's skills folder to the Xcode Claude directory:
1ln -s ~/.agents/skills ~/Library/Developer/Xcode/CodingAssistant/ClaudeAgentConfig/skills
Building a Working Chat From One Prompt
We want a prompt that is deliberately at the goal level. We want to define what we want to build rather than how we want to build it, leaning on the skills to fill in that how:
Build a minimal Stream Chat iOS app in SwiftUI. Use the stream-swift and stream-cli agent skills. A channel list that opens into a message thread with a composer. Keep it simple.
From this simple prompt, the agent starts by pulling the SwiftUI SDK's getting started docs, then writes three files:
- The app entry point
- A
Configfor credentials - A ContentView
The entry point creates the client and connects the demo user, with a comment marking the one line you'd change for production:
123456789101112131415161718192021222324@main
struct stream_skillsApp: App {
    @State private var streamChat: StreamChat

    init() {
        let config = ChatClientConfig(apiKey: .init(Config.apiKey))
        let chatClient = ChatClient(config: config)
        _streamChat = State(wrappedValue: StreamChat(chatClient: chatClient))

        let userInfo = UserInfo(id: Config.userID, name: Config.userName, imageURL: Config.userImageURL)
        let token = try! Token(rawValue: Config.userToken)

        // Demo: bundled non-expiring token.
        // Production: pass a tokenProvider closure that hits your backend to
        // mint and refresh user tokens server-side using the API secret.
        chatClient.connectUser(userInfo: userInfo, token: token) { error in
            if let error { print("Stream connectUser failed: \(error)") }
        }
    }

    var body: some Scene {
        WindowGroup { ContentView() }
    }
}
The ContentView is where the skill earns its place, which may seem weird since the whole body is just one line.
ChatChannelListView already ships its own NavigationStack. The natural thing to reach for, especially from older examples or a model pattern-matching on how SwiftUI usually works, is to wrap it in another one:
123NavigationStack {
    ChatChannelListView()   // now double-wrapped
}
That compiles, so it never flags itself. You just get a second navigation bar, broken push behavior, or a slightly off layout, and you lose time tracing it back to the wrapper.
The skill steered straight past it and left a comment saying why:
123456struct ContentView: View {
    var body: some View {
        // ChatChannelListView ships its own NavigationStack; do not wrap it.
        ChatChannelListView()
    }
}
That's the difference the skill makes here. Not the volume of code, since it's one line, but knowing the one SDK-specific thing a general model wouldn't, and would otherwise get wrong. It added the SDK over Swift Package Manager, and that was the working app.
Nothing surprising in any of it, which is the point.
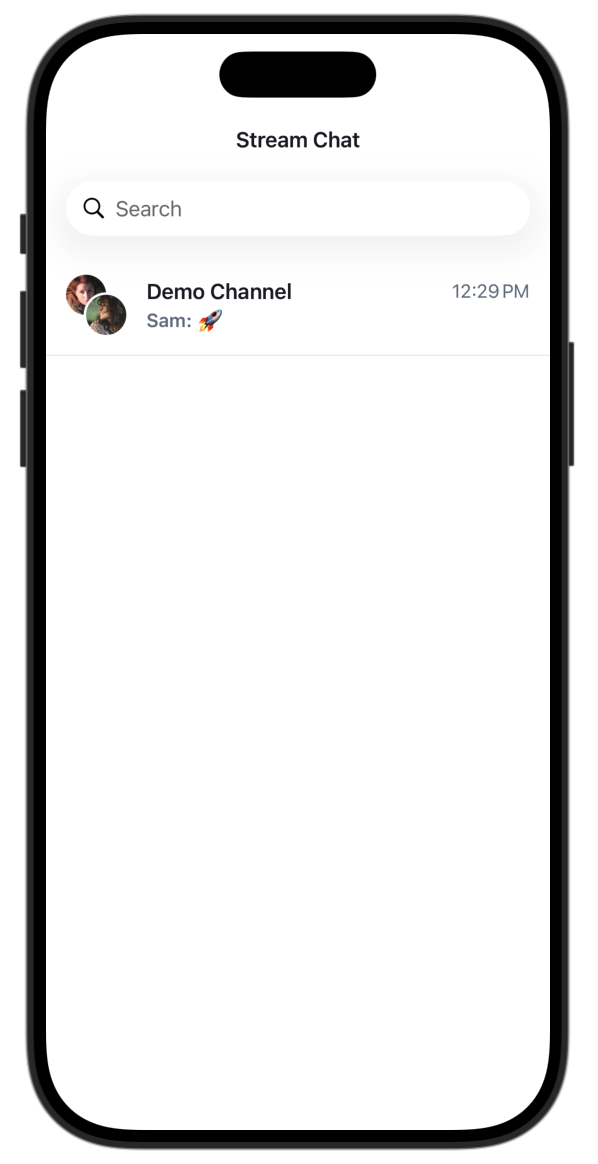
The channel list is created entirely by the coding agent from the initial prompt and populated with the seeded demo channel.
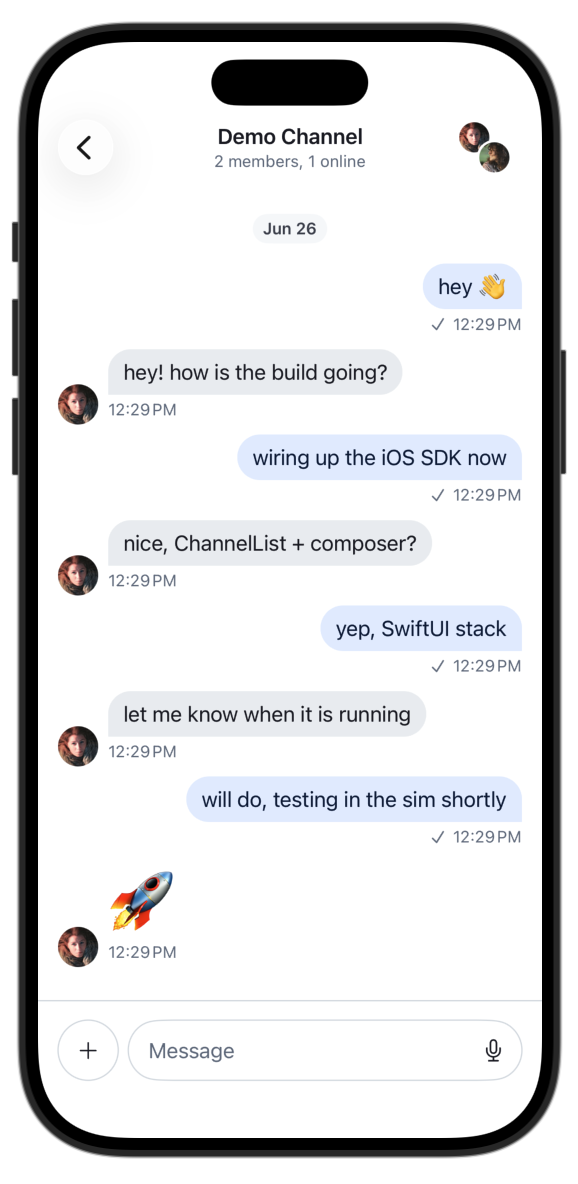
Tapping the channel opens the standard message list and composer, with the seeded messages.
Seeding happens outside the editor. The stream-cli skill drives the CLI, which lives in your shell, and Xcode runs its agent in a restricted environment that doesn't inherit your shell PATH. So the agent writes the commands, and you run them in your terminal. It generated calls to fetch the public API key, mint a non-expiring demo token, and seed two users and a channel with eight messages, then wired the results into Config.swift:
12345678910111213enum Config {
    // From `getstream env --target ios`, or the Stream dashboard
    static let apiKey = "*******"

    // Non-expiring token for the demo user, from `getstream token andrew`.
    // In production, replace this with a token minted by your backend and
    // passed through a TokenProvider closure on ChatClient.connectUser.
    static let userToken = "<demo-user-token>"

    static let userID = "engineer"
    static let userName = "engineer"
    static let userImageURL = URL(string: "https://i.pravatar.cc/150?u=engineer")
}
You run the commands, give the agent the key and token they print, and it writes them into Config.swift.
The screenshots above are a great example of what you get by working directly with Xcode with AI and Agents. The in-IDE integration captures the SwiftUI Preview to check its own work, confirming the channel list and message views rendered before handing back. A terminal agent has no way to see that.
Adding Another Feature to Start a New Chat
Once you have the basic app, you can start to iterate to get the exact features you need.
Here, we'll start to build the app functionality out with a second prompt that has more surface area:
In the existing app, add a "start a new chat" feature: a compose button in the channel list, a sheet listing the other seeded users, and tapping one creates or opens a 1-1 channel.
The agent reads the SDK checkout to find the right hooks, then wires the new pieces into ContentView through a custom ViewFactory and a sheet:
1234567ChatChannelListView(
    viewFactory: ComposeListFactory(onCompose: { isNewChatPresented = true }),
    viewModel: listViewModel
)
.sheet(isPresented: $isNewChatPresented) {
    NewChatSheet(isPresented: $isNewChatPresented, onChannelCreated: handleChannelCreated)
}
The factory overrides the channel-list header to drop a compose button in the navigation bar. It reproduces the default title in the override, so it doesn't get lost:
12345678910111213141516func body(content: Content) -> some View {
    content.toolbar {
        // Reproduce the SDK default's title so we don't drop it in the override.
        ToolbarItem(placement: .principal) {
            Text(title)
                .font(fonts.bodyBold)
                .foregroundColor(Color(colors.navigationBarTitle))
        }
        ToolbarItem(placement: .navigationBarTrailing) {
            Button(action: onCompose) {
                Image(systemName: "square.and.pencil")
                    .accessibilityLabel("New chat")
            }
        }
    }
}
The sheet lists the other seeded users and creates a direct message channel when you pick one:
1234567891011121314let controller = try chatClient.channelController(
    createDirectMessageChannelWith: [user.id],
    name: nil,
    imageURL: nil,
    extraData: [:]
)
controller.synchronize { error in
    Task { @MainActor in
        creatingFor = nil
        if let error { errorMessage = error.localizedDescription; return }
        guard let channel = controller.channel else { return }
        onChannelCreated(channel)
    }
}
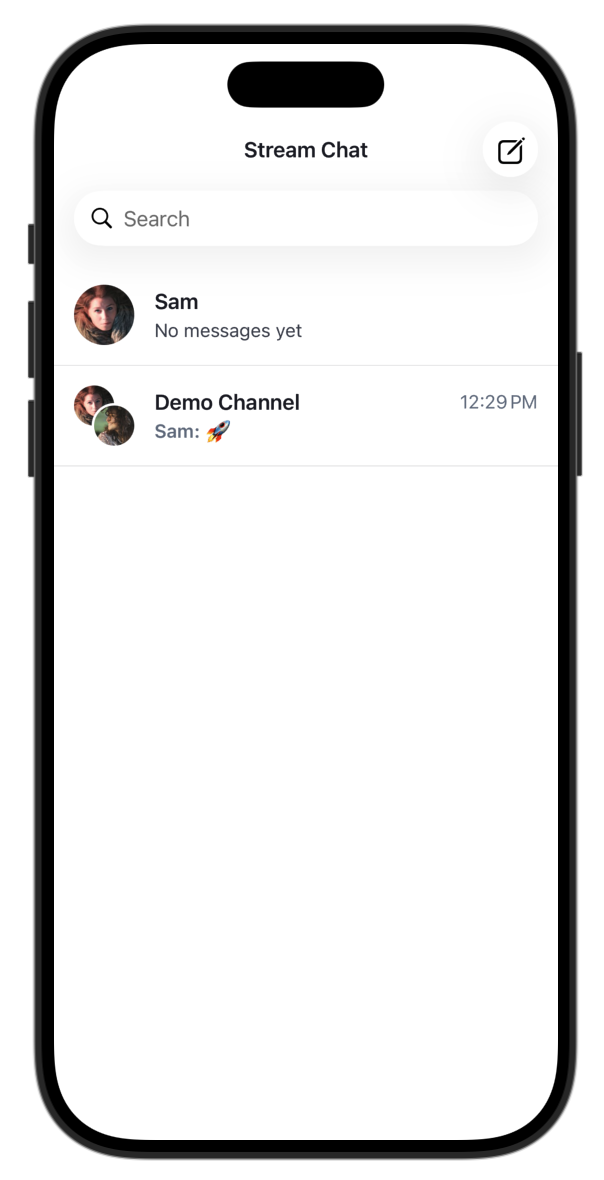
The compose button lands in the top-right of the existing header, and a new 1-1 channel with Sam appears in the list.
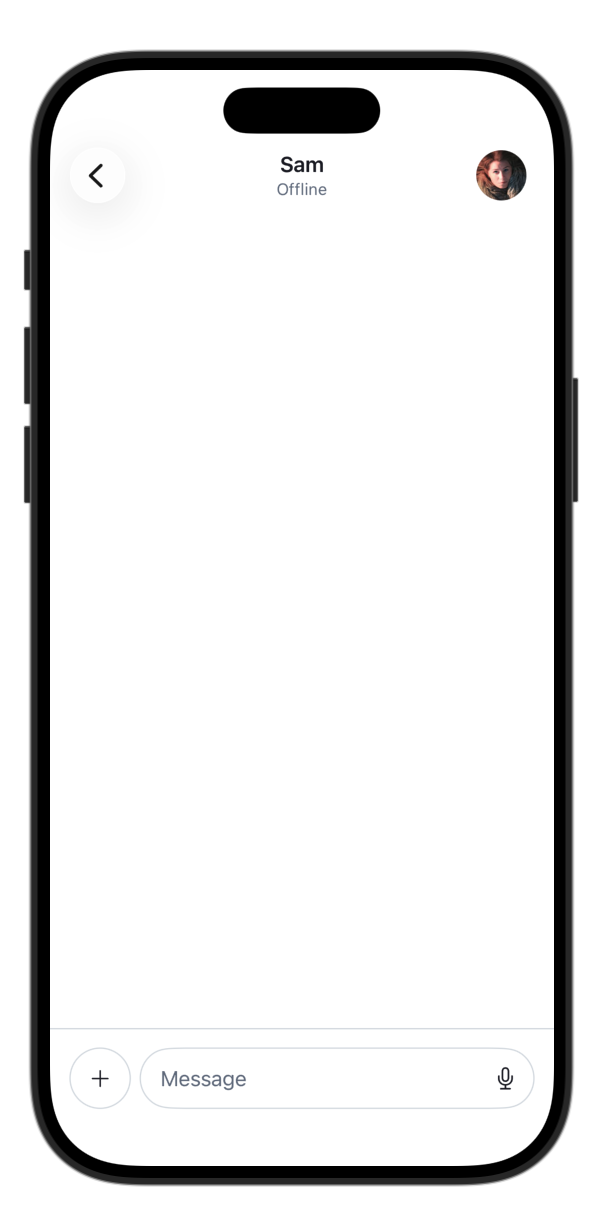
It got the direct-message semantics right without being told. Because a one-to-one channel is keyed to its member set, re-picking the same person opens the existing conversation rather than creating a duplicate.
Here's an interesting part. The first version of the "open the new chat" step didn't work, and the agent figured out why by reading the SDK's navigation documentation.
The channel list opens a conversation through a hidden NavigationLink rendered per row, keyed to the selected channel. A brand-new channel doesn't land in the list's view model synchronously. It shows up a beat later over the WebSocket, after the create call has already returned. So, setting the selected channel right away finds no matching row, and the navigation does nothing.
The fix waits for the channel to actually arrive before selecting it:
12345678910111213141516171819202122232425private func handleChannelCreated(_ channel: ChatChannel) {
    isNewChatPresented = false
    // The new channel reaches viewModel.channels via a WebSocket event, which
    // can arrive after synchronize succeeds. Wait for it before setting
    // selectedChannel, or the hidden NavigationLink for that row won't exist
    // yet and the push silently no-ops.
    Task { @MainActor in
        await openWhenAvailable(channel: channel)
    }
}

@MainActor
private func openWhenAvailable(channel: ChatChannel) async {
    if listViewModel.channels.contains(where: { $0.cid == channel.cid }) {
        listViewModel.selectedChannel = channel.channelSelectionInfo
        return
    }
    for _ in 0..<30 { // ~3s ceiling
        try? await Task.sleep(nanoseconds: 100_000_000)
        if listViewModel.channels.contains(where: { $0.cid == channel.cid }) {
            listViewModel.selectedChannel = channel.channelSelectionInfo
            return
        }
    }
}
That's an agent reasoning about timing and reading SDK internals, not gluing snippets together.
What the Agent Handled, and What You Run Alongside It
The agent handled the SDK work:
- Idiomatic code, including the patterns people get wrong. It knew not to wrap
ChatChannelListViewin its own navigation stack, and that a direct-message channel is keyed on its member set. - Visual checks through Xcode Previews, catching rendering issues before handing back.
- Reading the SDK source to diagnose and fix the navigation race, instead of guessing at it.
You run two things, in your terminal and your scheme:
- The
getstreamCLI commands it generates for credentials and seeding, since those tools live in your shell. - The run destination, pointing it at an iPhone simulator for the multiplatform target.
With Xcode's agent, you stay in the IDE, with the Preview loop and Apple's documentation search, and you run the CLI steps in a terminal next to it.
Get the Skills and Try It Yourself
The skills are open and live in GetStream/agent-skills.
The two used here are stream-swift and stream. Install them into your project with the npx skills add commands from earlier, reopen the project so Xcode's agent picks up .agents/skills/, and you can run this whole build yourself.
What stays with you afterward is how much the skills carry.
The current SDK knowledge lives in Markdown; the agent loads it when it needs it, so it writes code that compiles against today's Stream SwiftUI SDK rather than guessing. As Stream updates the SDKs, the Agent skills update right along with them, always giving your coding agent the latest knowledge to build the best chat applications.