

There's a file in there with the extension proj. This file is what it is about, this file is probably the source of most of the source-level conflicts you will be facing when working on a single Xcode project with multiple people.
How often do you intend to quickly merge your work, only to be greeted with a conflict message in the project files. When you touch just about anything in Xcode, Xcode will change the contents of the project file. If you only edit existing source files and don't touch much else, then you will not be causing project file conflicts.
But, what if we just eliminate putting Xcode project files in source control? There are tools available to do just that, in this article, we are going to focus on Tuist.
What is Tuist?
Tuist is a tool that allows you to generate, maintain and interact with Xcode projects from the command line. It is easy to install and does not require other runtime environments, like Ruby or a Java VM.
We have other Tuist content on our blog. In fact, we believe so much in the importance of Tuist, we have and are a long-time sponsor of the OSS project developing Tuist. And we urge you to pitch in through a GitHub sponsorship if you can as well.
How to Install Tuist
This is easy, just follow its getting started guide. The essence is installing their tooling into your environment by executing a script.
1curl -Ls https://install.tuist.io | bash
I am not a big fan of running shell scripts from the internet. At the time of this writing, these are the contents of the shell script being downloaded and executed:
1234567891011121314151617181920212223242526272829303132333435363738394041424344454647484950515253545556575859#!/bin/bash

set -e

shell_join() {
  local arg
  printf "%s" "$1"
  shift
  for arg in "$@"; do
    printf " "
    printf "%s" "${arg// /\ }"
  done
}

ohai() {
  printf "${tty_blue}==>${tty_bold} %s${tty_reset}\n" "$(shell_join "$@")"
}

warn() {
  printf "${tty_red}Warning${tty_reset}: %s\n" "$(chomp "$1")"
}

# The line below extracts the version from the list of tags in the Tuist repository.
LATEST_VERSION=$(git ls-remote -t --sort=v:refname https://github.com/tuist/tuist.git | sed -ne '$s/.*tags\/\(.*\)/\1/p')
ohai "Downloading tuistenv..."
[ -f /tmp/tuistenv.zip ] && rm /tmp/tuistenv.zip
[ -f /tmp/tuistenv ] && rm /tmp/tuistenv
curl -LSsf --output /tmp/tuistenv.zip https://github.com/tuist/tuist/releases/download/${LATEST_VERSION}/tuistenv.zip
ohai "Unzipping tuistenv..."
unzip -o /tmp/tuistenv.zip -d /tmp/tuistenv > /dev/null
ohai "Installing tuistenv..."

INSTALL_DIR="/usr/local/bin"

sudo_if_install_dir_not_writeable() {
  local command="$1"
  if [ -w $INSTALL_DIR ]; then
    bash -c "${command}"
  else
    bash -c "sudo ${command}"
  fi
}

if [[ ! -d $INSTALL_DIR ]]; then
  sudo_if_install_dir_not_writeable "mkdir -p ${INSTALL_DIR}"
fi

if [[ -f "${INSTALL_DIR}/tuist" ]]; then
  sudo_if_install_dir_not_writeable "rm ${INSTALL_DIR}/tuist"
fi

sudo_if_install_dir_not_writeable "mv /tmp/tuistenv/tuistenv \"${INSTALL_DIR}/tuist\""
sudo_if_install_dir_not_writeable "chmod +x \"${INSTALL_DIR}/tuist\""

rm -rf /tmp/tuistenv
rm /tmp/tuistenv.zip

ohai "tuistenv installed. Try running 'tuist'"
ohai "Check out the documentation at https://docs.tuist.io/"
The script does a couple of things in sequence:
- It parses the latest tagged version from the Tuist directory
- Downloads the related release package
- Unzips the downloaded artifact
- Checks and creates the required directory for Tuist to be installed in and moves the unzipped Tuist files into the prepared directory
- Cleanup of the downloaded zip file and the directory the zip file was unzipped into.
All in all, harmless enough. But, be aware that you are downloading and making available executables files on your machine. So, do your due diligence, especially in a work-related setup.
Create Your First Project Using Tuist
Now, it's time for a more in-depth look at what Tuist does.You should have Xcode and its related command line tools installed.
Run these commands in a directory of your choice:
1234mkdir MyApp
cd MyApp
tuist init --platform ios --template swiftui
tuist edit
These four commands get you started with Tuist, ready to dive deeper into what's possible with Tuist. I chose to indicate we are creating an iOS app using SwiftUI.
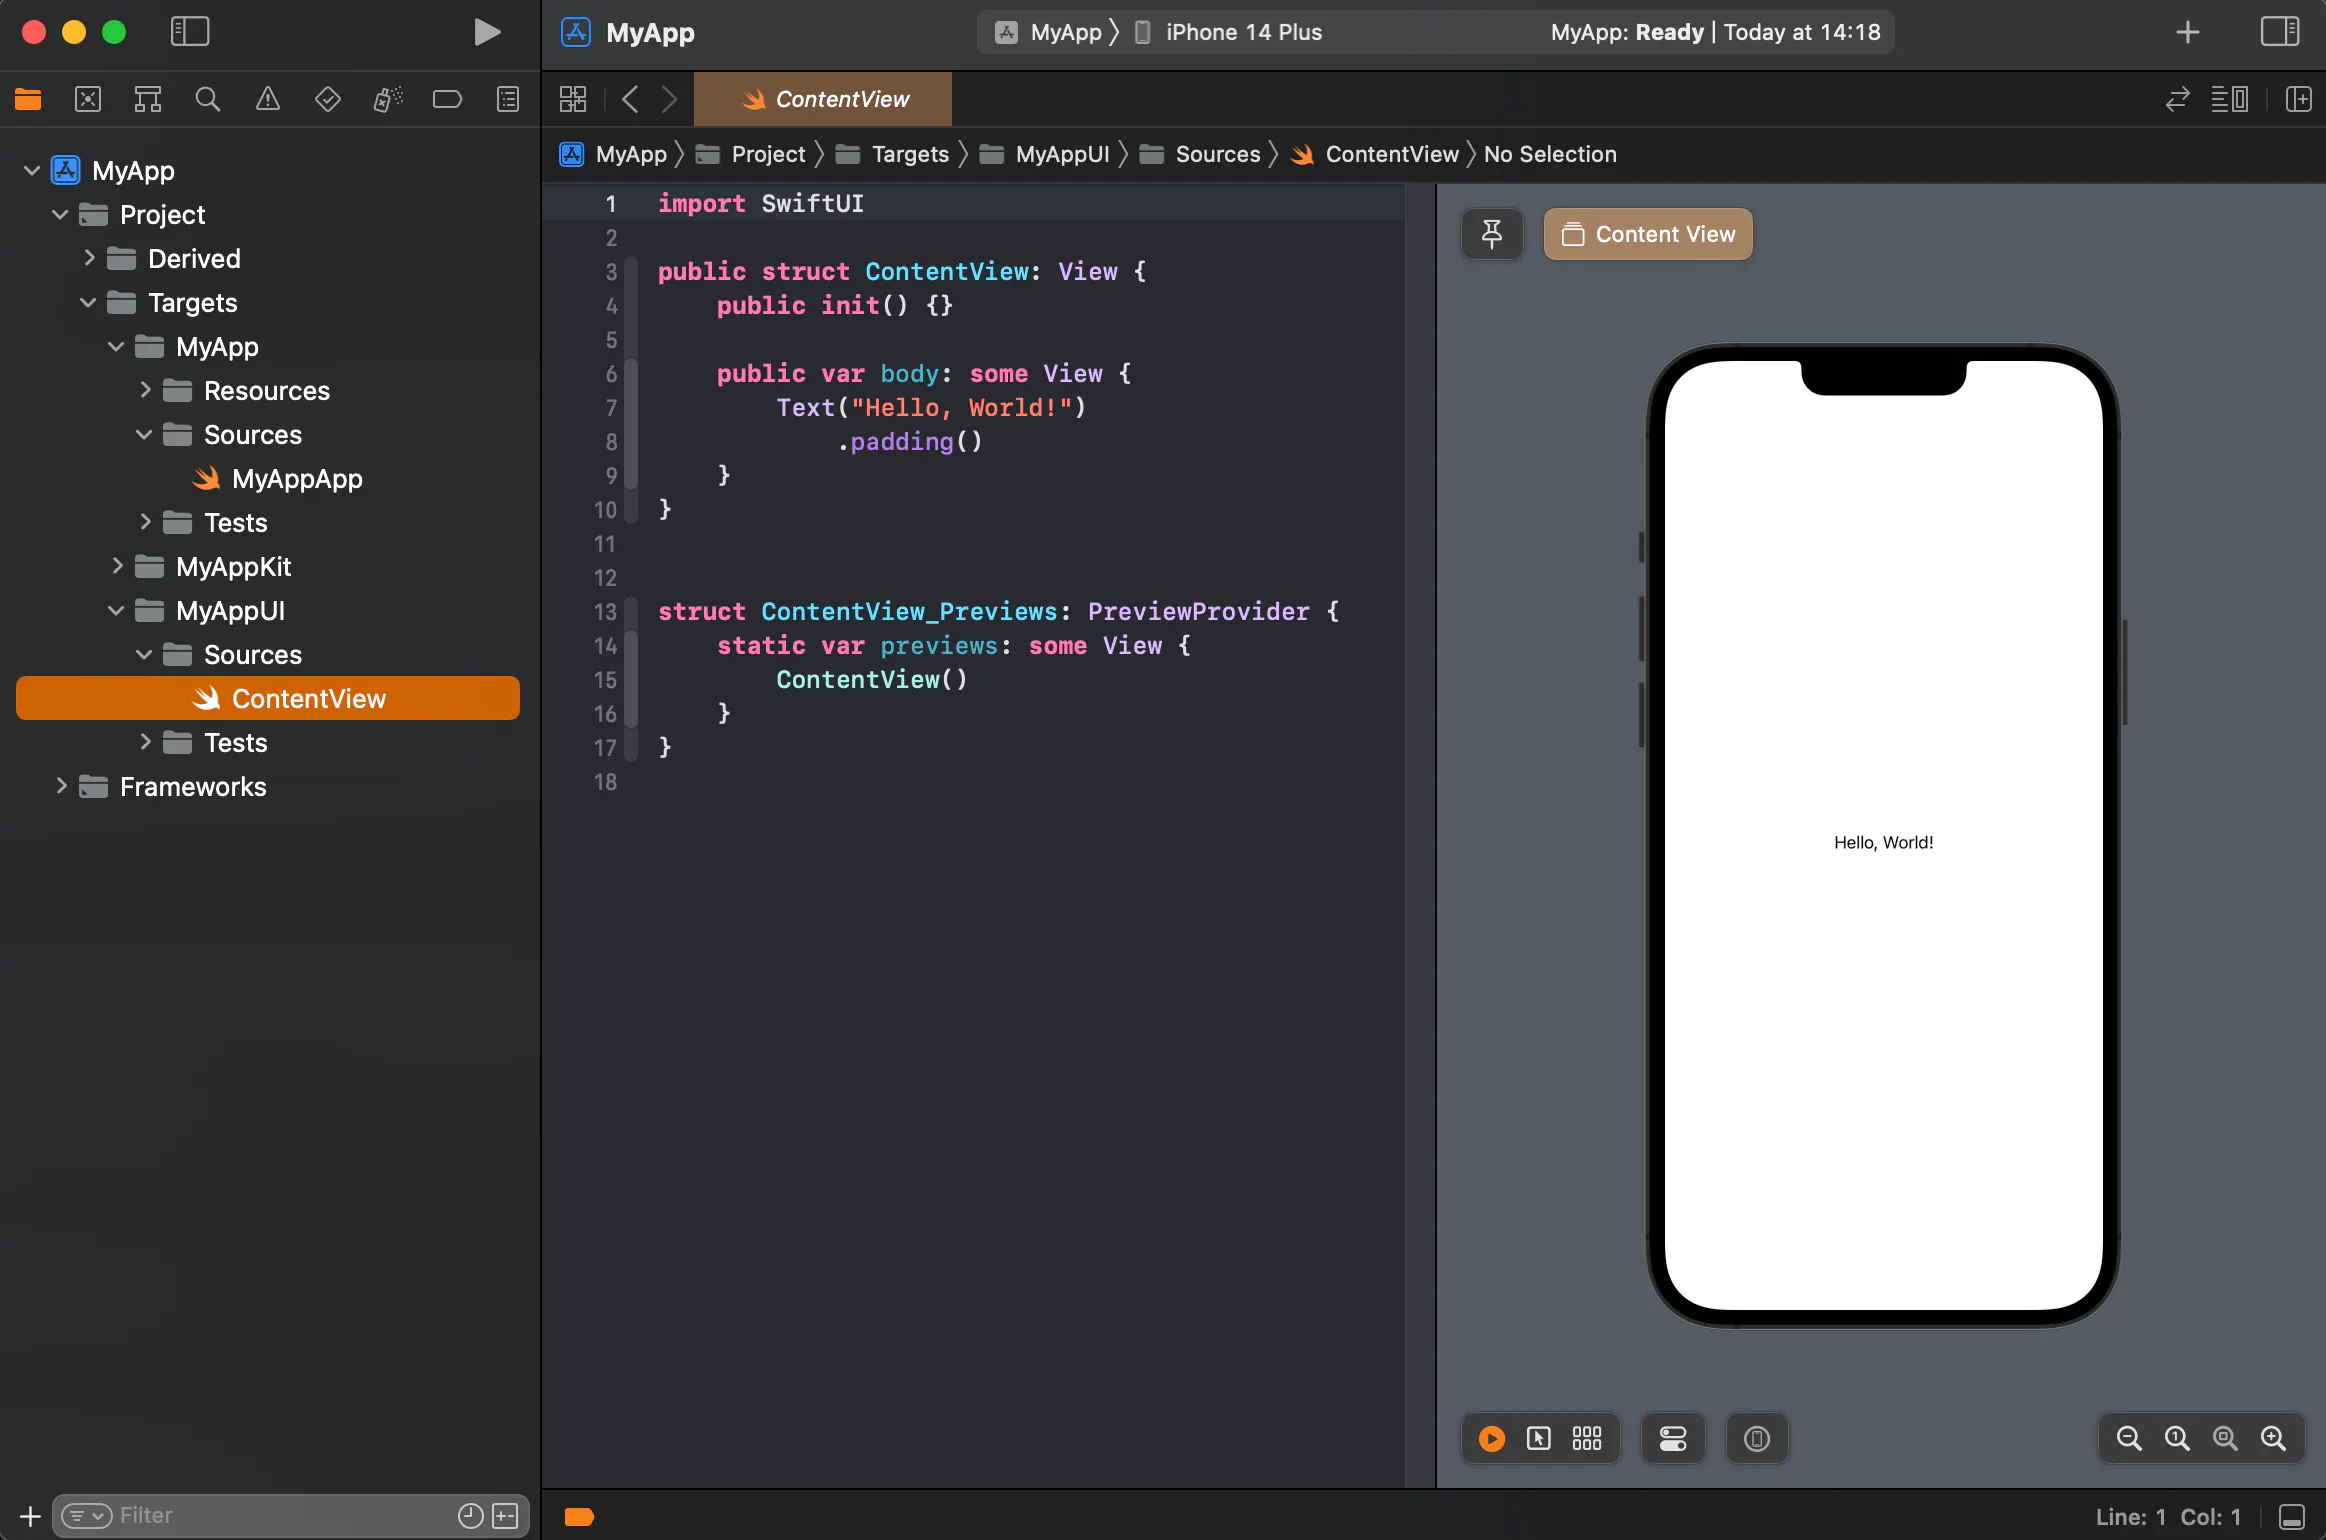
After the tuist edit command, an Xcode window should open up with the project definition of your project loaded. Look for a file named Project.swift. Notice how everything is defined in Swift and we know Swift right?
Once you are satisfied after looking around a bit, close Xcode. If you did not fully quit Xcode, your terminal still displays a message.
123Generating workspace Manifests.xcworkspace
Generating project Manifests
Opening Xcode to edit the project. Press CTRL + C once you are done editing
When this is the case, press CTRL+C, this will stop the tuist edit command you ran earlier and cleans up the files Tuist generated to allow you to edit your project in Xcode.
Before we look at the resulting project in Xcode, let's have a quick look at the generated .gitignore file.
In the .gitignore file it is defined that version control should ignore the Xcode project files. It is this section:
123456789101112...
### Xcode Patch ###
*.xcodeproj/*
!*.xcodeproj/project.pbxproj
!*.xcodeproj/xcshareddata/
!*.xcworkspace/contents.xcworkspacedata
/*.gcno

### Projects ###
*.xcodeproj
*.xcworkspace
...
You will also notice when you list the contents of the MyApp directory, there are no Xcode project files yet. You can also see the directory is not a Git repository yet.
We can fix that by running git init. Adding and committing everything is something I leave as an exercise for you, the reader.
To get the project files we need to be able to open up our code in Xcode, we need to generate those files. Tuist does this with the generate command.
1tuist generate
After a few seconds, Xcode will open with your new MyApp codebase loaded.
When we want to visualize what we just created, run tuist graph.

Compare that to what we have in Xcode, and you can already tell we achieved a lot already.

Let's look at a more elaborate example
We looked at a small sample. Now let's look at an actual project and see how Tuist works in such a use case. Everything we discussed will hold true, we will expand on it.
Dealing With 3rdParty Dependencies
An important part of any software development project is the integration of third-party code. Adding a third-party dependency is straightforward. But there are a few steps involved:
- You add them to the
Dependencies.swiftfile - Let
tuistfetch your dependency, this will also fetch any transient dependencies you need to deal with. - Link the dependency to your Tuist target definition
Add a dependency to the Dependencies.swift file
In this case we add a Swift Package Manager as a dependency.
123456789101112import ProjectDescription

var swiftPackageManagerDependencies = SwiftPackageManagerDependencies(
    [.remote(url: "https://github.com/GetStream/stream-chat-swiftui.git", requirement: .upToNextMajor(from: "4.0.0")),
     .remote(url: "https://github.com/GetStream/stream-chat-swift.git", requirement: .upToNextMajor(from: "4.0.0")),
    ]
)

let dependencies = Dependencies(
    swiftPackageManager: swiftPackageManagerDependencies,
    platforms: [.iOS]
)
Notice how the dependency definition closely resembles a Package.swift definition:
.package(url: "https://github.com/GetStream/stream-chat-swift.git", from: "4.28.0")
Let tuist fetch your dependency, this will also fetch any transient dependencies you need to deal with.
Once you defined your third-party dependency you need to let Tuist fetch the dependency.
1tuist fetch
With the fetch command, Tuist will look up the dependency you defined online, download it and make sure it is available in your project. If the dependency is defined in .package.resolved the defined version and git revision hash are respected. This is important, it allows you to pin your dependency and have a cryptographic check in place making sure you are downloading from the internet what you intend to download. If the dependency is not defined, it will be added to the .package.resolved file.
Link the dependency to your tuist target definition
12345678910let name = "MyTargetName"
...
let sources = Target(name: name,
                platform: platform,
                product: .framework,
                bundleId: "io.tuist.\(name)",
                infoPlist: .default,
                sources: ["Targets/\(name)/Sources/**"],
                resources: [],
                dependencies: [.external(name: "StreamChatSwiftUI"),])
What about other dependency managers?
We talked about Swift Package Manager dependencies. But obviously, there are other ways to deal with dependencies. Things like CocoaPods or Carthage.
Tuist is opinionated in this area. Tuist chose not to support CocoaPods.
You can also incorporate frameworks, XCFrameworks, libraries, system frameworks and system libraries. To learn more about how to incorporate these, have a look at the Tuist documentation.
Static & Dynamic Frameworks
Something to be aware of when working with a modularized codebase is how things are loaded into memory differently when a framework is static or dynamic.
Static frameworks are pre-compiled libraries linked at build time. This means that the code of the framework is incorporated into the application binary file, and the application can execute without the need for the framework to be present at runtime.
Dynamic frameworks are linked at runtime. They are separate files that are loaded into memory when the application starts and are used as needed by the application. This means that the application code doesn't include the framework code, but instead, the framework code is loaded dynamically into memory when the application needs to use it.
You have to deal with static or dynamic frameworks. Often, Swift packages are not declared to be dynamic frameworks. And then there can be some trouble ahead if you do not deal with this. Linking a static framework to multiple targets results in the contents of the static framework being loaded into memory multiple times. This can cause issues at runtime.
Fortunately, Tuist allows you to declare a dependency a dynamic framework, overriding the default (!) static definition if nothing is defined in the Package.swift file of the dependency.
1234567891011121314var swiftPackageManagerDependencies = SwiftPackageManagerDependencies(
    [.remote(url: "https://github.com/GetStream/stream-chat-swiftui.git", requirement: .upToNextMajor(from: "4.0.0")),
     .remote(url: "https://github.com/GetStream/stream-chat-swift.git", requirement: .upToNextMajor(from: "4.0.0")),
    ],
    productTypes: [
        "StreamChatSwiftUI" : .framework,
        "StreamChat": .framework,
    ]
)

let dependencies = Dependencies(
    swiftPackageManager: swiftPackageManagerDependencies,
    platforms: [.iOS]
)
Notice the productTypes argument. With that simple addition, we tell Tuist to make sure it deals with the named dependencies as dynamic frameworks. The Tuist documentation describes the default behavior when a product type is not defined on a Swift Package.
Visualizing All 3rd-Party Dependencies
When dealing with 3rd-party dependencies, it is useful to have a visual representation of your entire configuration. Tuist supports this out of the box with the graph command.
Simply run:
1tuist graph
You will end up with a nice graph explaining what targets are available in your project and how things all tie together. This is useful in determining where to put new code and also when discussing what API to expose to users of you components within your codebase.

There is one thing though, the resulting graph looks very cluttered due to all Test targets being rendered. You can easily get rid of all the test targets by passing an argument to the tuist graph command.
1tuist graph --skip-test-targets

There are some more useful arguments you can pass. You can let the graph command render in a different format instead of png, like dot, json, or svg.
A fun option to use, once you've dealt with encapsulating your third-party dependencies, is to filter both the test and external dependencies.
1tuist graph --skip-test-targets --skip-external-dependencies

Perfect. A clear picture of your world. The world you write code in for this project.
Info.plist entries
Tuist generates a default Plist file for you. Any changes you make to the plist file within Xcode will be overwritten any time you run tuist generate again.
So, how can we make edits or additions in the Info.plist stick?
How to do this, is best explained with some code:
1234567891011121314151617181920212223let infoPlist: [String: InfoPlist.Value] = [
    "CFBundleShortVersionString": InfoPlist.Value(stringLiteral: versionNumber),
    "CFBundleVersion": "1",
    "UIMainStoryboardFile": "",
    "UILaunchStoryboardName": "LaunchScreen",
    "NSAppleMusicUsageDescription": "Please allow access to media.",
    "NSCameraUsageDescription": "Please allow access to the Camera to add photo's to posts.",
    "NSPhotoLibraryUsageDescription": "Please allow access to the Photo library to add photo's to posts.",
    "NSMicrophoneUsageDescription": "Please allow access to the Mic to talk in audio spaces",
    "NSLocalNetworkUsageDescription": "Please allow access to local network to enable audio calling",
    "UIApplicationSceneManifest": ["UISceneConfigurations":[:]]
            ]

let name = "MyTargetName"
...
let sources = Target(name: name,
    platform: platform,
    product: .framework,
    bundleId: "io.tuist.\(name)",
    infoPlist: .extendingDefault(with: infoPlist),
    sources: ["Targets/\(name)/Sources/**"],
    resources: [],
    dependencies: [.external(name: "StreamChatSwiftUI"),])
Notice how an infoPlist variable is created and passed into the target definition. This will make sure this target has all the Plist entries you defined.
Product Versions & Build Numbers
Product Version
I prefer a reasonably static product version number. I like to define the current version being created at the top level of the configuration of the Tuist project definition. This version then trickles down to all individual targets.
Build Number
Build numbers are a different matter. This can be an ever-increasing number, but this would require some bookkeeping on what the previous build number was and I just don't know how frequently builds are generated. This could be everywhere between multiple times each day and maybe once a month.
The biggest requirement of the build number is that it has to be higher than the previous build number. It is ok to reset the build number with each version bump. But I always think, why bother?
What I prefer to do is to base the build number on the number of commits on the current branch. Especially when you always build from a specific branch this works great. A build number based on the number of commits that got us to where we are right now is a positive number that tends to get bigger over time. It also gives quite a good feel of the distance between the two builds.
Obviously, this does not tell the whole story, a single big commit can easily have more impact than 10 smaller ones, but it is intuitive to assume a build bumping the build number up by 50 introduces more changes than a build only bumping the build number by 10.
With Tuist and some scripting, it is easy to create such a setup.
In the plist section, if you look closely, we add two plist entries.
CFBundleShortVersionString- The release or version number of the bundle. This key is a user-visible string for the version of the bundle. The required format is three period-separated integers, such as 10.14.1. The string can only contain numeric characters (0-9) and periods.
CFBundleVersion- The version of the build that identifies an iteration of the bundle. This key is a machine-readable string composed of one to three period-separated integers, such as 10.14.1. The string can only contain numeric characters (0-9) and periods.
On top of that, we need to do some scripting through target, post action. This is something that runs after your target has been handled during the build.
1234567891011let buildNumberTargetAction = TargetScript.post(path: .relativeToRoot("bin/set_build_number.sh"), name: "Set build number", basedOnDependencyAnalysis: false)

let sources = Target(name: name,
    platform: platform,
    product: .framework,
    bundleId: "io.tuist.\(name)",
    infoPlist: .extendingDefault(with: infoPlist),
    sources: ["Targets/\(name)/Sources/**"],
    resources: [],
    scripts: [buildNumberTargetAction],
    dependencies: [.external(name: "StreamChatSwiftUI"),])
You might notice a script being mentioned in the buildNumberTargetAction. here's the content of this script:
1234567891011121314151617181920212223#!/bin/bash

git=$(sh /etc/profile; which git)
number_of_commits=$("$git" rev-list HEAD --count)

target_plist="$TARGET_BUILD_DIR/$INFOPLIST_PATH"
dsym_plist="$DWARF_DSYM_FOLDER_PATH/$DWARF_DSYM_FILE_NAME/Contents/Info.plist"

for plist in "$target_plist" "$dsym_plist"; do
  if [ -f "$plist" ]; then
    /usr/libexec/PlistBuddy -c "Set :CFBundleVersion ${number_of_commits}" "$plist"
  fi
done

settings_root_plist="$TARGET_BUILD_DIR/$PRODUCT_NAME.app/Settings.bundle/Root.plist"

if [ -f "$settings_root_plist" ]; then
  settingsVersion="$APP_MARKETING_VERSION (${number_of_commits})"
  /usr/libexec/PlistBuddy -c "Set :PreferenceSpecifiers:1:DefaultValue $settingsVersion" "$settings_root_plist"
else
  echo "Could not find: $settings_root_plist"
  exit 0
fi
This script does a number of fun things.
It queries Git for the number of commits on the current branch and stores the value in number_of_commits.
It then looks up the current target's (generated) plist file and info plist of the dSym file generated during build time.
It then sets the CFBundleVersion to the number of commits.
It then does the same for a settings plist that might exist.
The target action looks like this in Xcode:

The CFBundleShortVersionString is set at the Tuist project level, this is because this version is usually important on the development iteration level. The CFBundleVersion directly relates to the current number of commits on a branch. Since a build is usually done from a specific branch, knowing the revision number based on Git repository contents allows you to quickly determine the exact commit the build being discussed is based on.
Conclusion
We did not review all the details of the interesting and useful things we did in our Tuist project. We did not mention things like:
- SwiftLint linting
- Codesigning
- We use automatic signing, but this requires us to set the right development team
- Convenient Launch arguments
- This allows us to toggle network payload logging in some instances by enabling a default disabled launch argument.
All in all, at Stream we are convinced of the value of a modularized Xcode project:
- It neatly compartmentalizes your implementation files
- Improves compile times (significantly)
- Decreases the number of merge conflicts by keeping the biggest source of conflicts, the Xcode project files, out of version control
There is much more Tuist can do for you. We encourage you to have a look for yourself and as always, if you have questions, feel free to ask. The community supporting Tuist is amazingly helpful, especially on Slack.