

Why Nitric?
Nitric is a multi-language framework designed to simplify and accelerate cloud application development. It abstracts away the complexities of cloud infrastructure, allowing developers to focus on writing code rather than managing underlying resources. Nitric provides similar benefits for backend development to those cross-platform solutions like Ionic and Flutter provide for frontend development. Key benefits of using Nitric include:
- Accelerated Development: Nitric automates the provisioning of necessary infrastructure, saving you time and effort.
- Portability: Build once, deploy anywhere. Nitric supports multiple cloud providers (AWS, GCP, Azure) without requiring code changes.
- Developer-Friendly: The framework is designed to be familiar to developers with experience in frameworks like Express or Koa.
- Infrastructure from Code: Nitric uses a declarative approach that infers cloud infrastructure from application code, making it easier to manage and version control.
- Built-in Features: It offers essential building blocks like API services, storage, queues, events, and scheduled tasks.
Why Ionic
Ionic is a popular open-source framework for building hybrid mobile applications using web technologies such as HTML, CSS, and JavaScript.
It provides a comprehensive set of tools and UI components to accelerate development and deliver high-performance apps that run on multiple platforms (iOS, Android, and web) from a single codebase.
Key benefits of using Ionic include:
- Cross-platform compatibility: Develop once, deploy everywhere.
- Rapid development: Leverage pre-built UI components and a streamlined workflow.
- Performance optimization: Achieve native-like app performance.
- Strong community and ecosystem: Benefit from extensive support and resources.
- Cost-effective: Reduce development time and resources compared to native app development.
What You'll Learn
- How to build an API in JavaScript using Nitric's SDK.
- How to share code between a Nitric backend and an Ionic frontend.
What We'll Build
You'll build an API for a library that allows users to authenticate, borrow, and return books from its catalog.
Prerequisites
Basic knowledge of Ionic development with React, as covered in the Build Your First App tutorial.
Basic knowledge of backend development. Many of the primitives necessary for this codelab have been created for you, but you might occasionally need to troubleshoot issues.
What You'll Need
If you intend to follow along with this series, you need three pieces of software—the Ionic CLI, the Nitric SDK, and AWS. Some additional dependencies that you will need but not interface with directly are docker (most easily installed with Docker Desktop) and Postgres.
Additionally, you need to set up accounts on Descope. This software service will be used for authentication.
Setting Up Our Project
In this first article, we will focus on setting up the starting point for our application. First, we want to create a new folder called notes by running mkdir notes in the terminal.
Then we will navigate into the folder using cd notes and create a new backend project and a new frontend project.
Setting Up the API
To create our backend project, we will need the Nitric CLI installed. From the terminal, run nitric new notes-api ts-starter in the project root. This command will create a new Nitric project called notes-api using the TypeScript template. Once the command is finished running, open the project root in your editor and you should notice the following structure:
- notes-api
  - services
    - hello.ts
  - .gitignore
  - nitric.yaml
  - package.json
  - README.md
  - tsconfig.json
The two files that should stand out are the hello.ts file and the nitric.yaml file. To understand how Nitric works, open the nitric.yaml file. You should see the following:
123456name: edge-notes
services:
    - match: services/*.ts
      runtime: ""
      type: ""
      start: npm run dev:services $SERVICE_PATH
The previous code does the following:
- Defines the project's name, which will directly map to cloud resources.
- Defines the API services to run and deploy by declaring a match of every TypeScript file in the services directory.
- Defines the start command that will run each service while forwarding the path of the currently mapped service.
Inspect the package.json file and notice that npm run dev:services script maps to nodemon -r dotenv/config. In the case of hello.ts, the full start command would be nodemon -r dotenv/config services/hello.ts.
Next, let's inspect the hello.ts file. You should see the following code:
1234567891011import { api } from "@nitric/sdk";

const helloApi \= api("main");

helloApi.get("/hello/:name", async (ctx) \=\> {
  const { name } \= ctx.req.params;

  ctx.res.body \= \`Hello ${name}\`;

  return ctx;
});
The previous code does the following:
- Import the API resource from Nitric's SDK.
- Create an API called main.
- Create a Request Handler for HTTP GET requests to the path hello that accepts a path parameter called name.
- Inside the Request Handler, get the name property from the context's request parameters.
- Asign a response body of "Hello" concatenated with the name property.
- Return the request context.
Running the API
Now let's test our API locally. Inside the terminal, run nitric start from the API project folder. This command starts our hello service using the start command from the nitric.yaml file. When the command is finished, a dashboard should open in the browser resembling the following:
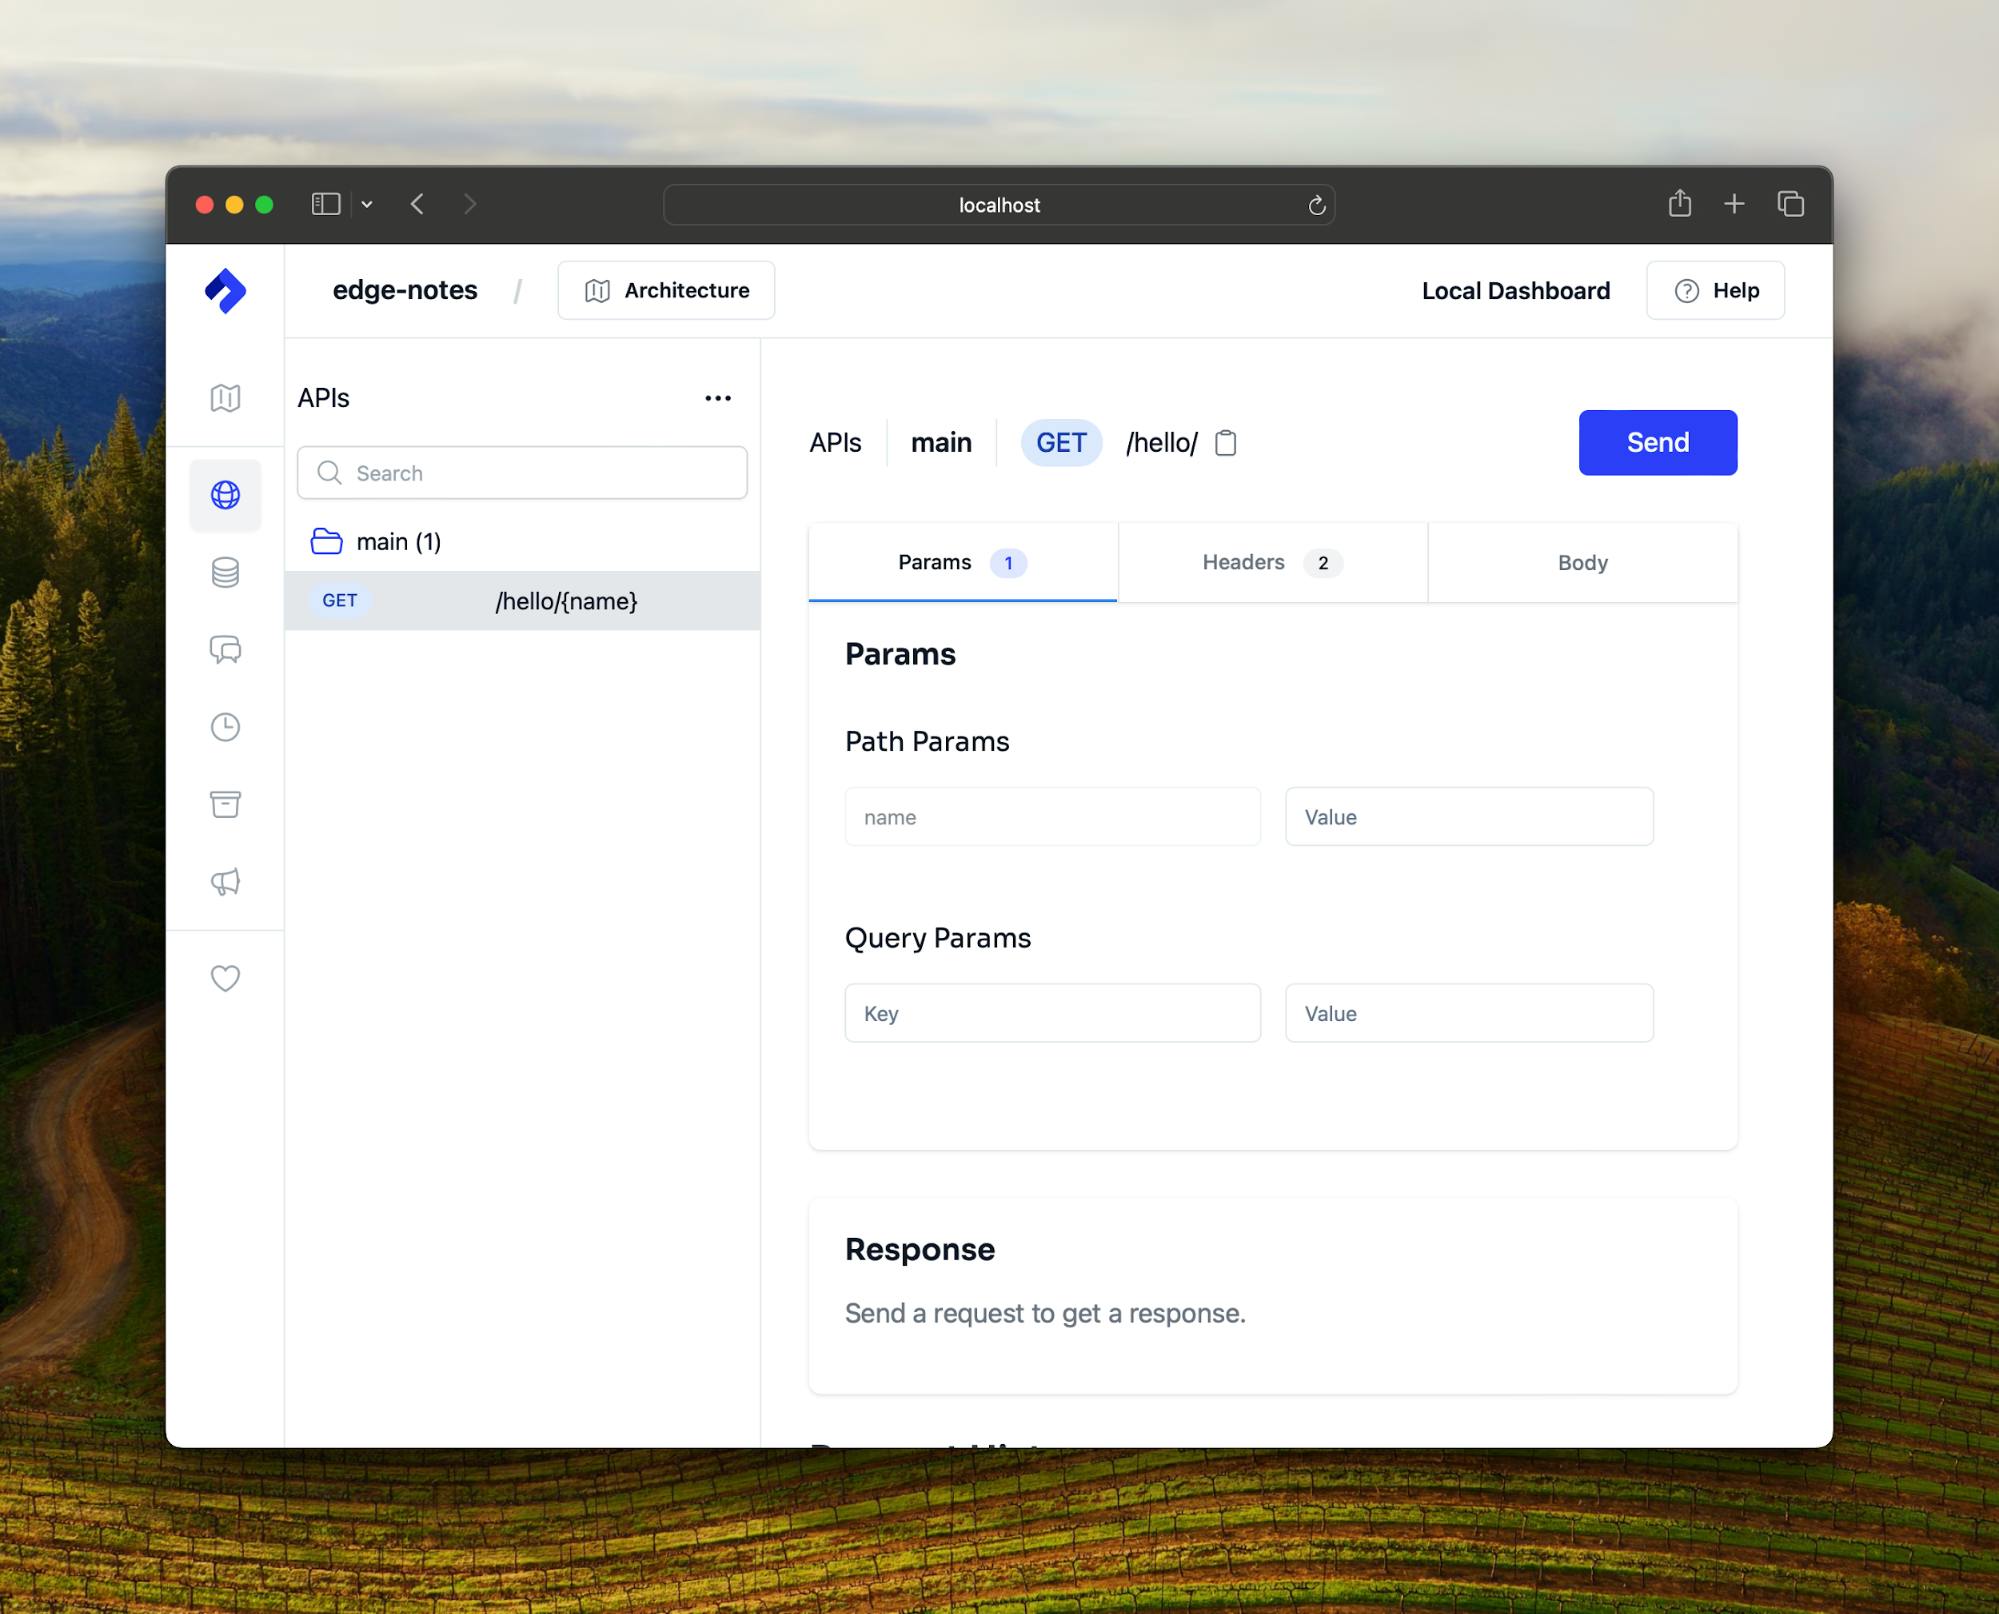
The first screen that we see is the mechanism for testing API endpoints. Notice that there is a single endpoint on the left that matches the endpoint in hello.ts. On the right of the screen, there is a simple UI for sending requests to the API. We can change the parameters, headers, and body of the request. Let's send our first request. In the input field for the name parameter, add your name and then click send.
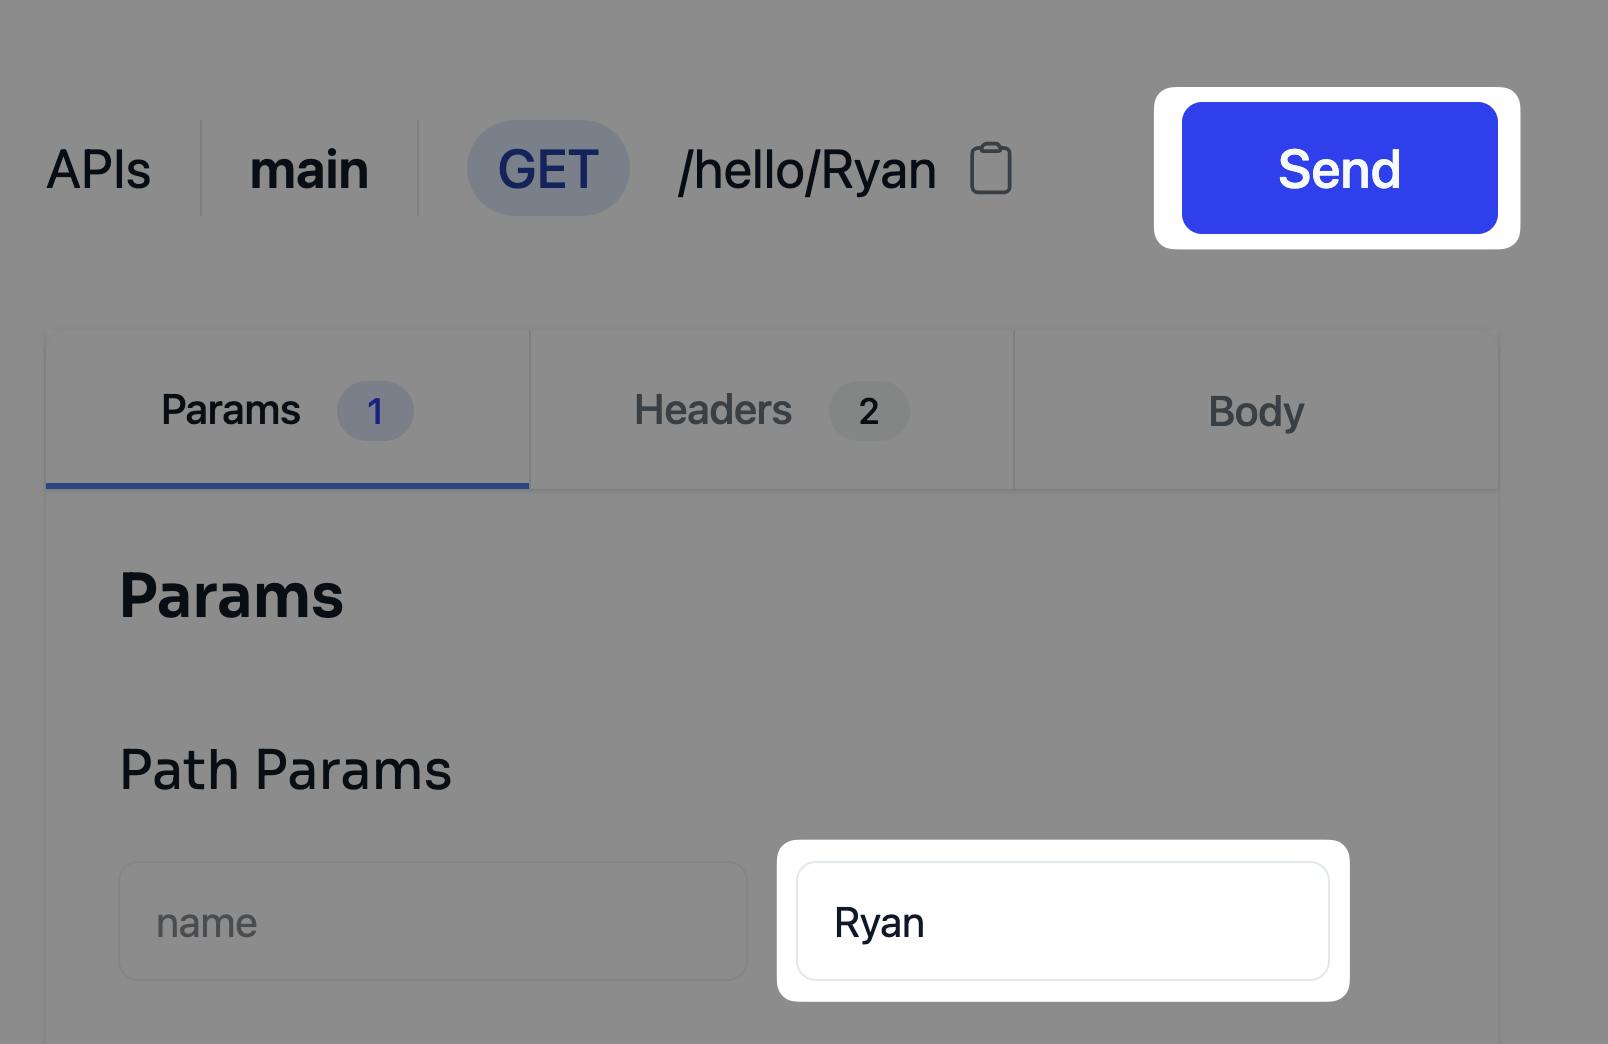
If you scroll to the Response section of the Request UI, you should see Hello Ryan and the response's metadata (status, time, and size.)
Before we move off the dashboard, click on the Architecture button in the header. You should see the following diagram:

The above figure shows us how our API is defined and used. If we had a more complex API that would be represented here with the ability to navigate to each service. It is a powerful tool that demonstrates how Nitric infers architecture documentation along with infrastructure.
Setting Up the Application
Now, let's set up and explore our Ionic application. From the project root, run the following command in the terminal:
1ionic start "Notes App" blank --type=react --project-id=notes-app
The previous command does the following:
- Generate a new blank Ionic application called "Notes App"
- Use React as the web framework
- Use notes-app as the Project ID, affecting the slug and directory name.
Once the command completes, you should see the following folder structure:
- notes-app
  - cypress
  - public
  - src
    - components
    - pages
    - App.tsx
  - capacitor.config.ts
  - cypress.config.ts
  - index.html
  - ionic.config.json
  - vite.config.ts
Let's briefly discuss these components.
cypressincludes end-to-end tests & configurationpublicincludes public assets such as imagessrcincludes the source code of the application.componentsincludes any shared UI components.pagesincludes any page-level UI components.App.tsxconfigures application styles and routing.main.tsxis the entry point for the React application.
capacitator.config.tscontrols high-level options for Capacitor tooling. Capacitor is the native runtime for building Web Native apps.cypress.config.tscontrols high-level options for Cypress tooling.index.htmlis the entry point for the application.ionic.config.jsonis the global configuration file for Ionic.vite.config.tscontrols high-level options for Vite tooling. Vite is a front-end build tool that provides a faster and leaner development experience. Once the command completes, execute npm run dev inside the new project to run the application. You should see the following UI:
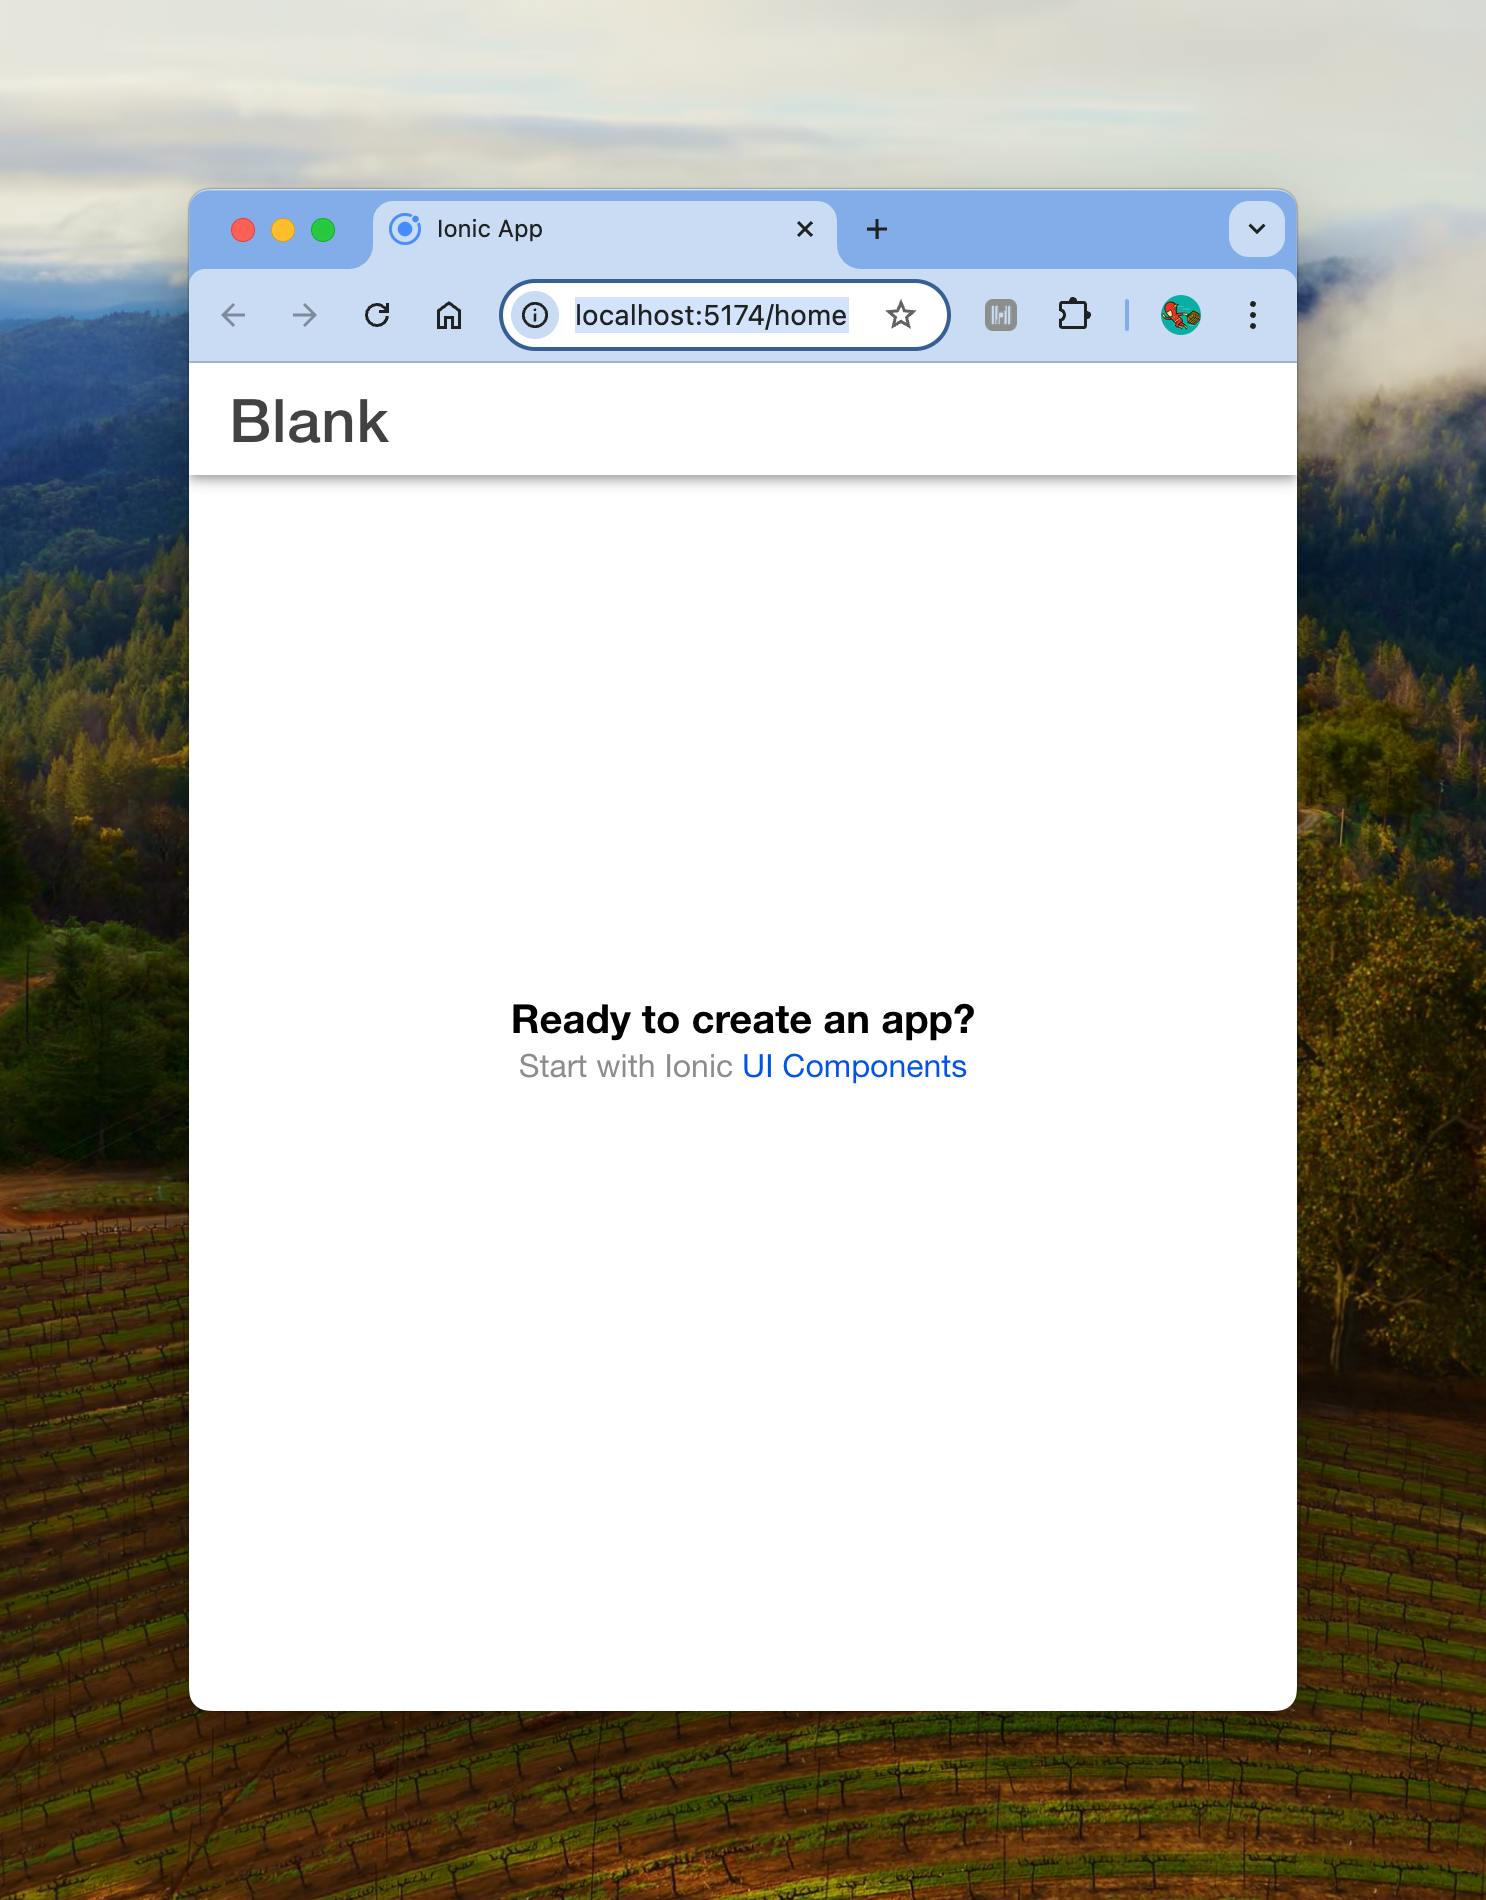
The blank template in Ionic creates an application with a single Home page that resolves to src/pages/Home.tsx. Open this file and examine the following code:
12345678910111213141516171819202122232425import { IonContent, IonHeader, IonPage, IonTitle, IonToolbar } from '@ionic/react';
import ExploreContainer from '../components/ExploreContainer';
import './Home.css';

const Home: React.FC = () => {
  return (
    <IonPage>
      <IonHeader>
        <IonToolbar>
          <IonTitle>Blank</IonTitle>
        </IonToolbar>
      </IonHeader>
      <IonContent fullscreen>
        <IonHeader collapse="condense">
          <IonToolbar>
            <IonTitle size="large">Blank</IonTitle>
          </IonToolbar>
        </IonHeader>
        <ExploreContainer />
      </IonContent>
    </IonPage>
  );
};

export default Home;
This code defines a React functional component called Home, which represents the main page of a mobile app built using Ionic React. The component creates the basic structure for the home page of the app.
The output of this component is a rendered page with a header and content area. The header displays the title "Blank" twice - once in the main header and once in a collapsible header that appears when scrolling. The content area includes a custom ExploreContainer component, containing the main content of the page.
To achieve its purpose, the Home component uses a combination of Ionic components to create a standard mobile app layout:
IonPagewraps the entire content, representing a single app screen.- IonHeader and
IonToolbarare used to create the page header, which contains anIonTitlewith the text "Blank". IonContentrepresents the main content area of the page. It has a fullscreen prop to occupy the full screen of the device.- Inside
IonContent, there's anotherIonHeadermarked as collapsible (with thecollapse="condense"prop). This creates a larger title that can shrink when scrolling, a common pattern in mobile apps.
- Inside
- Finally, the
ExploreContainercomponent is rendered within the content area.
To understand how this page is used, let's examine src/App.tsx.
1234567891011121314151617181920212223242526272829303132333435363738394041424344454647484950515253import { Redirect, Route } from 'react-router-dom';
import { IonApp, IonRouterOutlet, setupIonicReact } from '@ionic/react';
import { IonReactRouter } from '@ionic/react-router';
import Home from './pages/Home';

/* Core CSS required for Ionic components to work properly */
import '@ionic/react/css/core.css';

/* Basic CSS for apps built with Ionic */
import '@ionic/react/css/normalize.css';
import '@ionic/react/css/structure.css';
import '@ionic/react/css/typography.css';

/* Optional CSS utils that can be commented out */
import '@ionic/react/css/padding.css';
import '@ionic/react/css/float-elements.css';
import '@ionic/react/css/text-alignment.css';
import '@ionic/react/css/text-transformation.css';
import '@ionic/react/css/flex-utils.css';
import '@ionic/react/css/display.css';

/**
 * Ionic Dark Mode
 * -----------------------------------------------------
 * For more info, please see:
 * https://ionicframework.com/docs/theming/dark-mode
 */

/* import '@ionic/react/css/palettes/dark.always.css'; */
/* import '@ionic/react/css/palettes/dark.class.css'; */
import '@ionic/react/css/palettes/dark.system.css';

/* Theme variables */
import './theme/variables.css';

setupIonicReact();

const App: React.FC = () => (
  <IonApp>
    <IonReactRouter>
      <IonRouterOutlet>
        <Route exact path="/home">
          <Home />
        </Route>
        <Route exact path="/">
          <Redirect to="/home" />
        </Route>
      </IonRouterOutlet>
    </IonReactRouter>
  </IonApp>
);

export default App;
This code defines the main structure and routing for our React-based Ionic application. Its purpose is to set up the basic framework for a mobile app, including the necessary styles and navigation.
The code achieves its purpose by doing several things:
- It imports necessary components and styles from various libraries, particularly Ionic and React Router. These imports provide the building blocks for creating a mobile application interface and handling navigation.
- It sets up the Ionic framework by executing
setupIonicReact(). This prepares the app to use Ionic's components and features. - The main part of the code is the
Appcomponent. This component defines the overall structure of the application using Ionic components. It usesIonAppas the root component, a container for the entire application. - Inside
IonApp, it sets up routing usingIonReactRouterand IonRouterOutlet. These components work together to handle application navigation. - The code defines two routes:
- A route for
"/home"that renders the Home component. - A route for the root path
"/"that redirects to"/home".
- A route for
The App component is configured inside of the main.tsx file:
1234567891011import React from 'react';
import { createRoot } from 'react-dom/client';
import App from './App';

const container = document.getElementById('root');
const root = createRoot(container!);
root.render(
  <React.StrictMode>
    <App />
  </React.StrictMode>
);
This code finds the root container, creates a React root in it, and then renders the main App component. the React The root container is defined in index.html.
12345678910<!DOCTYPE html>
<html lang="en">
  <head>
    ...
  </head>
  <body>
    <div id="root"></div>
    <script type="module" src="/src/main.tsx"></script>
  </body>
</html>
When this HTML file is loaded by a browser, it sets up the basic structure and metadata for the app, then it loads the main JavaScript file which handles the functionality and content of the app.
Integrating the Frontend & Backend
Now, let's hook up the /hello backend endpoint to our front-end application. To start, install TanStack Query by running npm i @tanstack/react-query inside the application folder. TanStack query is a powerful asynchronous state management library that allows us to manage and share requests made to the backend.
Next, let's initialize our dependency. Create a new folder in src called app. This folder will house any app-wide concerns such as content providers or routing.
Create a file called providers.tsx. Inside of it, add the following code:
12345678910111213import { AuthProvider } from "@descope/react-sdk";
import { QueryClient, QueryClientProvider } from "@tanstack/react-query";
import { PropsWithChildren } from "react";

export default function AppProviders({ children }: PropsWithChildren) {
  return (
    <QueryClientProvider client={queryClient}>
            {children}
    </QueryClientProvider>
  );
}

const queryClient = new QueryClient();
This code defines a React component called AppProviders. Its purpose is to set up and provide context providers to all child components in a React application.
The AppProviders component achieves its purpose by creating a structure of nested providers. It first wraps everything in a context provider called QueryClientProvider. QueryClientProvider is imported from TanStack Query and used for managing data fetching and caching in the application. Then, it places its children components inside the QueryClientProvider.
To use this component, open App.tsx and wrap the body of the App component with the AppProviders component. The output should resemble the following code:
12345678910111213141516const App: React.FC = () => (
  <AppProviders>
    <IonApp>
      <IonReactRouter>
        <IonRouterOutlet>
          <Route exact path="/home">
            <Home />
          </Route>
          <Route exact path="/">
            <Redirect to="/home" />
          </Route>
        </IonRouterOutlet>
      </IonReactRouter>
    </IonApp>
  </AppProviders>
);
Now, we can query the API using TanStack Query. Inside of Home.tsx import useQuery from the library and the following function to the bottom of the file:
12345678910111213import { useQuery } from "@tanstack/react-query";

...

function useQueryHello(name: string) {
  return useQuery<string>({
    queryKey: [`name-${name}`],
    queryFn: async () => {
      const response = await fetch(`/api/hello/${name}`);
      return await response.text();
    },
  });
}
The main purpose of this function is to create a reusable component to fetch our greetings. By using TanStack Query, it handles caching, re-fetching, and loading states automatically.
Notice that the fetch method uses /api/hello/${name} rather than our endpoint. Nitric defaults to blocking requests from different origins. To avoid getting CORS errors, let's set up a proxy. Open vite.config.ts and add a server with the following code inside of the object passed to defineConfig:
12345678910111213export default defineConfig({
  ...
  server: {
    proxy: {
      "/api": {
        target: "http://localhost:4006",
        changeOrigin: true,
        secure: false,
        rewrite: (p) => p.replace(/^\/api/, ""),
      },
    },
  },
});
Make sure that the target URL reflects the URL from Nitric. The above configuration will rewrite requests from /api to http://localhost:4006 and remove /api.
Finally, we can integrate the query with our UI. At the top of the Home component, add the following code to get the data from our useQueryHello function:
1const { data: greeting } \= useQueryHello("world");
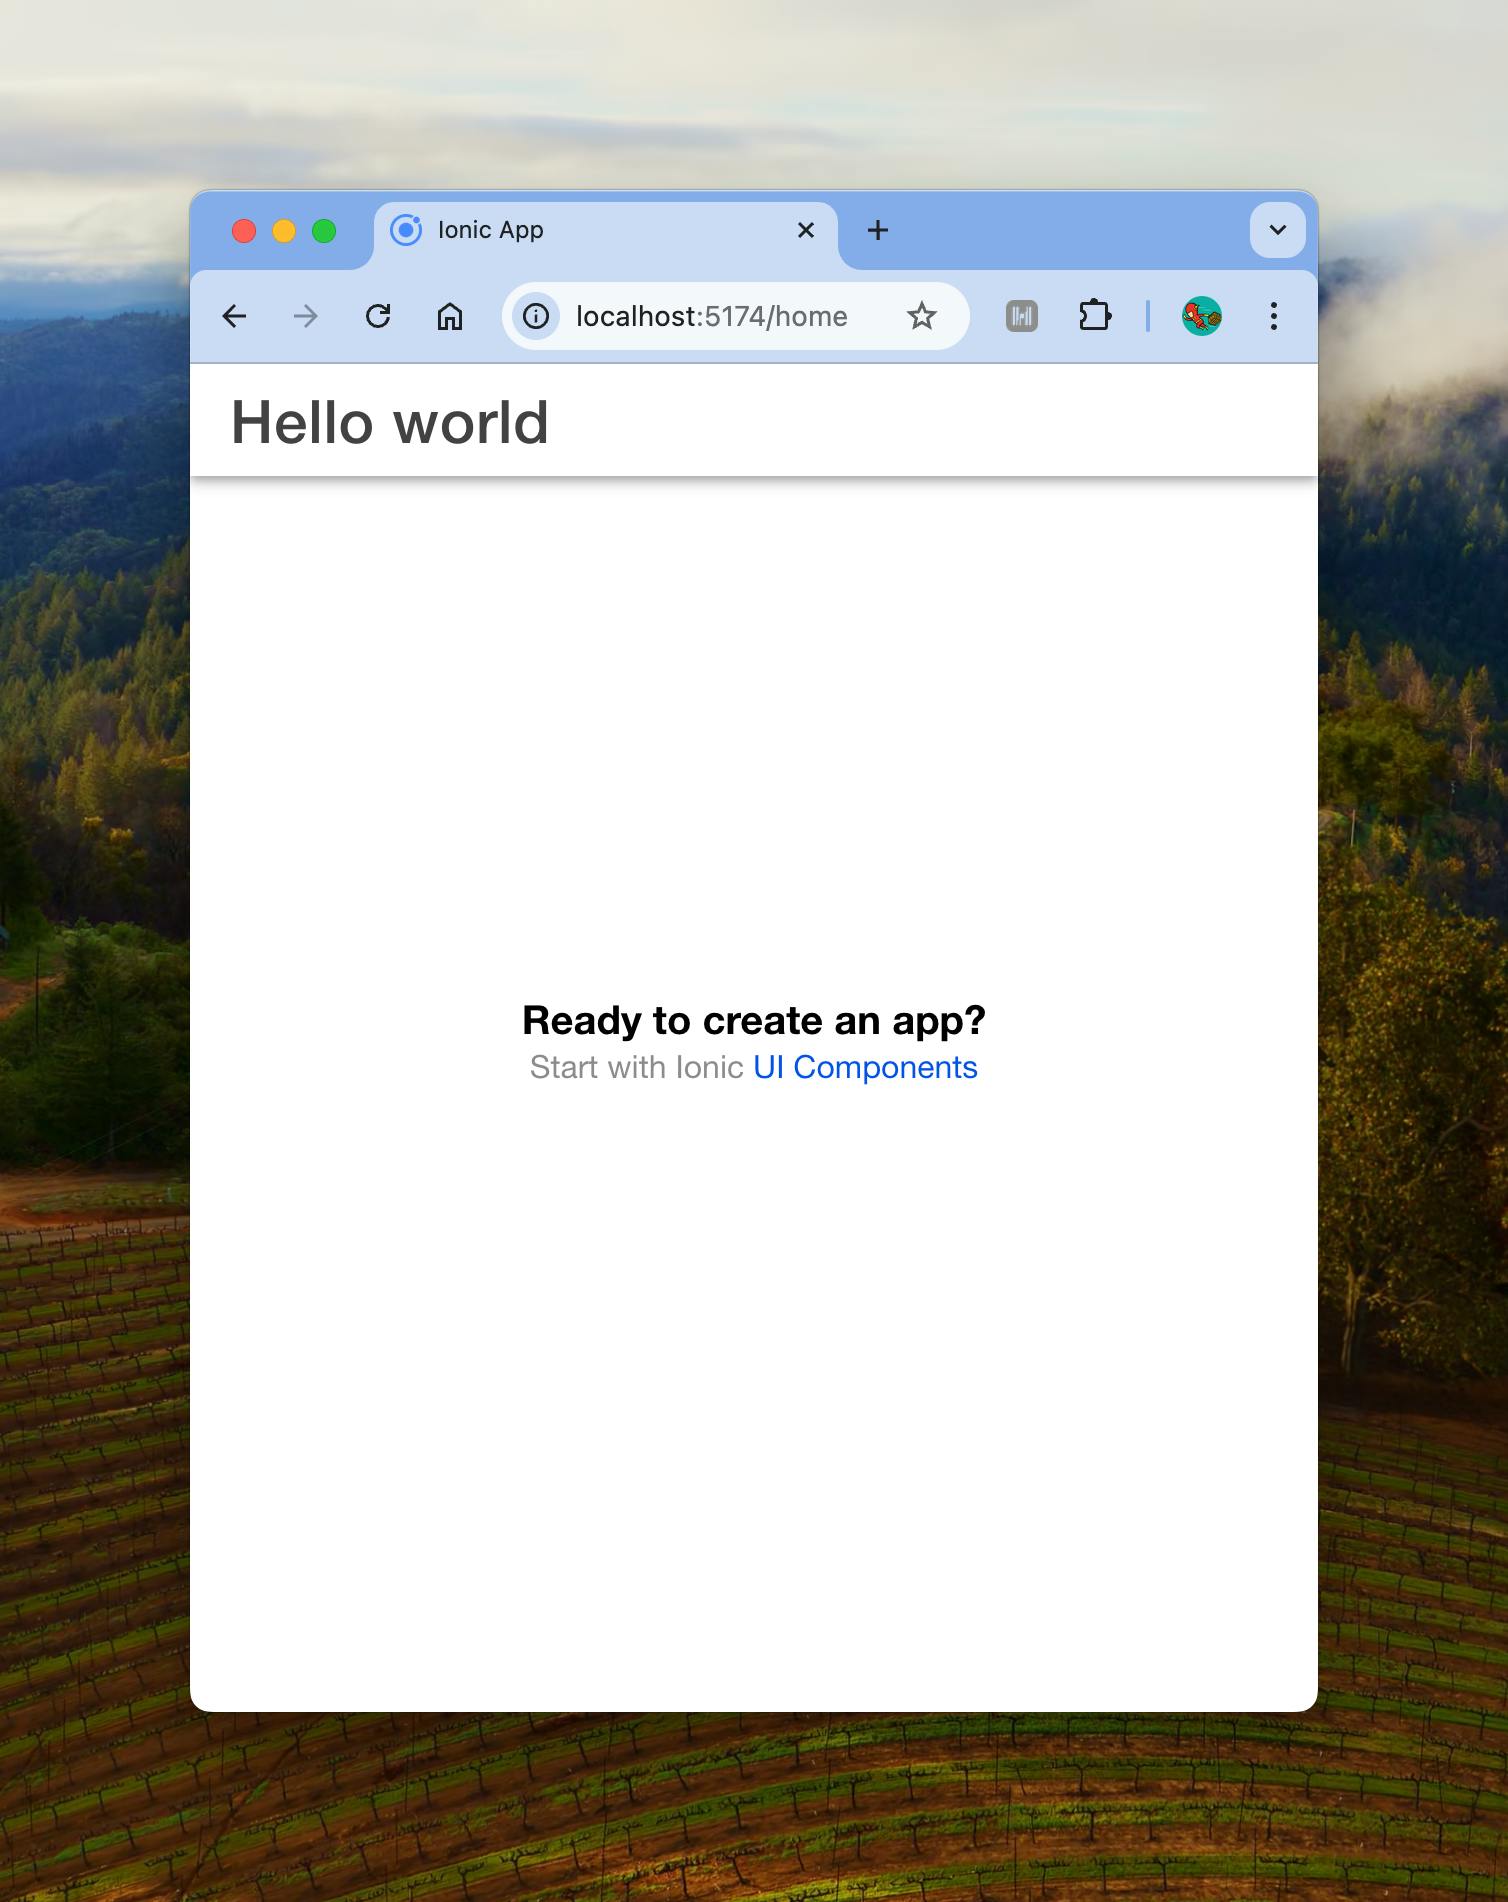
Now replace the instances of "Blank" with the greeting from the server. The final output should resemble the following:
12345678910111213141516171819202122const Home: React.FC = () => {
  const { data: greeting } = useQueryHello("world");

  return (
    <IonPage>
      <IonHeader>
        <IonToolbar>
          <IonTitle>{greeting}</IonTitle>
        </IonToolbar>
      </IonHeader>
      <IonContent fullscreen>
        <IonHeader collapse="condense">
          <IonToolbar>
            <IonTitle size="large">{greeting}</IonTitle>
          </IonToolbar>
        </IonHeader>

        <ExploreContainer />
      </IonContent>
    </IonPage>
  );
};
Upon refreshing the browser, the title on the Home page should mirror the following image.
Conclusion
In this article, we've learned the benefits of using tools like Nitric and Ionic to make us more productive. We set up a basic Nitric API and examined how to build API endpoints and how to test them in the dashboard. Then we set up a basic Ionic application to communicate with our API. In the next article, we will extend our application with authentication and integrate further with the API.