

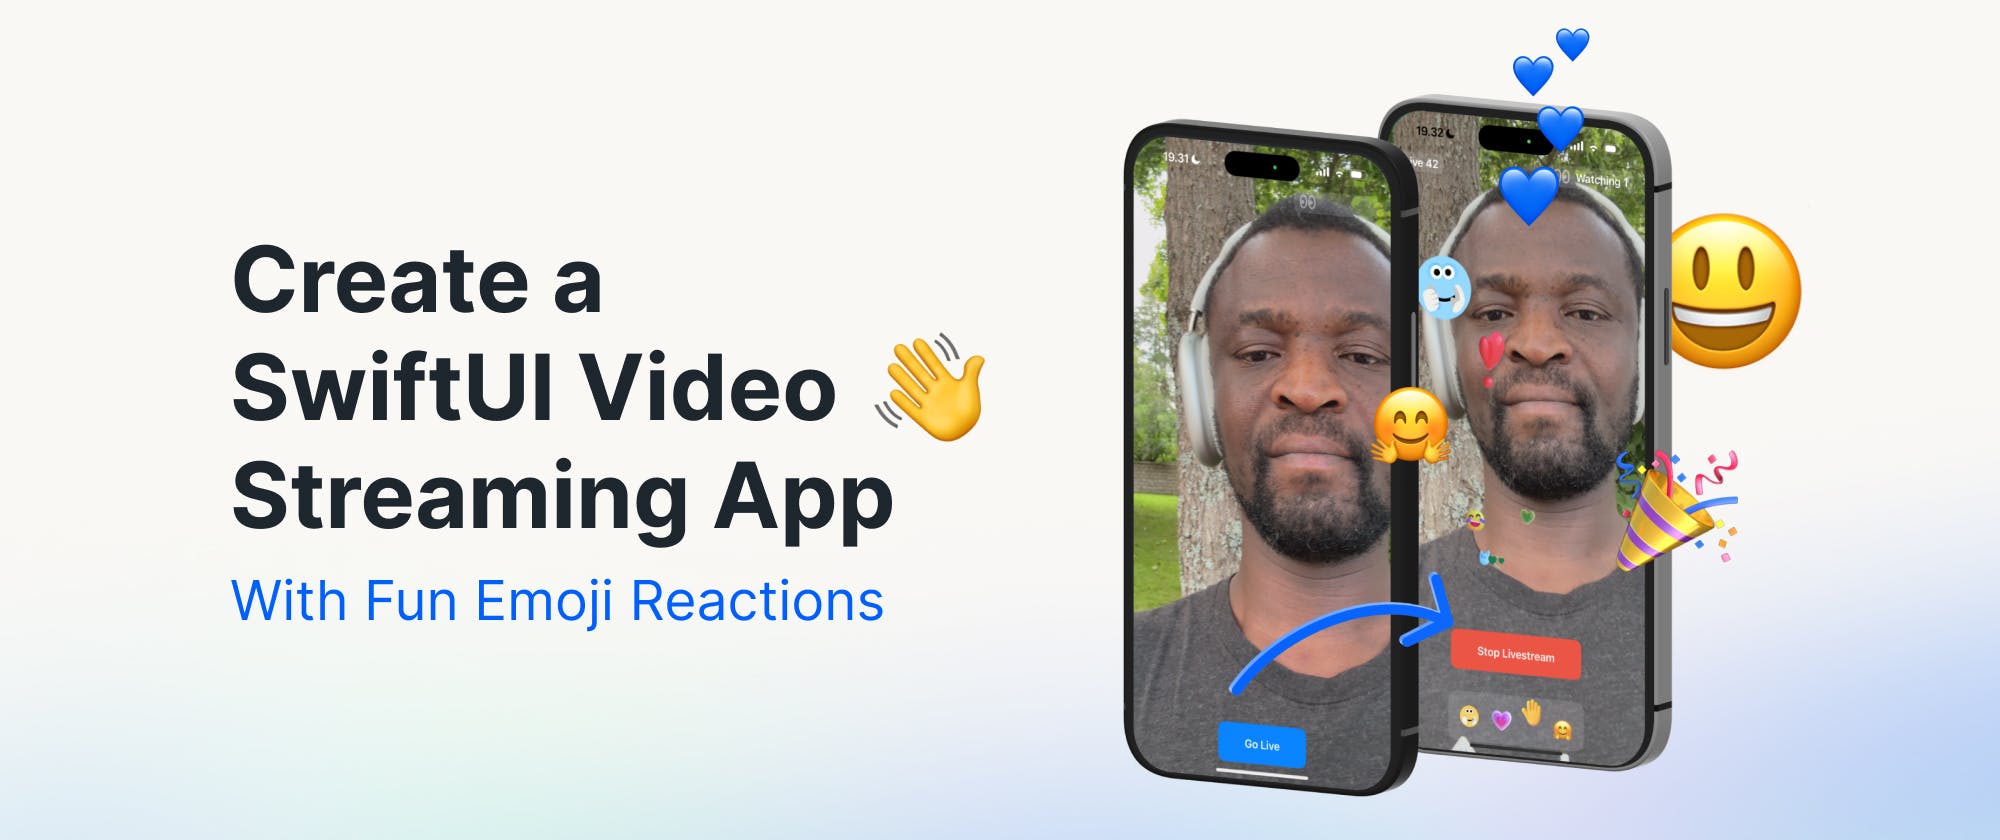
This article teaches you about publishing and watching live streams with the camera feed of an iPhone, Real-Time Messaging Protocol (RTMP) using OBS Studio, and HTTP Live Streaming (HLS). You will effortlessly create AmLive, a SwiftUI app with delightful animated emoji reactions and functionality similar to Facebook Live or TikTok Live.
The resulting live streaming app can be customized for other use cases, such as audio/video calling and audio chat rooms. Our SwiftUI Video SDK relies on WebRTC and HLS to deliver ultra-low latency and reliable content streaming to your audience.
Prerequisites
- Xcode 14 or 15 beta.
- Stream Video Swift.
- iOS Device: iPhone or iPad.
- OBS Studio or other video streaming software supporting RTMP.
Getting Started
Although getting a Stream developer account is optional to complete this tutorial, building a production live streaming app requires a Stream account. Visit the following links to sign up for your free Stream account and get help to make live streaming, voice/video calling, and audio room apps with our SDKs.
- Start a free trial.
- Video Calling API.
- SDKs and tutorials.
- Explore Stream Video in your browser.
The Final Project
The resulting demo app for this tutorial consists of two simple screens allowing users to start and stop the live stream.

The video below demonstrates the demo app in action. To run the app yourself to see how it looks and feels, you can download the Xcode/SwiftUI project on GitHub.
Key Features
- Scale to millions: All live streams run on Stream's Global Edge Network, which provides excellent reliability, security, and broadcasting capability to unlimited participants.
- Low latency streaming (<500ms): The Video SDK's infrastructure is built with WebRTC, which helps to deliver secure and ultra-low latency video streams to all audiences at different bandwidths.
- iOS device and RTMP broadcasting: You can easily broadcast from your iPhone or RTMP and scale up to unlimited participants.
- Backstage mode: Moderators (a host and co-host) can configure streams' backstage before they go live.
- HTTP Live Streaming (HLS): The SDK seamlessly supports the Apple's HLS broadcasting protocol.
Underlying Live Video Streaming Technology Options
- HLS: HTTP Live Streaming uses an ordinary web server to send media (audio and video) over HTTP. It allows users to watch live streams and video on demand on iOS, tvOS, and macOS. Our SDK has seamless integration with HLS. This will enable people to watch in-app live activities with excellent buffering under low bandwidth and poor network conditions with a 10 to 20-second delay. Visit the Apple documentation to learn more about HLS architecture.
- RTMP Using OBS or Wirecast: Real-Time Messaging Protocol (RTMP) is a streaming technology that allows the sending of audio and video over the internet. Our iOS Video SDK provides gapless support for RTMP. Instead of publishing live streams with an iOS device camera feed, you can use any software that supports RTMP, such as OBS Studio and Telestream's Wirecast.
- WebRTC: With the WebRTC integration, people can watch your live streams securely with ultra-low latency.
Step 1: Start With a SwiftUI Project
Launch Xcode and create a new SwiftUI project. Name the project as you wish. The demo app in this article uses AmLive as the Product name.
The app uses the iOS device's camera and microphone for its functions. The camera and microphone are considered to be protected user assets. Therefore, the app needs the user's permission to access it when it launches.
- Select the main app's folder in the Xcode Project navigator.
- Head to the Info tab.
- Hover with the mouse cursor on any item under Keys.
- Click the "+" button and scroll to the Privacy category.
- Add Privacy - Camera Usage Description and Privacy - Microphone Usage Description. You can leave the Value field empty. Leaving it empty will prompt users with the string "AppName would like to access your Camera" and "AppName would like to access your microphone" when they launch the app for the first time.
For more information about setting privacies for protected assets on iOS, check out Setting Background Modes and Device Capability Privacies in iOS Apps.
Step 2: Install the iOS Video SDK
Make the iOS Video SDK available in the Xcode project.
- Click File -> Add Package Dependencies.
- Copy and paste https://github.com/GetStream/stream-video-swift in the search bar on the top-right corner.
- Follow the next few instructions to install the SDK.
Step 3: How To Broadcast a Live Video From an iOS Device
Broadcasting your live stream using the camera feed of an iOS device involves:
- Setting up the Video SDK.
- Creating a call object.
- Initializing real-time transport for audio and video.
Setup the Video SDK
The setup implementation should be done in a location of your app where life cycle management occurs. For a UIKit app, the setup can be done in AppDelegate.swift. Since SwiftUI does not implement AppDelegate, we should set up the video SDK in the app's conformer file (the main app file) AmLiveApp.swift below the @main directive.
[
Start by:
- Adding the necessary imports.
12import SwiftUI
import StreamVideo
- Create an instance of the StreamVideo client
@State var streamVideo: StreamVideo. - Define user properties and create a user object
12345let userToken = "REPLACE_WITH_TOKEN" let userId = "REPLACE_WITH_USER_ID" let callId = "REPLACE_WITH_CALL_ID" let user = User(id: userId, name: "tutorial")
- Initialize the video client with an API key and token
123456let streamVideo = StreamVideo(
            apiKey: "REPLACE_WITH_YOUR_API_KEY",
            user: user,
            token: .init(rawValue: userToken)
        )
        self.streamVideo = streamVideo
](mailto:code>@main</code)
In an actual production iOS live streaming app, you must generate the user token from a server. You can also use our token generator service for testing. You can find the API key from your dashboard when you sign up for a Stream account.
Finally, after creating the user object and initializing the video client, we create and join a live stream with the call object by specifying the callType as livestream and using a unique callId.
12345let call = streamVideo.call(callType: "livestream", callId: callId)
    self.call = call
    Task {
      try await call.join(create: true)
    }
In the above code snippet, the call.join(create: true) creates, joins the call, and initializes real-time transport for audio and video.
Put All the Above Steps Together in AmLiveApp.swift
1234567891011121314151617181920212223242526272829303132333435363738394041424344454647484950515253545556import SwiftUI
import StreamVideo

@main
// MARK:  Broadcast a Live Video From an iOS Device
struct AmLiveApp: App {

    // Create an instance of the StreamVideo client
    @State var streamVideo: StreamVideo
    let call: Call

    init() {
        // Define user properties
        let userToken = "REPLACE_WITH_TOKEN"
        let userId = "REPLACE_WITH_USER_ID"
        let callId = "REPLACE_WITH_CALL_ID"

        // Create a user object
        let user = User(id: userId, name: "tutorial")

        // Initialize the video client with the API key and token

        let streamVideo = StreamVideo(
            apiKey: "YOUR_API_KEY",
            user: user,
            token: .init(rawValue: userToken)
        )
        self.streamVideo = streamVideo

        // Create and join a live stream
        let call = streamVideo.call(callType: "livestream", callId: callId)
        self.call = call
        Task {
            try await call.join(create: true)
        }
    }

    var body: some Scene {
        WindowGroup {
            LiveStreamView(call: call)
        }
    }
}

struct LiveStreamView: View {

    let call: Call

    var body: some View {
        VStack(spacing: 120) {
            Text("You are now broadcasting from your phone")
            LivestreamingCharacter()
        }
    }

}
Note: Before you run the app, you should replace all the following property values with generated credentials in our documentation's live streaming tutorial.
123let userToken = "REPLACE_WITH_TOKEN" let userId = "REPLACE_WITH_USER_ID" let callId = "REPLACE_WITH_CALL_ID"
123456let streamVideo = StreamVideo(
            apiKey: "YOUR_API_KEY",
            user: user,
            token: .init(rawValue: userToken)
        )
        self.streamVideo = streamVideo
The generated credentials will be similar to the image below.

When the app runs successfully, you will see a screen similar to the video below. The representation on the screen means you are now broadcasting with your iOS device (iPhone or iPad).
Step 4: How to Render and Watch the Host's Video
The demo app for this article has a similar interface to Facebook Live. It has only two screens. A screen to initiate the live video Go Live and a screen to end the live stream Stop Lifestream.

We will augment the watching experience with fancy and memorable SwiftUI animations to make events and activities streaming delightful and engaging to end-users. Viewers can send live comments with text and emojis when a live stream begins.
When you download the final SwiftUI project from GitHub, you will find all the animations in the folder Reactions in the Xcode Project navigator. We will add all the SwiftUI animations to the live stream-watching view but not dive into creating them. In a separate article, check out SwiftUI Animation: How To Add Facebook Live Reactions to Livestream Chats to learn more.
How the Live Stream Works
When a user taps the Go Live button to start a live video, our backend SDK uses a media server called a Selective Forwarding Unit (SFU) to replicate the live content over different SFUs worldwide. The SFU technology differs from a Peer-to-peer network, allowing streamers to securely and reliably scale their live events to millions of viewers in real-time.
Call State and Participants
During an active live stream, we need to access information about the stream and display it to people viewing the stream. The SDK's call object allows access to information about the backstage, duration of the live stream, number of participants watching, and participants' descriptions.
call.state.backstage: Determines whether the backstage is enabled.call.state.duration: Determines the total time of an active stream.call.state.participantCount: Displays the total number of people viewing the live stream.call.state.participants: Participants' list and descriptions.
Refer to our documentation's Call & Participant State section to learn more.
Render the Host's Video
We leverage the SDK's video renderer to display the local participant's video (host). The steps follow the procedure outlined in the previous section, How To Broadcast a Live Video From an iOS Device. In summary:
Set up the user object.
Create and initialize the Stream Video client.
Create a call and specify the type as a livestream with a unique callId.
Join the call and initiate real-time transport for audio and video.
Let's update the content of AmLiveApp.swift with the sample code below.
12345678910111213141516171819202122232425262728293031323334353637383940414243//
//  AmLiveApp.swift

import SwiftUI
import StreamVideo

// MARK: Video Rendering
struct AmLiveApp: App {

    @State var streamVideo: StreamVideo
    let call: Call

    init() {
        let userToken = "REPLACE_WITH_TOKEN"
        let userId = "REPLACE_WITH_USER_ID"
        let callId = "REPLACE_WITH_CALL_ID"

        // Set up the user
        let user = User(id: userId, name: "tutorial")

        // Create the Stream Video client
        let streamVideo = StreamVideo(
           apiKey: "YOUR_API_KEY",
            user: user,
            token: .init(rawValue: userToken)
        )
        self.streamVideo = streamVideo

        // Create a call: Specify the type as live stream with a unique callID
        let call = streamVideo.call(callType: "livestream", callId: callId)
        self.call = call
        Task {
            // Create the call object on our server and initiate the real-time transport for audio and video
            try await call.join(create: true)
        }
    }

    var body: some Scene {
        WindowGroup {
            LivestreamView(call: call)
        }
    }
}
The code above renders the host's video. However, we need screens to display the live video from the camera feed, call states, and participants. The UIs are nothing more than standard SwiftUI views. Let's create that next.
Create the Livestream UIs
Control-click the app's folder in the Xcode Project navigator and add a new Swift file. Let's call it LivestreamView or use any name you prefer. Replace the content of LivestreamView.swift with the sample code below.
123456789101112131415161718192021222324252627282930313233343536373839404142434445464748495051525354555657585960616263646566676869707172737475767778798081828384858687888990919293949596979899100101102103104105106107108109110111112113114115116//
//  LivestreamView.swift

import SwiftUI
import StreamVideo
import StreamVideoSwiftUI

struct LivestreamView: View {

    @Injected(\.streamVideo) var streamVideo

    let call: Call

    // Handles backstage, duration, number of participants , list of participants
    @StateObject var state: CallState

    let formatter = DateComponentsFormatter()

    init(call: Call) {
        self.call = call
        _state = StateObject(wrappedValue: call.state)
        formatter.unitsStyle = .positional
    }

    var duration: String? {
        guard call.state.duration > 0  else { return nil }
        return formatter.string(from: call.state.duration)
    }

    var body: some View {
        NavigationStack {
            ZStack {
                GeometryReader { reader in
                    if let first = state.participants.first {
                        VideoRendererView(id: first.id, size: reader.size) { renderer in
                            renderer.handleViewRendering(for: first) { size, participant in }
                        }
                    } else {
                        Color(UIColor.secondarySystemBackground)
                    }
                }

                VStack {

                    if call.state.backstage {
                        Button {
                            Task {
                                try await call.goLive()
                                //try await call.startHLS()
                                /*try await call.goLive(
                                        startHls: true,
                                        startRecording: true,
                                        startTranscription: true
                                    )*/
                            }
                        } label: {
                            Text("Go Live")
                                .bold()
                                .padding(EdgeInsets(top: 12, leading: 32, bottom: 12, trailing: 32))
                        }
                        .buttonStyle(.borderedProminent)
                        .padding(.bottom, 24)

                    } else {
                        //Spacer()
                        CommentView()
                            .padding(.bottom, 64)
                        Button(role: .destructive) {
                            Task {
                                try await call.stopLive()
                            }
                        } label: {
                            Text("Stop Livestream")
                                .bold()
                                .padding(EdgeInsets(top: 12, leading: 32, bottom: 12, trailing: 32))
                        }
                        .buttonStyle(.borderedProminent)
                        .padding(.bottom, 24)

                        ReactionsView()
                    }

                }
                .padding(.bottom, 32)
            }
            .ignoresSafeArea()
            .toolbar {
                ToolbarItem(placement: .topBarLeading){
                    if let duration {
                        Text("Live \(duration)")
                            .font(.headline)
                            .bold()
                            .padding(EdgeInsets(top: 4, leading: 8, bottom: 4, trailing: 8))
                            .background(.quaternary)
                            .cornerRadius(8)
                    }
                }

                ToolbarItemGroup(placement: .topBarTrailing){
                    HStack {
                        Image(systemName: "eyes.inverse")
                            .symbolEffect(.pulse)
                            .bold()
                        Text("Watching \(state.participantCount)")
                            .bold()
                            .opacity(call.state.backstage ? 0 : 1)
                    }
                    .padding(EdgeInsets(top: 4, leading: 8, bottom: 4, trailing: 8))
                    .background(.quaternary)
                    .cornerRadius(8)
                }
            }
        }
    }

}
Looking at the summary of the above code, we place the UI of the backstage and that of the active live stream in a NavigationStack. On the backstage screen, we display a button Go Live to initiate a live video. The live video screen displays the duration and the number of people watching the stream in the leading and trailing toolbar navigation.
Above the Stop Livestream button is a comment view from CommentView.swift. The reaction bar and all the animations are from ReactionsView.swift, found in the Reactions folder in the Xcode Project navigator.
When you run the app on an iPhone, the result will resemble the video below. You initiate the live video by tapping the Go Live button. On the livestream screen, you can give comments.
Note: It is just for demonstration. For an actual app, you should implement comments to allow users to engage with the live stream.
Add Random Users To Watch the Live Stream
In the video above, you will notice on the top right that only one person is watching the live stream. Using the Stream Video companion web app getstream.io/video/demos, you can add viewers to watch the live stream. To achieve that, you should use random users with the same callID. Test the live stream with multiple random users watching it using our random user generator generator.getstream.io.
The below video shows an example of 15 people watching the livestream.
Watch a Live Stream Using HLS
People can watch a stream that has already started using the Video SDK's HTTP Live Streaming (HLS) support. HLS has the advantage of better buffering over WebRTC. However, it has a 10 to 20 seconds delay. Let's update the Task closure in AmLiveApp.swift to watch the live stream with HLS.
1234567// MARK: Viewing the livestream with HLS
        Task {
            try await call.startHLS()
            if let hls = call.state.egress?.hls?.playlistUrl {
                print("hls url = \(hls)")
            }
        }
Step 5: RTMP Publishing Using OBS

In the previous section, you discovered how to publish a live stream using the camera feed of an iOS device (iPhone). The Video SDK provides maximum flexibility to live stream with your preferred device. This section will publish the live video with WebRTC (RTMP) via OBS Studio. Feel free to use your favorite streaming software that supports RTMP. Publishing the live stream via OBS requires the following steps using a Server or RTMP URL and Streaming Key:
-
Obtain the Server URL (RTMP) and Streaming Key by printing them in the Xcode console. In AmLiveApp.swift, we have the
Taskclosure:swift123Task { try await call.join(create: true) }
Let's update it to:
12345678Task {
            try await call.join(create: true)
            if let rtmp = call.state.ingress?.rtmp {
                let address = rtmp.address
                let streamKey = rtmp.streamKey
                print("RTMP url \(address) and streamingKey \(streamKey)")
            }
        }
The code above snippet prints the RTMP URL and Streaming Key in the Xcode console.

- Launch OBS Studio. Click Settings from the bottom right of the window.
- Select Stream from the left menu items.
- Copy and paste the RTMP URL and Streaming Key from the Xcode console.

- Click Apply and Ok to confirm the changes.
- Next, specify your input video under Sources and click Start Streaming at the bottom right corner of OBS to see the live video.

Hooray!!!. The video below shows an example of the live stream started from OBS.
What's Next?
This tutorial taught you how to create an in-app iOS live streaming app with SwiftUI. We dove into broadcasting and watching live streams on an iOS device, video streaming software (OBS) supporting RTMP, and HLS.
We covered the fundamentals of adding video streaming to your iOS/SwiftUI app. To go beyond the basics, check out our Video SDK's supported advanced features, such as custom events, recording, chat, and notifications, to learn more.