

Twitch has a cool feature set. You can use their applications to watch a livestream, but just as easily, you can also host a livestream. But a lot is going on in the background of your app to get a shared screen across the internet to a huge audience. On top of that, you need a reliable connection with your viewers over a chat connection. Nothing beats the direct connection viewers can have with their favorite online streamers.
With Stream's iOS Video SDK alongside Stream's iOS Chat SDK it is possible to create a full-blown streaming experience - in fact, it's quite easy.
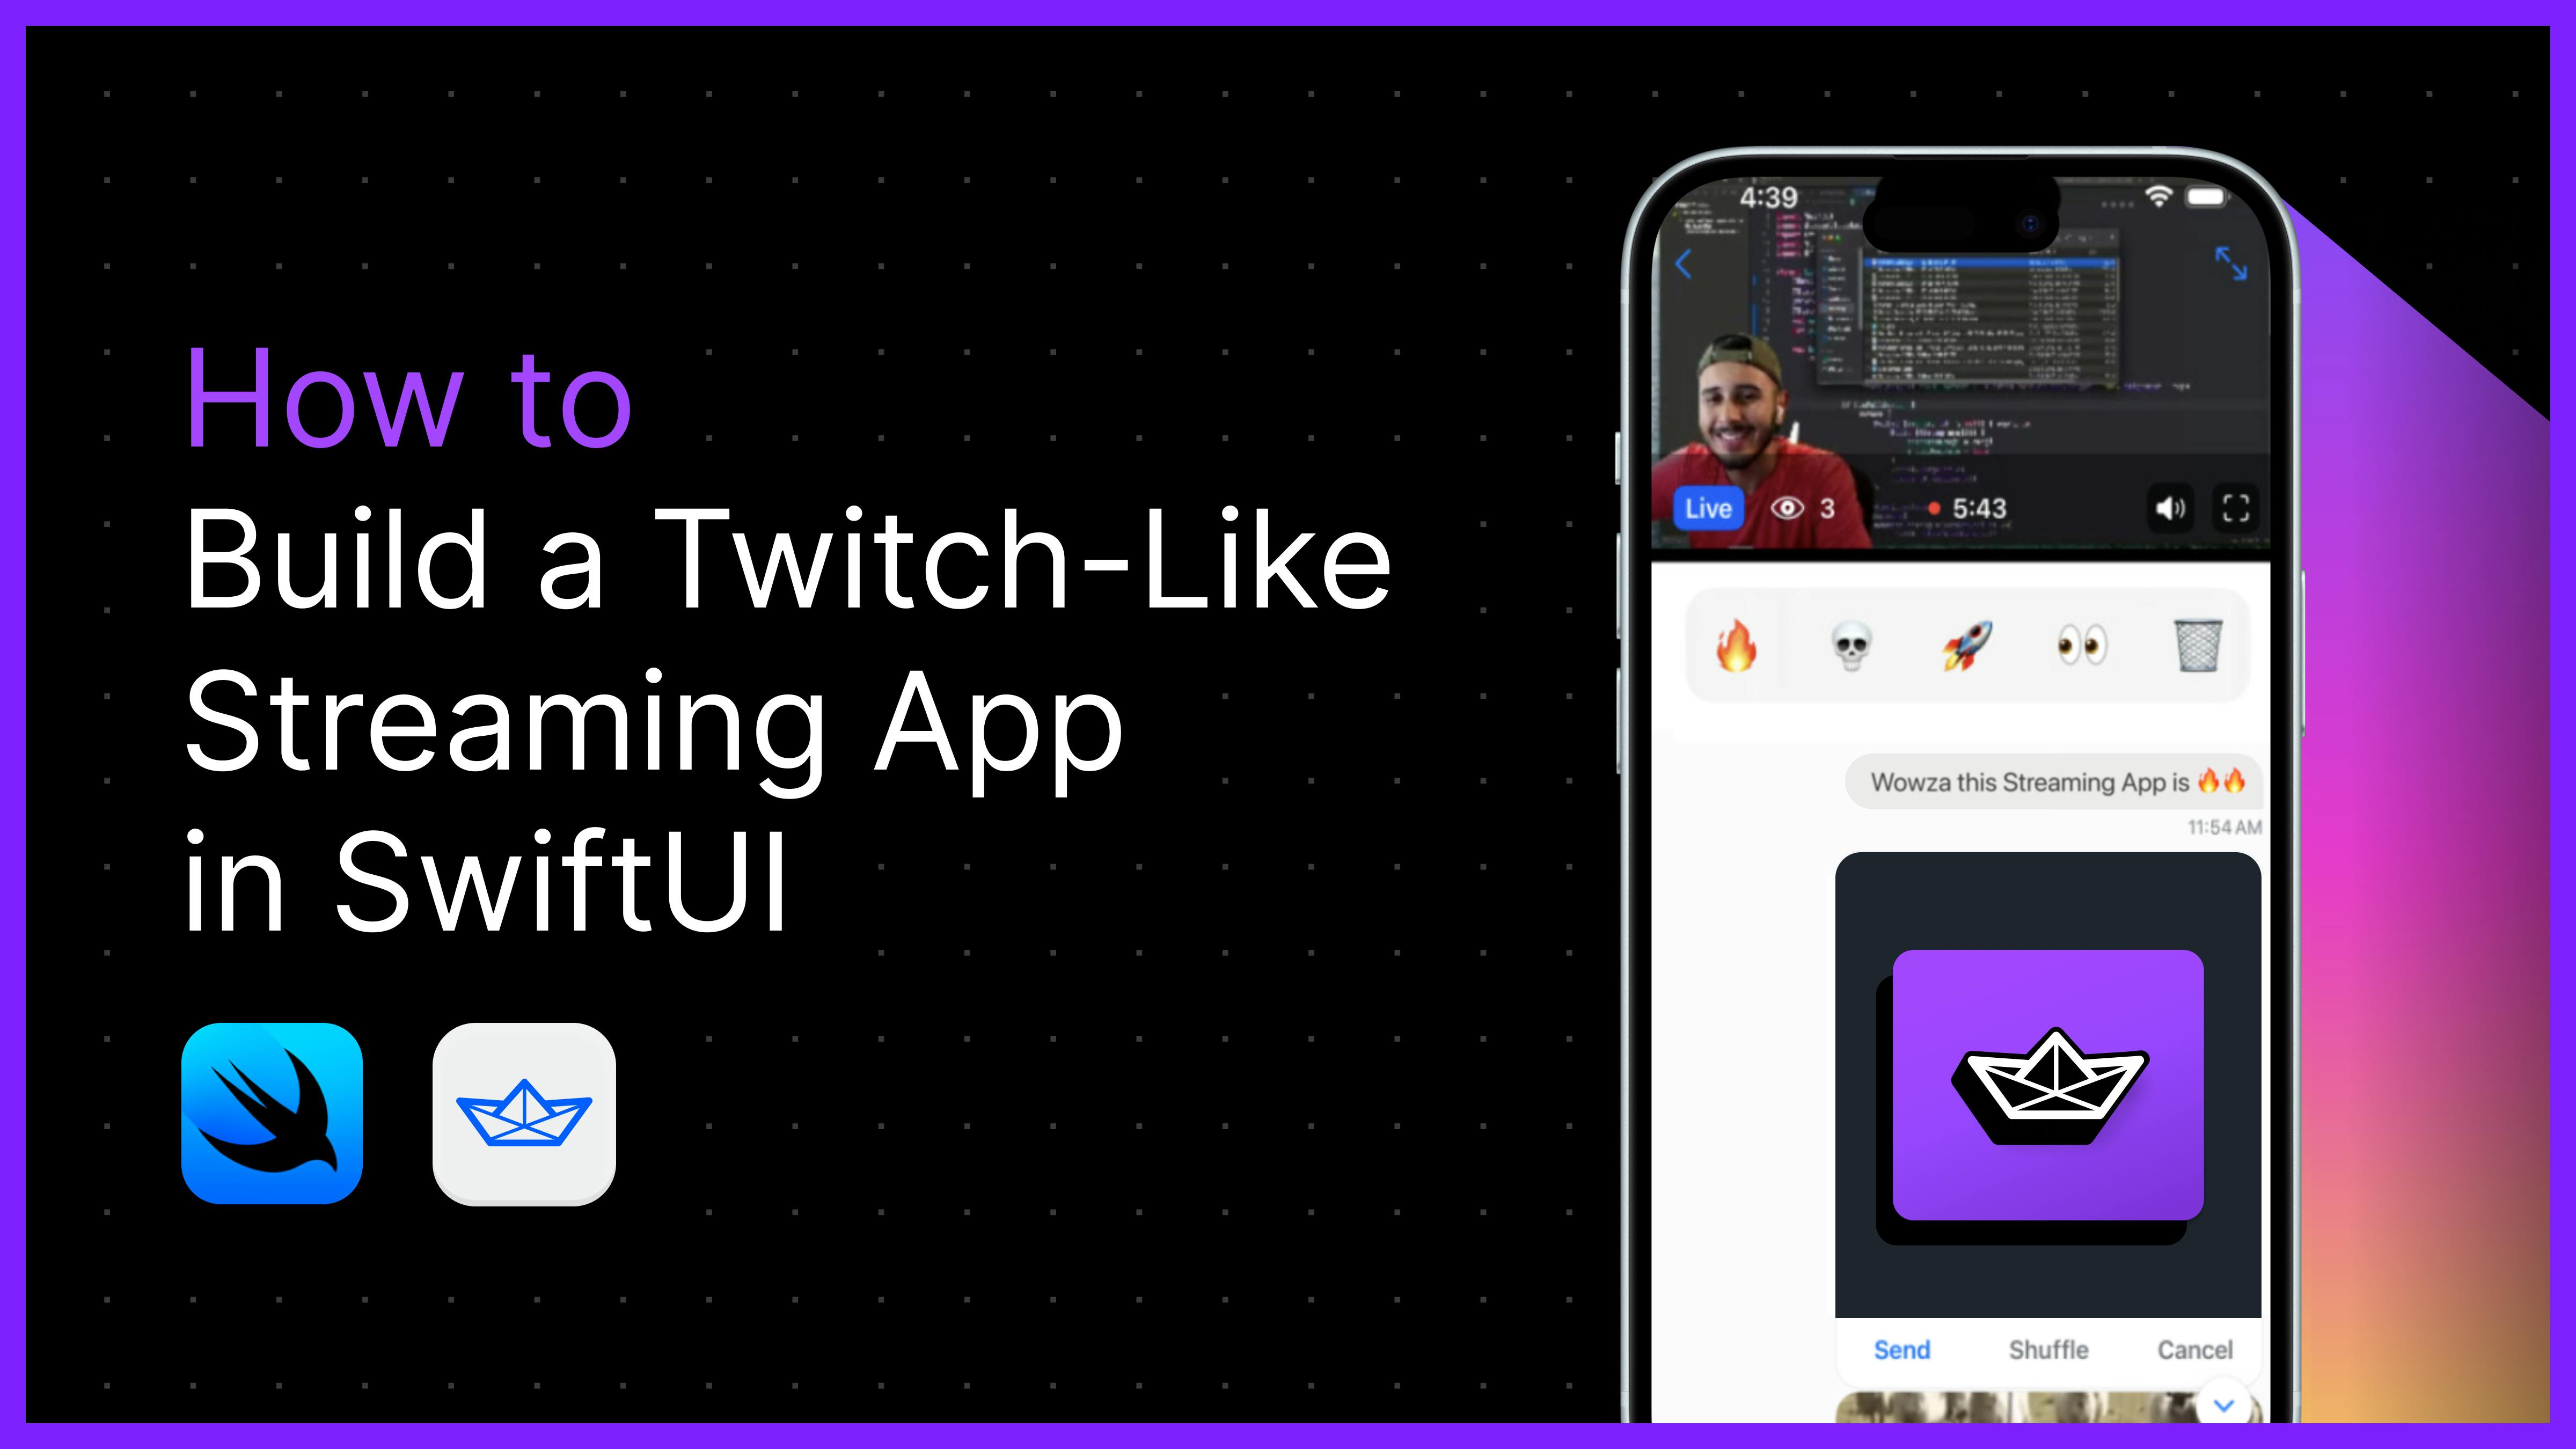
The goal of this article is to demonstrate how to build a basic Twitch clone. If you are more of a visual learner, this tutorial is available in video format as well on YouTube.
In this article, you will learn how to:
- Set up Stream Video
- Set up Stream Chat
- Design a Livestream and Host Screen
This app will allow users to host a livestream or join one as a viewer.
Note: You may want to require users to enter a passcode to start a livestream so not just anyone can start it.
Let's break out Xcode and start coding!
Setup Stream Video SDK
In Xcode, select File, then Swift Packages, and finally, choose Add Package Dependency. In the search field, add the following package location:
https://github.com/GetStream/stream-video-swift.git
The next step is to configure our info.plist. Go to the project, then select target (StreamTV), then select Info. Here, we will add two items:
- Privacy - Camera Usage Description
- Privacy - Microphone Usage Description
Please make sure you add a descriptive message in there.
Home Screen
Our content view will create a home screen, allowing users to select between hosting and viewing the livestream. First, we need to import StreamVideo. Then, in our ContentView we will initialize two variables:
@State var streamVideo: StreamVideolet call: Call
In our init, we will assign the values. But before we do that, we need our API key and token info, which can be accessed in this iOS video tutorial.
With this info, we will create the following with your corresponding information:
struct Secrets {
static let userToken = ""
static let userId = ""
static let callId = ""
static let apiKey = ""
}
Now, in our init() we add the following:
12345678init() {
    let user = User(id: Secrets.userId, name: "tutorial")

    let streamVideo = StreamVideo(apiKey: Secrets.apiKey, user: user, token: UserToken(rawValue: Secrets.userToken))
    let call = streamVideo.call(callType: .livestream, callId: Secrets.callId)
    self.streamVideo = streamVideo
    self.call = call
    }
Our ContentView will have a navigation stack with two navigation links, one to host and one to view a livestream.
12345678910111213141516171819202122232425262728NavigationStack {
    VStack {
        NavigationLink("Host") {}
            .padding()
            .font(.largeTitle)
            .frame(maxWidth: .infinity)
            .frame(height: 250)
            .foregroundStyle(.purple)
            .background(
                RoundedRectangle(cornerRadius: 10)
                    .fill(.ultraThickMaterial)
            )

        NavigationLink("View") {}
            .padding()
            .font(.largeTitle)
            .frame(maxWidth: .infinity)
            .frame(height: 250)
            .foregroundStyle(.purple)
            .background(
                RoundedRectangle(cornerRadius: 10)
                    .fill(.ultraThickMaterial)
            )
    }
    .padding()
    .frame(maxWidth: .infinity, maxHeight: .infinity)
    .background(Color.purple)
}
Livestream Screen
We will now create our LivestreamView, which we will navigate when a user taps on the View NavigationLink. In our view, we want to import StreamVideoSwiftUI.
In our view, now we can bring in LivestreamPlayer which is a view of a livestream that Stream provides for us! We will need a callID to initialize it.
This is what we will have in our view:
123456789101112131415struct LivestreamView: View {
    let callId: String

    var body: some View {
        ZStack(alignment: .topLeading) {
            VStack(spacing: 0) {
                LivestreamPlayer(type: .livestream, id: callId)
                    .frame(height: 200)

            }
        }
        .frame(maxHeight: .infinity)

    }
}
We now have access to our livestream! We cannot see anything right now since we haven't started a livestream, and we don't have a callID to reference.
Before we do that, let's finish setting up our UI in our LivestreamView. We will need to add our ChatSection and also a reaction section. We will also handle support for screen orientation. Let's create the properties we will need in our view.
123456@Environment(\.dismiss) var dismiss
    @State var selectedEmoji: Character = "🔥"
    @State var shouldAnimate = false
    @State var isFullScreen: Bool = UIDevice.current.orientation.isLandscape
    var emojis: [Character] = ["🔥", "💀", "🚀", "👀", "🗑️"]
    let callId: String
Then, let's create our reaction section along with the chat section; we will create this view when we finish laying out our UI in this view.
12345678910111213141516171819202122232425VStack(spacing: 0) {
    LivestreamPlayer(type: .livestream, id: callId)
        .frame(height: isFullScreen ? UIScreen.main.bounds.height : 200, alignment: .top)

    if !isFullScreen {
        HStack {
            ForEach(emojis, id: \.self) { emoji in
                Button(String(emoji)) {
                    selectedEmoji = emoji
                    shouldAnimate = true
                }
                .font(.largeTitle)
                .padding(.horizontal)
            }
        }
        .padding(.vertical)
        .background(
            RoundedRectangle(cornerRadius: 20)
            .fill(.ultraThickMaterial)
        )
        .padding()

        ChatSection()
    }
}
Now, we need to make use of a ZStack to make a custom navigation and custom orientation handler.
123456789101112131415161718192021222324252627282930313233343536373839404142434445464748495051ZStack(alignment: .topLeading) {
            VStack(spacing: 0) {
                LivestreamPlayer(type: .livestream, id: callId)
                    .frame(height: isFullScreen ? UIScreen.main.bounds.height : 200, alignment: .top)

                if !isFullScreen {
                    HStack {
                        ForEach(emojis, id: \.self) { emoji in
                            Button(String(emoji)) {
                                selectedEmoji = emoji
                                shouldAnimate = true
                            }
                            .font(.largeTitle)
                            .padding(.horizontal)
                        }
                    }
                    .padding(.vertical)
                    .background(
                        RoundedRectangle(cornerRadius: 20)
                            .fill(.ultraThickMaterial)
                    )
                    .padding()

                    ChatSection()
                }
            }

            HStack {
                Button("", systemImage: "chevron.backward") {
                    dismiss()
                }
                .font(.title2)

                Spacer()

                Button("", systemImage: "arrow.up.left.and.arrow.down.right") {
                    isFullScreen.toggle()
                }
                .font(.title2)
            }
            .padding(.horizontal)
            .padding(.top, isFullScreen ? 32 : 0)

            }
        }
        .toolbar(.hidden, for: .navigationBar)
        .frame(maxHeight: .infinity)
        .onReceive(NotificationCenter.default.publisher(for: UIDevice.orientationDidChangeNotification)) { _ in
            guard let scene = UIApplication.shared.windows.first?.windowScene else { return }
            isFullScreen = scene.interfaceOrientation.isLandscape
        }
The shouldAnimate property will tell us when we should show a reaction to a user on the screen. For our animations, we will use another library created by Stream. This time, it will be the EffectsLibrary.
As we did earlier, select File, then Swift Packages, and finally, choose Add Package Dependency. In the search field, add the following package location:
https://github.com/GetStream/effects-library
Once the package is successfully in your app, we just need to import it into our LivestreamView.
Import EffectsLibrary. Then, at the bottom of our Zstack, we will add this code to show our animation and have it disappear after two seconds.
12345678910111213if shouldAnimate { ConfettiView(config: ConfettiConfig( content: [ .emoji(selectedEmoji, 1.0) ], intensity: .high ) ) .onAppear { DispatchQueue.main.asyncAfter(deadline: .now() + 2) { shouldAnimate = false } }
Chat Section & Stream Chat Integration
Now, let's create our ChatSection with a SwiftUI view, and integrate the Stream Chat SDK.
First, we need to go to the Stream Dashboard and create an App.

Make sure you select a server and storage location closest to you.

Once created, you should see something like this below. Save this API Key, as we will use it in the next step.

Back in xCode, we will need to configure the Stream Chat SDK before continuing. In our App file, we will create the following AppDelegate class:
12345678910111213141516171819202122232425262728293031323334353637383940414243444546474849505152class AppDelegate: NSObject, UIApplicationDelegate {
    var streamChat: StreamChat?
    var chatClient: ChatClient = {
        var config = ChatClientConfig(apiKey: .init("p5pn7zubw5ek"))
        config.isLocalStorageEnabled = true

        return ChatClient(config: config)
    }()

    func application(_ application: UIApplication,
                     didFinishLaunchingWithOptions launchOptions:
                        [UIApplication.LaunchOptionsKey : Any]? = nil) -> Bool {
        // The StreamChat instance we need to assign
        streamChat = StreamChat(chatClient: chatClient)
        // Calling the connectUser functions
        connectUser()
        createChannel()

        return true
    }

    // The connectUser function we need to add.
    private func connectUser() {
        // This is a hardcoded token valid on Stream's tutorial environment.
        let token = try! Token(rawValue: "eyJhbGciOiJIUzI1NiIsInR5cCI6IkpXVCJ9.eyJ1c2VyX2lkIjoibHVrZV9za3l3YWxrZXIifQ._XXx5_yFx1Nl9rl97ScReA6UER84Sey5RmGohY7bx0I")
        // Call connectUser on our SDK to get started.
        chatClient.connectUser(
                userInfo: .init(id: "luke_skywalker",
                                name: "Luke Skywalker",
                                imageURL: URL(string: "https://vignette.wikia.nocookie.net/starwars/images/2/20/LukeTLJ.jpg")!),
                token: token
        ) { error in
            if let error = error {
                // Some very basic error handling only logging the error.
                log.error("connecting the user failed \(error)")
                return
            }
        }
    }

    private func createChannel() {
        let channelId = ChannelId(type: .livestream, id: "mylivestream")

        let channelController = chatClient.channelController(for: channelId)

        channelController.synchronize { error in
            if let error = error {
                print(error.localizedDescription)
            }
        }
    }
}
The connectUser() function connects us to the chat SDK and the createChannel() will create our single chat channel we will use for this tutorial. In an app with multiple streams, you would have multiple createChannel() functions depending on how many different chat channels you need. In our case, we are only using one channel, which we gave the ID "mylivestream".
Next, we will add a reference to our AppDelegate in our App struct.
12345678910@main
struct StreamTVApp: App {
    @UIApplicationDelegateAdaptor(AppDelegate.self) var appDelegate

    var body: some Scene {
        WindowGroup {
            ContentView()
        }
    }
}
Chat Section
Now, back to creating our Chat section. In this file, we will import:
import StreamChatimport StreamChatSwiftUI
Next, we can use the ChatChannelView() provided by Stream, giving us a full-blown chat section ready to use in our app.
1234567891011ZStack {
            ChatChannelView(channelController:
                                ChatClient(
                                    config: ChatClientConfig(
                                        apiKeyString:
                                            "chatAPIKey"
                                    )
                                )
                                    .channelController(for: ChannelId(type: .livestream, id: "mylivestream"))
            )
        }
We use our API key from the Stream chat project dashboard, and we use the channel ID of "mylivestream" to set up our ChatChannelView.
That's all we need in our chat section!
ContentView
Back in our contentview we can now call our LivestreamView in our Navigation Link and pass the callID.
123456789101112NavigationLink("View") {
                    LivestreamView(callId: Secrets.callId)
                }
                .padding()
                .font(.largeTitle)
                .frame(maxWidth: .infinity)
                .frame(height: 250)
                .foregroundStyle(.purple)
                .background(
                    RoundedRectangle(cornerRadius: 10)
                        .fill(.ultraThickMaterial)
                )
Our project is not ready yet to watch since we have not created or set up the livestream we would be trying to join.
Host Screen
Let's now create our Host screen so we can create and start a livestream for viewers to watch. We will call this view HostView, and we will need to import some things:
- Import StreamVideo
- Import StreamVideoSwiftUI
We will follow a similar pattern to our LivestreamView and support different views for orientations.
12345678910@Environment(\.dismiss) var dismiss
    @Injected(\.streamVideo) var streamVideo
    @StateObject var state: CallState
    @State var isFullScreen: Bool = UIDevice.current.orientation.isLandscape
    let call: Call

    init(call: Call) {
        self.call = call
        _state = StateObject(wrappedValue: call.state)
    }
streamView and state are used by Stream to configure the StreamVideo SDK. We will also pass a call to this view that was created in ContentView.
As we did in our LivestreamView, we will create a ZStack and create a VStack within it to put our video renderer (provided by stream).
This is how the VStack will look:
1234567891011121314151617VStack(spacing: 0) {
                GeometryReader { reader in
                    if let first = state.participants.first {
                        VideoRendererView(id: first.id, size: reader.size) { renderer in
                            renderer.handleViewRendering(for: first) { size, participant in }
                        }
                    } else {
                        Color(UIColor.secondarySystemBackground)
                    }
                }
                .ignoresSafeArea()

                if !isFullScreen {
                    ChatSection()
                        .frame(height: 350)
                }
            }
And this is how our entire view will look:
1234567891011121314151617181920212223242526272829303132333435363738394041424344454647484950515253545556ZStack(alignment: .topLeading) {
            VStack(spacing: 0) {
                GeometryReader { reader in
                    if let first = state.participants.first {
                        VideoRendererView(id: first.id, size: reader.size) { renderer in
                            renderer.handleViewRendering(for: first) { size, participant in }
                        }
                    } else {
                        Color(UIColor.secondarySystemBackground)
                    }
                }
                .ignoresSafeArea()

                if !isFullScreen {
                    ChatSection()
                        .frame(height: 350)
                }
            }

            HStack {
                Button("", systemImage: "chevron.backward") {
                    dismiss()
                }
                .font(.title2)

                Spacer()

                Button("", systemImage: "arrow.up.left.and.arrow.down.right") {
                    isFullScreen.toggle()
                }
                .font(.title2)
            }
            .padding(.horizontal)
            .padding(.top, isFullScreen ? 32 : 0)
        }
        .toolbar(.hidden, for: .navigationBar)
        .task {
            do {
                try await call.join(create: true)
                // Need to go live so others can join the livestream
                try await call.goLive()

                // This allows you to print RTMP info so you can stream from a software like OBS
                if let rtmp = call.state.ingress?.rtmp {
                    let address = rtmp.address
                    let streamKey = rtmp.streamKey
                    print("RTMP url \(address) and streamingKey \(streamKey)")
                }
            } catch {
                print(error.localizedDescription)
            }
        }
        .onReceive(NotificationCenter.default.publisher(for: UIDevice.orientationDidChangeNotification)) { _ in
            guard let scene = UIApplication.shared.windows.first?.windowScene else { return }
            isFullScreen = scene.interfaceOrientation.isLandscape
        }
Back in our ContentView we just need to update our other NavigationLink.
123456789101112NavigationLink("Host") { HostView(call: call) } .padding() .font(.largeTitle) .frame(maxWidth: .infinity) .frame(height: 250) .foregroundStyle(.purple) .background( RoundedRectangle(cornerRadius: 10) .fill(.ultraThickMaterial) )
Now, our app is ready to be tested!
Let's run it! We want to run it on our physical device to host it. On the home screen, select Host. After a small delay, you should start seeing yourself on the screen.
You can now run the app on the simulator and select View to view the livestream from a viewer's perspective. You can also share the app with your friends so they can join.
Note: We only set the Chat section to support one user, so all messages will appear as if they are coming from one user.
Conclusion
You can view the final project's codebase on GitHub.
We finished building a Twitch-like streaming platform using the Stream iOS Video & Chat SDK. And we didn't have to worry about any backend issues!
We worked with livestreaming to one channel (as host and viewer). A more complex application would require some more setup, but the Stream APIs and SDKs make our lives a whole lot easier since they take care of a lot of the work.
I hope you enjoyed the tutorial!