
Adding the ability to chat with a sales associate is a no-brainer for e-commerce sites. Forrester data shows that customers who chat with a sales associate are 2.8X more likely to convert, and have a 60% higher AOV.
But adding chat to your site is exactly the type of project that can languish in the backlog and chew through precious engineering bandwidth when you finally get to it. Between integration, UI, and training your team on yet another system, what should be a quick win often turns into a multi-month odyssey.
It doesn't have to be so. Let's look at a way to quickly add chat to your product pages and set up a control center for your associates so your customers can get the help they need, and you can see the revenue lift from helping those customers.
Create a Stream Account
To get started, you'll need a Stream account and API credentials. Head over to Stream's signup page to create your free account.
Once you've created your account, follow these steps to set up your project:
- Log in to the Stream Dashboard
- Click the "Create App" button in the top right corner
- Give your app a name (e.g., "Sales Chat")
- Choose "Development" mode - this provides free API calls for testing
- Click "Create App" to generate your project
After creating your app, you'll land on the app dashboard, where you can find your API credentials:
- The Stream API Key - Used to initialize the Stream client
- The API Secret - Required for backend token generation
Keep these credentials handy, as you'll need them throughout this tutorial. The API Secret should be kept secure and never exposed in your frontend code.
Adding Sales Chat to a Product Page
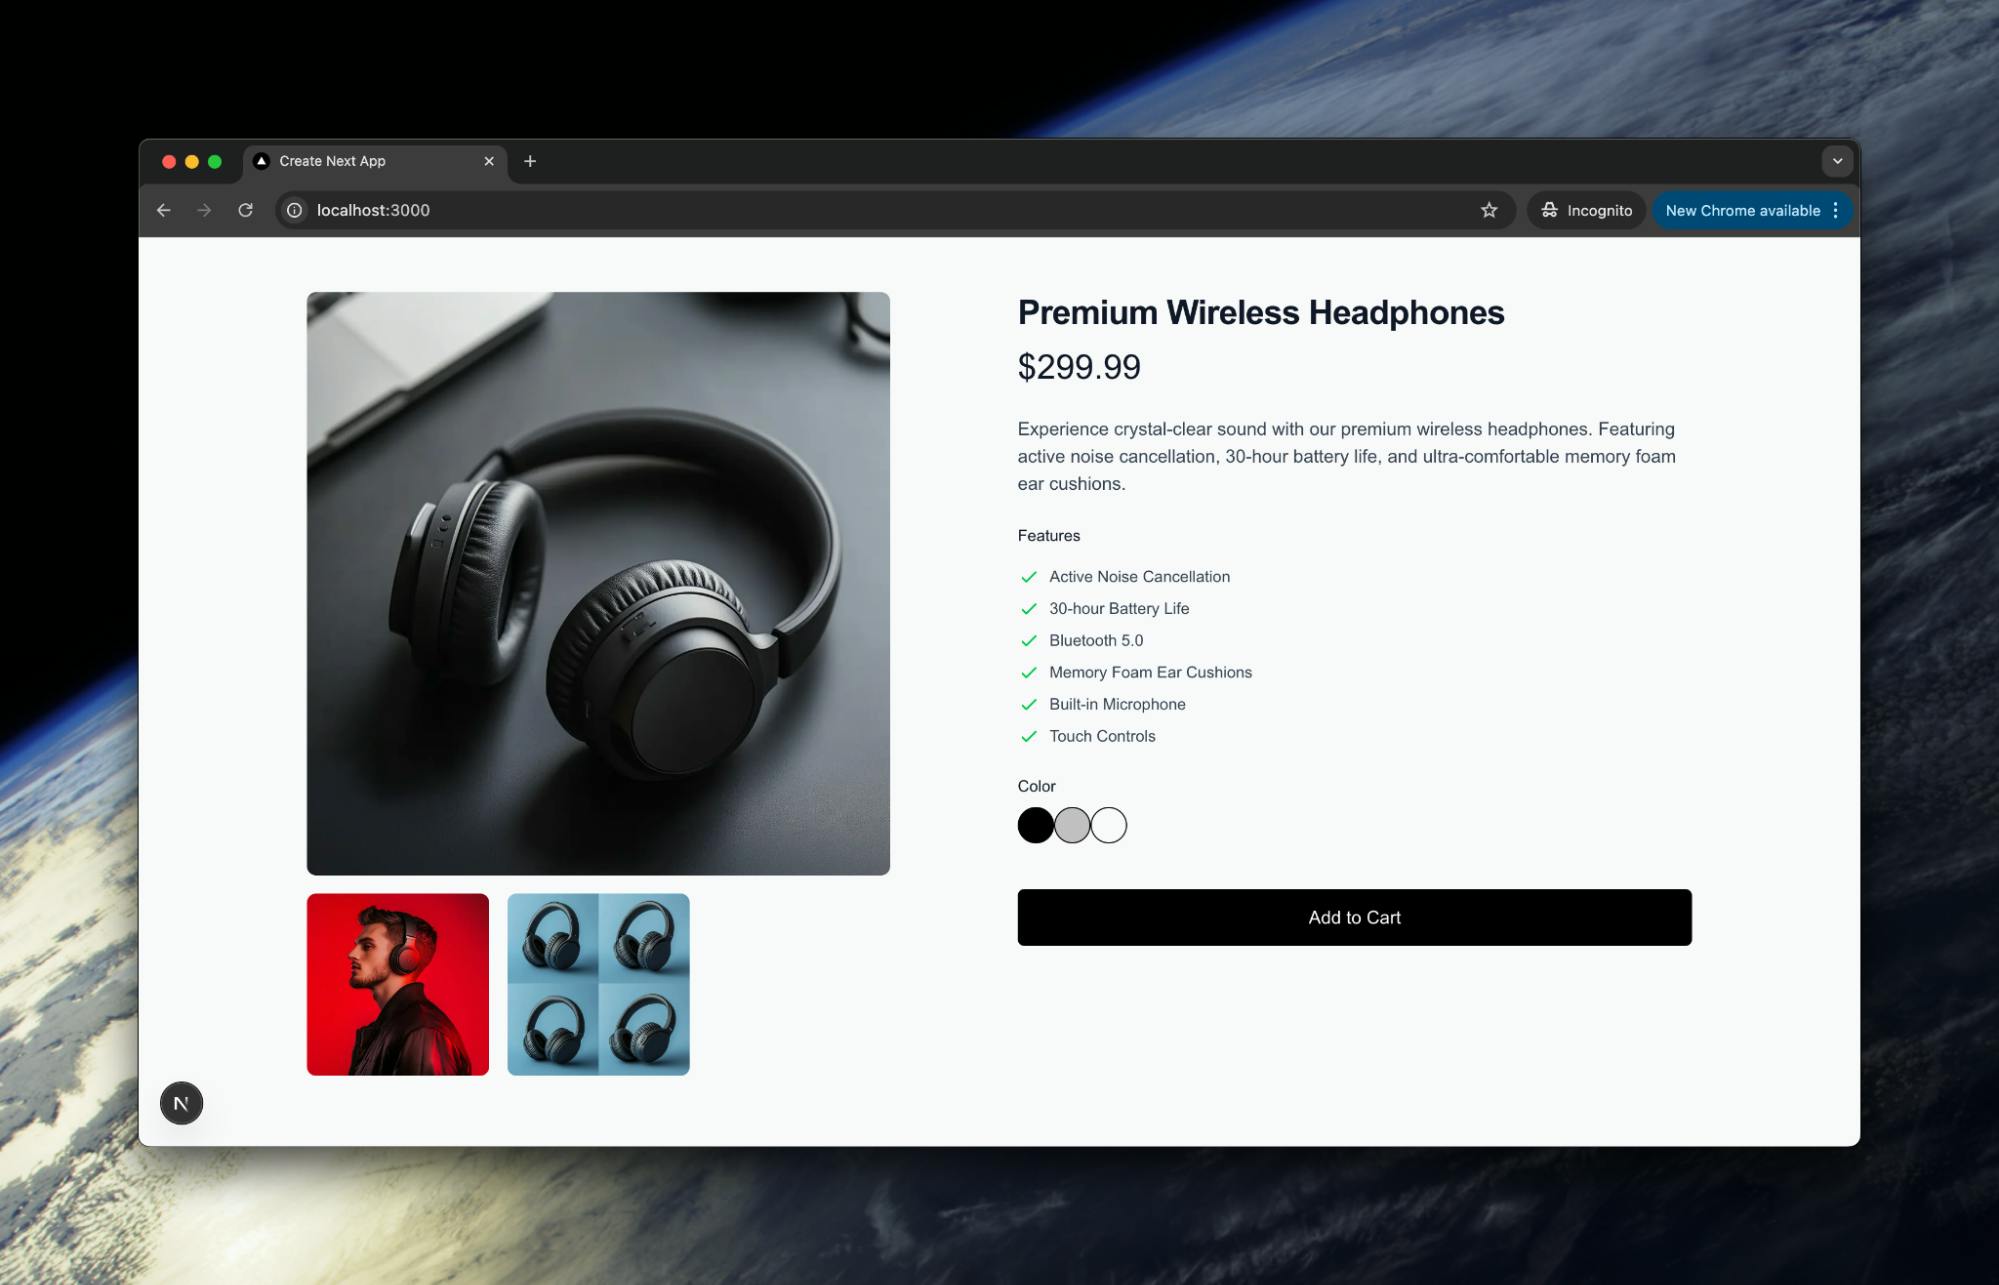
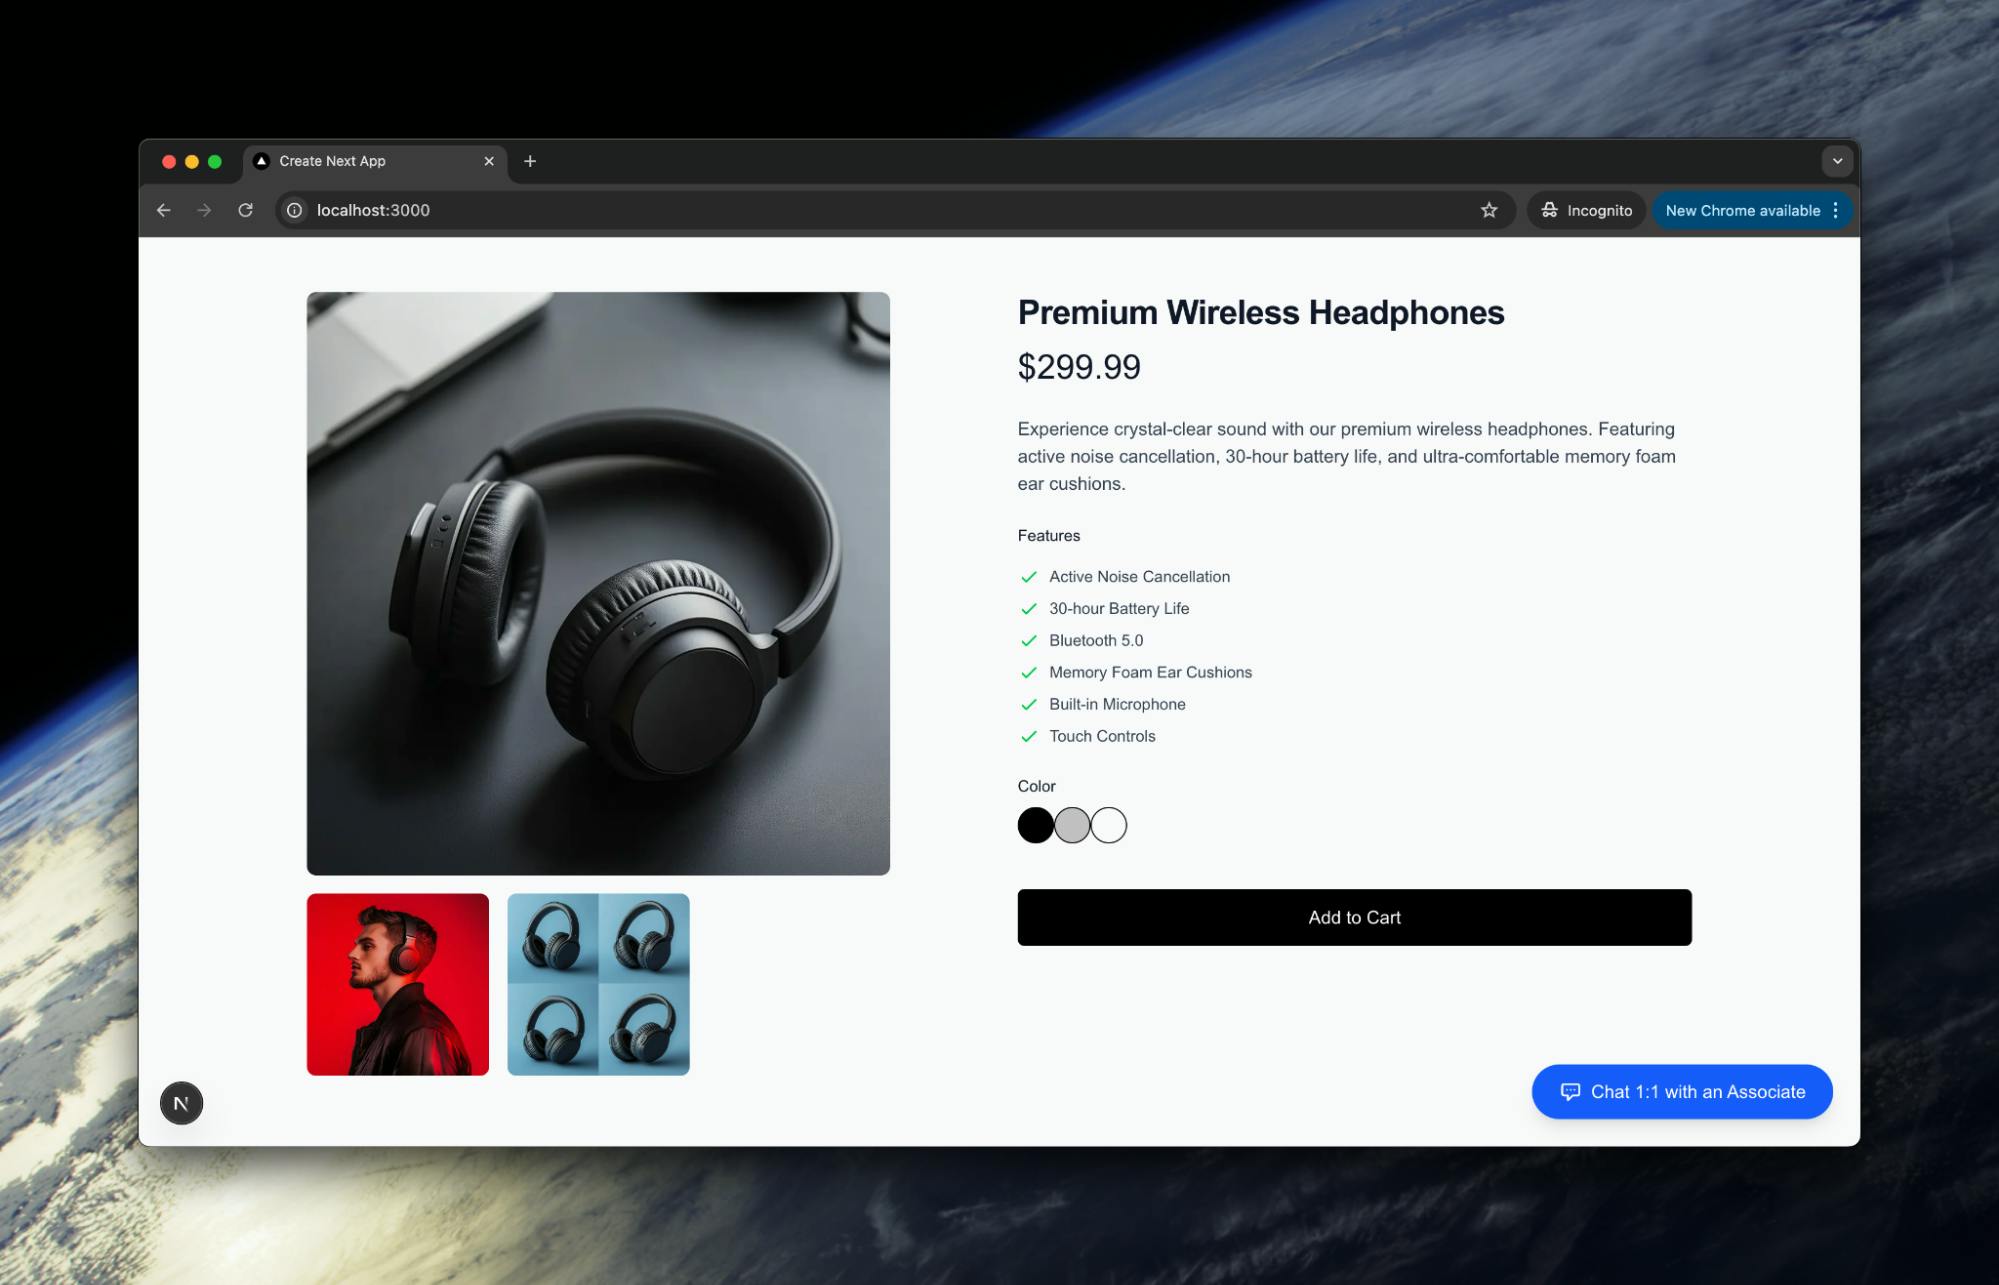
Here we have a regular product page:

In this case, we've built it with Next.js, but for the purposes of this tutorial, any React framework (or vanilla React) will work.
We want to add a chat component that will show as a button in the bottom-right corner of the page. When the user clicks the button:
- A chat window will appear to allow them to talk to the sales associate.
- A Stream channel will be created to alert the sales associate that a customer needs to chat.
To keep our code cleanly separated, we'll create this within its own component in our project at components/ChatWindow.js. You can find the entire code for the component here.
Let's break it down:
// ChatWindow.js
'use client';
import  {  useState,  useEffect  }  from  'react';
import  {
 Chat,
 Channel,
 Window,
 ChannelHeader,
 MessageList,
 MessageInput,
}  from  'stream-chat-react';
import  {  StreamChat  }  from  'stream-chat';
import  'stream-chat-react/dist/css/v2/index.css';
const  apiKey  =  process.env.NEXT_PUBLIC_STREAM_API_KEY;
...
We're importing the necessary React and Stream Chat libraries, and using our API key to initialize the chat functionality. We can store our API key from above in an .env.local file, like this:
NEXT_PUBLIC_STREAM_API_KEY=<stream-api-key>Next, we define a function to generate unique customer IDs and set up the main ChatWindow component with its required state variables:
...
function  generateCustomerId()  {
 if  (typeof  window  ===  'undefined')  return  '';
 return  crypto.randomUUID();
}
export  default  function  ChatWindow({  isOpen,  onClose,  product,  customerName  })  {
 const  [client,  setClient]  =  useState(null);
 const  [channel,  setChannel]  =  useState(null);
 const  [customerId,  setCustomerId]  =  useState(null);
 useEffect(()  =>  {
   if  (!isOpen)  return;
   // Generate a new customerId for each chat session
   const  id  =  generateCustomerId();
   setCustomerId(id);
 },  [isOpen]);
...
This initializes the component's state variables, including the Stream client, channel, and a unique customer ID. The useEffect hook generates a new customer ID whenever the chat is opened to ensure each chat session has a unique identifier.
After that, we have a larger useEffect hook that handles the core chat setup process when the window is opened:
...
 useEffect(()  =>  {
   if  (!isOpen  ||  !customerId)  return;
   let  chatClient;
   let  channelInstance;
   let  isMounted  =  true;
   async  function  setup()  {
     // 1. Get token from API
     const  res  =  await  fetch('/api/stream-token',  {
       method:  'POST',
       headers:  {  'Content-Type':  'application/json'  },
       body:  JSON.stringify({  userId:  customerId  }),
     });
     const  data  =  await  res.json();
     if  (!data.token)  return;
     // 2. Create Stream client and set user
     chatClient  =  StreamChat.getInstance(apiKey);
     await  chatClient.connectUser({  id:  customerId,  name:  customerName  ||  'Guest'  },  data.token);
     // 3. Create channel
     const  channelId  =  `support-${customerId}`;
     channelInstance  =  chatClient.channel('messaging',  channelId,  {
       name:  'Sales Support',
       members:  [customerId,  'sales-agent'],
       url:  window.location.href,
       sku:  product.sku,
       product:  {
         name:  product.name,
         price:  product.price,
       },
       customer_name:  customerName,
       customer_id:  customerId,
       closed:  false,
     });
     await  channelInstance.watch();
     if  (isMounted)  {
       setClient(chatClient);
       setChannel(channelInstance);
     }
   }
   setup();
   return  ()  =>  {
     isMounted  =  false;
     if  (chatClient)  chatClient.disconnectUser();
   };
 },  [isOpen,  customerId,  product,  customerName]);
...
This useEffect hook manages the entire chat initialization process. It first requests a token from the backend, then creates and configures a Stream Chat client with the user's information. Finally, it establishes a new channel with product details and customer information, allowing the sales associate to see relevant context about the customer's browsing session.
Then, some quick conditional rendering based on the chat's state:
...
 if  (!isOpen  ||  !client  ||  !channel)  return  null;
 const  isClosed  =  channel?.data?.closed;
...
This checks if the chat should be displayed and if the sales associate has closed the channel, controlling the component's visibility and functionality.
The return statement then renders the chat UI with all necessary components.
...
 return  (
   <div  className="fixed bottom-20 right-6 w-96 h-[600px] bg-white rounded-lg shadow-xl z-50">
     <div  className="h-full flex flex-col">
       <div  className="flex justify-between items-center p-4 border-b">
         <h3  className="font-medium">Chat  with  Sales</h3>
         <button
           onClick={onClose}
           className="text-gray-500 hover:text-gray-700"
         >
           <svg
             className="w-5 h-5"
             fill="none"
             stroke="currentColor"
             viewBox="0 0 24 24"
           >
             <path
               strokeLinecap="round"
               strokeLinejoin="round"
               strokeWidth="2"
               d="M6 18L18 6M6 6l12 12"
             />
           </svg>
         </button>
       </div>
       <div  className="flex-1 overflow-hidden">
         <Chat  client={client}>
           <Channel  channel={channel}>
             <Window>
               <ChannelHeader  />
               <MessageList  />
               {!isClosed  ?  (
                 <MessageInput  />
               )  :  (
                 <div  className="p-4 text-center text-red-600 font-semibold">
                   This  chat  has  been  closed  by  the  sales  associate.
                 </div>
               )}
             </Window>
           </Channel>
         </Chat>
       </div>
     </div>
   </div>
 );
}
We get a fixed-position chat window with a header, close button, and the Stream Chat components. It conditionally renders either the message input or a "chat closed" notification based on whether the sales associate has ended the conversation.
All we then have to do is add our chat component to our product page:
// page.js
...
<div  className="fixed bottom-6 right-6 z-50">
       <button
         type="button"
         onClick={()  =>  setIsChatOpen(true)}
         className="flex items-center gap-2 bg-blue-600 hover:bg-blue-700 text-white rounded-full px-6 py-3 shadow-lg transition-all duration-200 hover:shadow-xl focus:outline-none focus:ring-2 focus:ring-blue-500 focus:ring-offset-2"
       >
         <svg
           className="w-5 h-5"
           fill="none"
           stroke="currentColor"
           viewBox="0 0 24 24"
           xmlns="http://www.w3.org/2000/svg"
         >
           <path
             strokeLinecap="round"
             strokeLinejoin="round"
             strokeWidth="2"
             d="M8 10h.01M12 10h.01M16 10h.01M9 16H5a2 2 0 01-2-2V6a2 2 0 012-2h14a2 2 0 012 2v8a2 2 0 01-2 2h-5l-5 5v-5z"
           />
         </svg>
         <span  className="font-medium">Chat  1:1  with  an  Associate</span>
       </button>
     </div>
     <ChatWindow
       isOpen={isChatOpen}
       onClose={()  =>  setIsChatOpen(false)}
       product={{  ...product,  sku:  'PREM-HDPH-001'  }}
       customerName="Guest"
     />
   </div>
This is mostly just styling for our chat button and window. But also note how we're passing product data to the ChatWindow component so the sales associate has context about what the customer is viewing. The button uses a clean, accessible design with hover and focus states to encourage customer engagement, while the fixed positioning ensures it remains visible as customers browse the page.
Let's look at how the button now looks on the page:
Then, when the window is open:
Of course, if a customer started chatting, they would get crickets. At the moment, there is no way for a sales associate to talk with the customer.
Let's build that next.
Building Our Sales Admin Chat Panel
There are a few functionalities we want our sales associate admin panel to have:
- We want the sales associate to be able to see what page the customer is looking at and specific product information.
- We want the sales associate to be able to chat with more than one customer at a time.
- We want the sales associate to be able to end the chat when they have answered the customer's questions.
All these are easy to build with Stream. It is literally ~100 lines of code. Before we dive into the code, let's look at the product information issue. This could be a hard challenge requiring complex event tracking, state management across different browser sessions, and potentially a custom database schema to associate browsing data with chat sessions.
But if you go back to the Stream client code above, you'll notice that we send customer and product information directly in the channel creation metadata, making it instantly available to the sales associate without additional API calls. This metadata travels with the chat session and can be accessed through the Stream SDK, giving sales associates immediate context about what products customers are viewing without complex integration work.
Now, let's look at the code. The imports and initialization look like above, so we'll skip the explanations.
// admin/page.js
export  default  function  AdminPage()  {
 const  [activeChannel,  setActiveChannel]  =  useState(null);
 const  client  =  useCreateChatClient({
   apiKey,
   tokenOrProvider:  userToken,
   userData:  {  id:  'sales-agent'  },
 });
...
This code initializes the admin interface state with an activeChannel variable and sets up the Stream Chat client for the sales agent. The useCreateChatClient hook encapsulates the client creation process, handling authentication and user data setup automatically.
Next, we create a component to display product and customer information extracted from the channel metadata:
...
// Extract product/customer info from channel data
const ProductInfoPane = ({ channel }) => {
if (!channel) return null;
const { url, sku, product } = channel.data || {};
return (
<div className="p-4 border-b bg-gray-50">
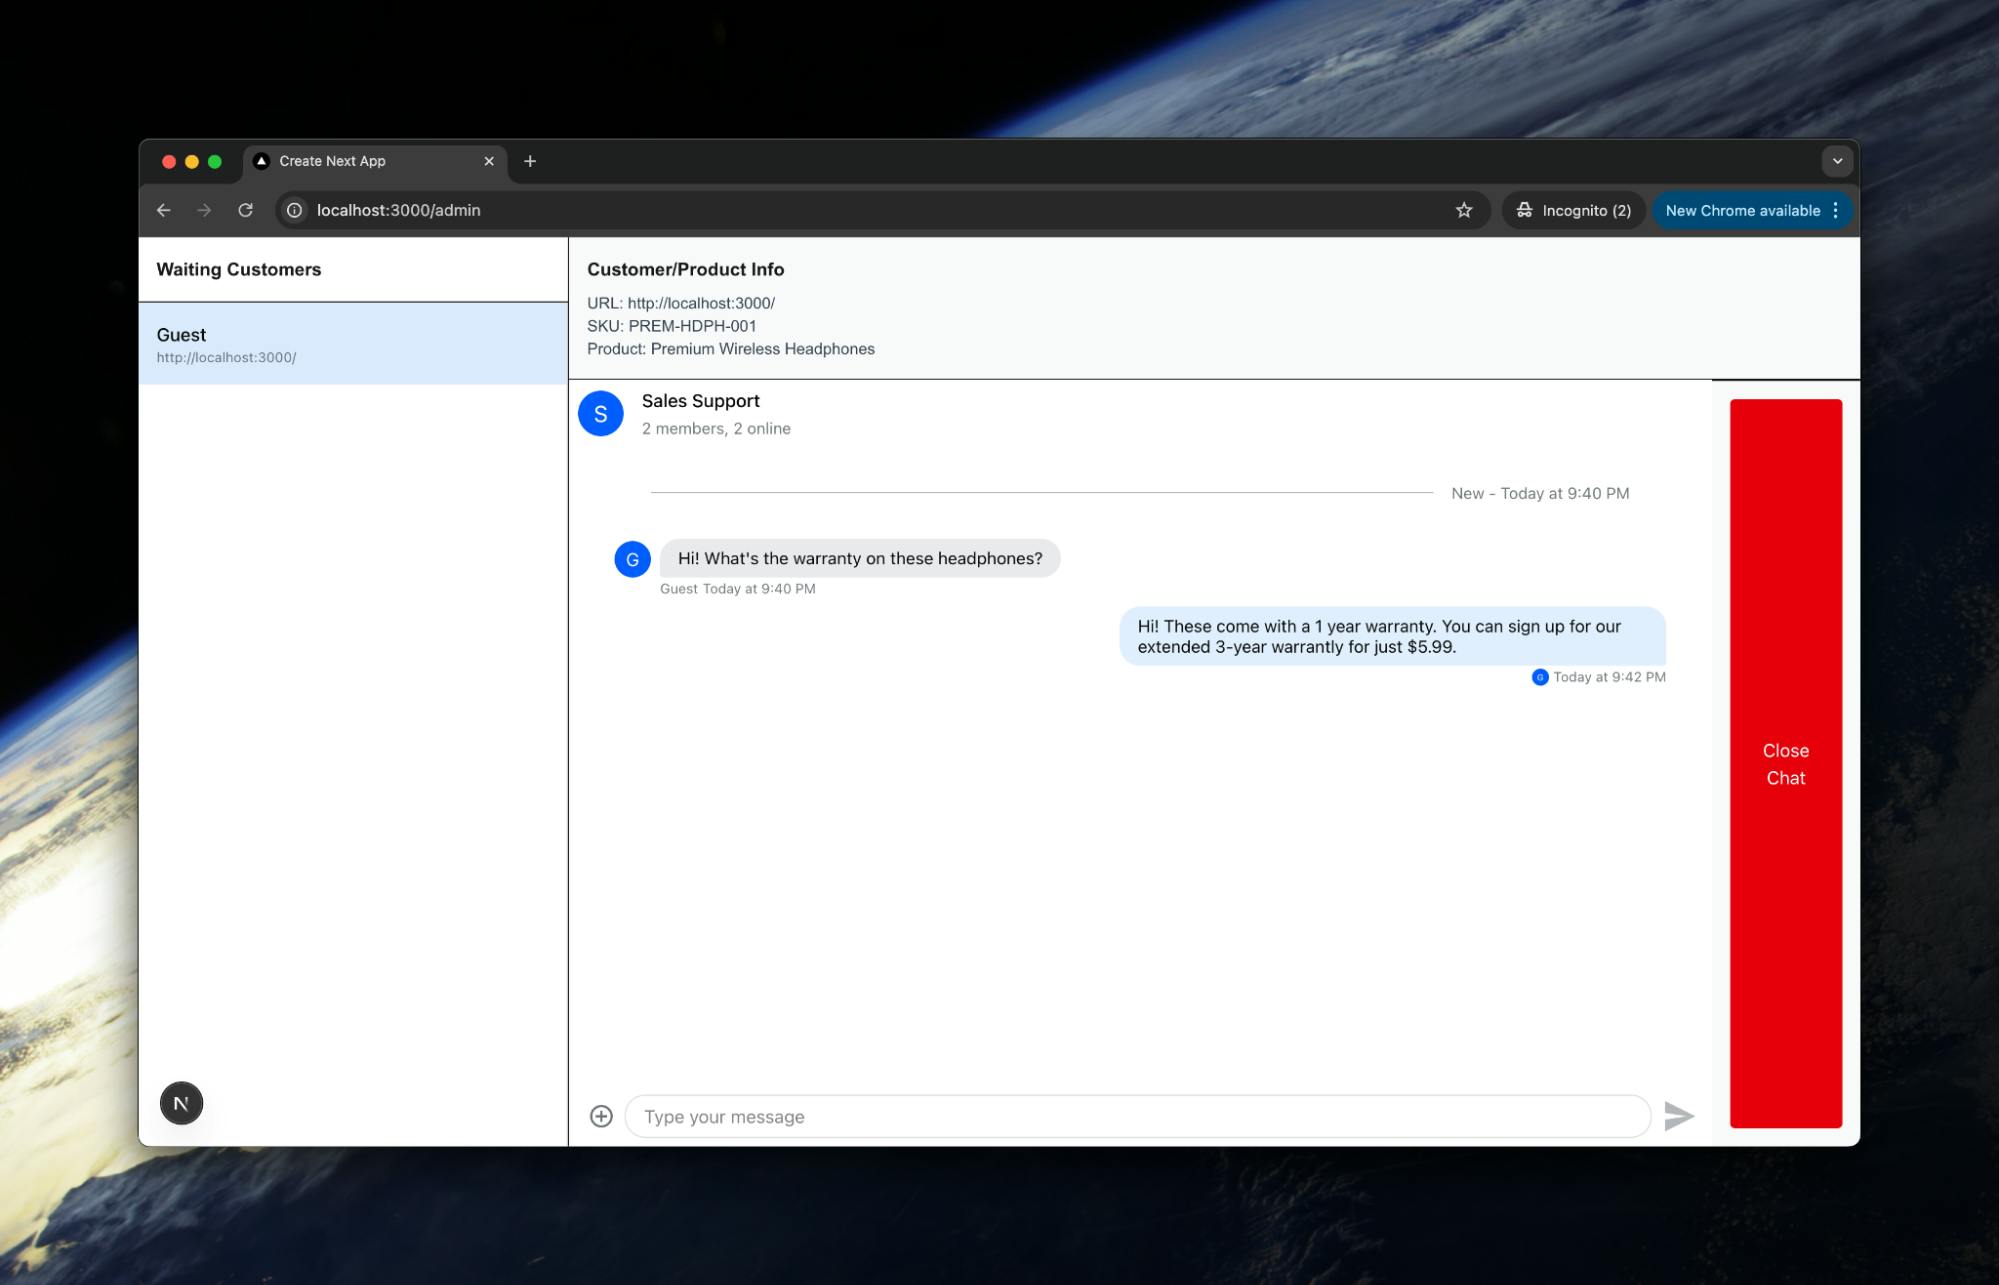
<h3 className="font-semibold mb-2">Customer/Product Info</h3>
<div className="text-sm text-gray-700">
<div><span className="font-medium">URL:</span> {url || 'N/A'}</div>
<div><span className="font-medium">SKU:</span> {sku || 'N/A'}</div>
<div><span className="font-medium">Product:</span> {product ? product.name : 'N/A'}</div>
</div>
</div>
);
};
...The ProductInfoPane component extracts and displays contextual information from the channel data object, including the URL the customer is viewing, product SKU, and product name. This component conditionally renders based on whether a channel is selected, providing sales associates with crucial context about what the customer is browsing.
Now we implement functionality to allow the sales associate to close a chat session:
...
 // Add close chat handler
 const  handleCloseChat  =  async  ()  =>  {
   if  (activeChannel)  {
     await  activeChannel.update({  closed:  true  });
     await  activeChannel.sendMessage({
       text:  'This chat has been closed by the sales associate.',
       type:  'system',
     });
     setActiveChannel(null);
   }
 };
...
The handleCloseChat function updates the channel metadata with a closed status flag and sends a system message to notify the customer. This function uses Stream's channel.update() method to modify channel properties and leverage the message API to send automated notifications, ensuring a clean end to the conversation.
Finally, we render the complete admin interface with a list of customers and the active chat window:
...
 return  (
   <Chat  client={client}>
     <div  className="flex h-screen">
       {/* Customer List Pane */}
       <div  className="w-1/4 border-r bg-white">
         <h2  className="p-4 font-bold border-b">Waiting  Customers</h2>
         <ChannelList
           filters={filters}
           sort={sort}
           options={options}
           Preview={(props)  =>  (
             <div
               className={`p-4 cursor-pointer hover:bg-blue-50 ${activeChannel && props.channel.id === activeChannel.id ? 'bg-blue-100' : ''}`}
               onClick={()  =>  setActiveChannel(props.channel)}
             >
               <div  className="font-medium">{props.channel.data?.customer_name  ||  'Customer'}</div>
               <div  className="text-xs text-gray-500 truncate">{props.channel.data?.url  ||  ''}</div>
             </div>
           )}
         />
       </div>
       {/* Chat and Info Pane */}
       <div  className="flex-1 flex flex-col">
         <ProductInfoPane  channel={activeChannel}  />
         <div  className="flex-1">
           {activeChannel  ?  (
             <Channel  channel={activeChannel}>
               <Window>
                 <ChannelHeader  />
                 <MessageList  />
                 <MessageInput  />
               </Window>
               <div  className="p-4 border-t bg-gray-50 flex justify-end">
                 <button
                   className="bg-red-600 text-white px-4 py-2 rounded hover:bg-red-700 transition"
                   onClick={handleCloseChat}
                 >
                   Close  Chat
                 </button>
               </div>
             </Channel>
           )  :  (
             <div  className="flex items-center justify-center h-full text-gray-400">Select  a  customer  to  start  chatting</div>
           )}
         </div>
       </div>
     </div>
   </Chat>
 );
}
The return statement renders a two-pane layout with a customer list on the left and the active chat on the right. It uses Stream's ChannelList component with custom filters and rendering to display waiting customers, while conditionally rendering the active conversation or a placeholder based on the selected channel state.
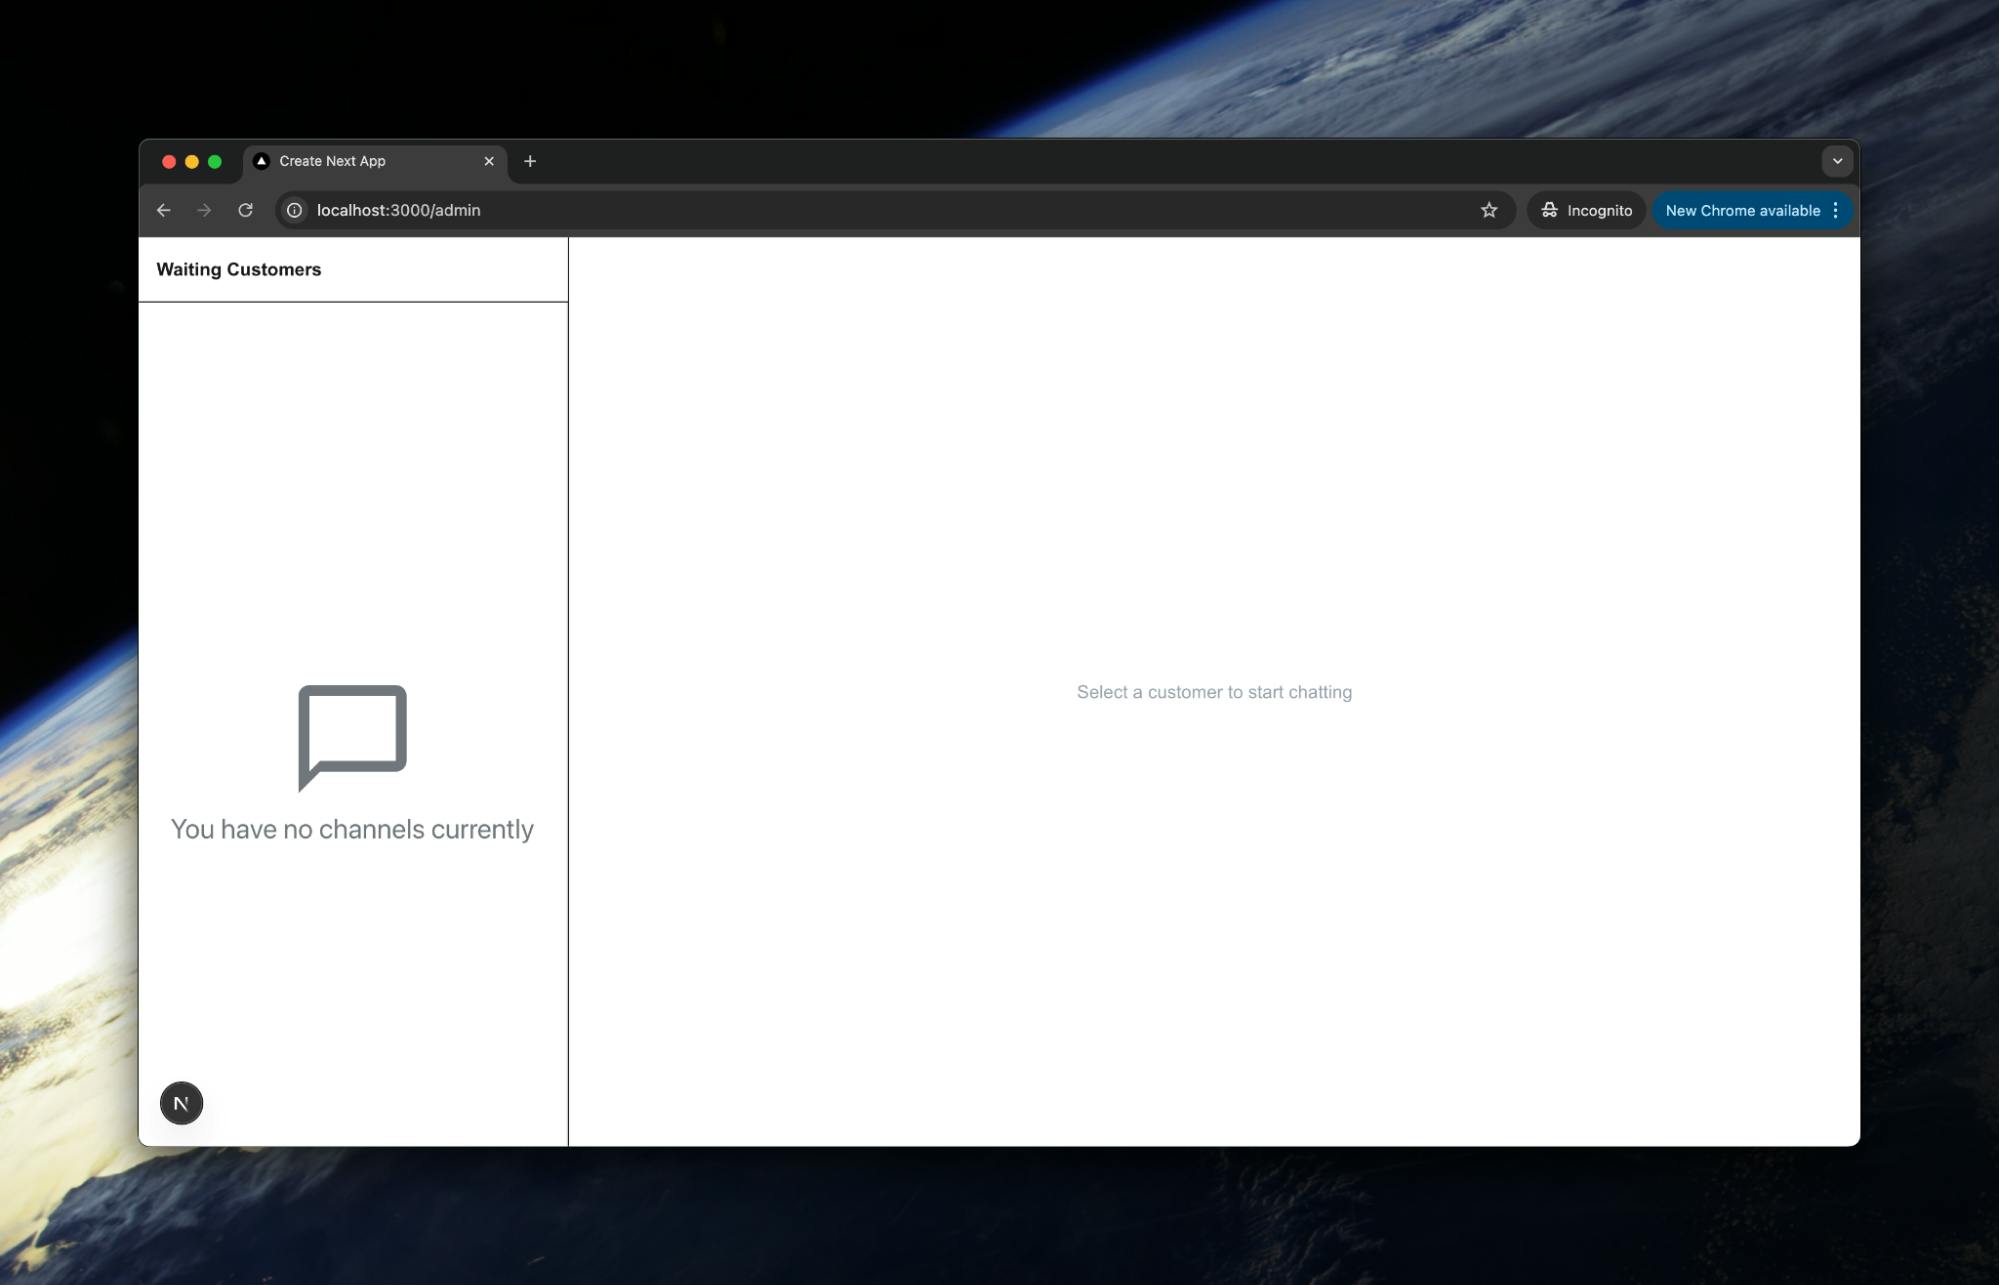
With no customers, the admin panel looks like this:
But as soon as a customer asks a question, the panel comes alive. The associate can see not just the chat, but also the product information:

The associate can then start chatting with the customer:
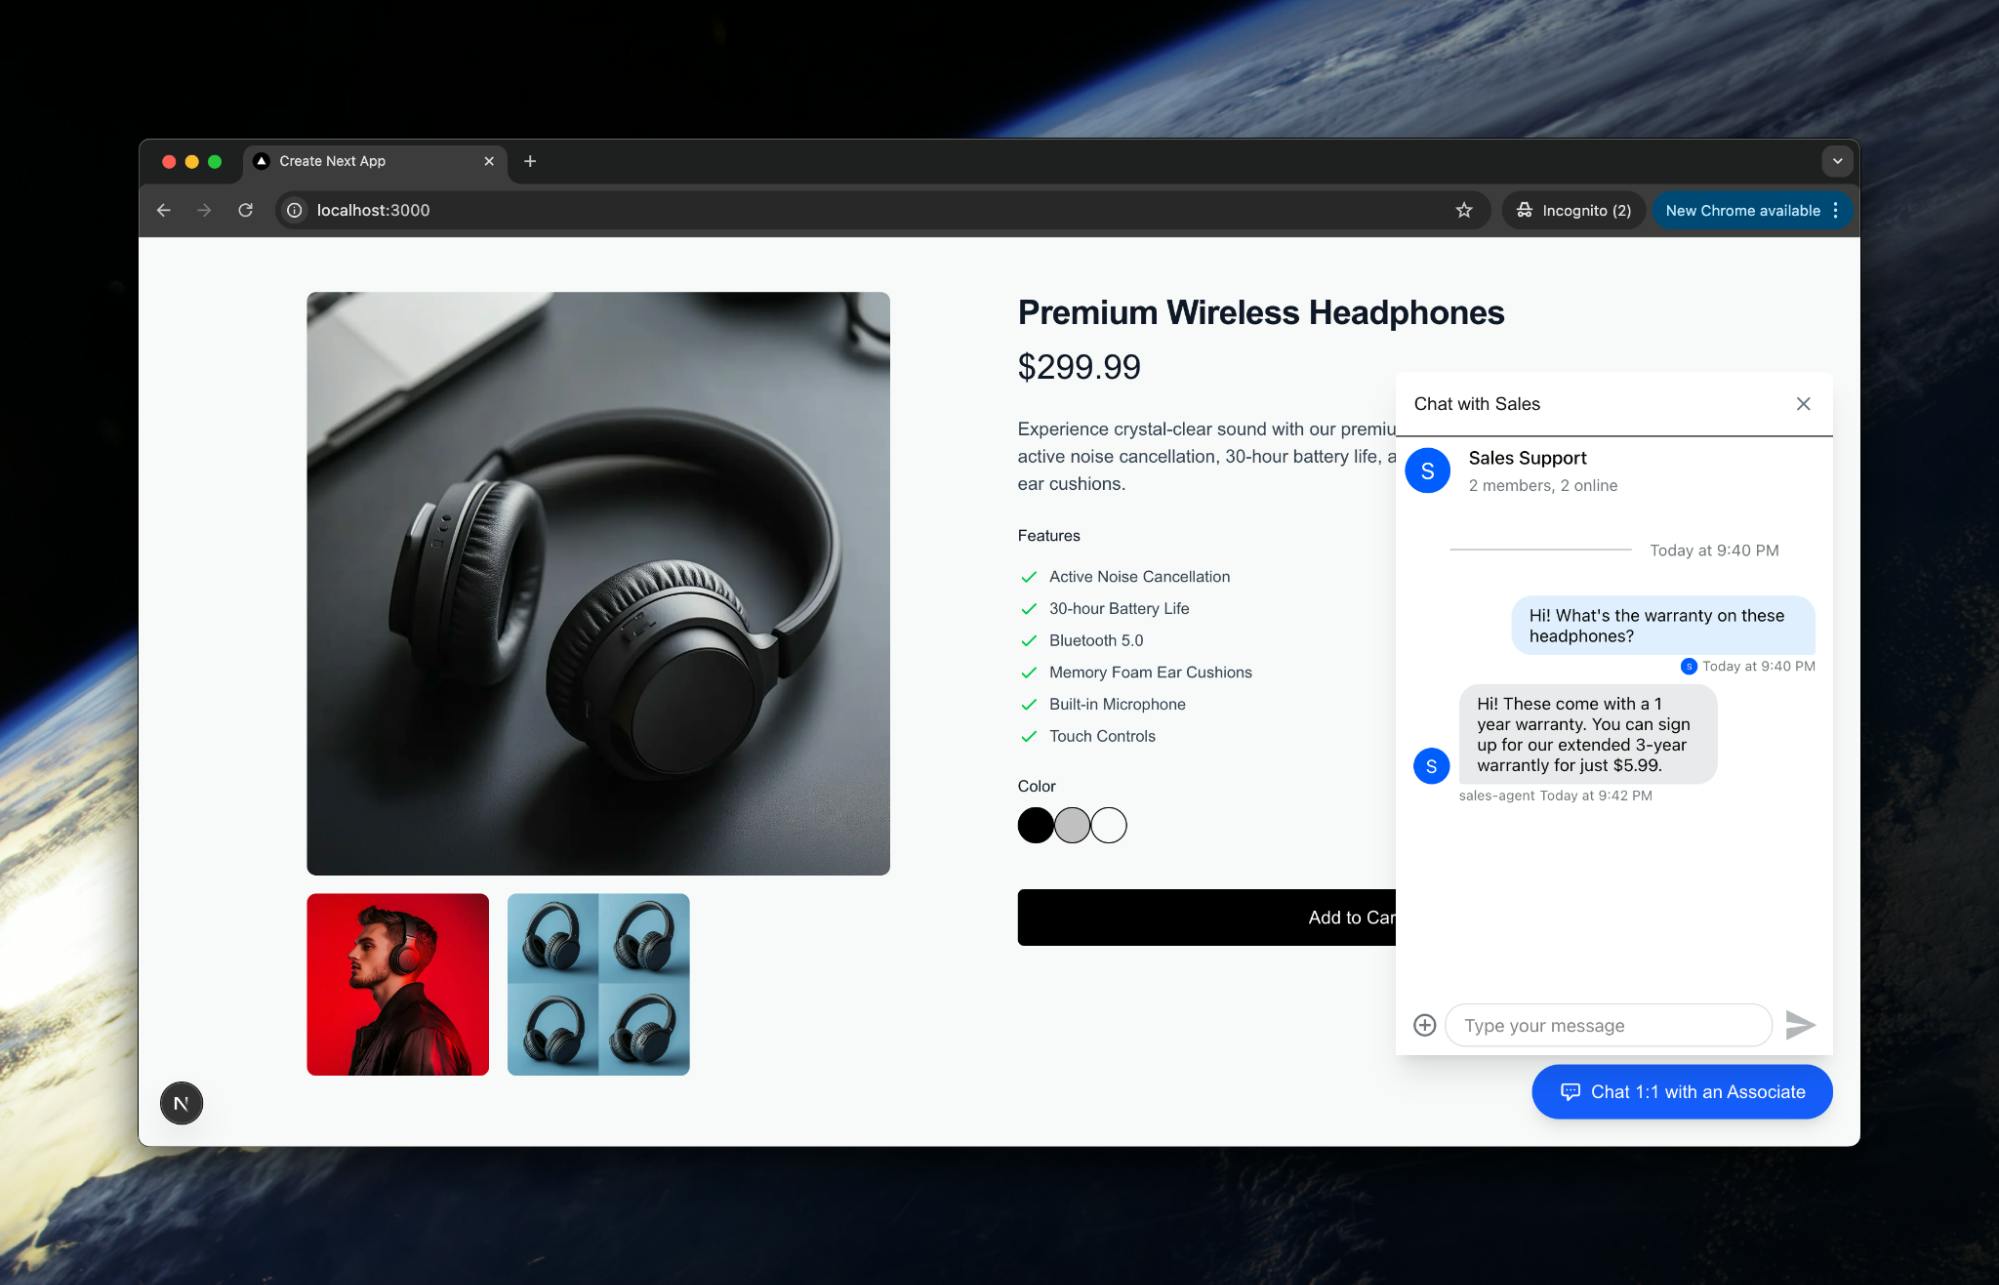
This is what it looks like for the customer:
If another customer wants to chat, the associate can easily see that in the side pane and swap between the conversations:

When the customer is happy, the associate can then end the conversation:

How could you expand on this?
- Tie to account details. At the moment, we just have "Guest" users, but you could use actual information from logged-in account details to know what other products a customer has purchased, or other information that could help them in their buying decisions.
- Add AI-powered product recommendations. Integrate with your recommendation engine to allow sales associates to quickly suggest complementary products based on the customer's viewing and purchase history.
- Enable multimedia sharing. Allow associates to send product images, comparison charts, or video demonstrations directly in the chat to better illustrate product features and benefits.
- Create saved responses. Build a library of pre-approved answers to common questions that associates can quickly insert, ensuring consistent messaging while reducing response time.
Simple Implementation, Powerful Results
Adding a sales chat widget to your product pages doesn't have to be a months-long engineering project. As we've demonstrated, with Stream's Chat API, you can implement a full-featured chat system with both customer-facing and admin components in 200 lines of code. This approach gives your customers instant access to personalized assistance while providing your sales team with the context they need to effectively close sales.
The revenue impact can be substantial---remember those Forrester numbers about 2.8X conversion rates and 60% higher AOV? With this straightforward implementation, you're looking at one of the highest ROI additions you can make to your e-commerce site.