
This step-by-step guide will help you build an AI front-desk receptionist that interacts with patients through conversations, assesses their conditions, and advises whether to visit a doctor or seek online medical advice.
When an agent can see the patient’s condition in real time, it can make a smarter recommendation, saving patients an unnecessary trip to the clinic.
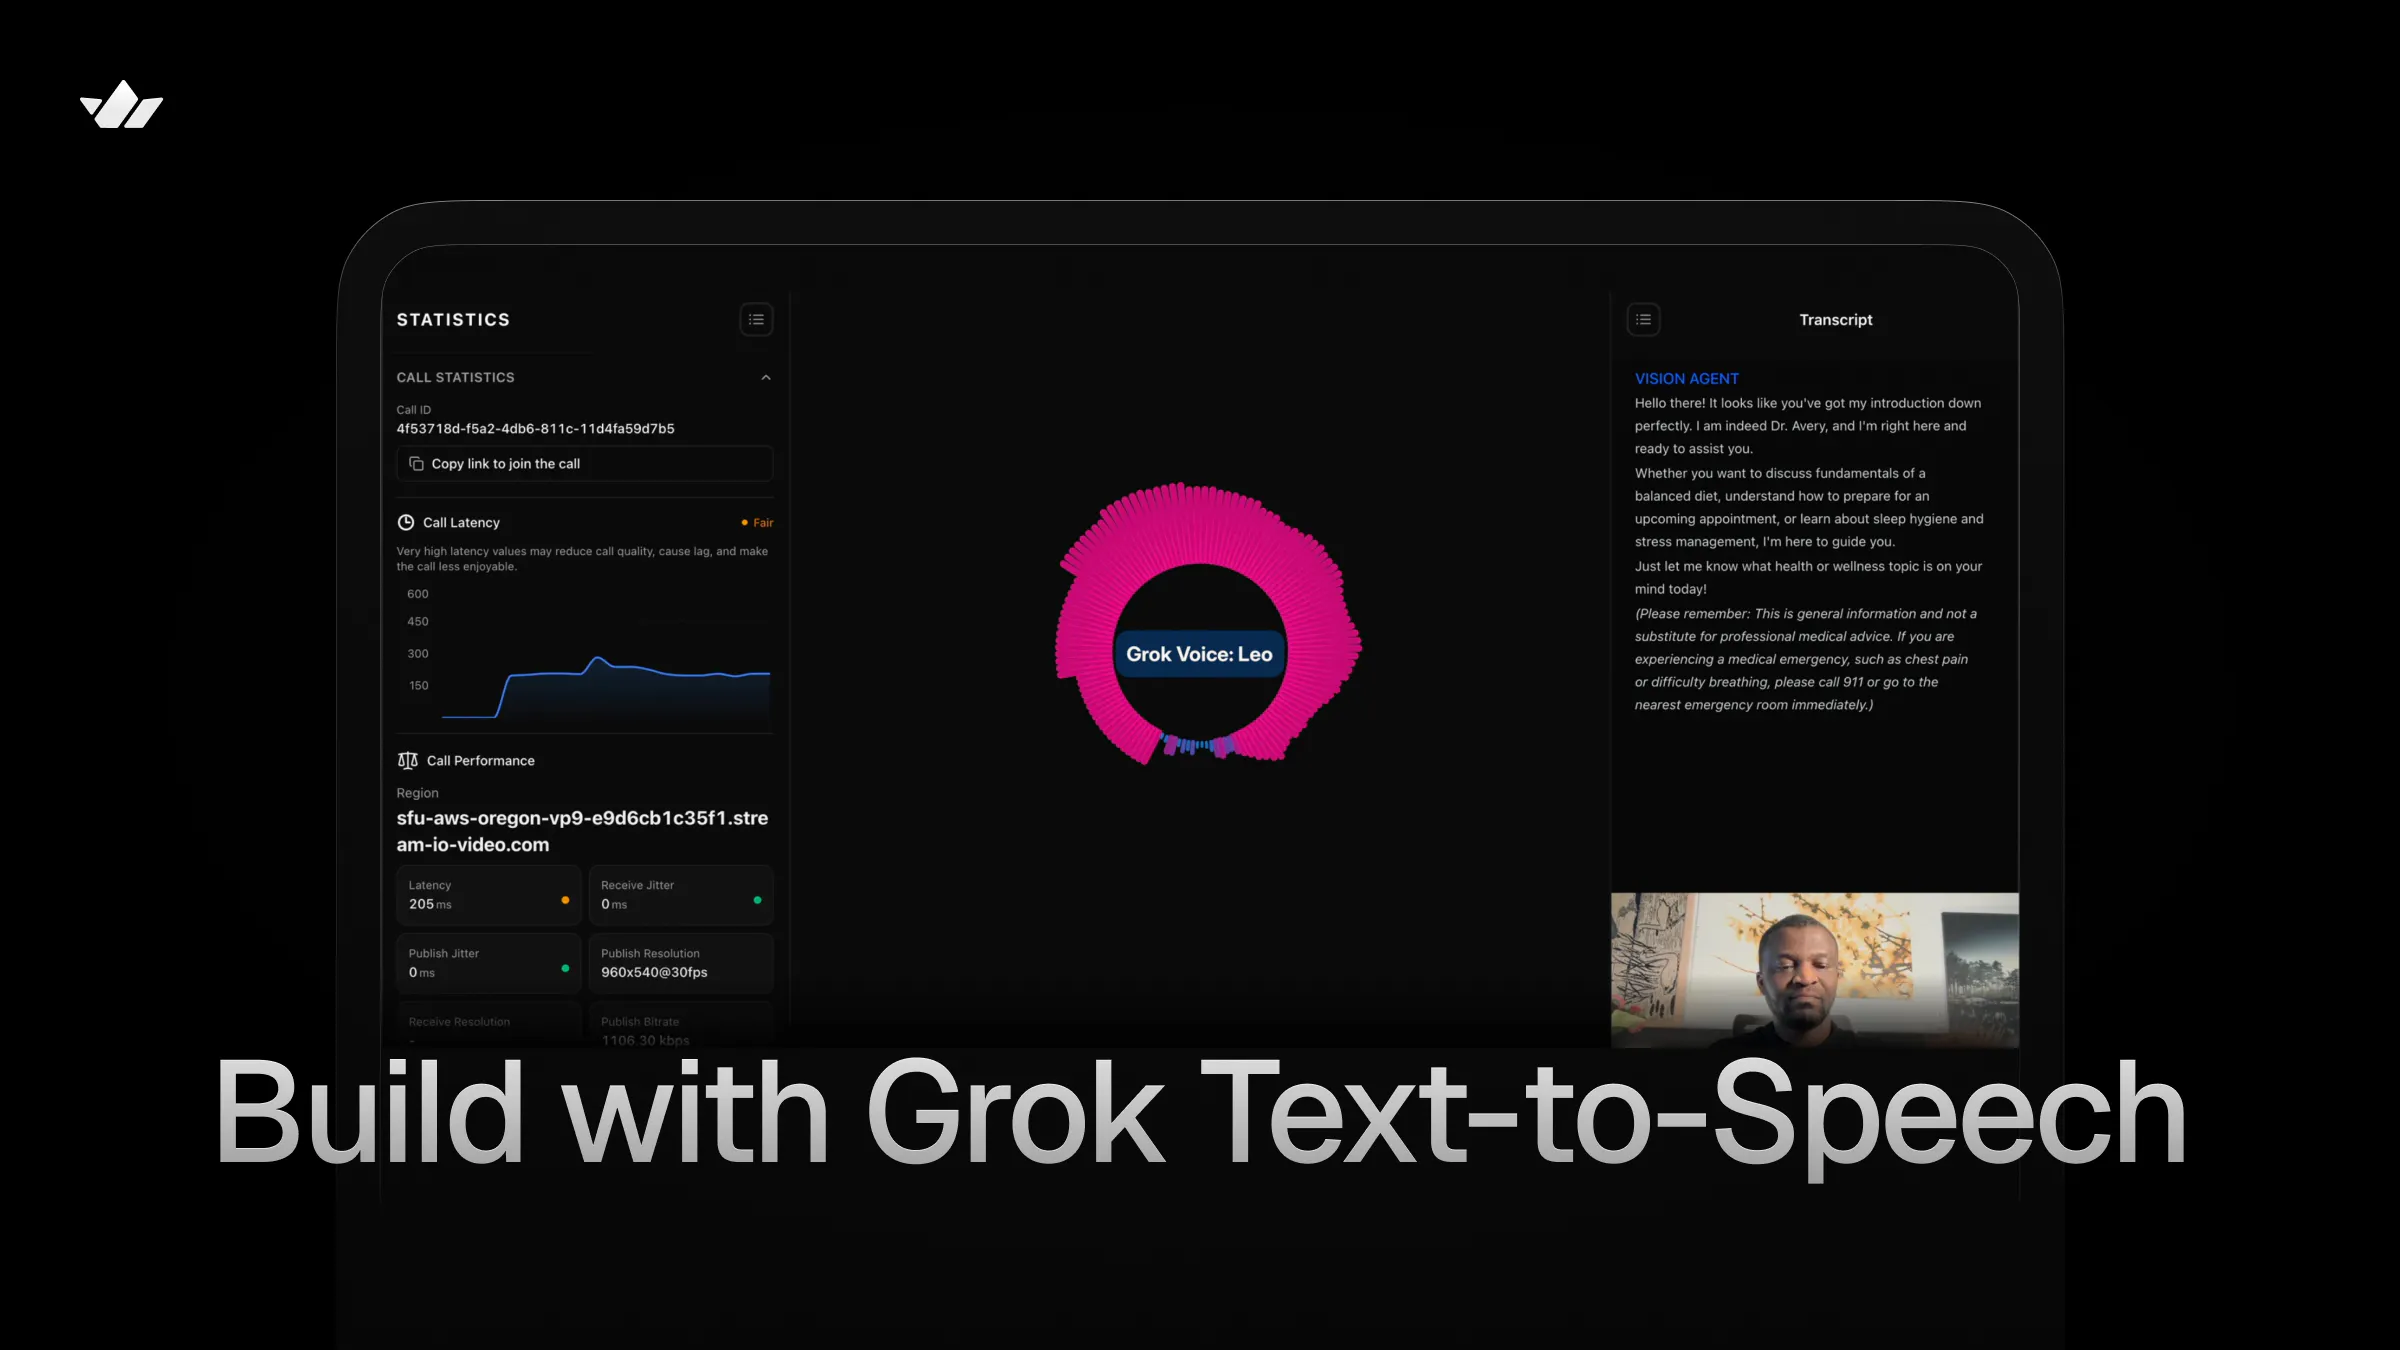
What You Will Build
Watch the demo below to see the finished agent in action.
You can also watch this 12-minute YouTube video that covers this tutorial and other example use cases.
You can clone this repo to test other Grok Text-to-Speech and AI voice use cases such as customer service, hotel concierge, real estate, and restaurant host.
Project Dependencies
Building the healthcare appointment scheduling agent requires integrating the TTS component of Grok Voice API with the Vision Agents platform. It depends on the following to manage the project and process audio and vision.
- Python 3.13 or later
- AIOHTTP: Asynchronous HTTP Client/Server for asyncio and Python. Run
uv pip install aiohttpto get the latest version (3.13.3 or later) - Grok Speech-to-Speech API
- Vision Agents: An open-source platform for building voice, video, and vision applications in Python.
- Pydub: An optional dependency for audio manipulation and MP3 decoding
Configure Your API Credentials
Getting started with Vision Agents and the Grok Text-to-Speech API requires you to set the following API credentials in your environment.
- X API Key: Go to console.x.ai to generate a new API key. Then, set the
XAI_API_KEYenvironment variable. - Stream API Key: Visit the Stream dashboard to create an app and generate
STREAM_API_KEYandSTREAM_API_SECRET. - Swappable AI Services: The other credentials required to assemble a complete voice pipeline for the medical receptionist agent include speech-to-text (STT) and an LLM. For these two components of the voice pipeline, you can use any AI provider of your preference. The GitHub project uses a Gemini model for the LLM and Deepgram for STT. Get an API key for Gemini and Deepgram or use your favorite services.
What is Grok TTS?

Grok Voice offers developers speech recognition and synthesis APIs for audio generation in AI applications. Grok text-to-speech (TTS) is a plugin for Vision Agents that provides five built-in expressive voices with inline speech tags for fine-grained control over delivery.
Features of Grok TTS
Similar to OpenAI.fm, Grok Voice provides developers with distinct speech options for prototyping and building interactive audio generation and simulations.
The text-to-speech API has:
- Five Distinct Built-in AI Voices: Eve, Ara, Leo, Rex, and Sal
- Expressive Speech Tags: Inline tags for laugh, pause, whisper, and more
- Multiple Output Codecs: A-law, Mu-law, PCM, MP3, and WAV companding algorithms
- Configurable Sample Rate: Ranging from 8kHz – 48kHz for balancing bandwidth and fidelity of sound
- Multilingual Support: 20+ supported languages with automatic detection
- Built-In Retry: Exponential backoff for reliable synthesis
- Async HTTP: Async HTTP via AIOHTTP for non-blocking synthesis
Choose a Grok Voice
The features section above highlighted the five built-in voices supported by the Grok TTS API.
To build an agent that acts as a professional medical receptionist, we need a voice with a smooth, calm, and versatile tone that fits a medical context. Let’s use Sal’s voice for this purpose.
Project Set Up and Framework Installation
Let’s proceed by initializing a new Python project with uv, installing the Vision Agents framework and its companion plugins, [grok-tts](), gemini, and smart-turn.
Note: The xAI Vision Agents plugin supports using an xAI model, such as Grok 4, as an LLM. At the time of writing this article, Vision Agents did not have official support for Grok TTS, although the integrated Grok TTS plugin works seamlessly, as do the others, such as ElevenLabs, Cartesia, and Inworld.
Step 1: Start With a Python Project
Run the following commands to start a new Python project and install Vision Agents
12345678910# Initialize a Python Project
uv init

# Activate your environment
uv venv
source .venv/bin/activate

# Install Vision Agents
uv add vision-agents
uv add "vision-agents[getstream, gemini, deepgram]"
Step 2: Create Grok TTS as a Custom Vision Agents Plugin
Launch the uv-generated project in an IDE like Cursor and use a model like Opus 4.6 to generate a fully working plugin by running the following prompt in the project’s root.
12345678910111213141516Use this codebase to create a custom Python text-to-speech (TTS) plugin for Grok TTS (Voice) to connect with Vision Agents so that it can be used with any AI provider. Aside from adding a basic example, include an example for a medical front-desk receptionist using Sal's voice.

Steps
Follow the Vision Agents Python plugin creation docs to do the implementation and generate all the required plugin directories and files: https://visionagents.ai/integrations/create-your-own-plugin

Grok Voice TTS docs: https://x.ai/api/voice#text-to-speech

Grok Voice: https://x.ai/api/voice

Text to speech: https://docs.x.ai/developers/model-capabilities/audio/text-to-speech

Example Vision Agents TTS plugins for reference:

https://github.com/GetStream/Vision-Agents/tree/main/plugins/pocket

https://github.com/GetStream/Vision-Agents/tree/main/plugins/fish
After sending the above prompt, the model will modify the uv project to integrate the Grok TTS plugin with a project structure similar to this one.
12345678910111213141516plugins/grok_tts/
├── pyproject.toml                          # Package config (hatchling build, aiohttp dep)
├── README.md                               # Full plugin documentation
├── py.typed                                # PEP 561 type marker
├── vision_agents/
│   └── plugins/
│       └── grok_tts/
│           ├── __init__.py                 # Exports TTS, Voice, VOICE_DESCRIPTIONS
│           └── tts.py                      # Core TTS implementation
├── tests/
│   └── test_tts.py                         # Unit tests
└── example/
    ├── pyproject.toml                      # Example dependencies
    ├── README.md                           # Example docs with run instructions
    ├── basic_example.py                    # Basic assistant (Eve voice)
    ├── medical_receptionist_example.py     # Medical receptionist (Sal voice)
Visit the Create Your Own Plugin section in the Vision Agents docs to learn more about how to bring external AI services support into the framework.
From the above project structure, the main plugin implementation code resides in /plugins/grok_tts/tts.py.
The content of /example/basic_example.py looks like this:
12345678910111213141516171819202122232425262728293031323334353637383940414243444546474849505152535455565758596061626364"""
Grok TTS — Basic Example

A minimal Vision Agents setup that demonstrates Grok text-to-speech
with Deepgram STT, Gemini LLM, and Stream's real-time edge transport.

Requirements (environment variables):
    XAI_API_KEY          — xAI / Grok API key
    DEEPGRAM_API_KEY     — Deepgram STT key
    GOOGLE_API_KEY       — Google Gemini key
    STREAM_API_KEY       — Stream API key
    STREAM_API_SECRET    — Stream API secret
"""

import asyncio
import logging

from dotenv import load_dotenv
from vision_agents.core import Agent, Runner, User
from vision_agents.core.agents import AgentLauncher
from vision_agents.plugins import deepgram, gemini, getstream, smart_turn
from vision_agents.plugins import grok_tts

logger = logging.getLogger(__name__)

load_dotenv()

async def create_agent(**kwargs) -> Agent:
    """Create an agent with Grok TTS using the default 'eve' voice."""
    agent = Agent(
        edge=getstream.Edge(),
        agent_user=User(name="Grok Voice AI", id="agent"),
        instructions=(
            "You are a friendly and helpful voice assistant powered by Grok. "
            "Keep your responses concise and conversational."
        ),
        tts=grok_tts.TTS(voice="eve"),
        stt=deepgram.STT(eager_turn_detection=True),
        llm=gemini.LLM(),
        turn_detection=smart_turn.TurnDetection(
            silence_duration_ms=2000,
            speech_probability_threshold=0.5,
        ),
    )
    return agent

async def join_call(agent: Agent, call_type: str, call_id: str, **kwargs) -> None:
    """Join a call and greet the user."""
    call = await agent.create_call(call_type, call_id)

    logger.info("Starting Grok TTS Agent (basic example)...")

    async with agent.join(call):
        logger.info("Agent joined call")

        await asyncio.sleep(3)
        await agent.llm.simple_response(
            text="Hello! I'm your voice assistant running on Grok TTS. How can I help?"
        )

        await agent.finish()

if __name__ == "__main__":
    Runner(AgentLauncher(create_agent=create_agent, join_call=join_call)).cli()
This sample code creates a general-purpose voice assistant you can interact with in real-time.
Medical Receptionist Example
In the project’s /example/medical_receptionist_example.py, we can equip the agent with custom, detailed instructions so that, before scheduling an appointment with patients to see a doctor, certain conditions must be met. The medical receptionist agent must assess the patient’s camera feed to determine whether the illness is minor or serious, and ask additional questions.
12345678910111213141516171819202122232425262728293031323334353637383940414243444546474849505152535455565758596061626364656667686970717273747576777879808182838485868788899091929394959697"""
Grok TTS — Medical Receptionist Example

A voice/vision agent that acts as a professional medical office receptionist.
Uses the 'sal' voice (smooth, balanced) for a calm and reassuring tone. Before assisting patients to schedule appointments, the agent sees through the patient's camera feed to assess and check if there is the need to visit a doctor or give an online medical treatment/advice.

Requirements (environment variables):
    XAI_API_KEY          — xAI / Grok API key
    DEEPGRAM_API_KEY     — Deepgram STT key
    GOOGLE_API_KEY       — Google Gemini key
    STREAM_API_KEY       — Stream API key
    STREAM_API_SECRET    — Stream API secret
"""

import asyncio
import logging

from dotenv import load_dotenv
from vision_agents.core import Agent, Runner, User
from vision_agents.core.agents import AgentLauncher
from vision_agents.plugins import deepgram, gemini, getstream, smart_turn
from vision_agents.plugins import grok_tts

logger = logging.getLogger(__name__)

load_dotenv()

MEDICAL_RECEPTIONIST_INSTRUCTIONS = """\
You are Sal, the front-desk receptionist at "Greenfield Family Practice."

Your personality:
- Professional, patient, and empathetic
- Calm and reassuring, especially with anxious callers
- Clear and precise when relaying medical office information

Your responsibilities:
- Answer incoming calls and greet patients by name when possible
- Check if the patient needs to visit a doctor or give an online medical treatment/advice by seeing through the patient's camera feed. For minor sicknesses, you can give an online medical treatment/advice. For major sicknesses, you should refer the patient to a doctor by scheduling an appointment.
- Also, check out the patients’ uploaded documents/images and screensharing content to make a decision on whether to visit a doctor in-person or not.
- Schedule, reschedule, or cancel appointments
- Provide office hours, location, and directions
- Explain what to bring to a first visit (insurance card, ID, medication list)
- Triage urgency: direct emergencies to 911, urgent concerns to the nurse line
- Handle prescription refill requests by taking details and forwarding to the provider

Important guidelines:
- NEVER provide medical advice, diagnoses, or treatment recommendations
- Always confirm the patient's date of birth for identity verification
- If a caller describes symptoms that sound urgent, calmly recommend they
  call 911 or go to the nearest emergency room
- Keep responses empathetic but efficient — patients value their time

Office details you may reference:
- Hours: Mon–Fri 8 AM – 5 PM, Sat 9 AM – 12 PM, closed Sunday
- Address: 240 Greenfield Avenue, Suite 100
- Providers: Dr. Sarah Chen (Family Medicine), Dr. James Okafor (Internal Medicine)
- New patient appointments: 45 minutes; follow-ups: 20 minutes
"""

async def create_agent(**kwargs) -> Agent:
    """Create a medical receptionist agent with Grok TTS (sal voice)."""
    agent = Agent(
        edge=getstream.Edge(),
        agent_user=User(name="Maya - Greenfield Family Practice", id="agent"),
        instructions=MEDICAL_RECEPTIONIST_INSTRUCTIONS,
        tts=grok_tts.TTS(voice="sal"),
        stt=deepgram.STT(eager_turn_detection=True),
        llm=gemini.LLM(),
        turn_detection=smart_turn.TurnDetection(
            silence_duration_ms=2500,
            speech_probability_threshold=0.5,
        ),
    )
    return agent

async def join_call(agent: Agent, call_type: str, call_id: str, **kwargs) -> None:
    """Join the call and greet the patient caller."""
    call = await agent.create_call(call_type, call_id)

    logger.info("Starting Medical Receptionist Agent...")

    async with agent.join(call):
        logger.info("Agent joined call")

        await asyncio.sleep(3)
        await agent.llm.simple_response(
            text=(
                "Thank you for calling Greenfield Family Practice. "
                "This is Maya. How can I assist you today — "
                "would you like to schedule an appointment or do you have a question about your visit?"
            )
        )

        await agent.finish()

if __name__ == "__main__":
    Runner(AgentLauncher(create_agent=create_agent, join_call=join_call)).cli()
In this example, patients can also upload documents/images/files and share their screens to assist the medical receptionist in deciding whether to book an appointment to see a doctor in person or receive online treatment/advice.
cd into the example directory and run the script with this command.
uv run medical_receptionist_example.py run. Congratulations!!! You can now interact with the medical receptionist agent like demonstrated below.
How To Use the Grok TTS Plugin
To use the Grok TTS plugin in Vision Agents without integrating the plugin with the steps outlined in the above sections, you should perform the following.
123456789101112131415161718192021222324# 1. Clone the repo
git clone https://github.com/GetStream/stream-tutorial-projects.git

# 2. Install dependencies:
cd AI/VisionAgents/VisionAgentsPythonPlugins/GrokTTS/plugins/grok_tts/example
uv sync

# 3. Create a `.env` file with your API keys:
# Required for Grok TTS
XAI_API_KEY=your_xai_api_key

# Required for speech-to-text
DEEPGRAM_API_KEY=your_deepgram_api_key

# Required for LLM
GOOGLE_API_KEY=your_google_api_key

# Required for real-time transport
STREAM_API_KEY=your_stream_api_key
STREAM_API_SECRET=your_stream_api_secret
EXAMPLE_BASE_URL=https://demo.visionagents.ai

# 4. Run the Medical receptionist
uv run medical_receptionist_example.py run
A Basic Grok TTS Usage in Vision Agents
Use the following code snippet to initialize the Grok TTS plugin in Vision Agents, specifying a preferred voice and parameter configurations.
123456789101112131415161718192021from vision_agents.plugins import grok_tts

# Default voice (eve) — energetic, upbeat
tts = grok_tts.TTS()

# Specify a voice
tts = grok_tts.TTS(voice="ara")   # warm, friendly
tts = grok_tts.TTS(voice="leo")   # authoritative, strong
tts = grok_tts.TTS(voice="rex")   # confident, clear
tts = grok_tts.TTS(voice="sal")   # smooth, balanced

# Custom output format
tts = grok_tts.TTS(
    voice="rex",
    codec="mp3",
    sample_rate=44100,
    bit_rate=192000,
)

# Explicit API key (otherwise reads XAI_API_KEY env var)
tts = grok_tts.TTS(api_key="xai-your-key-here")
Fine-Tune the Grok TTS Parameters
When using the text-to-speech plugin, there are a couple of parameters you can adjust for desired results. Here are the supported parameters and their descriptions.
| Parameter | Type | Default | Description |
|---|---|---|---|
api_key | str | env var | xAI API key. Falls back to XAI_API_KEY environment variable. |
voice | str | "eve" | Voice ID: "eve", "ara", "leo", "rex", or "sal". |
language | str | "en" | BCP-47 language code or "auto" for detection. |
codec | str | "pcm" | Output codec: "pcm", "mp3", "wav", "mulaw", "alaw". |
sample_rate | int | 24000 | Sample rate: 8000–48000 Hz. |
bit_rate | int | None | MP3 bit rate (only used with codec="mp3"). |
base_url | str | None | Override the xAI TTS API endpoint. |
session | object | None | Optional pre-existing aiohttp.ClientSession. |
Configure Voices
Although you can use any of the built-in Grok voices in your apps, choosing the right one will improve your project's user experience. Here are the available voices and tones, along with their use cases.
| Voice | Tone | Best For |
|---|---|---|
eve | Energetic, upbeat | Demos, announcements, upbeat content (default) |
ara | Warm, friendly | Conversational interfaces, hospitality |
leo | Authoritative, strong | Instructional, educational, healthcare |
rex | Confident, clear | Business, corporate, customer support |
sal | Smooth, balanced | Versatile — works for any context |
Configure Speech Tags
Aside from the default Grok voices and configurable parameters, developers can use synthesized speech with inline and wrapping tags to enhance expressiveness.
Inline Tags (placed where the expression should occur):
Pauses: [pause] [long-pause] [hum-tune]
Laughter: [laugh] [chuckle] [giggle] [cry]
Mouth sounds: [tsk] [tongue-click] [lip-smack]
Breathing: [breath] [inhale] [exhale] [sigh]
Wrapping Tags (wrap text to change delivery):
Volume: <soft>text</soft> <loud>text</loud> <shout>text</shout>
Pitch/speed: <high-pitch>text</high-pitch> <low-pitch>text</low-pitch> <slow>text</slow> <fast>text</fast>
Style: <whisper>text</whisper> <sing>text</sing>
Supported Languages
We created our project to support only English. However, the Grok text-to-speech API can be used to build voice experiences in other languages, such as the following. The multilingual support also helps to integrate speech and audio generation in specific locales rather than English.
| Language | Code |
|---|---|
| English | en |
| Chinese (Simplified) | zh |
| French | fr |
| German | de |
| Spanish (Spain) | es-ES |
| Spanish (Mexico) | es-MX |
| Japanese | ja |
| Korean | ko |
| Portuguese (Brazil) | pt-BR |
| Italian | it |
| Hindi | hi |
| Arabic (Egypt) | ar-EG |
| Russian | ru |
| Turkish | tr |
| Vietnamese | vi |
| Auto-detect | auto |
Where To Go Next
You now know how to combine Grok’s new text-to-speech API with Vision Agents to build audio-generation and voice assistants.
Specifically, we created a simple but fully functional front-desk healthcare receptionist for appointment management and advising patients on what to do in specific circumstances.
The agentic receptionist service can be modified with custom instructions to perform other functions. You can also swap its voice pipeline components, such as speech-to-text and LLMs, with AI service providers like OpenAI, Qwen, Anthropic, ElevenLabs, Cartesia, and Assembly AI.
To extend what we created in this article, contribute to the open-source community, or get support, refer to the following resources.