

One of the most significant advantages of using Stream to accomplish this feat is that it significantly reduces the time and effort required; Stream's Chat API allows you to build a fully-featured user engagement platform in just a few hours.
Source Code
Here is a preview of the app we'll be building. You can clone the app from GitHub and follow the instructions in the repository to set it up and run it on your machine.
Prerequisites
Please make sure the following are installed on your system:
To follow along with this tutorial comfortably, you should also have a basic understanding of Laravel, JavaScript, and Vue.js.
Creating a Stream Account
To use the Stream API, you need to have an account. Visit the Stream website and create one for free.
To sign up, on the popup page that appears, fill in your Email Address, Organization Name, and Password to create a new account.

Upon successfully logging in or creating your account, you will be taken to your dashboard, which contains metrics and credentials for your Stream app(s). If you've just created your account, your first app will have been created for you; if you've logged into your existing account, you'll likely need to create a new app for this tutorial.
From your dashboard, take note of your APP ID, API Key, and API Secret:

Be sure to keep your app credentials safe and private! We'll use these to authenticate with the SDK soon...
Bootstrapping a Laravel App
If you already have a Laravel app, you can skip this step; otherwise, open up a terminal and run the command below to bootstrap the Laravel app files:
composer global require laravel/installer laravel-stream-one-on-one
Next, cd into your new project directory:
cd laravel-stream-one-on-one
Once you are within your app directory, navigate to your .env file and ensure the database connection is as follows DB_CONNECTION=sqlite. Since this is just a small test application, we'll be using SQLite, which is both portable and reliable, given its file-based nature. In your newly created application, you will find the database file database.sqlite in the database directory.
Next, add the Stream Chat keys (that we grabbed from our dashboard and tucked away in a safe place) to the .env file:
12345STREAM_API_KEY=<STREAM_API_KEY>
STREAM_API_SECRET=<STREAM_API_SECRET>

MIX_STREAM_API_KEY="${STREAM_API_KEY}"
MIX_STREAM_API_SECRET="${STREAM_API_SECRET}"
Make sure to update the
<STREAM_API_KEY>and<STREAM_API_SECRET>placeholders with your correctAPI KeyandSecret, respectively.
Finally, you can start up your Artisan (local) development server, by running:
php artisan serve
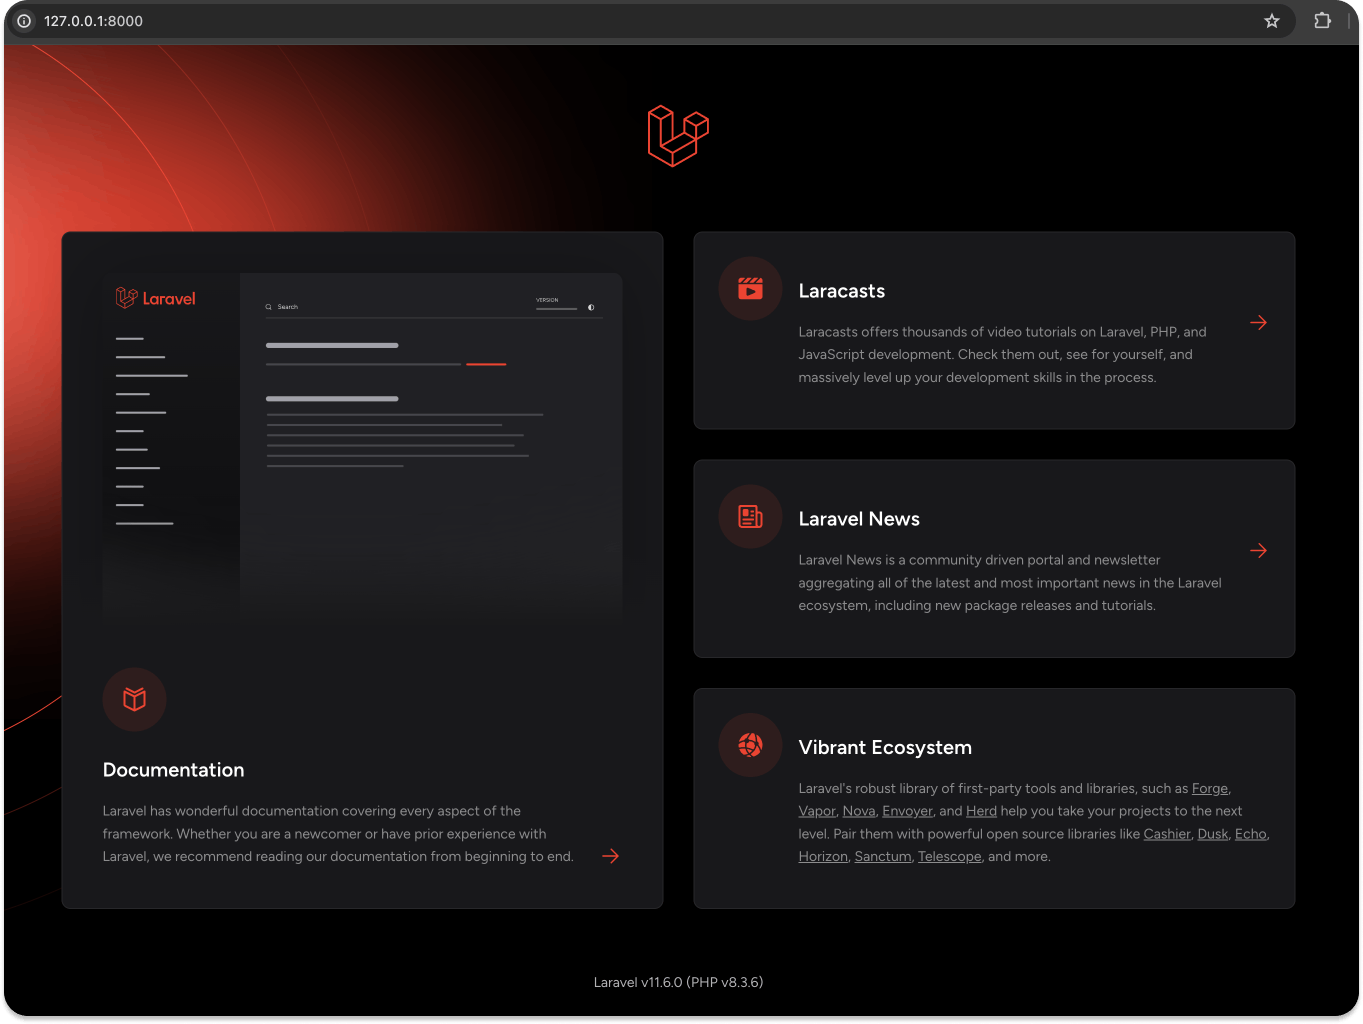
Now, if you visit http://localhost:8000 in your web browser, you should see the default Laravel app landing page:
Preparing Our Generic App for Custom Development
Before we start the code that will make the intended magic happen, open another terminal tab/window and cd into the root directory of the project (laravel-stream-one-on-one). Then, run the commands below to install all of the necessary dependencies, run the app, and watch for file changes:
12yarn install
yarn run watch
"watching" our app will automatically rebuild the Vue components with our changes in real-time, so we don't constantly have to restart our app to see our changes.
Make sure to leave both the local development server and our
yarn run watchcommand running while you follow along from here on out.
Installing Chat SDKs
We'll use Stream Chat's PHP API Client to reach the Chat API endpoints on the server, and its JavaScript SDK on the client.
To install the server SDK, open a new terminal in the project root directory and install the PHP SDK:
composer require get-stream/stream-chat
Then, install the JavaScript SDK:
yarn add stream-chat
Adding Authentication
We need users in order to chat! Adding authentication allows us to 1) create users with unique credentials and 2) later identify returning users via their credentials.
Luckily for us, Laravel provides a single command that allows us to quickly scaffold all of the routes and views we'll need for authentication; add authentication to the app by running:
12composer require laravel/ui
php artisan ui vue --auth
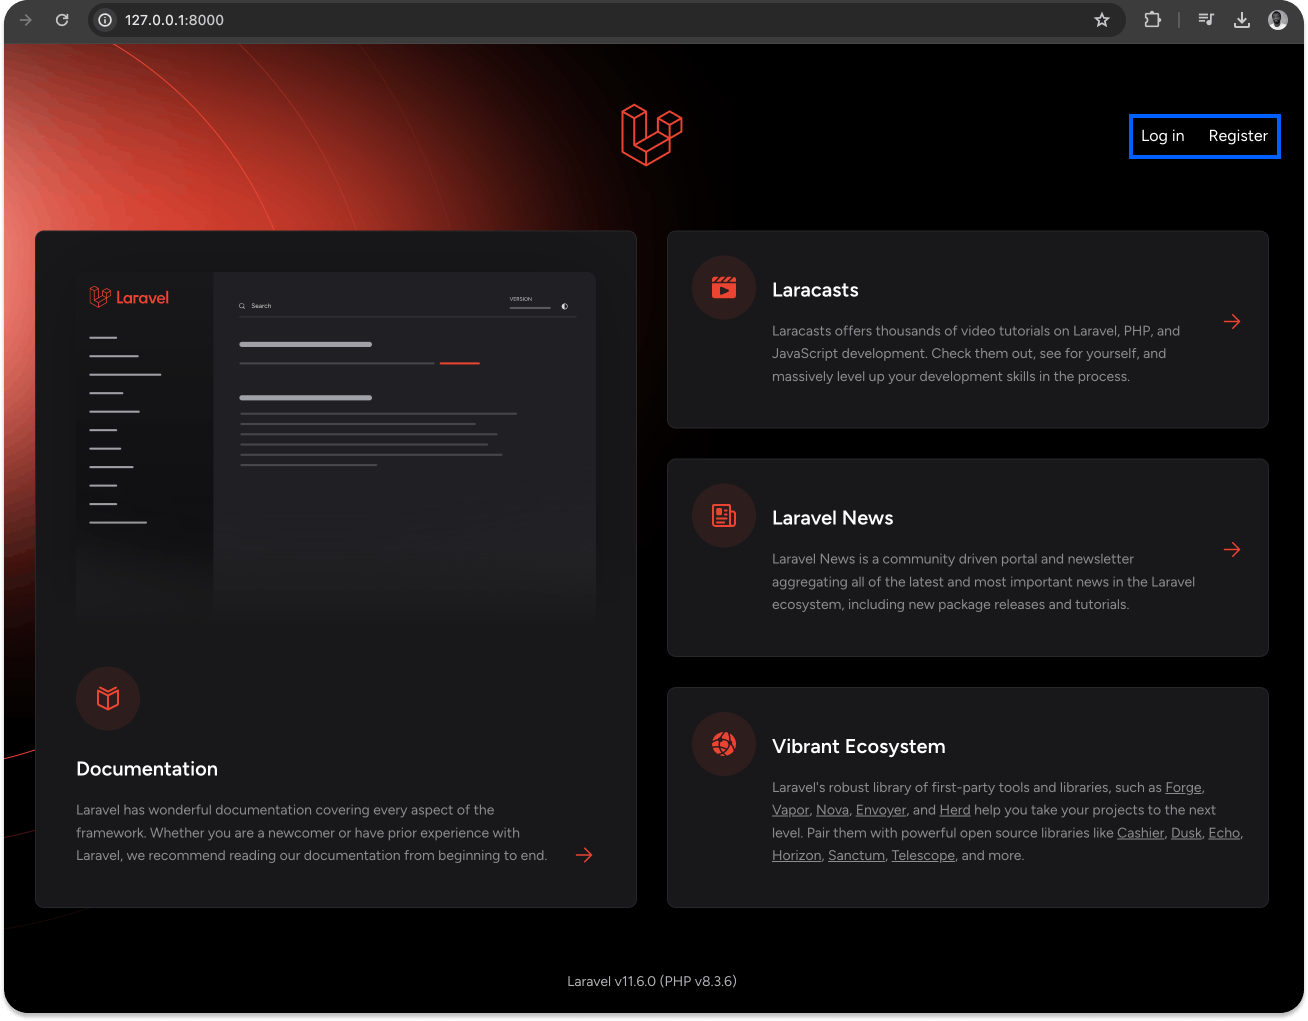
If you refresh the app again, you will see that Login and Register links are now available!
Creating Users
Let's update the create function in app/Http/Controllers/Auth/RegisterController.php to configure the registration process. Upon registration, we'll create a StreamClient instance and define the user and then update the Stream server by creating the user there:
1234567891011121314151617181920212223242526272829303132// RegisterController.php
// [...]
        /**
         * Create a new user instance after a valid registration.
         *
         * @param  array  $data,.     * @return \App\User
         */
        protected function create(array $data)
        {
           // create the user to Stream Chat
            $client = new StreamClient(
                getenv("STREAM_API_KEY"),
                getenv("STREAM_API_SECRET"),
                null,
                null,
                9 // timeout
            );

            $user = [
                'id' => preg_replace('/[@\.]/', '_', $data['email']),
                'name' => $data['name'],
                'role' => 'admin'
            ];

            $client->updateUser($user);
            return User::create([
                'name' => $data['name'],
                'email' => $data['email'],
                'password' => Hash::make($data['password']),
            ]);
        }
    // [...]
Note that we also imported the SDK to the file, by adding:
1use GetStream\StreamChat\Client as StreamClient;
Finally, create an EventBus that we can use to share data between our Vue components by adding the following code to the resources/js/app.js file:
Vue.prototype.EventBus = new Vue();
Make sure to add the above code right after the
vueimport.
Crafting the Chat Interface
Since we are building the UI using Vue.js, we will divide the UI into smaller manageable components:
StreamChat.vue- The parent component that will be holding other componentsUsersComponent.vue- For listing available users with whom we can converse on the appActiveChatsComponent.vue- For holding all active chatsMessagesComponent.vue- Contains logic for sending and rendering of messages
Create the above components files (StreamChat.vue, UsersComponent.vue, ActiveChatsComponent.vue, MessagesComponent.vue), and import them to the resources/js/components directory by adding the following to resources/js/app.js:
Vue.component('users-component', require('./components/UsersComponent.vue').default);
Vue.component('message-component', require('./components/MessagesComponent.vue').default);
Vue.component('active-chats-component', require('./components/ActiveChatsComponent.vue').default);
Vue.component('stream-chat', require('./components/StreamChat.vue').default);
Make sure to place the code right after the
Vue.component('example-component',...component already present in the file.
Then, finally, add this component to the view file - resources/views/home.blade.php:
1<stream-chat :autheduser="{{ Auth::user() }}"></stream-chat>
So that the file looks like below:
@extends('layouts.app')

@section('content')
<div class="container">
    <div class="row justify-content-center">
        <div class="col-md-8">
            <div class="card">
                <div class="card-header">Dashboard</div>

                <div class="card-body">
                    @if (session('status'))
                        <div class="alert alert-success" role="alert">
                            {{ session('status') }}
                        </div>
                    @endif

                    You are logged in!
                </div>
            </div>
        </div>
    </div>
    <stream-chat :autheduser="{{ Auth::user() }}" ></stream-chat>
</div>
@endsection
This will render the chat. We are adding this to the home.blade.php file because Laravel, by default, renders the file as the dashboard when a user logs in. If you want the chat to appear on a different page, you just need to add it to your preferred page!
StreamChat Component
To start building out the StreamChat component, add the code below to the resources/js/components/StreamChat.vue file:
12345678910111213// StreamChat.vue
<template>
    <div class="stream-chat row">
        <active-chats-component :autheduser="autheduser"></active-chats-component>
        <users-component></users-component>
    </div>
</template>

<script>
export default {
    props: ['autheduser'],
}
</script>
Using this, we can easily duplicate the chat across various pages. We pass the logged in user details as autheduser to the props of the component, so we can use it across the components.
Users Component
To create the Users component, add the following code to the resources/js/components/UsersComponent.vue file:
1234567891011121314151617181920212223242526272829303132333435// UsersComponent.vue
<template>
    <div class="card users-box">
        <div class="card-header" @click="collapsed = !collapsed">
            Users
        </div>
        <div class="card-body users" v-show="!collapsed">
            <div class="user" v-for="user in users" :key="user.id" @click="addToActiveChat(user)">
                <img src="https://encrypted-tbn0.gstatic.com/images?q=tbn:ANd9GcQSXmfj4kUOZR1oT7ood5_AqnC_TgkuyVojx73oE2eYdp4Mvl29" width="30" height="30">
                {{ user.name }}
            </div>
        </div>
    </div>
</template>

<script>
export default {
    props: ['messages', 'userId'],
    data() {
        return {
            collapsed: false,
            users: []
        }
    },
    async created() {
        const {data} = await axios.get('/api/get-users')
        this.users = data.users
    },
    methods: {
        addToActiveChat(user) {
            this.EventBus.$emit('newActiveChat', user)
        }
    },
}
</script>
Once the component is created, we make a request to the /api/get-users endpoint and fetch all the available users, then list them. We are yet to create the endpoint, but we'll be doing that soon!
Messages Component
To flush out the Messages component, add the following code to the MessagesComponent.vue file:
1234567891011121314151617181920212223242526272829303132333435363738394041424344454647484950515253// MessagesComponent.vue
<template>
    <div class="card user-box">
        <div class="card-header" @click="collapsed = !collapsed">
            {{ chat.name }}
        </div>
        <div class="card-body" v-show="!collapsed">
            <div class="user-messages">
                <div
                    class="chat-message"
                    v-for="message in messages"
                    v-bind:key="message.id"
                    v-bind:class="[(message.user.id == username) ? 'from-client' : 'from-admin']"
                >
                    {{ message.text }}
                </div>
            </div>
            <div class="input-container">
                <input
                    class="chat-input"
                    type="text"
                    placeholder="enter message..."
                    v-model="message"
                    v-on:keyup.enter="addMessage"
                    @enter="addMessage"
                >
            </div>
        </div>
    </div>
</template>

<script>
export default {
    props: ['client', 'chat', 'autheduser'],
    data() {
        return {
            message: "",
            messages: [],
            collapsed: false,
            channel: null
        }
    },
    computed: {
        username() {
            return this.autheduser.email.replace(/[@\.]/g, '_')
        }
    },
    async created() {
    },
    methods: {
    }
}
</script>
ActiveChats Component
To create our final "ActiveChats" component, add the code for listing the active chats to resources/js/components/ActiveChatComponent.vue file:
12345678910111213141516171819202122232425262728293031323334353637383940414243// ActiveChatComponent.vue
<template>
    <div class="active-chats row">
         <message-component
            v-for="chat in activeChats"
            :key="chat.id"
            :token="token"
            :client="client"
            :chat="chat"
            :autheduser="autheduser">
         </message-component>
    </div>
</template>

<script>
import { StreamChat } from 'stream-chat';
export default {
    props: ['autheduser'],
    data () {
        return {
            activeChats: [],
            client: null,
            token: null,
        }
    },
    created() {
        this.EventBus.$on('newActiveChat', user => {
            // check if the user chat is already present
            const chat = this.activeChats.find(chat => chat.email == user.email)
            if (!chat) {
                this.activeChats.push(user)
                // remove the first chat head if the number of chat head is
                // greater than the MAX_NO_CHAT_HEAD
                if (this.activeChats.length > this.MAX_NO_CHAT_HEAD) {
                    this.activeChats.shift()
                }
            }
        })
    },
    methods: {
    }
}
</script>
The Styles
Finally, update the styles in the resources/saas/app.scss file:
1234567891011121314151617181920212223242526272829303132333435363738394041424344454647484950515253545556575859606162636465666768697071727374757677787980818283/* [...]
input[type="text"] {
    padding: 10px 8px;
    margin-top: 10px;
    border-radius: 2px;
    border: 1px solid darkgray;
    font-size: 16px;
    box-sizing: border-box;
    display: block;
}
.inputs {
    text-align: center;
    align-self: center;
    justify-self: center;
}
.chat-message {
    width: 80%;
    margin-top: 4px;
    padding: 6px;
    text-align: left;
    word-wrap: break-word;
    margin: 5px;
    border-radius: 5px;
}
.from-admin {
    background: rgb(150, 178, 183);
    color: rgb(39, 37, 37);
    float: left;
}
.from-client {
    background: rgb(48, 13, 79);
    color: white;
    float: right;
}
.input-container {
    margin: 0px 0px;
}
.chat-input {
    width: 99%;
    margin-bottom: 0px;
}
.user-messages {
    overflow-y: scroll;
    height: 300px;
}
.user-box {
    width: 350px;
    position: relative;
    bottom: 0;
    margin: auto 10px 0px;
}
.users-box {
    width: 300px;
    margin: auto 25px auto auto;
    position: absolute;
    bottom: 0;
    right: 0;
}
.active-chats {
    margin-right: 330px;
    position: relative;
}
.stream-chat {
    position: absolute;
    bottom: 0;
    right: 0;
}
.users {
    overflow-y: scroll;
    height: 320px;
    padding: 0px;
}
.user {
    padding: 10px;
    // border: 1px solid gray;
    margin: 10px 0px;
    cursor: pointer;
    font-size: 18px;
    // background: rgb(243, 240, 240);
}
.user:hover {
    background: rgb(245, 244, 244);
}
Our chat UI is now ready! Although chatting is not yet working, you can still move around within the app and get the feeling of it.
Now, if you log in to the app, you should see something that looks a lot like this:
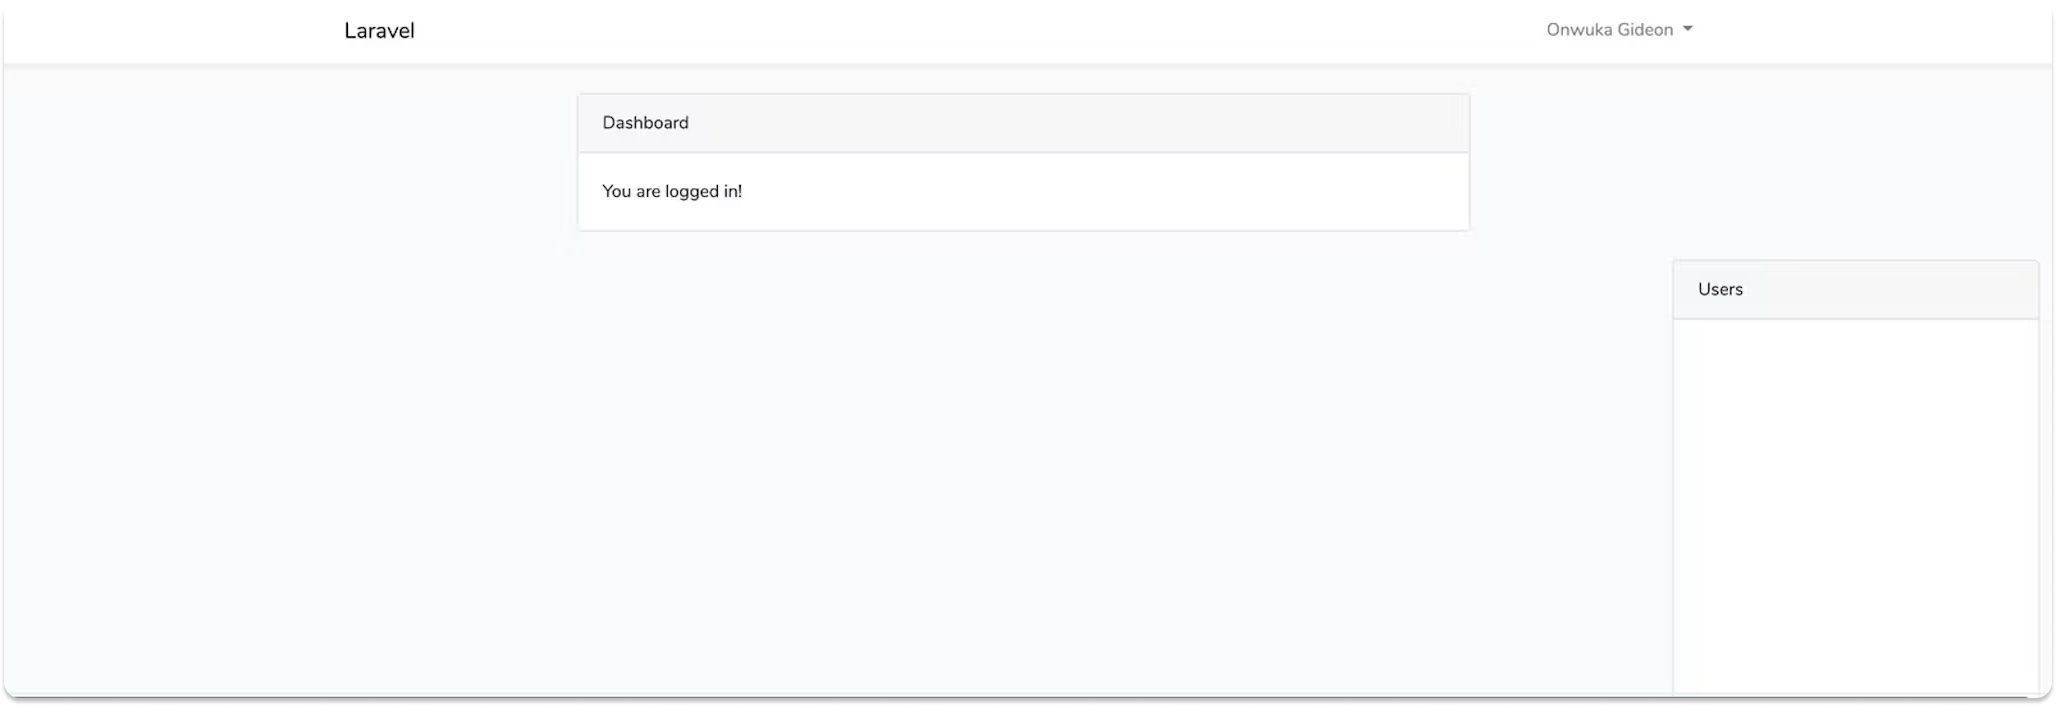
Here, only the UsersComponent is visible, since there is no user listed yet.
Generating a Token
The Stream Chat JavaScript SDK requires a valid token for us to start using it. The next thing we'll do is create an endpoint where this token can be generated!
Create a new controller named ChatController.php in the app/Http/Controllers/ directory. Then, add the following code to your new ChatController.php file:
12345678910111213141516171819202122232425262728293031323334353637383940<?php

namespace App\Http\Controllers;

use Illuminate\Http\Request;
use GetStream\StreamChat\Client as StreamClient;
use App\User;
use App\Channel;
use Illuminate\Support\Facades\Auth;

class ChatController extends Controller
{
    protected $client;

    /**
     * Create a new controller instance.
     *
     * @return void
     */
    public function __construct()
    {
        $this->client =  new StreamClient(
            getenv("STREAM_API_KEY"),
            getenv("STREAM_API_SECRET"),
            null,
            null,
            9 // timeout
        );
    }

    /**
     * Generate Token from Stream Chat
     */
    public function getnerateToken(Request $request)
    {
        return response()->json([
            'token' => $this->client->createToken($request->input('username'))
        ], 200);
    }
}
In the code above, after initializing the PHP SDK, we create a function for handling the generation of token, named generateToken.
To actually use the generated token, add the route to handle the token request by adding the code below to the routes/api.php file:
1Route::post('/generate-token', 'ChatController@getnerateToken');
To generate tokens, we'll simply make a POST request to /api/generate-token, passing along the username of the user.
Get All Users
Since we want conversations to take place among all users on the app, we need to list these users in the available users list for every logged user; add the following function for fetching users to ChatController.php to accomplish this:
1234567891011// [...]
    /**
     * Get all users
     */
    public function getUsers(Request $request)
    {
        return response()->json([
            'users' => User::all()
        ], 200);
    }
// [...]
Then, create the route for handling the request by adding the following code to the routes/api.php file:
Route::get('/get-users', 'ChatController@getUsers');
Now, if you visit http://localhost:8000/api/get-users, you should see a JSON containing all the registered users on the app.
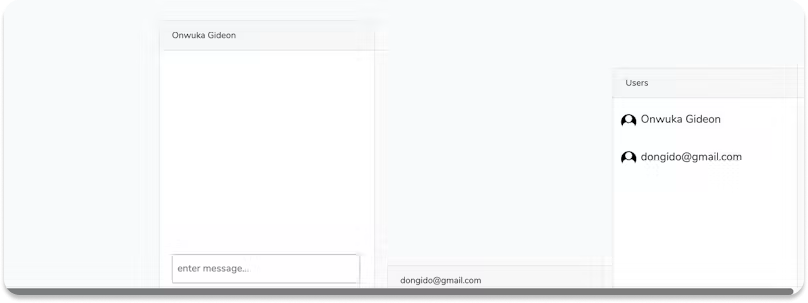
If you reload the app again, you should now see a list of users. When you click on a user, you will see the MessageComponent for that user appear to the left:
Wiring Things Up
We are almost finished with our chat! What is left is to initialize the Stream Chat JavaScript SDK, and send and listen for new messages.
Add a function for initializing the Stream Chat JavaScript SDK to the methods:{...} block of the resources/js/components/ActiveChatsComponent.vue file:
12345678910111213141516171819// [...]
        async initializeClient () {
            // Initialize the StreamChat SDK
            const {data} = await axios.post('/api/generate-token', {
                username: this.autheduser.email.replace(/[@\.]/g, '_')
            })

            const client = new StreamChat(process.env.MIX_STREAM_API_KEY, {timeout: 9000});
            await client.setUser(
                {
                    id: this.autheduser.email.replace(/[@\.]/g, '_'),
                    name: this.autheduser.name,
                },
                data.token,
            );

            this.client = client
        },
// [...]
Since Laravel's default auth does not provide a username, but uses email instead, to uniquely identify registered users, we will be using the email as the username for Stream Chat. We'll replace the "@" and "." characters in the email with "_"s, for convenience.
In the above code, after initializing the Client, we set the current user to it using await client.setUser.
Once the component is created, call the initialize function in the created hook to initialize the Client SDK:
this.initializeClient()
Notice that we are passing the initialized client down to the messages component via its props -
this.client = client, so we can make use of it there.
Next, initialize a channel to the created:{...} block of the resources/js/components/MessagesComponent.vue file, to allow two users to converse, when they so choose:
1234567891011// [...] const to_username = this.chat.email.replace(/[@\.]/g, '_') // Initialize the channel, and create a one to one channel const channel = this.client.channel('messaging', { name: 'Awesome channel', members: [this.username, to_username] }); this.channel = channel // [...]
Then, fetch messages on that channel, if any, and start listening for new messages to the channel:
1234567891011// [...]
        // fetch the channel state, subscribe to future updates
         channel.watch().then(state => {
            this.messages = state.messages

            // Listen for new messages on the channel
            channel.on('message.new', event => {
                this.messages.push(event.message)
            });
         })
// [...]
Finally, create function for sending new messages to the message: {...} block of resources/js/components/MessagesComponent.vue:
12345678910// [...]
        addMessage() {
            // Send message to the channel
            this.channel && this.channel.sendMessage({
                text: this.message
            });

            this.message = "";
        }
// [...]
Testing the Chat Messaging
Good job! You have successfully added a one-to-one chat to your Laravel app! To test the app:
- Open two tabs on your browser
- Register or log into two different users
- On both tabs, select the other users from the list of users
- Start chatting!
Wrapping Up
This tutorial taught you how to add a one-to-one chat messaging to your Laravel app! Although you have a solid foundation of how to use the Stream Chat API and some of the features it provides, even more awesome features will make your chat more lively. This includes features like:
- Adding a typing indicator feature
- Showing when a user is online or offline
- Showing unread messages
- Alerting the user of new messages
Check out the events that enable you to add these features here!
You can also find the codebase for this tutorial in the GitHub repo. Let us know how you have modified this app to suit your needs!
Thanks for reading, and happy coding!