
Did you know you can integrate Stream's Android SDK with other open-source libraries? To show you just how easy it is, in this tutorial you'll leverage data from Stream's Chat API to power the messaging UI from ChatKit.
Specifically, this tutorial will cover:
- Stream Setup
- Implementing the ChatKit Interfaces
- Building the Channels Screen
- Building the Messaging Screen
- Paging Data
- Handling Input and Typing Events
- Final Result
Understanding Stream's Android UI Components Libraries
Before diving in, it may be helpful to get familiar with all of Stream's Android component libraries.
Currently, Stream offers two sets of fully-featured, open-source UI components for Android messaging apps:
For more clarification on the Jetpack Compose and UI Components libraries, see Jetpack Compose vs. XML-based UI Components for Stream Chat.
However, Stream also offers lower-level libraries you can use on Android:
- An Offline Support Library that provides caching, automatically retries failed calls, and offers observable data as Flows or LiveData objects.
- A Low-level Chat Client that allows you to make API calls and subscribe to real-time chat events.
This tutorial will use ChatKit, an open-source chat UI library by Stfalcon, to build a basic messaging app on top of Stream's offline support library.
You'll be building on top of the offline library, observing the Chat state and displaying it using ChatKit.
12implementation 'io.getstream:stream-chat-android-offline:4.17.2'
implementation 'com.github.stfalcon-studio:Chatkit:0.4.1'
Note: You can find the source code for this tutorial in the ChatKit Stream repository on GitHub.
Set Up Your Stream Account
For the purposes of this tutorial, it's quicker and simpler to use the same hardcoded user defined in the Android Chat Messaging Tutorial.
This will allow you to avoid lots of extra steps, like creating user tokens, fetching your API key and Secret from your Stream dashboard, and creating sample data to populate your channels, among other things.
If you'd still like an account, you can sign up for a free Chat trial. Once you're signed up, be sure to visit the Android Chat First Steps tutorial to learn how to use the Stream dashboard, create your first sample project, and more.
Implement the ChatKit Interfaces
ChatKit defines various interfaces that its Views can interact with, such as IDialog, IMessage, and IUser. To use ChatKit in your app, you need to create model objects that implement these interfaces.
The Stream Chat SDK already provides its own models for these types, so you'll need to wrap these into the given interfaces. Let's take the example of just the Dialog (which is called a Channel in Stream's terminology):
1234567891011class Dialog(
    val channel: io.getstream.chat.android.client.models.Channel
) : IDialog<Message> {
    override fun getId(): String = channel.id
    override fun getDialogPhoto(): String = channel.image
    override fun getDialogName(): String = channel.name
    override fun getUsers(): List<IUser> = channel.members.map { User(it.user) }
    override fun getLastMessage(): Message? = channel.messages.lastOrNull()?.let { Message(it) }
    override fun setLastMessage(message: Message?) { throw UnsupportedOperationException() }
    override fun getUnreadCount(): Int = channel.unreadCount ?: 0
}
This implementation of IDialog takes a Stream Channel object as its parameter and then reads the corresponding properties of the Channel as needed.
It also references implementations of the other two aforementioned ChatKit interfaces, which are similar simple wrappers:
12345678910111213141516class Message(
    private val message: io.getstream.chat.android.client.models.Message
) : IMessage {
    override fun getId(): String = message.id
    override fun getText(): String = message.text
    override fun getUser(): IUser = User(message.user)
    override fun getCreatedAt(): Date? = message.createdAt ?: message.createdLocallyAt
}

class User(
    private val user: io.getstream.chat.android.client.models.User
) : IUser {
    override fun getId(): String = user.id
    override fun getName(): String = user.name
    override fun getAvatar(): String = user.image
}
Other than these models, ChatKit also needs an ImageLoader implementation so it can display user avatars.
Use the Coil library to provide this capability:
1implementation 'io.coil-kt:coil:1.3.2'
The interface is straightforward to implement with Coil:
1234567object CoilImageLoader : ImageLoader {
    override fun loadImage(imageView: ImageView, url: String?, payload: Any?) {
        imageView.load(url) {
            allowHardware(false)
        }
    }
}
With the models and image loader prepared, you're ready to build a Channel List screen.
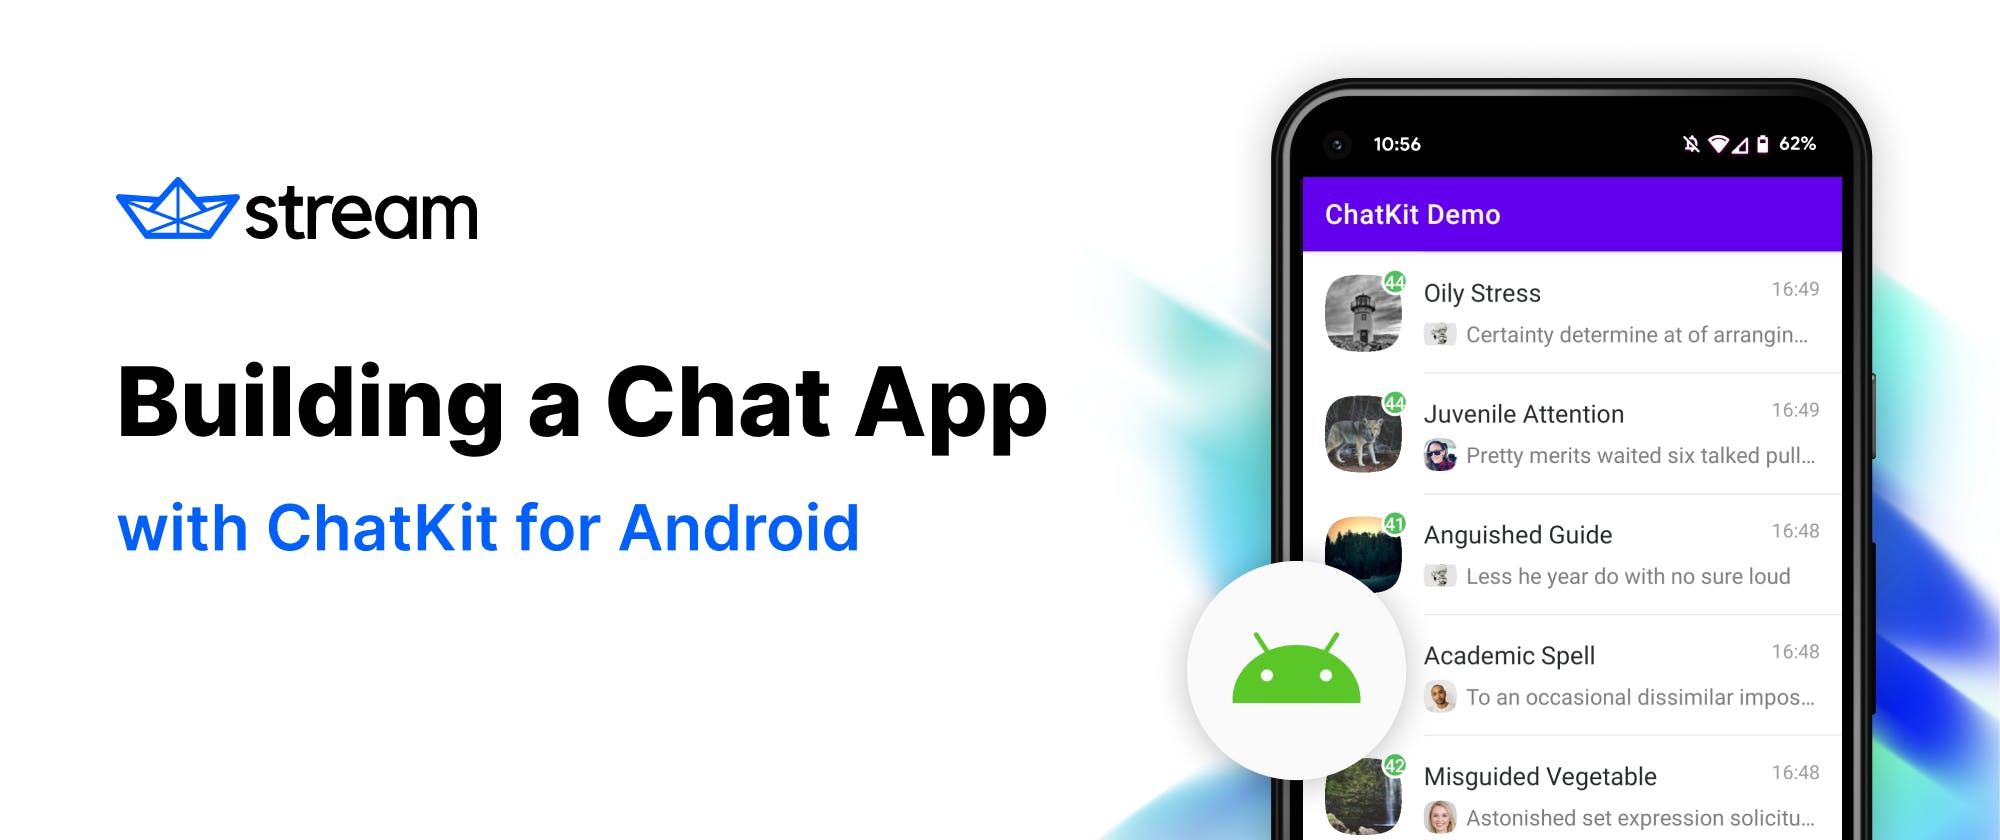
Build a Channels List Screen
Start with the XML layout, which will contain a full-screen DialogsList from ChatKit:
123456789101112131415161718<?xml version="1.0" encoding="utf-8"?>
<androidx.constraintlayout.widget.ConstraintLayout xmlns:android="http://schemas.android.com/apk/res/android"
    xmlns:app="http://schemas.android.com/apk/res-auto"
    xmlns:tools="http://schemas.android.com/tools"
    android:layout_width="match_parent"
    android:layout_height="match_parent"
    tools:context=".MainActivity">

    <com.stfalcon.chatkit.dialogs.DialogsList
        android:id="@+id/dialogsList"
        android:layout_width="0dp"
        android:layout_height="0dp"
        app:layout_constraintBottom_toBottomOf="parent"
        app:layout_constraintEnd_toEndOf="parent"
        app:layout_constraintStart_toStartOf="parent"
        app:layout_constraintTop_toTopOf="parent" />

</androidx.constraintlayout.widget.ConstraintLayout>
The DialogsList works with an adapter that will provide it the data that it should display (just like a RecyclerView). You can create this adapter as a property in your MainActivity, and then connect it to the view in an onCreate function:
1234567891011class MainActivity : AppCompatActivity() {
    private val adapter = DialogsListAdapter<Dialog>(CoilImageLoader)

    override fun onCreate(savedInstanceState: Bundle?) {
        super.onCreate(savedInstanceState)
        val binding = ActivityMainBinding.inflate(layoutInflater)
        setContentView(binding.root)

        binding.dialogsList.setAdapter(adapter)
    }
}
Note: The adapter receives your
CoilImageLoaderimplementation as a parameter.
Initializing Stream Chat
The next step is to initialize the Stream Chat SDK by instantiating the ChatClient and ChatDomain classes. To do so, you'll need your app's API Key and Secret.
For more information about these steps, see the Android In-App Messaging Tutorial. You'll use the same hardcoded demo user as the tutorial.
123456789101112131415161718val client = ChatClient.Builder("b67pax5b2wdq", applicationContext)
    .logLevel(ChatLogLevel.ALL)
    .build()
ChatDomain.Builder(client, applicationContext).build()

val user = User(
    id = "tutorial-droid",
    extraData = mutableMapOf(
        "name" to "Tutorial Droid",
        "image" to "https://bit.ly/2TIt8NR",
    ),
)
client.connectUser(
    user = user,
    token = "eyJhbGciOiJIUzI1NiIsInR5cCI6IkpXVCJ9.eyJ1c2VyX2lkIjoidHV0b3JpYWwtZHJvaWQifQ.NhEr0hP9W9nwqV7ZkdShxvi02C5PR7SJE7Cs4y7kyqg"
).enqueue {
    loadChannels(user)
}
With the connection ready, you can load your list of channels with the loadChannels method:
123456789101112131415private fun loadChannels(user: User) {
    val filter: FilterObject = Filters.and( // 1
        Filters.eq("type", "messaging"),
        Filters.`in`("members", user.id),
    )
    val sort: QuerySort<Channel> = QuerySort.desc("last_updated") // 2
    ChatDomain.instance()
        .queryChannels(filter, sort)
        .enqueue { result ->
            val controller: QueryChannelsController = result.data() // 3
            controller.channels.observe(this) { channels ->
                adapter.setItems(channels.map { Dialog(it) }) // 4
            }
        }
}
In the above code snippet, you:
- Created a filter to get channels that are of the
messagingtype where your current user is a member. - Sorted these channels by
last_updatedso that channels with the newest messages show at the top. Thanks to the observable nature of the offline library, channels will update in real-time. - Implemented
QueryChannelsControllerfrom the offline library, which observes the current channel state. This state is automatically updated based on real-time WebSocket events as users send messages. - Map new values to the
Dialoginstance and pass that list to theDialogsListAdapterwhenever possible.
Now, you can build and run the application to see the list of loaded channels!

For comparison, here's how the same screen looks when implemented with Stream's UI Components:

Building the Messaging Screen
Next, you'll create a new Empty Activity called MessagesActivity. For the XML layout, you'll use a MessageList with a MessageInput below it:
12345678910111213141516171819202122232425<androidx.constraintlayout.widget.ConstraintLayout xmlns:android="http://schemas.android.com/apk/res/android"
    xmlns:app="http://schemas.android.com/apk/res-auto"
    android:layout_width="match_parent"
    android:layout_height="match_parent"
    android:background="@color/white">

    <com.stfalcon.chatkit.messages.MessagesList
        android:id="@+id/messagesList"
        android:layout_width="0dp"
        android:layout_height="0dp"
        app:layout_constraintBottom_toTopOf="@+id/input"
        app:layout_constraintEnd_toEndOf="parent"
        app:layout_constraintStart_toStartOf="parent"
        app:layout_constraintTop_toTopOf="parent" />

    <com.stfalcon.chatkit.messages.MessageInput
        android:id="@+id/input"
        android:layout_width="0dp"
        android:layout_height="wrap_content"
        app:inputHint="Send a message"
        app:layout_constraintBottom_toBottomOf="parent"
        app:layout_constraintEnd_toEndOf="parent"
        app:layout_constraintStart_toStartOf="parent" />

</androidx.constraintlayout.widget.ConstraintLayout>
This new screen will need to receive the channel's ID as a parameter, which you'll pass through Intent extras. It'll also use an adapter to display the list of messages, which you'll connect to MessagesList:
1234567891011121314151617181920212223242526class MessagesActivity : AppCompatActivity() {
    private lateinit var messagesAdapter: MessagesListAdapter<Message>
    private lateinit var cid: String

    override fun onCreate(savedInstanceState: Bundle?) {
        super.onCreate(savedInstanceState)

        val binding = ActivityMessagesBinding.inflate(layoutInflater)
        setContentView(binding.root)

        val currentUserId = ChatClient.instance().getCurrentUser()!!.id
        messagesAdapter = MessagesListAdapter<Message>(currentUserId, CoilImageLoader)
        binding.messagesList.setAdapter(messagesAdapter)

        cid = checkNotNull(intent.getStringExtra(CID_KEY)) {
            "Specifying a channel id is required when starting MessagesActivity"
        }
    }

    companion object {
        private const val CID_KEY = "key:cid"

        fun newIntent(context: Context, channel: Channel): Intent =
            Intent(context, MessagesActivity::class.java).putExtra(CID_KEY, channel.cid)
    }
}
With the cid extracted from the Intent, you can now use ChatDomain again, this time to grab a ChannelController that'll provide you real-time observable data for a single channel:
1234567ChatDomain.instance().watchChannel(cid, 30).enqueue { result ->
    val channelController = result.data()
    channelController.messages.observe(this) { messages ->
        messagesAdapter.clear(true) // 1
        messagesAdapter.addToEnd(messages.map { Message(it) }, true) // 2
    }
}
In the above snippet you:
- Clear
messagesAdapteras you receive the entire list of messages when the observable data updates. - Wrap all of your Stream message objects into the
Messagemodel (created earlier) that implements ChatKit'sIMessageinterface.- You pass in
trueto reverse the order of messages here so that they display correctly in the list.
- You pass in
Paging Data
The code above sets you up for the initial load, where you load 30 messages for the current channel. However, as you scroll up, you need to load older messages.
You can load older messages by setting a listener on the messagesAdapter:
1messagesAdapter.setLoadMoreListener(this)
To make this simple, you'll make your MessagesActivity implement the OnLoadMoreListener interface that's expected here.
To load more messages, you'll use the loadOlderMessages method of ChatDomain to load 30 more messages when the listener is triggered:
12345class MessagesActivity : AppCompatActivity(), MessagesListAdapter.OnLoadMoreListener {
    override fun onLoadMore(page: Int, totalItemsCount: Int) {
        ChatDomain.instance().loadOlderMessages(cid, 30).enqueue()
    }
}
Handling Input and Typing Events
You have the code to load messages and to load even more when you scroll up. Now, you can set up the MessageInput so that you can also send messages of your own.
Add two listeners in the onCreate method:
12binding.input.setInputListener(this)
binding.input.setTypingListener(this)
And again, you'll implement these with MessagesActivity:
12345678910111213141516171819202122232425class MessagesActivity : AppCompatActivity(),
    MessagesListAdapter.OnLoadMoreListener,
    MessageInput.InputListener,
    MessageInput.TypingListener {

    override fun onSubmit(input: CharSequence?): Boolean {
        if (input.isNullOrEmpty()) return false

        ChatDomain.instance().sendMessage(
            io.getstream.chat.android.client.models.Message(
                cid = cid,
                text = input.toString(),
            )
        ).enqueue()
        return true
    }

    override fun onStartTyping() {
        ChatDomain.instance().keystroke(cid, null).enqueue()
    }

    override fun onStopTyping() {
        ChatDomain.instance().stopTyping(cid).enqueue()
    }
}
The typing listener is very straightforward, as ChatDomain has the exact methods you need to call into.
When sending a new message, you perform basic input validation:
- You check if there's anything typed into the input field.
- If there is, you create a Stream
Messageand send it usingChatDomain.
Final Result
Lastly, you need to set up navigation between screens.
To add screen navigation, add the following code in MainActivity:
123adapter.setOnDialogClickListener { dialog ->
    startActivity(MessagesActivity.newIntent(this, dialog.channel))
}
If you build and run the app again, you'll have a functional, basic chat app:
- You have a list of available channels
- You can open any of these channels
- You can read messages in these channels
- You can send your own messages as well!

For comparison, below is a messaging screen built using Stream's UI Components (check out the library in the Chat UI Components sample app):

Wrapping Up
That's it! You can find the completed project's source code on GitHub.
To sum up, here's what you've implemented in this sample app... :
- Channel list
- Real-time, visible channel updates (try sending a message from a second device to test it out)
- Unread counts in the channel list
- Avatar loading on both screens
- Displaying and sending plain text messages
- Message pagination (older content loads as you scroll up)
... and here are some possible improvements you could work on from here:
- Channel list pagination
- Placeholder images for channels with no set image URL
- Rich messaging (images and other attachments)
- Error handling for Stream API calls (this tutorial skips this step for simplicity)
If you'd like to try Stream's own UI implementations, see the Jetpack Compose Chat Tutorial or the Kotlin Chat Tutorial.
As always, happy coding!