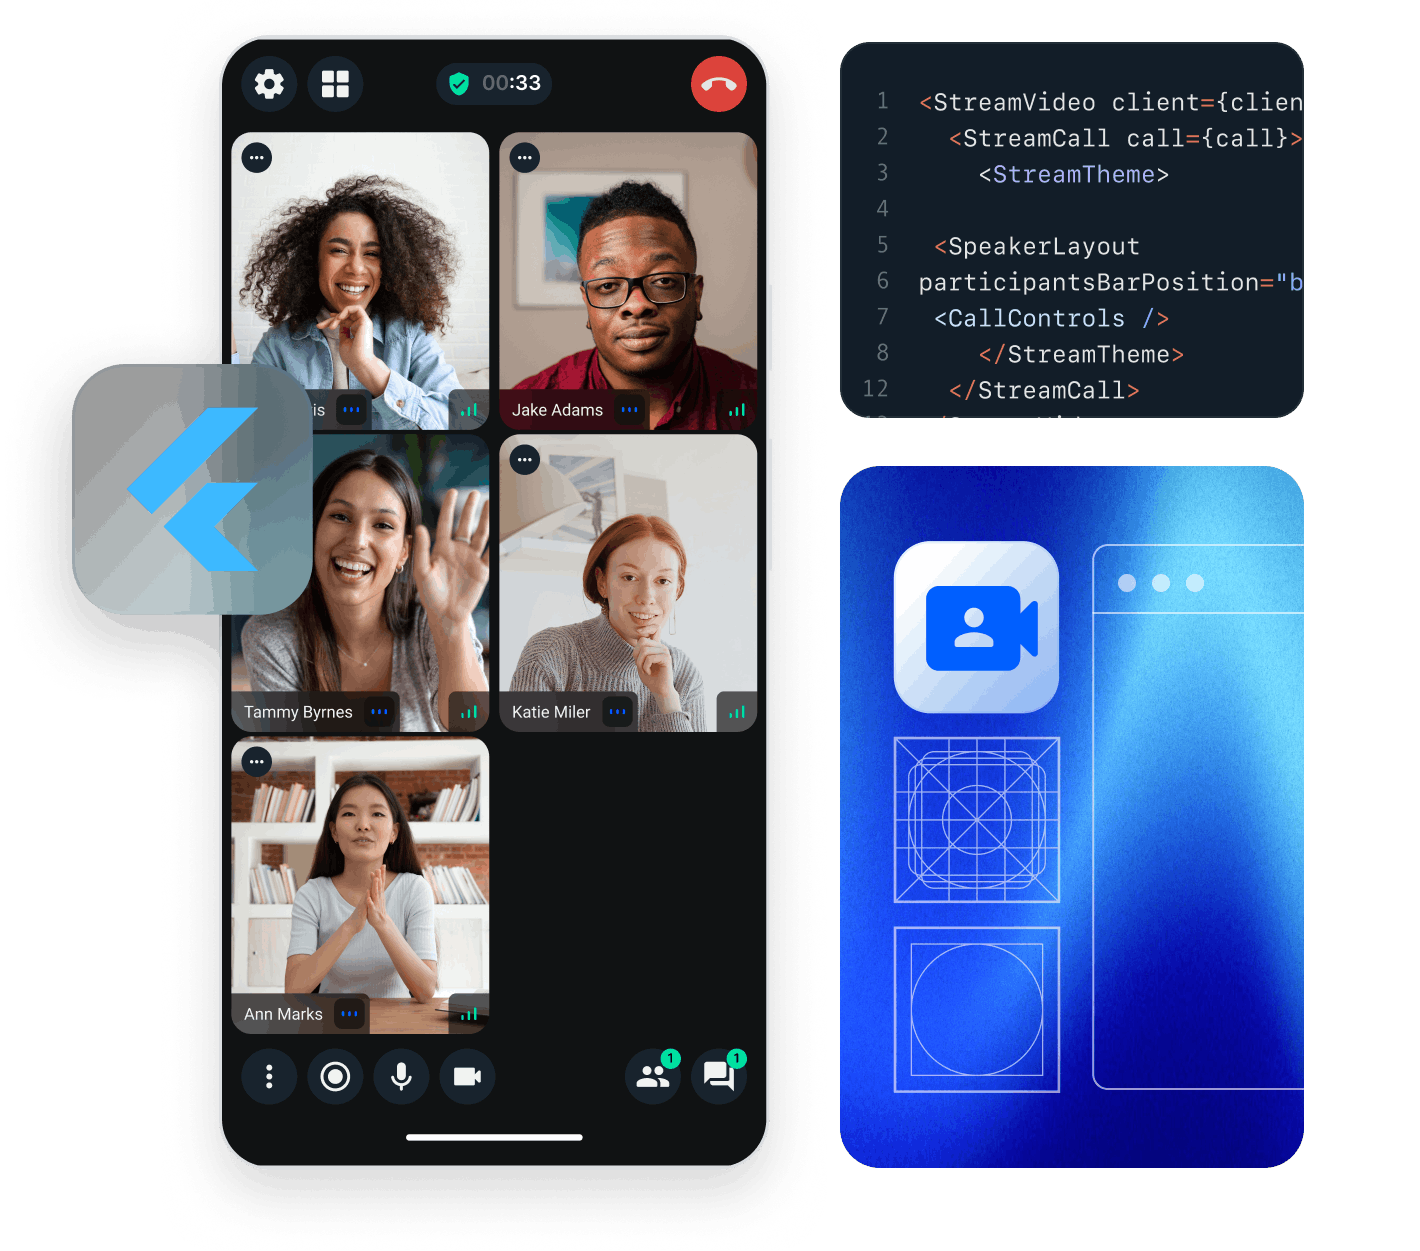
In this tutorial, we will learn how to build a video calling app similar to Google Meet or Zoom using Stream's Video Calling API.
- Calls run on Stream's global edge network for optimal latency & reliability.
- Permissions give you fine-grained control over who can do what.
- Video quality and codecs are automatically optimized.
- Powered by Stream's Video Calling API.
- UI components are fully customizable, as demonstrated in the Flutter Video Cookbook.
You can find the full code for the video calling tutorial on the Flutter Video Tutorials repository.
Let's dive in! If you have any questions or need to provide feedback along the way, don't hesitate to use the feedback button - we're here to help!
Step 1 - Creating a new Flutter project
To begin developing your video calling app, you need to create a new Flutter project. If you do not have Flutter or an IDE configured to work with it, we highly recommend following the Install and Set up an editor steps from the official documentation.
Please make sure you are using the latest version of Flutter from the stable channel:
12flutter channel stable
flutter upgrade
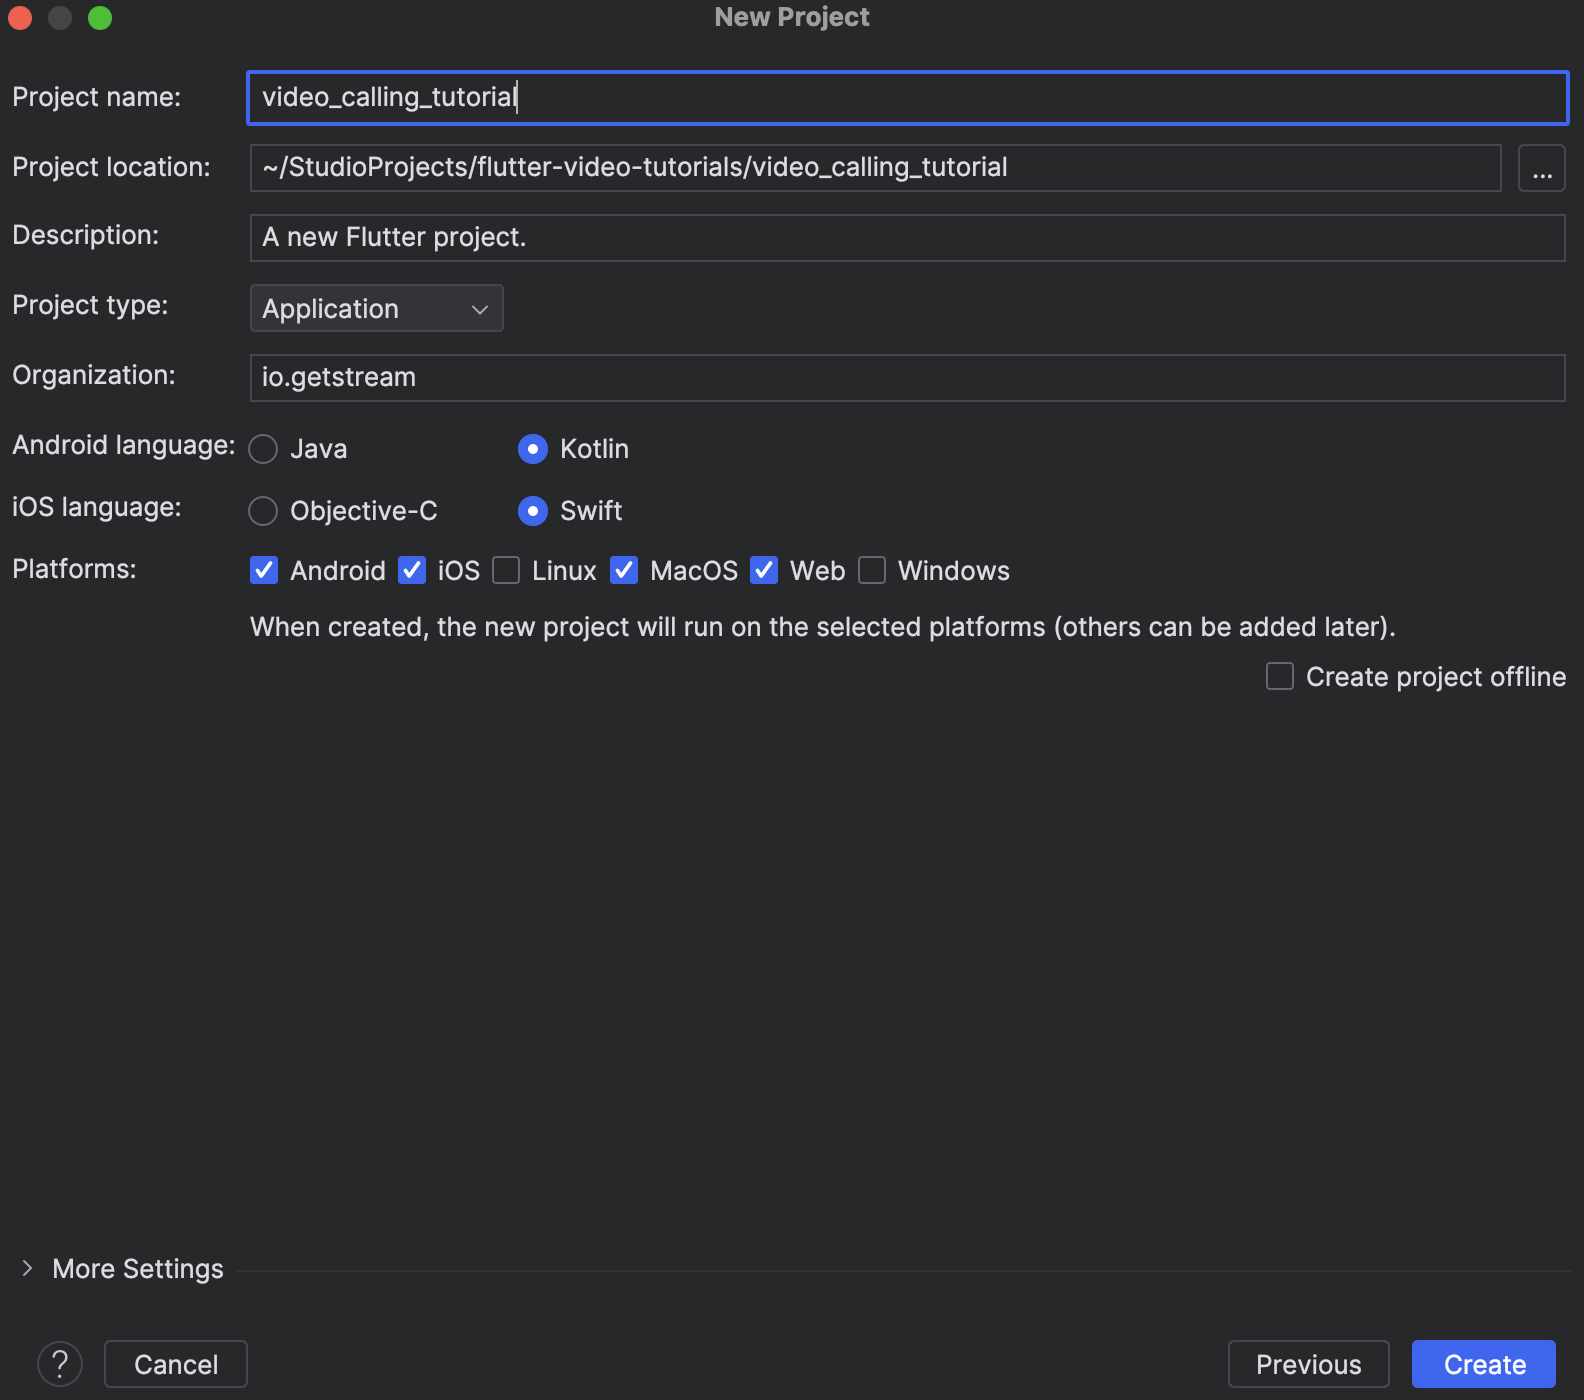
Now, open your IDE and start a new Flutter application. For this tutorial, we are choosing to call it 'video_calling_tutorial'. If you are using Android Studio (recommended) make sure to create the project as a Flutter application and keep all default settings.
You can also create a new project using this command:
1flutter create video_calling_tutorial
The next step is to add Stream Video to your dependencies, to do that just open pubspec.yaml and add it inside the dependencies section.
1234567dependencies:
  flutter:
    sdk: flutter

  stream_video: ^latest
  stream_video_flutter: ^latest
  stream_video_push_notification: ^latest
Stream has several packages that you can use to integrate video into your application.
In this tutorial, we will use the stream_video_flutter package which contains pre-built UI elements for you to use.
You can also use the stream_video package directly if you need direct access to the low-level client.
The stream_video_push_notification package helps in adding push notifications and an end-to-end call flow (CallKit).
Step 2 - Initialising Stream Video
To start adding the SDK to your app, initialise the Stream Video SDK with a user:
12345678910111213141516import 'package:flutter/material.dart';
import 'package:stream_video_flutter/stream_video_flutter.dart';

void main() async {
  WidgetsFlutterBinding.ensureInitialized();

  // Right after creation client connects to the backend and authenticates the user.
  // You can set `options: StreamVideoOptions(autoConnect: false)` if you want to disable auto-connect.
  final client = StreamVideo(
    'REPLACE_WITH_API_KEY',
    user: User.regular(userId: 'REPLACE_WITH_USER_ID', role: 'admin', name: 'John Doe'),
    userToken: 'REPLACE_WITH_TOKEN',
  );

  runApp(const MyApp());
}
⚠️ You do not need to cache the client using state management - access the client anywhere using StreamVideo.instance
To actually run this sample we need a valid user token. The user token is typically generated by your server-side API. When a user logs in to your app you return the user token that gives them access to the call. To make this tutorial easier to follow we'll generate a user token for you:
Please update REPLACE_WITH_API_KEY, REPLACE_WITH_USER_ID, REPLACE_WITH_TOKEN, and REPLACE_WITH_CALL_ID (seen later) with the actual values shown below:
Here are credentials to try out the app with:
| Property | Value |
|---|---|
| API Key | Waiting for an API key ... |
| Token | Token is generated ... |
| User ID | Loading ... |
| Call ID | Creating random call ID ... |
Your user is now connected.
Before you go ahead, you need to add the required permissions for video calling to your app.
In your AndroidManifest.xml file, add these permissions:
12345678910111213141516<manifest xmlns:android="http://schemas.android.com/apk/res/android">

    <uses-permission android:name="android.permission.INTERNET"/>
    <uses-feature android:name="android.hardware.camera"/>
    <uses-feature android:name="android.hardware.camera.autofocus"/>
    <uses-permission android:name="android.permission.CAMERA"/>
    <uses-permission android:name="android.permission.RECORD_AUDIO"/>
    <uses-permission android:name="android.permission.ACCESS_NETWORK_STATE"/>
    <uses-permission android:name="android.permission.CHANGE_NETWORK_STATE"/>
    <uses-permission android:name="android.permission.MODIFY_AUDIO_SETTINGS"/>
    <uses-permission android:name="android.permission.BLUETOOTH" android:maxSdkVersion="30"/>
    <uses-permission android:name="android.permission.BLUETOOTH_ADMIN" android:maxSdkVersion="30"/>
    <uses-permission android:name="android.permission.BLUETOOTH_CONNECT"/>

    ...
</manifest>
For the corresponding iOS permissions, open the Info.plist file and add:
1234567891011121314<key>NSCameraUsageDescription</key>
<string>$(PRODUCT_NAME) Camera Usage!</string>
<key>NSMicrophoneUsageDescription</key>
<string>$(PRODUCT_NAME) Microphone Usage!</string>
<key>UIApplicationSupportsIndirectInputEvents</key>
<true/>
<key>UIBackgroundModes</key>
<array>
    <string>audio</string>
	<string>fetch</string>
	<string>processing</string>
	<string>remote-notification</string>
	<string>voip</string>
</array>
Step 3 - Setting up a call
Now that the dependencies, permissions, and initialisations are set, we can get onto creating a call.
Let's create a simple screen with a button that joins a call:
1234567891011121314return Scaffold(
  appBar: AppBar(
    backgroundColor: Theme.of(context).colorScheme.inversePrimary,
    title: Text(widget.title),
  ),
  body: Center(
   child: ElevatedButton(
     child: Text('Create Call'),
     onPressed: () async {

     },
   ),
  ),
);
To instantiate a call, you can use the StreamVideo.makeCall() method. You then need to create this
on the backend using the call.getOrCreate() method.
Once this call is created, you can navigate to the call screen which is created in the next section.
Here is how that looks in code:
123456789101112131415161718192021222324ElevatedButton(
  child: const Text('Create Call'),
  onPressed: () async {
    try {
      var call = StreamVideo.instance.makeCall(
        callType: StreamCallType(),
        id: 'REPLACE_WITH_CALL_ID',
      );

      await call.getOrCreate();

      // Created ahead
      Navigator.push(
        context,
        MaterialPageRoute(
          builder: (context) => CallScreen(call: call),
        ),
      );
    } catch (e) {
      debugPrint('Error joining or creating call: $e');
      debugPrint(e.toString());
    }
  },
)
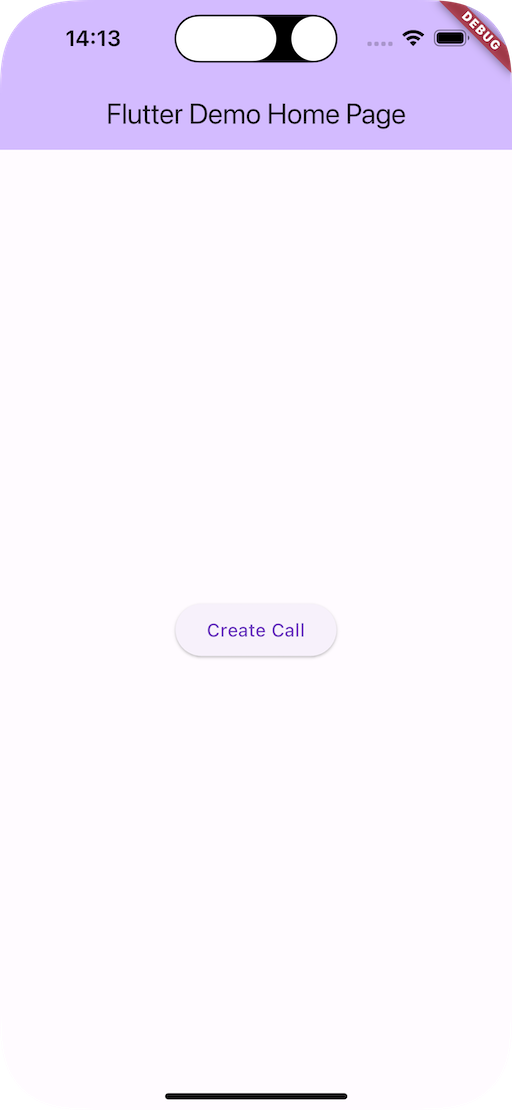
The UI as of the moment is a simple button on the screen:
You have created a Stream Video call. Let's set up the call screen UI so that the user can see other users and interact.
Step 4 - Setting up the call UI
To set up a call screen, create a new file named 'call_screen.dart' and create a new widget to handle the call screen:
123456789101112131415161718192021import 'package:flutter/material.dart'; import 'package:stream_video_flutter/stream_video_flutter.dart'; class CallScreen extends StatefulWidget { final Call call; const CallScreen({ Key? key, required this.call, }) : super(key: key); State<CallScreen> createState() => _CallScreenState(); } class _CallScreenState extends State<CallScreen> { Widget build(BuildContext context) { return const Placeholder(); } }
In this widget, we take the call we created previously as a parameter.
In the build() method, we use the StreamCallContainer widget - a widget made by the Stream team to
make it easy to build video calls:
12345678910class _CallScreenState extends State<CallScreen> { Widget build(BuildContext context) { return Scaffold( body: StreamCallContainer( call: widget.call, ), ); } }
And that's... pretty much it.
Now, update your main file to import this new screen:
12// At the top of your main.dart file
import 'call_screen.dart';
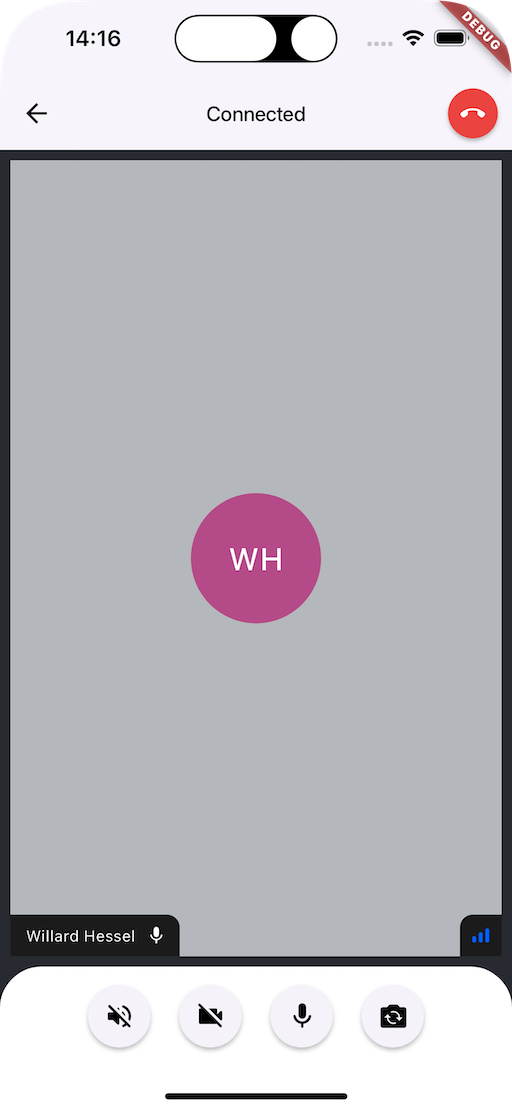
Once you navigate to the CallScreen after the button press, this is what you will be greeted with:
⚠️ When connecting other users, you can use the same process. The call.getOrCreate() method will create
a call if it doesn't exist, and simply return the existing call if it already does.
Step 5 - Customizing the StreamCallContainer
To customize any aspect of the call screen made previously, you can use the CallContentBuilder parameter
of the StreamCallContainer.
For example, if you want to add your own call controls to the call, you can do it using the callControlsBuilder:
12345678910111213141516171819202122232425262728293031323334353637383940414243444546474849505152StreamCallContainer(
  call: widget.call,
  callContentBuilder: (
      BuildContext context,
      Call call,
      CallState callState,
      ) {
    return StreamCallContent(
      call: call,
      callState: callState,
      callControlsBuilder: (
          BuildContext context,
          Call call,
          CallState callState,
          ) {
        final localParticipant = callState.localParticipant!;
        return StreamCallControls(
          options: [
            CallControlOption(
              icon: const Icon(Icons.chat_outlined),
              onPressed: () {
                // Open your chat window
              },
            ),
            FlipCameraOption(
              call: call,
              localParticipant: localParticipant,
            ),
            AddReactionOption(
              call: call,
              localParticipant: localParticipant,
            ),
            ToggleMicrophoneOption(
              call: call,
              localParticipant: localParticipant,
            ),
            ToggleCameraOption(
              call: call,
              localParticipant: localParticipant,
            ),
            LeaveCallOption(
              call: call,
              onLeaveCallTap: () {
                call.leave();
              },
            ),
          ],
        );
      },
    );
  },
),
When building Whatsapp/Telegram style calling, you need to add incoming and outgoing screens to the app.
The StreamCallContainer also has these screens inbuilt and allows you to change these using the incomingCallBuilder and
outgoingCallBuilder.
For more about building these kinds of applications, check out our ringing guide.
Recap
Find the complete code for this tutorial in the Flutter Video Tutorials Repository.
Stream Video allows you to quickly build a scalable video experience for your app. Please do let us know if you ran into any issues while building a video calling app with Flutter. Our team is also happy to review your UI designs and offer recommendations on how to achieve it with Stream.
To recap what we've learned:
- You set up a call: (
var call = StreamVideo.instance.makeCall(callType: StreamCallType(), id: 'demo-call-123')). - The call type ("default" in the above case) controls which features are enabled and how permissions are set up.
- When you join a call, real-time communication is set up for audio & video calling: (
call.join()). - Published objects in
call.stateandcall.state.value.callParticipantsmake it easy to build your own UI. VideoRendereris the low-level component that renders video.- We've used Stream's Video Calling API, which means calls run on a global edge network of video servers. By being closer to your users, the latency and reliability of calls are better. The Flutter SDK enables you to build in-app video calling, audio rooms, and livestreaming in days.
We hope you've enjoyed this tutorial, and please feel free to reach out if you have any suggestions or questions.
Final Thoughts
In this video app tutorial, we built a fully functioning Flutter messaging app with our Flutter SDK component library. We also showed how easy it is to customize the behavior and the style of the Flutter video app components with minimal code changes.
Both the video SDK for Flutter and the API have plenty more features available to support more advanced use-cases.