Overview
Here at Stream, we’re known for our Feeds as a Service as well as our Chat as a Service product. Stream Chat was released out of beta late last year, and we’ve been receiving quite a few inquiries on how to structure a RESTful API to support the backend portion of chat. The backend is quite simple as it only requires that you generate a JWT token for a user to use on the frontend side of your application.
However, there is a lot more than you can do with the Stream's Chat JS SDK than generating a JWT token – you can add users to channels, send and remove messages, ban users, create channels, etc. In this post, I’ll outline how I built a REST API using Express – and best of all, it’s scalable so that you can continue to build additional functionality to support your application further.
Note: The repository is fully open-source and can be found on GitHub. There are detailed instructions on not only deploying to Heroku, but there is also support for Docker should you want to containerize your application and deploy on something like Kubernetes for scalability.
Support
The REST API for Stream Chat supports the following:
- User storage via MongoDB database
- Mongoose schema with validation for user profiles
- Password validation and hashing with bcrypt
- Find or create for users within the MongoDB database
- Easy deployment to Heroku (optional) or any other environment
- Token generation for existing and new users (for Stream Chat)
- Creation of a new channel named “General” if one does not exist
- Automatic adding of users to the “General” channel
- Heavily commented modern JavaScript
Basic API Anatomy
The API is rather basic and provides built-in support for versioning your API should you need to make changes down the road. For more information on my opinion on API versioning, have a look at my post titled “Best Practices for Versioning REST APIs” on Medium.
The layout of the API is rather simple. The starting point is index.js as per usual, and there are directories for routes as well as controllers and utils within the src directory. Our package.json scripts make use of Babel to transpile ES6 into ES5 JavaScript so that it can run on the server. You will also notice that inside of the controllers directory, there are directories for the versions. This is what allows for API versioning, as I mentioned above.
Cloning & Customizing the API
To clone the API, simply run git clone git@github.com:nparsons08/stream-chat-api.git. Then, you’ll want to ensure that you create a .env file and fill it in with the credentials as shown in .env.example.
For example:
cd stream-chat-api && touch .env
Then, open .env and add the following environment variables:
NODE_ENV=development
PORT=8080
STREAM_API_KEY=<YOUR_STREAM_API_KEY>
STREAM_API_SECRET=<YOUR_STREAM_API_SECRET>
MONGODB_URI=<YOUR_MONGODB_URI>
Note: Creating an account on Stream is free, and you can do so at https://getstream.io. Once your account is created, you can capture your API key and secret on the dashboard. Additionally, a MongoDB instance/cluster is required for this API to function properly – I recommend MongoDB Atlas, which offers a 100% free cluster in multiple regions. Documentation on getting started with MongoDB Atlas is located here.
├── controllers
│   └── v1
│       └── auth
│           ├── index.js
│           └── init.action.js
├── index.js
├── models
│   └── user.js
├── routes
│   └── init.js
└── utils
    ├── controllers.js
    └── db
        └── index.js
Deploying to Heroku
If you are deploying to Heroku, you can use the one-click Heroku Deploy button below and fill in the environment variables on the setup screen.
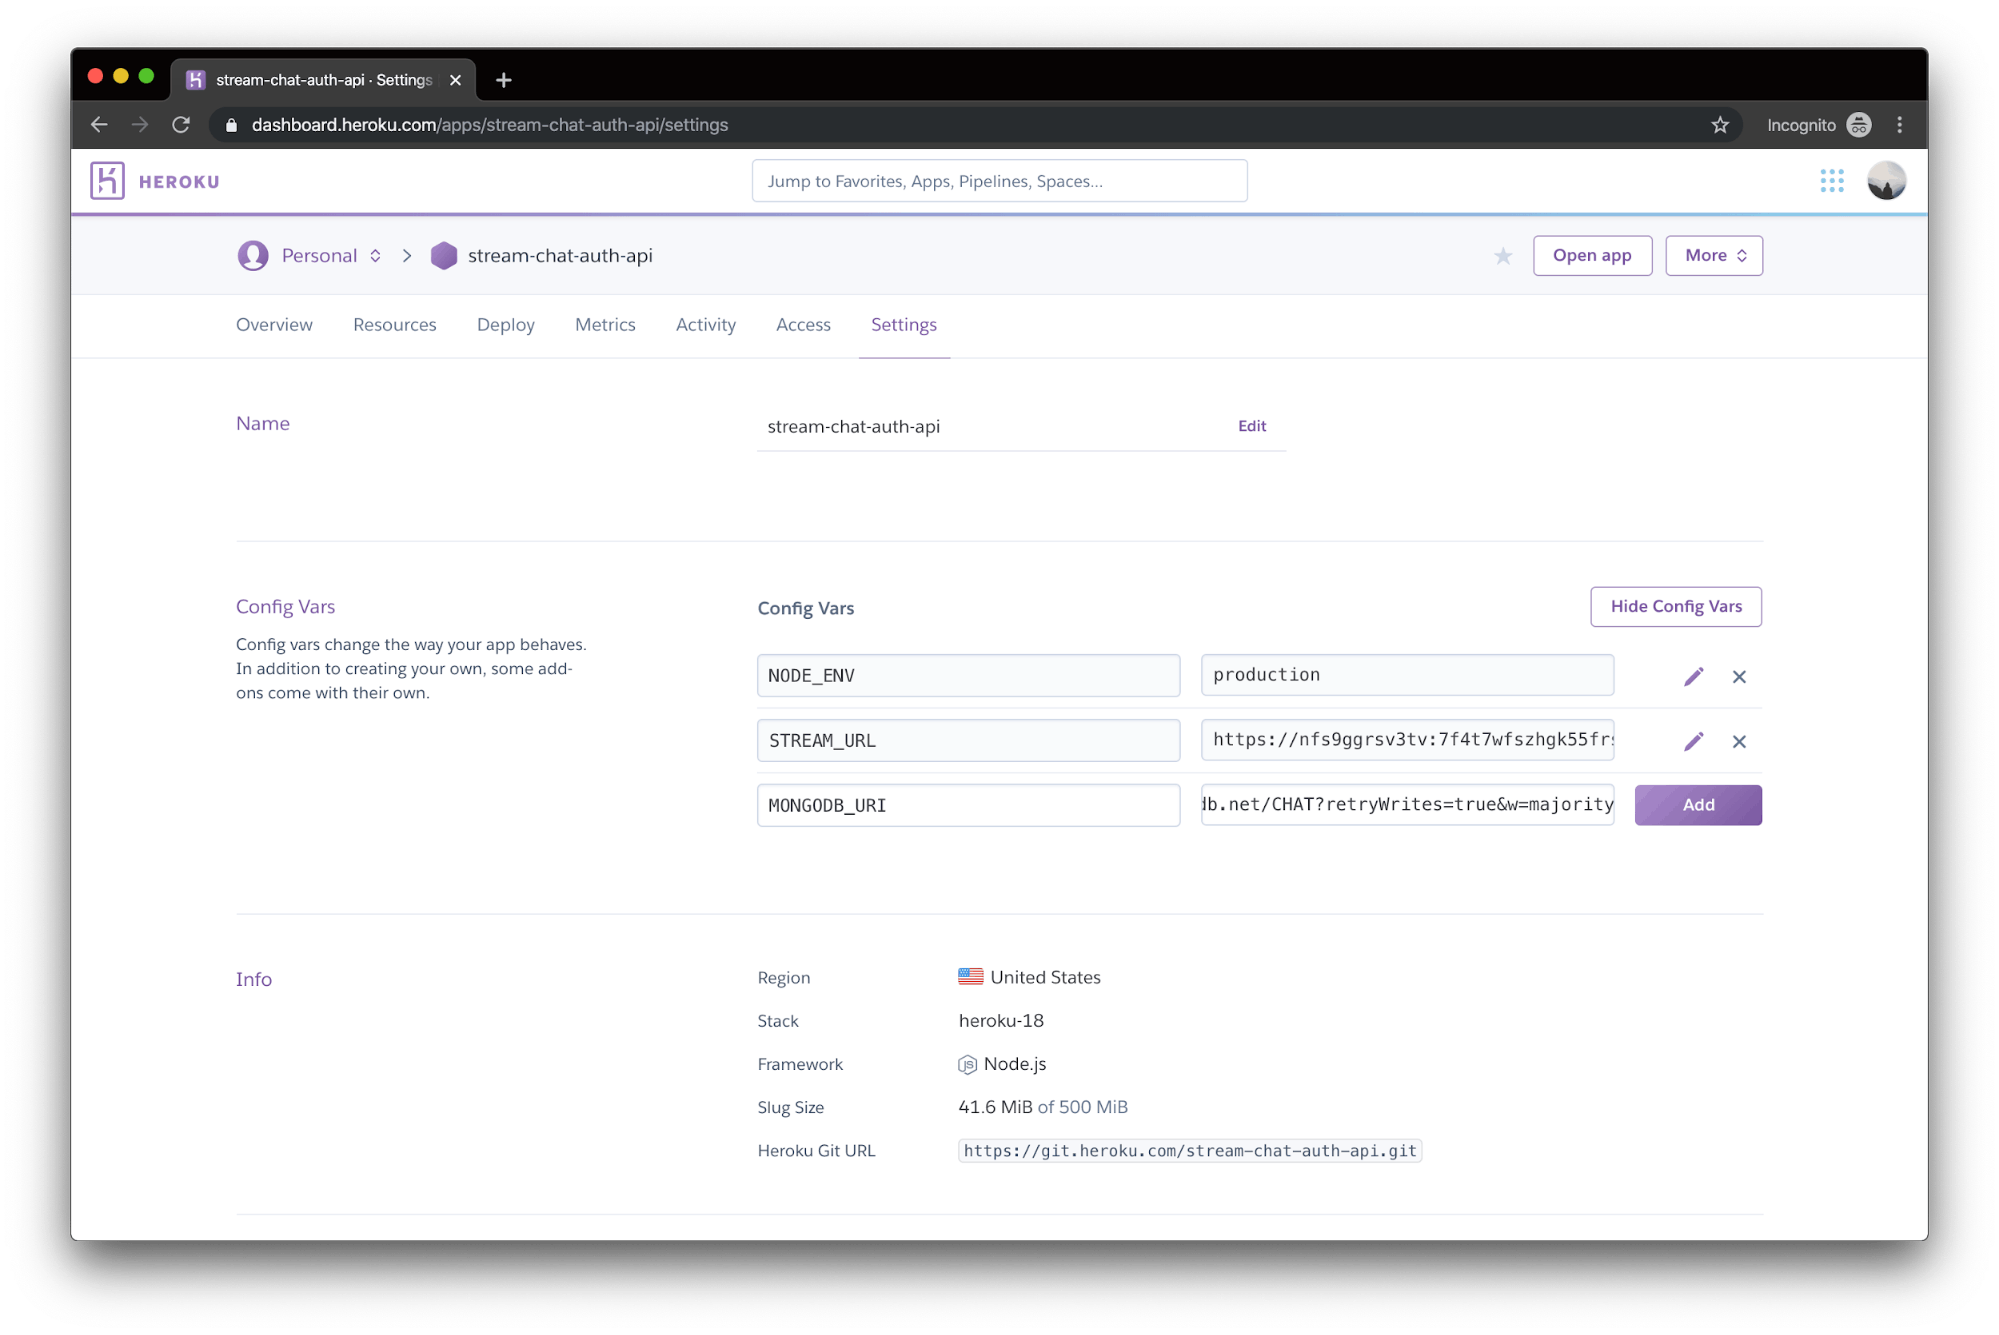
Alternatively, you can create a new application and push your repository to Heroku (note that you will have to manually configure environment variables if you go about using a manual push method – environment variables can be configured under the settings).

Sending Your Payload
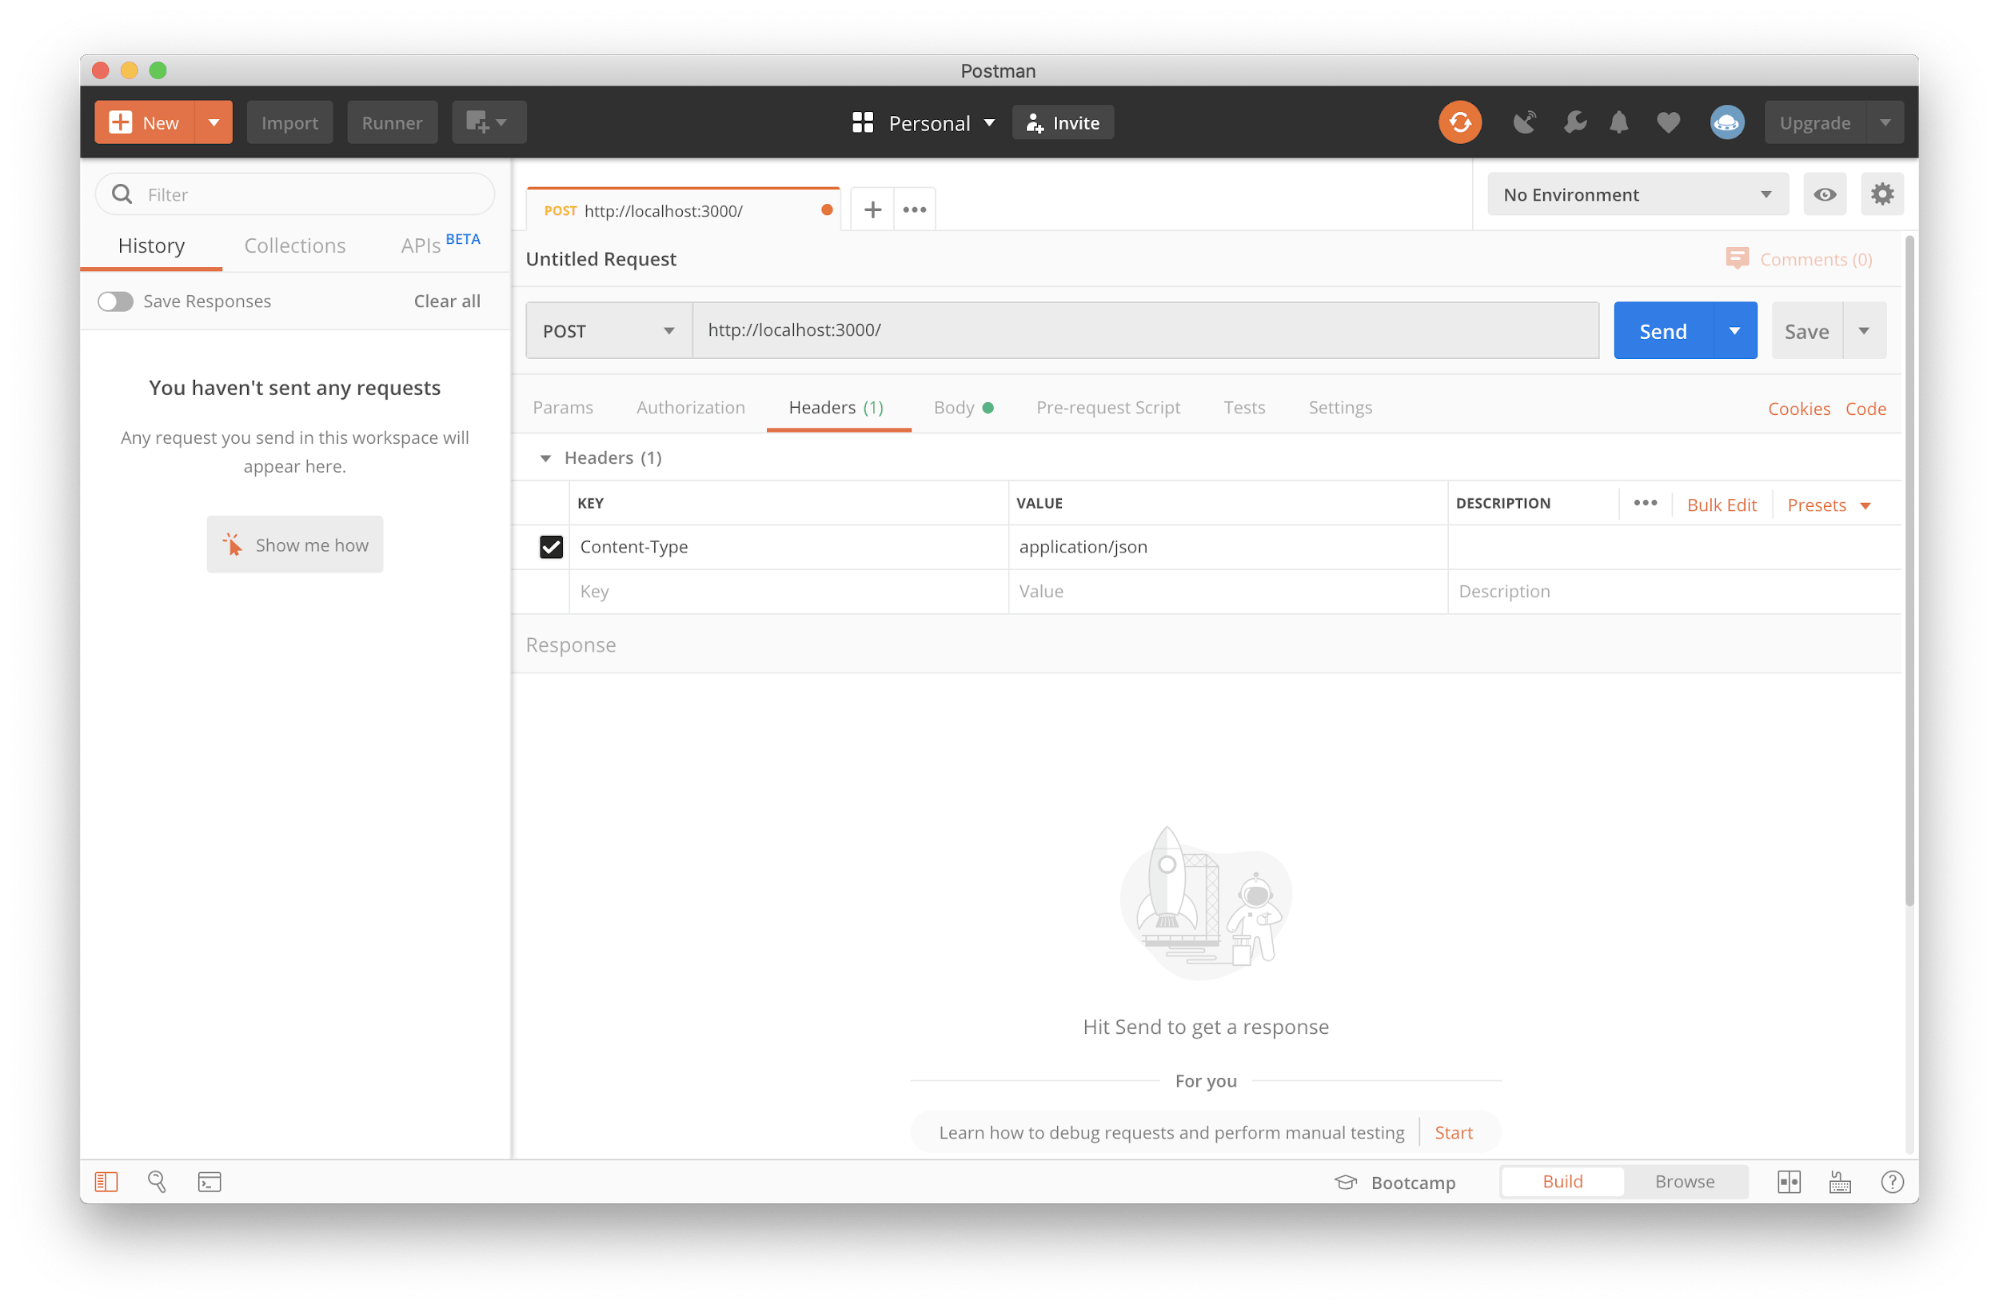
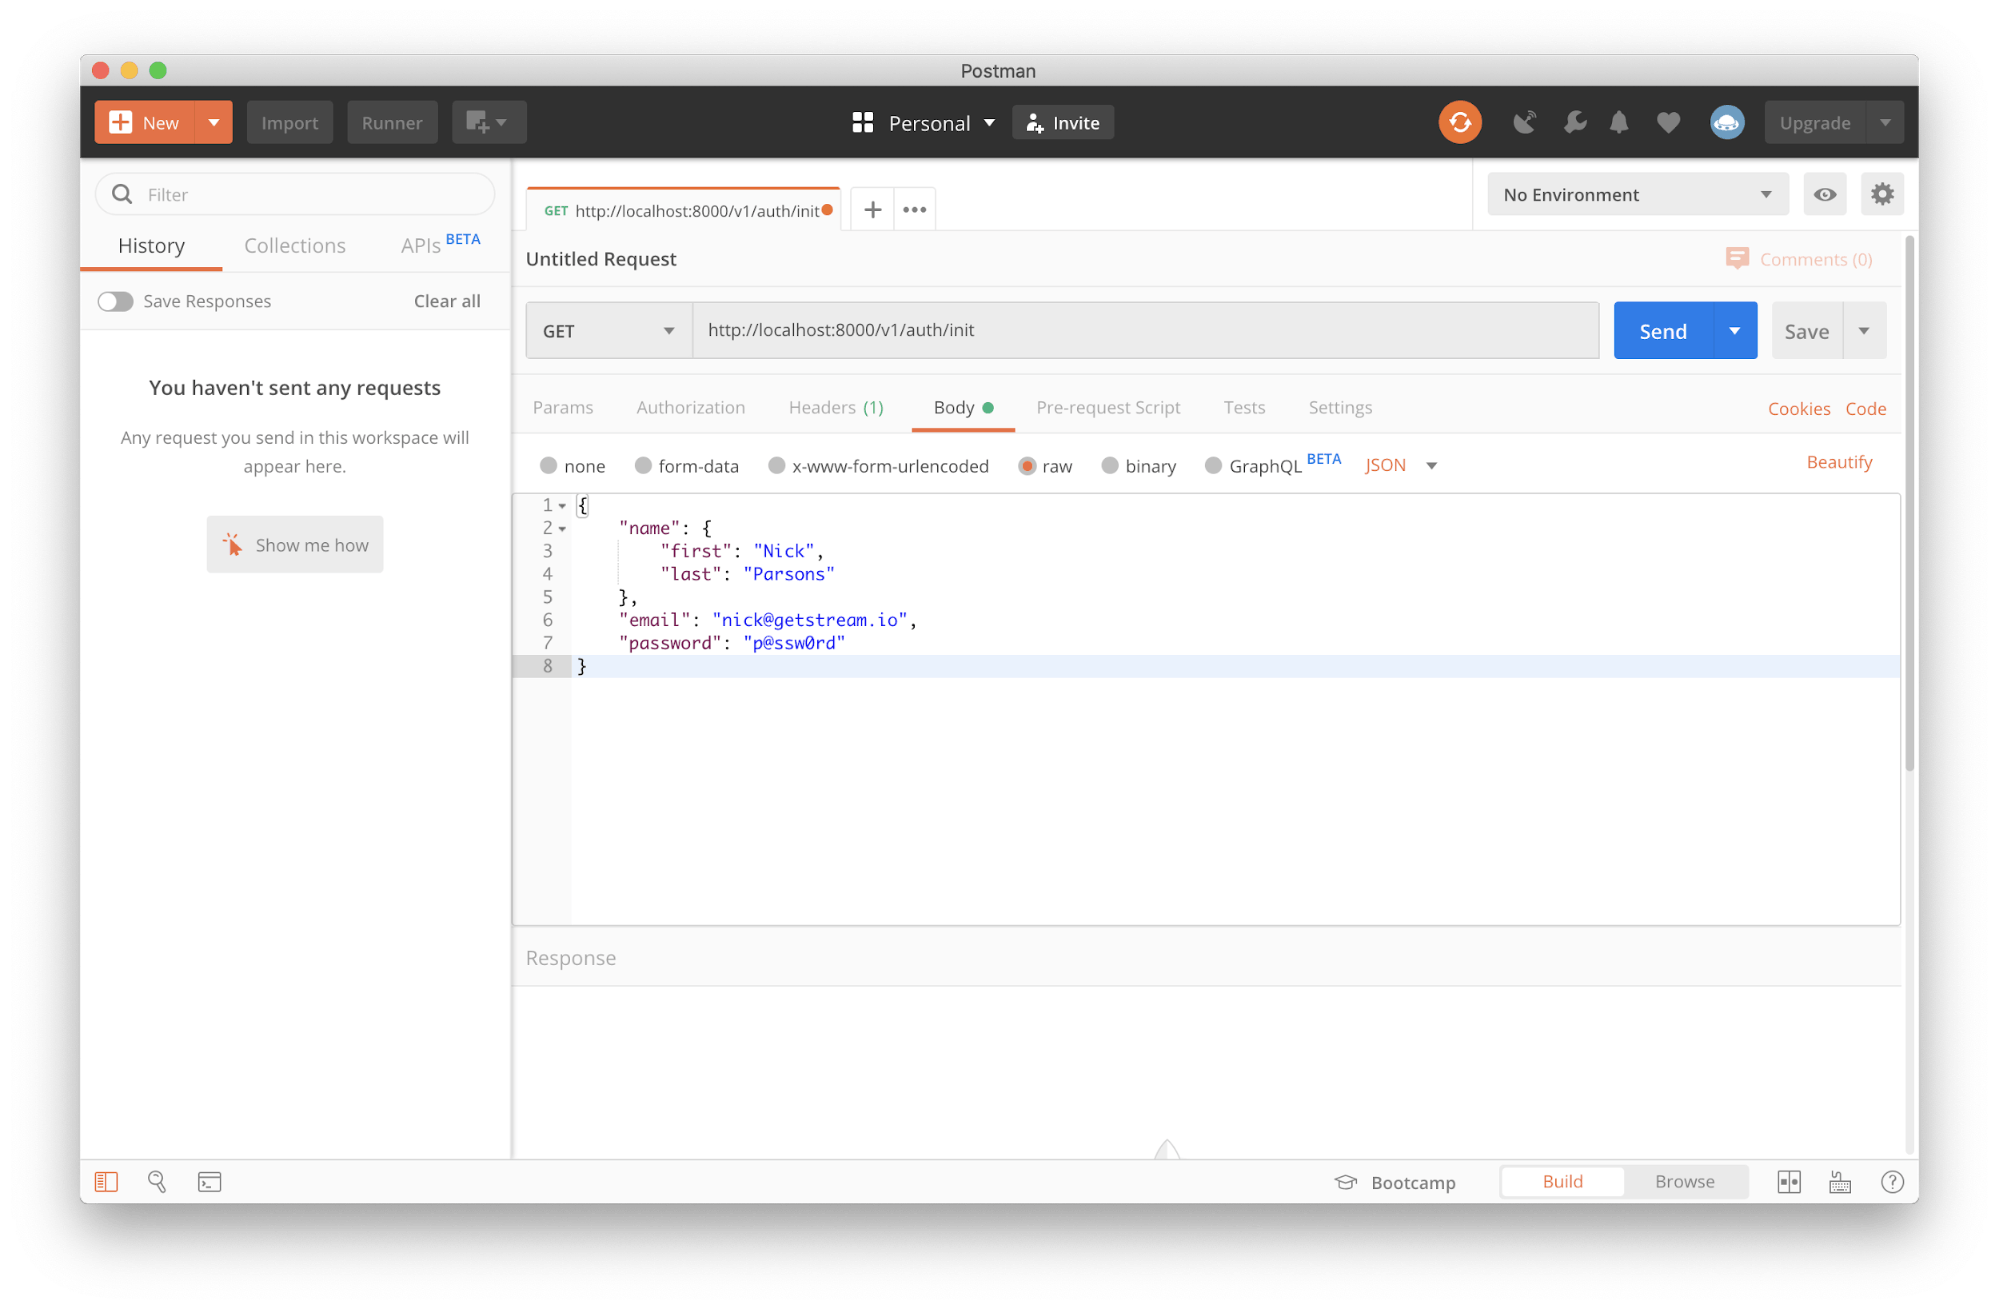
The API (as-is) expects that you send it a specific payload to create a user and add them to a channel. To do this, send a POST request with the content type set to application/json using the following payload:
{
	"name": {
		"first": "First Name",
		"last": "Last Name"
	},
	"email": "foo@bar.baz",
	"password": "qux"
}
Using the REST API client Postman, you can quickly test the API as shown in the screenshots below:


Note: _The
POSTURL is versioned tov1making the initial URL pathMARKDOWN_HASH04263f01b2cb95e2ed2fcd5dc69b709eMARKDOWNHASH.
And that’s it! You’ve successfully set up an API specifically for Stream Chat. The API is fully customizable and is prepared to suit any needs you may encounter while building a REST API for Stream Chat.
Happy coding! 🤓
