

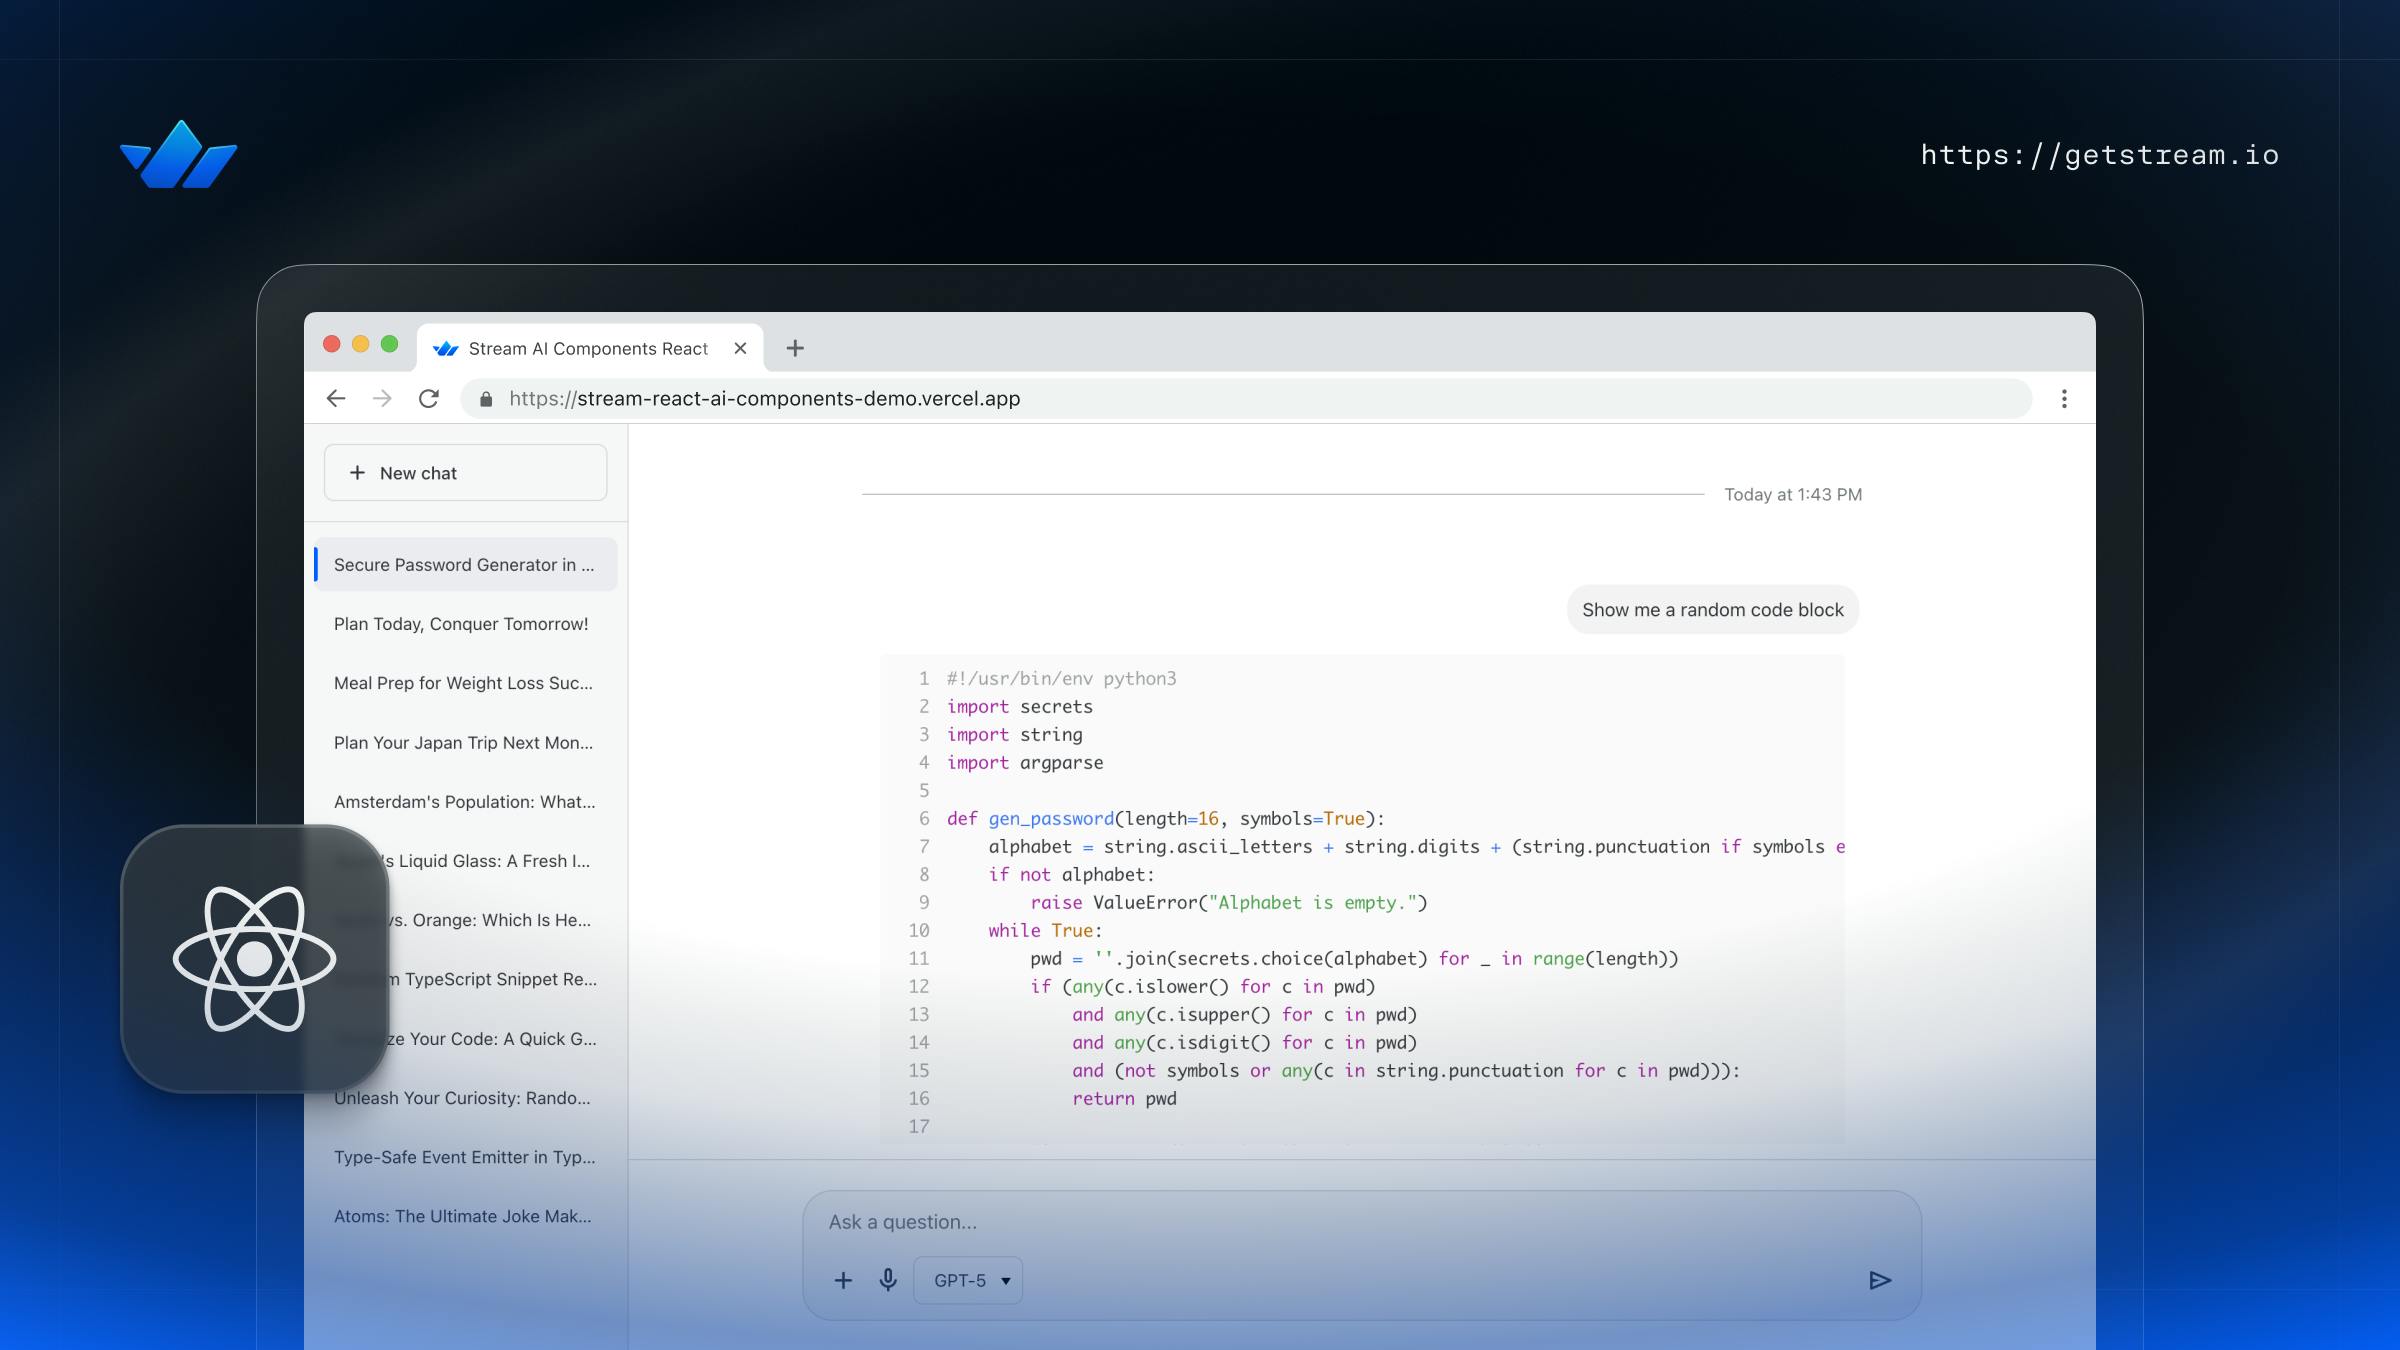
In this tutorial, we will demonstrate how easy it is to create an AI assistant for React using Stream Chat. As an example, we will leverage the StreamChat integration with Vercel’s AI SDK; however, developers are free to use whichever LLM provider they like and still benefit from Stream’s rich UI support for Markdown, tables, code samples, charts etc. To follow along with this tutorial, we recommend creating a free account and checking out our main React Chat SDK tutorial as a refresher.
Running the Backend
Before adding AI features to our app, let’s set up our node.js backend. The backend will expose two methods for starting and stopping an AI agent for a particular channel. If the agent is started, it listens to all new messages and sends them to the LLM provider of your choice. It provides the results by sending a message and updating its text.
The sample also supports sending different states of the typing indicator (for example, Thinking, Checking external sources, etc), client-side MCP tools, suggestions, summaries, memory with mem0 and much more.
You can find a working implementation of the backend here.
1. Install Dependencies
1npm install @stream-io/chat-ai-sdk express cors dotenv
@stream-io/chat-ai-sdk brings the Agent, AgentManager, tool helpers, and the streaming logic. Express/cors/dotenv provide the basic HTTP server.
2. Configure Stream Credentials
Create a .env file with:
STREAM_API_KEY=your_key
STREAM_API_SECRET=your_secret
OPENAI_API_KEY=your_open_api_key
ANTHROPIC_API_KEY=your_anthropic_api_key
XAI_API_KEY=your_xai_api_key
GOOGLE_API_KEY=your_google_api_key
MEM0_API_KEY=your_mem0_api_key
Apart from the Stream API key and secret, every other API key is optional. You would need to add at least one LLM service, for the AI to work.
Load it at the top of your entry file:
import 'dotenv/config';3. Bootstrap Express and the AgentManager
Add the following to your index.ts (or similar):
import express from 'express';
import cors from 'cors';
import {
  AgentManager,
  AgentPlatform,
  createDefaultTools,
} from '@stream-io/chat-ai-sdk';

const app = express();
app.use(express.json());
app.use(cors({ origin: '*' }));

const buildAgentUserId = (channelId: string): string =>
  `ai-bot-${channelId.replace(/!/g, '')}`;

const agentManager = new AgentManager({
  serverToolsFactory: () => createDefaultTools(),
  agentIdResolver: buildAgentUserId,
});

const normalizeChannelId = (raw: string): string => {
  const trimmed = raw?.trim() ?? '';
  if (!trimmed) return trimmed;
  const parts = trimmed.split(':');
  return parts.length > 1 ? parts[1] : trimmed;
};
AgentManager owns the agent cache, pending state, and inactivity cleanup. Each channel uses an ID pattern such as ai-bot-{channelId}.
4. Starting an Agent
Next, let’s add the endpoint that will start the AI agent. First, we need to validate the payload, normalize the channel, and then ask the AgentManager to start or reuse the agent:
app.post('/start-ai-agent', async (req, res) => {
  const {
    channel_id,
    channel_type = 'messaging',
    platform = AgentPlatform.ANTHROPIC,
    model,
  } = req.body;

  if (!channel_id) {
    res.status(400).json({ error: 'Missing channel_id' });
    return;
  }

  const channelId = normalizeChannelId(channel_id);
  if (!channelId) {
    res.status(400).json({ error: 'Invalid channel_id' });
    return;
  }

  try {
    await agentManager.startAgent({
      userId: buildAgentUserId(channelId),
      channelId,
      channelType: channel_type,
      platform,
      model,
    });
    res.json({ message: 'AI Agent started' });
  } catch (error) {
    res.status(500).json({
      error: 'Failed to start AI Agent',
      reason: (error as Error).message,
    });
  }
});
5. Stopping an Agent
To stop the agent and clean the cache, we can do the following:
app.post('/stop-ai-agent', async (req, res) => {
  const channelId = normalizeChannelId(req.body?.channel_id ?? '');
  if (!channelId) {
    res.status(400).json({ error: 'Invalid channel_id' });
    return;
  }

  try {
    await agentManager.stopAgent(buildAgentUserId(channelId));
    res.json({ message: 'AI Agent stopped' });
  } catch (error) {
    res.status(500).json({
      error: 'Failed to stop AI Agent',
      reason: (error as Error).message,
    });
  }
});
6. Register Client Side Tools
Next, we can expose an endpoint to allow clients to register MCP tools that can be handled client-side:
app.post('/register-tools', (req, res) => {
  const { channel_id, tools } = req.body ?? {};

  if (typeof channel_id !== 'string' || !channel_id.trim()) {
    res.status(400).json({ error: 'Missing or invalid channel_id' });
    return;
  }
  if (!Array.isArray(tools)) {
    res.status(400).json({ error: 'Missing or invalid tools array' });
    return;
  }

  const channelId = normalizeChannelId(channel_id);
  agentManager.registerClientTools(channelId, tools);
  res.json({ message: 'Client tools registered', count: tools.length });
});
7. Start the Server
Add the log when the server is started.
const port = process.env.PORT || 3000;
app.listen(port, () => {
  console.log(`Server is running on <http://localhost>:${port}`);
});
You can start the server by running:
npm startReact Integration
Next, let’s setup things on on the JS side. You can find a working implementation of this project here.
1. Project Setup
In order to follow this tutorial, we must ensure a minimum version of 13.13.0 of the Stream Chat React SDK.
This tutorial will be bootstrapped using Vite - however, feel free to replicate it with the technology of your choice.
First, we will create and set up a new Vite project using our SDK:
123yarn create vite stream-react-ai --template react-ts

cd stream-react-ai
Next, let’s install our Chat SDK and some other helpfull tools we’ll need:
1yarn add stream-chat-react stream-chat
1yarn add nanoid clsx
In order to use our new AI SDK, we’ll install it as well including its peer dependencies:
1yarn add @stream-io/chat-react-ai material-symbols
After all this, we can start the app by running the following command: yarn dev.
2. Backend Interaction APIs
Before we dive into implementing the actual chat integration, let’s create some utilities that will help us make HTTP requests to our backend.
To do this, let’s introduce src/api/index.ts file:
import type { Channel } from 'stream-chat';

// URL to our AI backend
const baseApiUrl = '<http://localhost:3000>';

export const startAiAgent = async (
  channel: Channel,
  model: string,
  platform:
    | 'openai'
    | 'anthropic'
    | 'gemini'
    | 'xai'
    | (string & {}) = 'openai',
) => {
  return await fetch(`${baseApiUrl}/start-ai-agent`, {
    method: 'POST',
    headers: { 'Content-Type': 'application/json' },
    body: JSON.stringify({
      channel_id: channel.id,
      channel_type: channel.type,
      platform,
      model,
    }),
  });
};

export const summarizeConversation = async (text: string): Promise<string> => {
  return fetch(`${baseApiUrl}/summarize`, {
    method: 'POST',
    headers: { 'Content-Type': 'application/json' },
    body: JSON.stringify({ text, platform: 'openai' }),
  })
    .then((res) => res.json())
    .then((json) => json.summary);
};
3. Laying the Base
Before we can begin talking to the LLM, we’ll need to lay out our baseline component tree.
For this, we will use the main stream-chat-react building blocks: Chat, Channel, ChannelList and MessageList components.
\<aside> ℹ️
Note that all the file paths mentioned in this tutorial take into consideration src as the root folder.
\</aside>
Though first we’ll need to define a few environment variables so that we can connect our user to the Stream backend (../.env):
12VITE_STREAM_API_KEY="<your-key>"
VITE_STREAM_USER_TOKEN="<your-token>"
And now we can proceed with the actual component tree (./components/ChatContent.tsx):
import {
  Channel,
  MessageList,
  ChannelList,
  Window,
  MessageComposer,
  type ChannelListProps,
} from 'stream-chat-react';

export const ChatContent = ({
  filters,
  options,
  sort,
}: Pick<ChannelListProps, 'options' | 'sort' | 'filters'>) => {
  return (
    <>
      <ChannelList filters={filters} sort={sort} options={options} />
      <Channel>
        <Window>
          <MessageList />
          <MessageComposer />
        </Window>
      </Channel>
    </>
  );
};
Sprinkle in some baseline styling too (./index.css - should be already imported in ./main.tsx generated by Vite):
123456789101112131415161718192021222324252627282930313233343536373839404142434445464748495051525354555657585960616263646566@layer stream, stream-overrides, stream-ai, stream-ai-overrides;

@import url('stream-chat-react/dist/css/index.css') layer(stream);
@import url('@stream-io/chat-react-ai/styles/index.css') layer(stream-ai);

:root {
  font-family: system-ui, Avenir, Helvetica, Arial, sans-serif;
  line-height: 1.5;
  font-weight: 400;

  color-scheme: light dark;
  color: rgba(255, 255, 255, 0.87);
  background-color: #242424;

  font-synthesis: none;
  text-rendering: optimizeLegibility;
  -webkit-font-smoothing: antialiased;
  -moz-osx-font-smoothing: grayscale;
}

body {
  margin: 0;
}

#root {
  display: flex;
  height: 100vh;
}

@layer stream-overrides {
  .str-chat__channel-list {
    flex-basis: 350px;
    flex-shrink: 1;
  }

  .str-chat__channel {
    flex-grow: 1;
  }

  .str-chat__message-list-scroll {
    max-width: 800px;
    width: 100%;
  }

  .str-chat__list {
    display: flex;
    justify-content: center;
    scrollbar-gutter: stable;
    scrollbar-width: thin;
  }

  .str-chat__message--other .str-chat__message-bubble {
    max-width: unset;
    width: 100%;
  }

  .str-chat__message--other .str-chat__message-inner {
    margin-inline-end: 0;
  }
}

@layer stream-ai-overrides {
    .aicr__pre {
        white-space: break-spaces;
    }
}
This is everything we’ll need for now, let’s tie all of it together in our ./App.tsx:
import type { ChannelFilters, ChannelOptions, ChannelSort } from 'stream-chat';
import { Chat, useCreateChatClient } from 'stream-chat-react';

import { ChatContent } from './components/ChatContent';

const userToken = import.meta.env.VITE_STREAM_USER_TOKEN;
const apiKey = import.meta.env.VITE_STREAM_API_KEY;

if (typeof apiKey !== 'string' || !apiKey.length) {
  throw new Error('Missing VITE_STREAM_API_KEY');
}

if (typeof userToken !== 'string' || !userToken.length) {
  throw new Error('Missing VITE_STREAM_USER_TOKEN');
}

const userIdFromToken = (token: string) => {
  const [, payload] = token.split('.');
  const parsedPayload = JSON.parse(atob(payload));
  return parsedPayload.user_id as string;
};

const userId = userIdFromToken(userToken!);

const filters: ChannelFilters = {
  members: { $in: [userId] },
  type: 'messaging',
  archived: false,
};
const options: ChannelOptions = { limit: 5 };
const sort: ChannelSort = { pinned_at: 1, last_message_at: -1, updated_at: -1 };

function App() {
  const chatClient = useCreateChatClient({
    apiKey: apiKey!,
    tokenOrProvider: userToken!,
    userData: {
      id: userId,
    },
  });

  if (!chatClient) {
    return <div>Loading chat...</div>;
  }

  return (
    <Chat client={chatClient}>
      <ChatContent filters={filters} sort={sort} options={options} />
    </Chat>
  );
}

export default App;
It is now almost time to implement our UI that resembles ChatGPT. But before that, we want to let the SDK know how to deal with some custom data we’ll introduce during this tutorial (learn more about the approach here). Let’s create a stream-custom-data.d.ts file and populate it with some interface augmentations:
12345678910111213import {
  DefaultChannelData,
  DefaultMessageData,
} from 'stream-chat-react';

declare module 'stream-chat' {
  interface CustomChannelData extends DefaultChannelData {
    summary?: string;
  }
  interface CustomMessageData extends DefaultMessageData {
    ai_generated?: boolean;
  }
}
Now that this is done, we can proceed further.
Let’s create a new file, ./components/MessageBubble.tsx, which will contain our new message component that is capable of rendering extended markdown features and charts too. We’ll import the component capable of doing that from our AI package @stream-io/chat-react-ai.
import { StreamingMessage } from '@stream-io/chat-react-ai';
import {
  Attachment,
  useMessageContext,
} from 'stream-chat-react';
import clsx from 'clsx';

export const MessageBubble = () => {
  const { message, isMyMessage, highlighted, handleAction } =
    useMessageContext();

  const attachments = message?.attachments || [];
  const hasAttachments = attachments.length > 0;

  const rootClassName = clsx(
    'str-chat__message',
    `str-chat__message--${message.type}`,
    `str-chat__message--${message.status}`,
    {
      'str-chat__message--me': isMyMessage(),
      'str-chat__message--other': !isMyMessage(),
      'str-chat__message--has-attachment': hasAttachments,
      'str-chat__message--highlighted': highlighted,
      'str-chat__message-send-can-be-retried':
        message?.status === 'failed' && message?.error?.status !== 403,
    },
  );

  return (
    <div className={rootClassName}>
      <div className="str-chat__message-inner" data-testid="message-inner">
        <div className="str-chat__message-bubble">
          {hasAttachments && (
            <Attachment
              actionHandler={handleAction}
              attachments={attachments}
            />
          )}
          {message?.text && <StreamingMessage text={message.text} />}
        </div>
      </div>
    </div>
  );
};
We can now pass it to the component context using WithComponents wrapper - this ensures that WithComponents consumers (in this case MessageList component) use our new override instead of the pre-defined MessageUI default. Learn more about WithComponents in our documentation. Our ./components/ChatContent.tsx after this change should look something like this:
import { MessageBubble } from './components/MessageBubble';

// ...other code...

<WithComponents overrides={{ MessageUI: MessageBubble }}>
  {/* rest of the content */}
</WithComponents>
Now that our application is able to render rich markdown messages we can proceed further to actually get the LLM to produce some message content for us.
4. Adding AIMessageComposer & Starting New Chats
To be able to actually talk to the AI bot we’ll need a few things: Composer component with custom submit handler, adjust our Channel component to not initialize newly created channels until we say so, adjust our ChannelList component to not select a channel from the list of existing channels when we initially load our app and an effect that, if we have no active channel, sets up an empty shell channel for us.
Let’s start with the Channel & ChannelList component adjustments. We’ll need to set both initializeOnMount prop (Channel) and setActiveChannelOnMount (ChannelList) to false. We’ll also add a custom effect to our ./components/ChatContent.tsx which after these changes should look something like this:
import {
  Channel,
  MessageList,
  ChannelList,
  Window,
  MessageComposer,
  useChatContext,
  WithComponents,
  type ChannelListProps,
} from 'stream-chat-react';
import { useEffect } from 'react';
import { MessageBubble } from './MessageBubble';
import { nanoid } from 'nanoid';

export const ChatContent = ({
  filters,
  options,
  sort,
}: Pick<ChannelListProps, 'options' | 'sort' | 'filters'>) => {
  const { setActiveChannel, client, channel } = useChatContext();

  useEffect(() => {
    if (!channel) {
      setActiveChannel(
        client.channel('messaging', `ai-${nanoid()}`, {
          members: [client.userID as string],
          own_capabilities: ['upload-file'],
        }),
      );
    }
  }, [channel]);

  return (
    <WithComponents overrides={{ MessageUI: MessageBubble }}>
      <ChannelList
        setActiveChannelOnMount={false}
        filters={filters}
        sort={sort}
        options={options}
      />
      <Channel initializeOnMount={false}>
        <Window>
          <MessageList />
          <AIStateIndicator />
          <MessageComposer />
        </Window>
      </Channel>
    </WithComponents>
  );
};
Let’s continue with the ./Composer.tsx component, we’ll import the base component (AIMessageComposer) from our AI SDK and prepare it accordingly:
import { AIMessageComposer } from '@stream-io/chat-react-ai';
import { useEffect } from 'react';
import {
  isImageFile,
  type Channel,
  type LocalUploadAttachment,
  type UploadRequestFn,
} from 'stream-chat';
import {
  useAttachmentsForPreview,
  useChannelActionContext,
  useChannelStateContext,
  useChatContext,
  useMessageComposerController,
} from 'stream-chat-react';
import { startAiAgent, summarizeConversation } from '../api';

const isWatchedByAI = (channel: Channel) => {
  return Object.keys(channel.state.watchers).some((watcher) =>
    watcher.startsWith('ai-bot'),
  );
};

export const Composer = () => {
  const { client } = useChatContext();
  const { updateMessage, sendMessage } = useChannelActionContext();
  const { channel } = useChannelStateContext();
  const composer = useMessageComposerController();

  const { attachments } = useAttachmentsForPreview();

  useEffect(() => {
    if (!composer) return;

    const upload: UploadRequestFn = (file) => {
      const f = isImageFile(file) ? client.uploadImage : client.uploadFile;

      return f.call(client, file as File);
    };

    const previousDefault = composer.attachmentManager.doDefaultUploadRequest;

    composer.attachmentManager.setCustomUploadFn(upload);

    return () => composer.attachmentManager.setCustomUploadFn(previousDefault);
  }, [client, composer]);

  return (
    <div className="tut__composer-container">
      <AIMessageComposer
        onChange={(e) => {
          const input = e.currentTarget.elements.namedItem(
            'attachments',
          ) as HTMLInputElement | null;

          const files = input?.files ?? null;

          if (files) {
            composer.attachmentManager.uploadFiles(files);
          }
        }}
        onSubmit={async (e) => {
          const event = e;
          event.preventDefault();

          const target = event.currentTarget;

          const formData = new FormData(target);

          const message = formData.get('message');
          const platformModel = formData.get('platform-model');

          composer.textComposer.setText(message as string);

          const composedData = await composer.compose();

          if (!composedData) return;

          target.reset();
          composer.clear();

          updateMessage(composedData?.localMessage);

          if (!channel.initialized) {
            await channel.watch();
          }

          const [platform, model] = (platformModel as string).split('|');

          if (!isWatchedByAI(channel)) {
            await startAiAgent(channel, model, platform);
          }

          await sendMessage(composedData);

          if (
            typeof channel.data?.summary !== 'string' ||
            !channel.data.summary.length
          ) {
            const summary = await summarizeConversation(
              message as string,
            ).catch(() => {
              console.warn('Failed to summarize');
              return null;
            });

            if (typeof summary === 'string' && summary.length > 0) {
              await channel.update({ summary });
            }
          }
        }}
      >
        <AIMessageComposer.AttachmentPreview>
          {attachments.map((attachment) => (
            <AIMessageComposer.AttachmentPreview.Item
              key={attachment.localMetadata.id}
              file={attachment.localMetadata.file as File}
              state={attachment.localMetadata.uploadState}
              imagePreviewSource={
                attachment.thumb_url ||
                (attachment.localMetadata.previewUri as string)
              }
              onDelete={() => {
                composer.attachmentManager.removeAttachments([
                  attachment.localMetadata.id,
                ]);
              }}
              onRetry={() => {
                composer.attachmentManager.uploadAttachment(
                  attachment as LocalUploadAttachment,
                );
              }}
            />
          ))}
        </AIMessageComposer.AttachmentPreview>
        <AIMessageComposer.TextInput name="message" />
        <div
          style={{
            display: 'flex',
            gap: '1rem',
            justifyContent: 'space-between',
            alignItems: 'center',
          }}
        >
          <div style={{ display: 'flex', gap: '.25rem', alignItems: 'center' }}>
            <AIMessageComposer.FileInput name="attachments" />
            <AIMessageComposer.SpeechToTextButton />
            <AIMessageComposer.ModelSelect name="platform-model" />
          </div>

          <AIMessageComposer.SubmitButton active={attachments.length > 0} />
        </div>
      </AIMessageComposer>
    </div>
  );
};
And some styling to go alongside with this new component (./components/Composer.css):
1234567891011121314.tut__composer-container {
  display: flex;
  justify-content: center;
  padding: 1rem;
  scrollbar-gutter: stable;
  scrollbar-width: thin;
  overflow-y: hidden;
  flex-shrink: 0;
}

.aicr__ai-message-composer__form {
  max-width: 800px;
  width: 100%;
}
The submit handler we’ve defined here handles a few things for us; it gathers input information, processes it and before actually submitting all of it, checks whether the channel exists - if it doesn’t it creates it and starts listening to new changes. Then it checks whether AI is listening, if it doesn’t it asks it to join this channel and only then submits the message for processing. After all of this we take our message text and send it to our server for summary which we can then use as a title in our custom channel list item component.
We’re using our existing MessageComposer controller which allows us to upload files and construct the message object properly before sending it for further processing to the Stream backend.
Now let’s connect this newly created component to our app. We’ll import and add it to our MessageComposer component located in ./components/ChatContent.tsx which after this change should look something like this:
import { WithComponents, MessageComposer } from 'stream-chat-react';
import { Composer } from './Composer';

// ...other code...

<WithComponents overrides={{ MessageComposerUI: Composer }}>
    <MessageComposer />
</WithComponents>
Let’s also import the styles in our ./index.css file and since the AIMessageComposer comes with a few icons, we’ll also import material-symbols so that they render properly, our ./index.css should now look something like this:
@layer stream, stream-overrides, stream-ai, stream-ai-overrides;

@import 'material-symbols/rounded.css';
@import url('stream-chat-react/dist/css/index.css') layer(stream);
@import url('@stream-io/chat-react-ai/styles/index.css') layer(stream-ai);

@import url('./components/Composer.css');

// ...rest of the file...
Our app is almost done, at the very least now we should be able to talk to the AI bot.
5. Simplified ChannelListItem Component
Now that our channels can have a proper summary property, it’d be good to use it as a title in our list of channels/conversations, let’s create one:
import type { ChannelPreviewProps } from 'stream-chat-react';
import { useChatContext } from 'stream-chat-react';
import clsx from 'clsx';

export const ChannelListItem = (props: ChannelPreviewProps) => {
  const { id, data } = props.channel;
  const { setActiveChannel, channel: activeChannel } = useChatContext();
  const isActive = activeChannel?.id === id;

  return (
    <div
      className={clsx('tut__channel-preview', {
        'tut__channel-preview--active': isActive,
      })}
      onClick={() => setActiveChannel(props.channel)}
    >
      <div className="tut__channel-preview__text">
        {data?.summary ?? 'New Chat'}
      </div>
    </div>
  );
};
Let’s also add some styling to go alongside this component (./components/ChannelListItem.css):
123456789101112131415.tut__channel-preview {
  padding: 0.75rem 1rem;
  cursor: pointer;
  border-radius: var(--str-chat__radius-md);
}

.tut__channel-preview--active {
  background-color: var(--str-chat__background-utility-pressed);
}

.tut__channel-preview__text {
  font-size: 1rem;
  font-weight: 500;
  color: var(--str-chat__text-primary);
}
And now to tie it all together we’ll just connect these to our app importing these newly created files in appropriate places (./components/ChatContent.tsx & ./index.css), our ChannelList component should now look something like this:
import { ChannelListItem } from './components/ChannelListItem';

// ...other code...

<WithComponents overrides={{ ChannelListItemUI: ChannelListItem }}>
    <ChannelList
      setActiveChannelOnMount={false}
      filters={filters}
      sort={sort}
      options={options}
    />
<WithComponents>
And our ./index.css should now look something like this:
@layer stream, stream-overrides, stream-ai, stream-ai-overrides;

@import 'material-symbols/rounded.css';
@import url('stream-chat-react/dist/css/index.css') layer(stream);
@import url('@stream-io/chat-react-ai/styles/index.css') layer(stream-ai);

@import url('./components/Composer.css');
@import url('./components/ChannelListItem.css');

// ...rest of the file...
6. Adding AIStateIndicator
Now that the AI bot sends us proper responses it would also be useful for us to know its current state. For example, we’d want to know when the AI bot is “thinking” about our question, when it’s generating an answer, whether it’s looking at external resource and so on.
For this, you can use the AIStateIndicator component from @stream-io/chat-react-ai for rendering purposes as it will provide a cool indicator with a shimmering animation. We can rely on the useAIState hook from stream-chat-react to listen for state changes around this and react accordingly.
To do that we’ll first create our component wrapper (./components/AIStateIndicator.tsx):
import {
  AIStates,
  useAIState,
  useChannelStateContext,
} from 'stream-chat-react';
import { AIStateIndicator as StateIndicator } from '@stream-io/chat-react-ai';

export const AIStateIndicator = () => {
  const { channel } = useChannelStateContext();
  const { aiState } = useAIState(channel);

  if (![AIStates.Generating, AIStates.Thinking].includes(aiState)) return null;

  return <StateIndicator key={channel.state.last_message_at?.toString()} />;
};
and then we can import and use it in our ./components/ChatContent.tsx which after this change should look something like this:
import { AIStateIndicator } from './components/AIStateIndicator'

// ...other code...

<WithComponents
  overrides={{
    MessageUI: MessageBubble,
    MessageComposerUI: Composer,
    ChannelListItemUI: ChannelListItem,
  }}
>
  <ChannelList
    setActiveChannelOnMount={false}
    filters={filters}
    sort={sort}
    options={options}
  />
  <Channel initializeOnMount={false}>
    <Window>
      <MessageList />
      <AIStateIndicator />
      <MessageComposer />
    </Window>
  </Channel>
</WithComponents>
Conclusion
In this tutorial, we have built an AI assistant bot that works mostly out of the box with the Stream Chat React SDK and the React AI SDK.
- We have shown how to use our AI components for message rendering of LLM responses, such as markdown, code, tables, charts etc.
- We have shown how to create our server that will start and stop AI agents that will respond to user questions
- You have learned how to customize our React Chat SDK to integrate these new AI features
If you want to learn more about our AI capabilities, head to our AI landing page. Additionally, check our React Chat SDK Docs to learn how you can provide more customizations to your chat apps. Get started by signing up for a free Stream account today.