

This article describes how you can build and deploy a React Chat application powered by Stream's Chat API to Netlify and Heroku. In this case, the React app will be deployed on Netlify, while the accompanying Node server will be deployed to Heroku.
At the end of this article, you'll see just how easy it is to get your chat application in front of users in just a few steps.
Sign up for Stream
Create a free Stream account or sign in to your existing account. On your dashboard, hit the blue Create App button and give your app a name as shown below:
Once the app has been created, you will be presented with your application access keys, which we'll be using when deploying the application to Heroku.

Sign up for MongoDB Atlas
Before we can deploy the server to Heroku, we need to spin up a MongoDB cluster because that's where the user data is stored. We'll do so using MongoDB Atlas. Create an account at that link and create a new cluster when you are redirected to the Create New Cluster page.
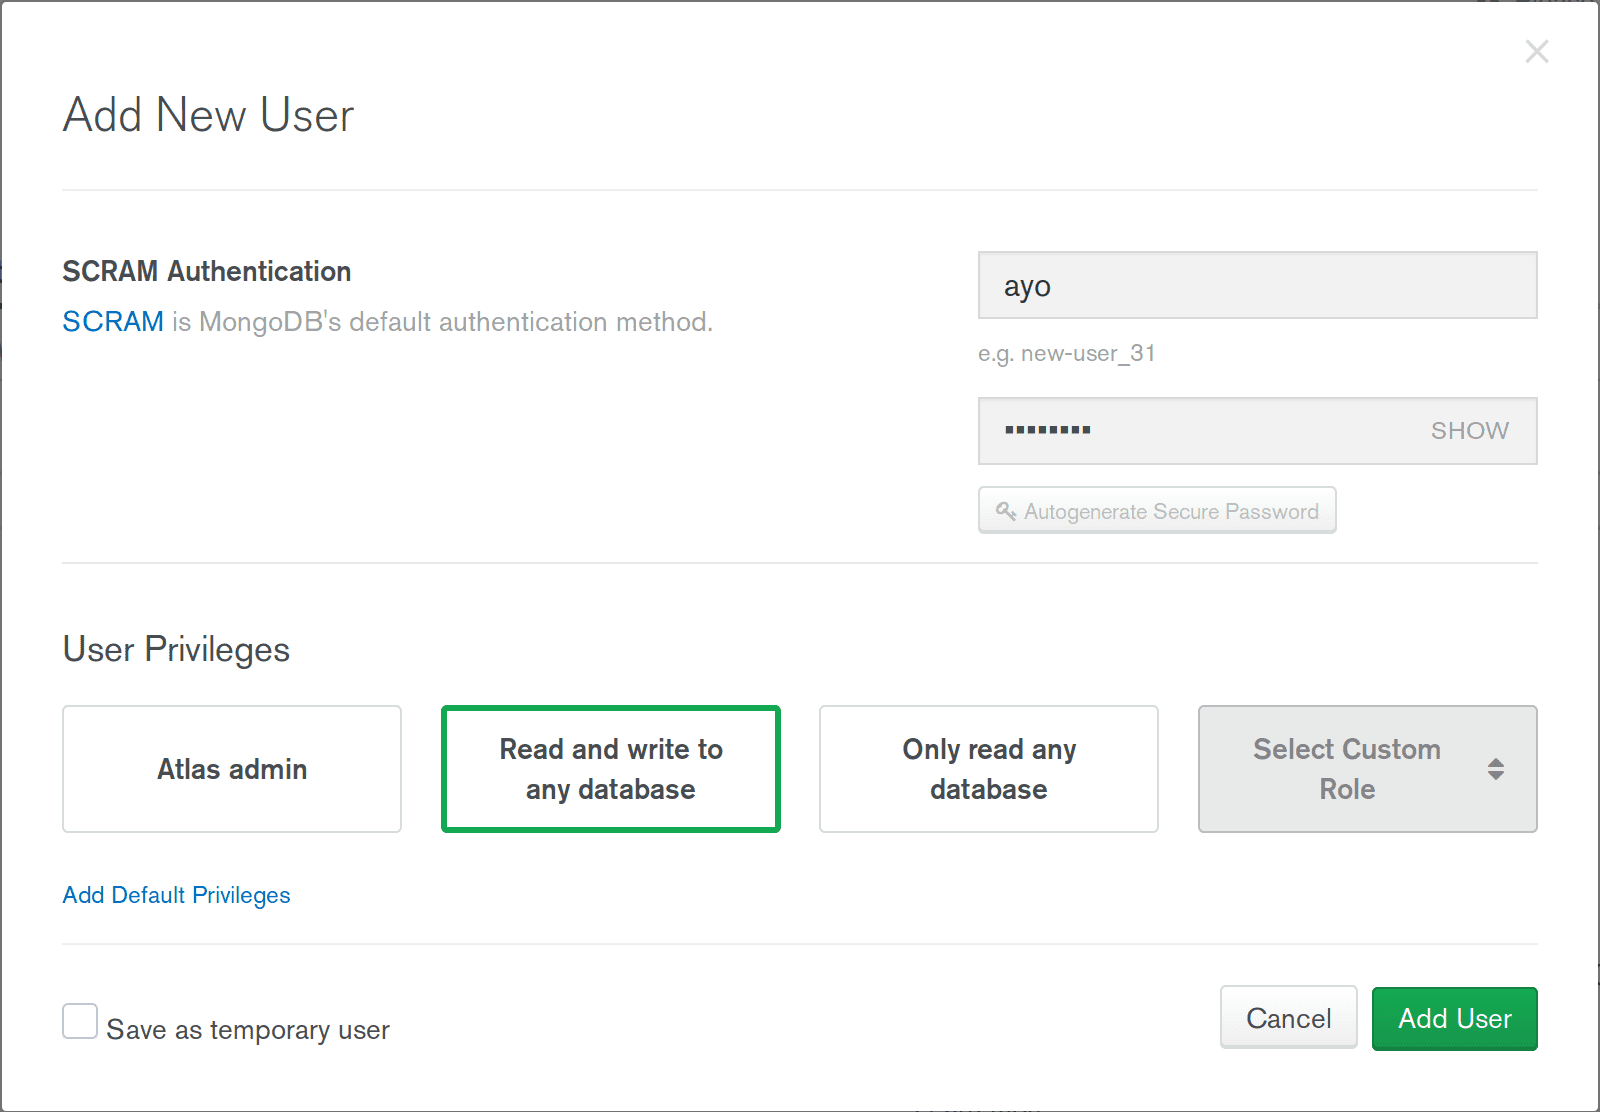
Next, under Security on the sidebar, click Database access and hit the Add new user button. Give the user a name and password, then click the Add user button.
After that, click Network Access on the sidebar, then under the IP Whitelist tab, click Add IP Address. This allows you to choose what IP addresses can access your cluster. Since this is just a demo application, you can allow access from anywhere by clicking the Allow Access From Anywhere button.
Next, go back to Clusters, and hit the Connect button. Choose Connect your Application and then take note of the connection string that is displayed as we'll be using it in the next section when deploying our server to Heroku.

Deploy the Node Server to Heroku
Sign up for a free Heroku account or login to your existing account, then follow this link to create a new app. Give it a unique name.

Next, follow the instructions here to install the Heroku CLI on your machine. Then run the heroku login command in the terminal to log in to your Heroku account.
Clone the stream-chat-api repository to your machine. This is a node server that provides authentication for the client. Once cloned, cd into the directory in your terminal and run the command below at the root to set Heroku as a remote for your git repo. Replace <app name> with the name of your application on Heroku.
heroku git:remote -a <app name>
Next, run the commands below, in turn, to set the necessary environment variables on Heroku:
heroku config:set STREAM_API_KEY=<your api key>
heroku config:set STREAM_API_SECRET=<your api secret>
heroku config:set MONGODB_URI=<your mongodb atlas connection string>
Finally, run git push heroku master to deploy the server which should become available on https://<app name>.herokuapp.com
Deploy React App to Netlify
Create a free Netlify account here and install the Netlify CLI with the command below:
npm install netlify-cli -g
Once the CLI has been installed, run netlify login to log into your Netlify account. Next, clone this repository to your terminal. It contains the React application that will be deployed to Netlify.
Change into the app directory, and open src/App.js in your text editor. Find the line that contains <your heroku app url> and replace it with https://<app name>.herokuapp.com. Save the file and build your app for production using the command below:
npm run build
Finally, run netlify deploy -d ./build/ and follow the on-screen prompts to deploy the application. You will be provided with a live draft URL where you can test out the application. When you're ready to push to production, add the --prod flag to the previous command.

Final Thoughts
That's it! In the few steps above, we've been able to deploy our Chat application to production using the Heroku and Netlify. Both of them support automated builds when you connect a Github repo and push to a specific branch, so be sure to explore that as well for a more seamless deployment workflow.
Happy hacking!