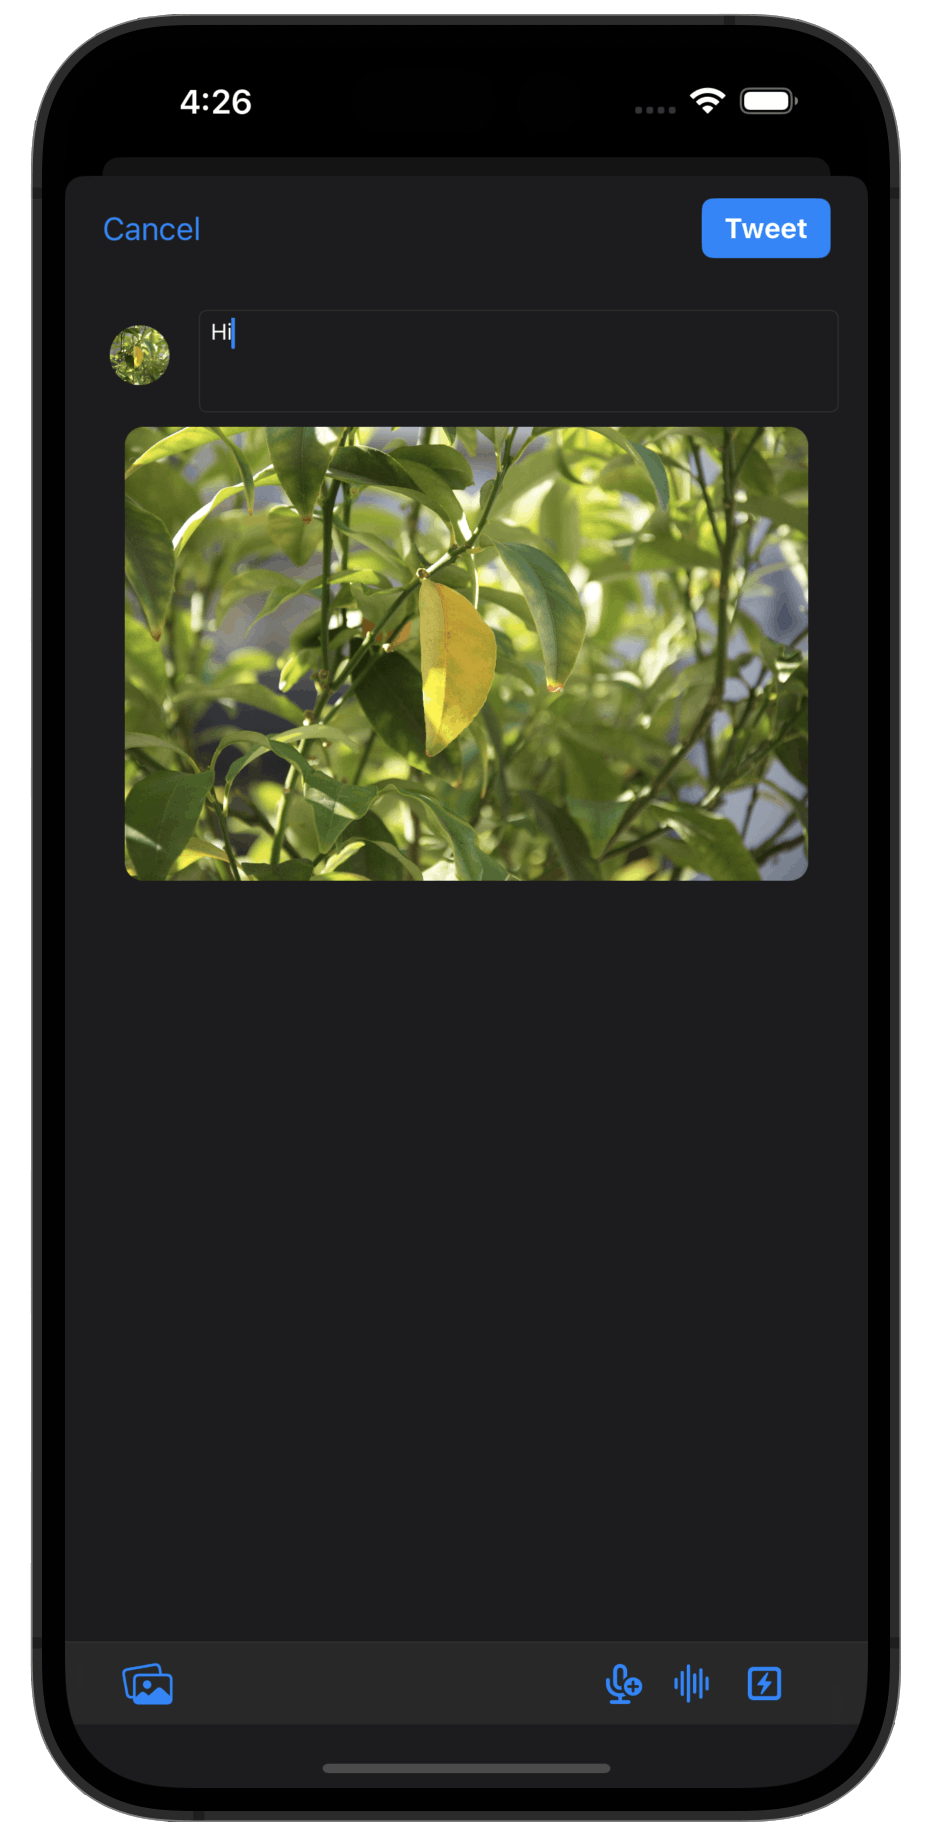
Welcome to the third part of TwitterClone tutorial series. This part focuses on enabling support for media tweets and video playback. In particular, you will learn how to upload images and videos to tweets using the Mux video API. In the previous tutorial, you discovered Adding Stream Feeds to the Timeline
Find the project demo and download the source code from GitHub.
What is Mux?
Mux provides developers with APIs that make it easy to build video into their products, handling everything from encoding, storage, and streaming, to the player experience Using Mux, developers can build live, on-demand, and real-time video experiences, and get important data about video performance. Using Mux, you can get insights into video engagement and track your hosted videos' performance using their data analytics.
Why Mux?
Video is hard to build and even harder to scale and maintain. Mux has everything developers need to quickly launch a product with engaging video experiences. Read more here
- Publish quickly: Videos are encoded while the first viewers watch them, making them available to watch just a few seconds after upload.
- Engage users: Everything you need to build engaging experiences, from GIFs, thumbnails, storyboards, and captions to a beautiful player.
- Get data: Understand user engagement on your videos and improve the Quality of Experience for your viewers.
- Global scale and performance: Whether you're serving a few dozen streams or a few million, Mux manages it so you do not have to.
Create a Mux Account and Get Your Token
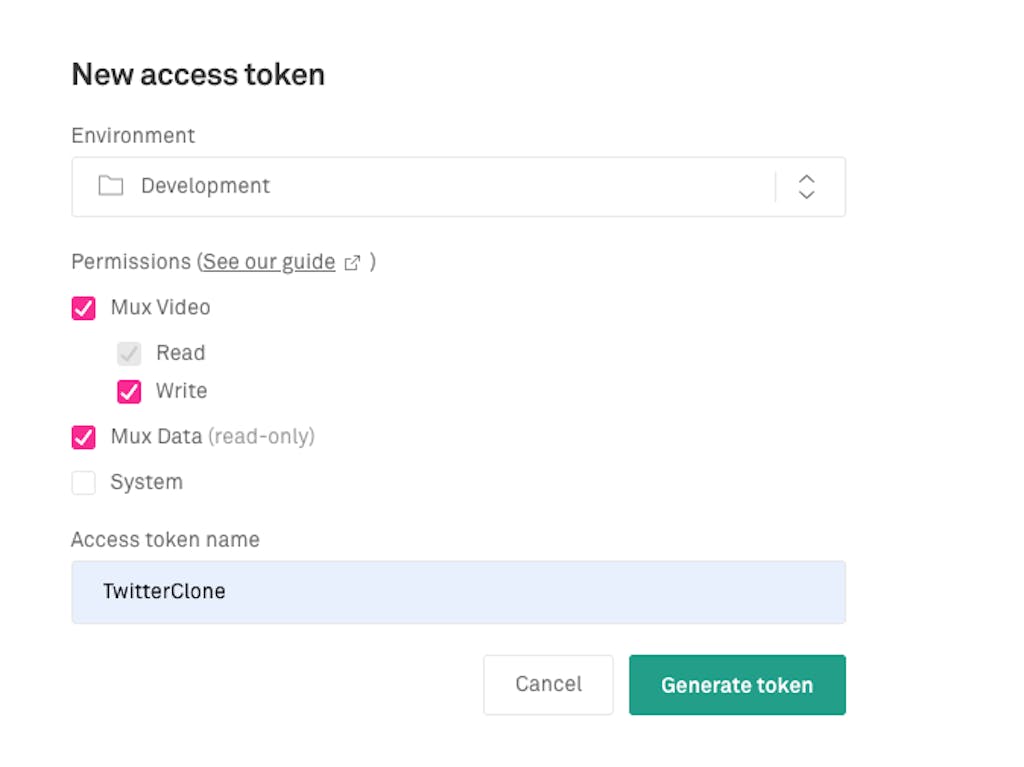
To integrate the Mux API with your app, you should generate an access token id and a secret key from the Mux's dashboard for authentication. You can grab these credentials by generating a new token from the video category on the dashboard. Check their excellent guide and all the steps you need to set up the SDK.

Integrating Mux’s Swift Upload SDK With Our TwitterClone App
The Swift Upload SDK allows developers to send and host video files on Mux's platform via an iOS app. The SDK supports large video file uploads by splitting them into different chunks. To integrate the SDK, we add Mux’s dependency as a Swift Package to our Tuist dependencies.swift file.
            var swiftPackageManagerDependencies = SwiftPackageManagerDependencies(
    [
     …
     .remote(url: "https://github.com/muxinc/swift-upload-sdk", requirement: .upToNextMajor(from: "0.0.0")),
    ],
    productTypes: [
        …
        "MuxUploadSDK": .framework,
    ]
)
We then add the dependency on the Tuist project, in project.swift, to a target.
            let timelineUiTarget =
    Project.makeFrameworkTargets(name: timelineUiName,
                                 platform: .iOS,
                                 dependencies: [
                                    .target(name: authName),
                                    .target(name: feedsName),
                                    .target(name: searchName),
                                    .target(name: profileName),
                                    .target(name: uiName),
                                    .external(name: "MuxUploadSDK")
We now fetch the dependency by running:
tuist fetch
And make sure to generate the Xcode project again by running:
tuist generate
Check the Implementation Details
The following Swift files in the TwitterClone app contain the implementation of the Mux upload SDK. Open TwitterCloneAuth.swift under the folder Auth -> Sources to explore the networking implementation.
            public func muxUploadUrl() async throws -> MuxUploadResponse {

        var muxUploadUrlRequest = URLRequest(url: muxUploadUrl)
        muxUploadUrlRequest.httpMethod = "POST"
        muxUploadUrlRequest.addValue("application/json", forHTTPHeaderField: "Content-Type")

        let (data, response) = try await URLSession.shared.data(for: muxUploadUrlRequest)

        let statusCode = (response as? HTTPURLResponse)?.statusCode
        try TwitterCloneNetworkKit.checkStatusCode(statusCode: statusCode)

        let muxUploadResponse = try TwitterCloneNetworkKit.jsonDecoder.decode(MuxUploadResponse.self, from: data)

        return muxUploadResponse
    }
We wanted to provide the ability to capture the iOS device camera, record video, and upload it to the Mux servers. So, we created an implementation that allows the use of a Mux upload ID to post media assets to Mux and generate an asset ID. You can find the full video capturing and upload implementation on GitHub.
Video capturing
Open AddNewTweetView.swift from the Project Navigator under the folders TimelineUI -> Sources to explore the details of handling the video capturing.
            var tweetMovieAssetId: String?
var tweetMoviePlaybackId: String?

if let muxUploadId = cameraViewModel.muxUploadId {
  do {
    let response = try await auth.muxAssetId(uploadId: muxUploadId)
    tweetMovieAssetId = response.asset_id
    if let tweetMovieAssetId {
      let playbackResponse = try? await auth.muxPlaybackId(assetId: tweetMovieAssetId)
      tweetMoviePlaybackId = playbackResponse?.ids.first?.id
    }
  } catch {
    print(error)
  }
}
Playing back an uploaded asset
If you upload a video asset to Mux, it gets an asset ID. We used the asset ID to fetch a playback URL for the uploaded asset. Check the full implementation in AddNewTweetView.swift.
            func loadMuxAsset() async {
  if let playbackId = item.tweetMoviePlaybackId {
    assetPlaybackUrlString = "https://stream.mux.com/\(playbackId)"
  }
}
Based on the asset ID, you get a playback ID, which creates the playback URL. To playback the video, we appended the playback ID to the playback URL. The result creates an M3U8 media file that allows HTTP Live Streaming (HLS).
Conclusion
This tutorial showed you how we integrated the Mux upload SDK with our TwitterClone project to get an HLS media playback. In the next tutorial series, you will learn about Searching and Following Users using Algolia.