{
  "type": "voiceRecording",
  "title": "audio_recording_2024-09-26T14:41:24.473Z.wav",
  "asset_url": "https://dublin.stream-io-cdn.com/...",
  // This is used to display a visual representation of the voice recording
  "waveform_data": [
    0.03389095297537962,
    0.03389095297537962,
    0.19684165186582253 //...
  ],
  // The duration of the recording in seconds
  "duration": 31.19,
  "file_size": 97964,
  "mime_type": "audio/wav"
}Voice recordings
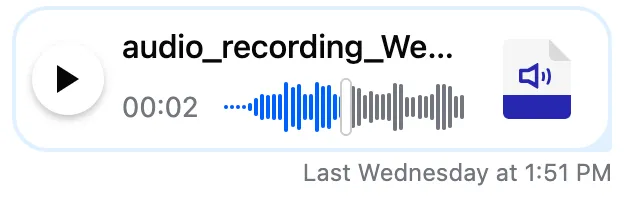
The Stream API allows you to send voice recordings as attachments. This is an example attachment:
Playing voice recordings
The SDK can play these recordings without any additional setup:
If you'd like to use your own UI, you can provide your own template using the custom templates service.
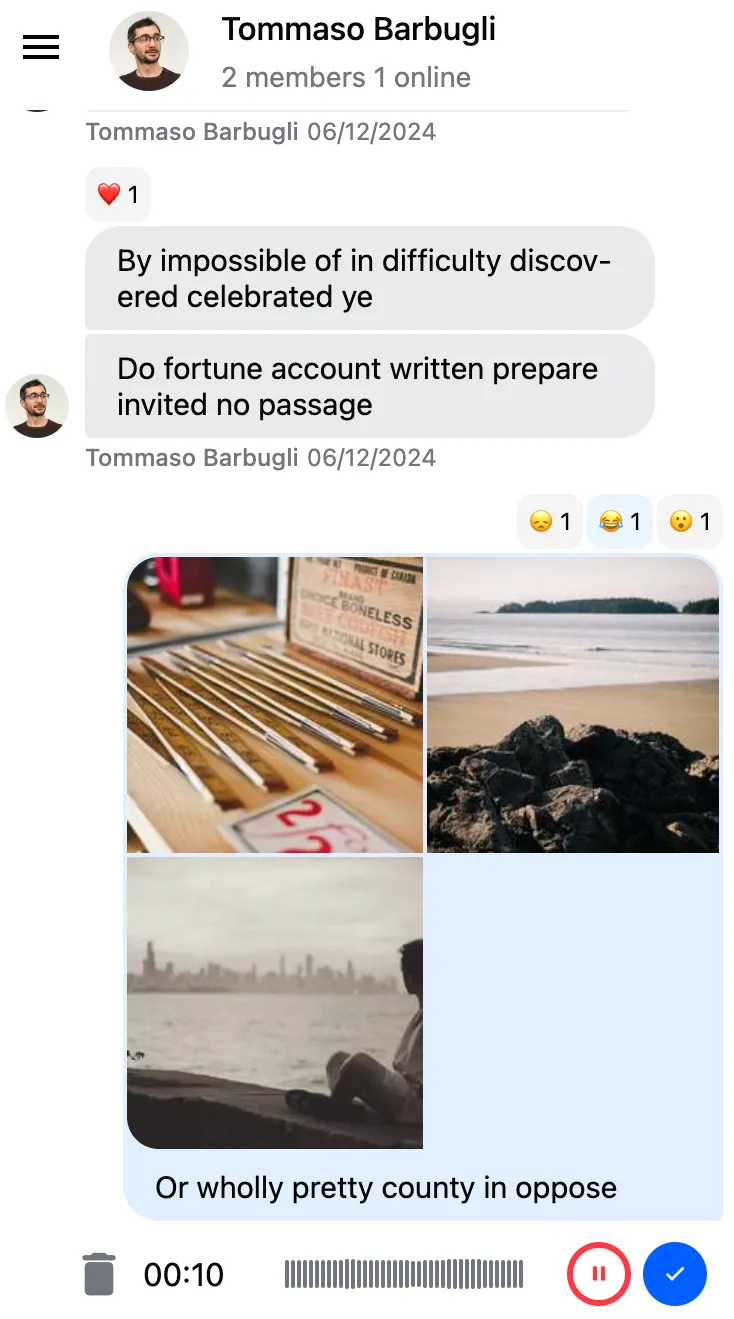
Creating voice recordings
If you want to let users to create voice recordings, you have to configure the SDK with a few easy steps.
Start recording button
The message input component can display the start recording button optionally. This is how you can enable it:
<stream-message-input
  [displayVoiceRecordingButton]="true"
></stream-message-input>
This is how the input looks with the button enabled:

You can also display your own start button. The easiest way is to use the message-input-start or message-input-end attributes, which will insert the element before or after the textarea element:
<stream-message-input #input [displayVoiceRecordingButton]="false">
  <button message-input-start (click)="input.startVoiceRecording()">
    Start recording
  </button>
</stream-message-input>
Import the VoiceRecorderModule
The VoiceRecorderModule contains the voice recorder component and the services needed to make a recording. You have to import it like this:
import { StreamChatModule, VoiceRecorderModule } from "stream-chat-angular";

@NgModule({
  declarations: [AppComponent],
  imports: [
    // other imports...
    StreamChatModule,
    VoiceRecorderModule,
    // ...more imports
  ],
  bootstrap: [AppComponent],
})
export class AppModule {}
Display the voice recorder component
You have to provide the voice recorder template to the message input component. The SDK provides the VoiceRecorderComponent for this:
<stream-message-input [displayVoiceRecordingButton]="true">
  <ng-template voice-recorder let-service="service">
    <stream-voice-recorder
      [voiceRecorderService]="service"
    ></stream-voice-recorder>
  </ng-template>
</stream-message-input>
The message input provides a VoiceRecorderService instance, which is used by the two components to communicate.
If you want to use your own UI, provide your own component here that uses VoiceRecorderService to communicate with the message input component.
Voice recorder component
That's it. We can now start a voice recording:
The recording can be paused and resumed. Once a user is finished recording, they can play it back:

If they are unhappy with the recording, they can discard it. Once the recording is finalized, they can hit the send button.
Sending modes
There are two ways to send voice recordings:
- Once a recording is finalized, you can immediately send a message with the recording; this is the default mode.
- Once a recording is finalized, you can return it to the message composer and continue editing the message.
This is how you can change between the modes:
constructor(private messageInputService: MessageInputConfigService) {
  // Defaults to true
  // Set false if you want to return to the message composer after a recording was added to the message
  this.messageInputService.sendVoiceRecordingImmediately = true;
}
Error states
If an error occurs at any point during the recording, the recording will be stopped, and an error message will be emitted via the NotificationService. The built-in stream-notification-list component will display this error message.
Custom recording title
You can generate the recording title using your own logic using the customGenerateRecordingTitle field of the AudioRecorderService.
constructor(private audioRecorder: AudioRecorderService, private chatService: ChatClientService) {
  this.audioRecorder.customGenerateRecordingTitle = (
    options: MediaRecordingTitleOptions
  ) => {
    const extension = options.mimeType.match(/\/([^/;]+)/)?.[1] || "";
    return `${
      this.chatService.chatClient.user?.name
    }-${new Date().toISOString()}.${extension}`;
  };
}
Custom transcoding
Due to browser restrictions, the SDK records with the following configuration:
- In Safari: recordings are sent in
mp4files - In all other browsers: recordings are created in
webmand then transcoded intowavfiles
The downside of the wav format is that it's uncompressed, which results in a larger file size.
You can provide a custom transcoder to reduce the file size. The following example shows how to transcode to mp3 using the @breezystack/lamejs library.
First, install the library:
npm install @breezystack/lamejsThen register the custom transcoder to the TranscoderService:
import { encodeWebmToMp3, TranscoderService } from "stream-chat-angular";
import * as lamejs from "@breezystack/lamejs";

constructor(private transcoderService: TranscoderService) {
  transcoderService.customTranscoder = (blob: Blob) => {
    if (blob.type.includes('audio/mp4')) {
      return blob;
    } else {
      return encodeWebmToMp3(blob, lamejs);
    }
  };
}On this page: