npm install -g @ionic/cli native-run cordova-resMobile app with Ionic
This guide shows you how to create a Stream chat mobile app with Ionic + Capacitor. The guide is based on the Ionic + Angular tutorial.
You can find the required tools in the Ionic guide.
Install ionic tooling
Create the app
Next, create an Ionic Angular app using the "side menu" template and add Capacitor for native functionality:
ionic start chat-app sidemenu --type=angular --capacitorNext, change into the app folder:
cd chat-appYou can start the app with the following command:
npm startCreate the chat UI
Install the necessary dependencies:
npm install stream-chat-angular stream-chat @ngx-translate/coreAdd this to your tsconfig.json file to the compilerOptions part:
"allowSyntheticDefaultImports": trueImport CSS in your global.scss file:
@import "~stream-chat-angular/src/assets/styles/scss/index.scss";Add the module imports required by stream-chat-angular to the app.module.ts file:
import { NgModule } from "@angular/core";
import { BrowserModule } from "@angular/platform-browser";
import { RouteReuseStrategy } from "@angular/router";

import { IonicModule, IonicRouteStrategy } from "@ionic/angular";

import { AppComponent } from "./app.component";
import { AppRoutingModule } from "./app-routing.module";
import { provideTranslateService } from "@ngx-translate/core";
import {
  StreamAutocompleteTextareaModule,
  StreamChatModule,
} from "stream-chat-angular";

@NgModule({
  declarations: [AppComponent],
  imports: [
    BrowserModule,
    IonicModule.forRoot(),
    AppRoutingModule,
    StreamAutocompleteTextareaModule,
    StreamChatModule,
  ],
  providers: [
    { provide: RouteReuseStrategy, useClass: IonicRouteStrategy },
    provideTranslateService(),
  ],
  bootstrap: [AppComponent],
})
export class AppModule {}
Connect to your Stream chat application by replacing the content of the app.component.ts file (add the necessary credentials to your environment.ts file):
If you don't already have a Stream account you can start your free trial.
import { Component, OnInit } from "@angular/core";
import { environment } from "src/environments/environment";
import {
  ChatClientService,
  ChannelService,
  StreamI18nService,
} from "stream-chat-angular";

@Component({
  selector: "app-root",
  templateUrl: "./app.component.html",
  styleUrls: ["./app.component.scss"],
})
export class AppComponent implements OnInit {
  constructor(
    private chatService: ChatClientService,
    private channelService: ChannelService,
    private streamI18nService: StreamI18nService,
  ) {
    const apiKey = environment.apiKey;
    const userId = environment.userId;
    const userToken = environment.userToken;
    this.chatService.init(apiKey, userId, userToken);
    this.streamI18nService.setTranslation();
  }

  async ngOnInit() {
    this.channelService.init({
      type: "messaging",
      members: { $in: [environment.userId] },
    });
  }
}
Display the channel list in your app.component.html:
<ion-app>
  <ion-split-pane contentId="main-content">
    <ion-menu contentId="main-content" type="overlay">
      <ion-content>
        <ion-menu-toggle auto-hide="false">
          <ion-list>
            <stream-channel-list></stream-channel-list>
          </ion-list>
        </ion-menu-toggle>
      </ion-content>
    </ion-menu>
    <ion-router-outlet id="main-content"></ion-router-outlet>
  </ion-split-pane>
</ion-app>
Extend the folder.module.ts with the necessary module imports:
import { NgModule } from "@angular/core";
import { CommonModule } from "@angular/common";
import { FormsModule } from "@angular/forms";

import { IonicModule } from "@ionic/angular";

import { FolderPageRoutingModule } from "./folder-routing.module";

import { FolderPage } from "./folder.page";
import { StreamChatModule } from "stream-chat-angular";

@NgModule({
  imports: [
    CommonModule,
    FormsModule,
    IonicModule,
    FolderPageRoutingModule,
    StreamChatModule,
  ],
  declarations: [FolderPage],
})
export class FolderPageModule {}
Display the active channel in the folder.page.html:
<ion-content [fullscreen]="true">
<stream-channel>
<stream-channel-header>
<ion-menu-button></ion-menu-button>
</stream-channel-header>
<stream-message-list></stream-message-list>
<stream-notification-list></stream-notification-list>
<stream-message-input></stream-message-input>
<stream-thread name="thread">
<stream-message-list mode="thread"></stream-message-list>
<stream-message-input mode="thread"></stream-message-input>
</stream-thread>
</stream-channel>
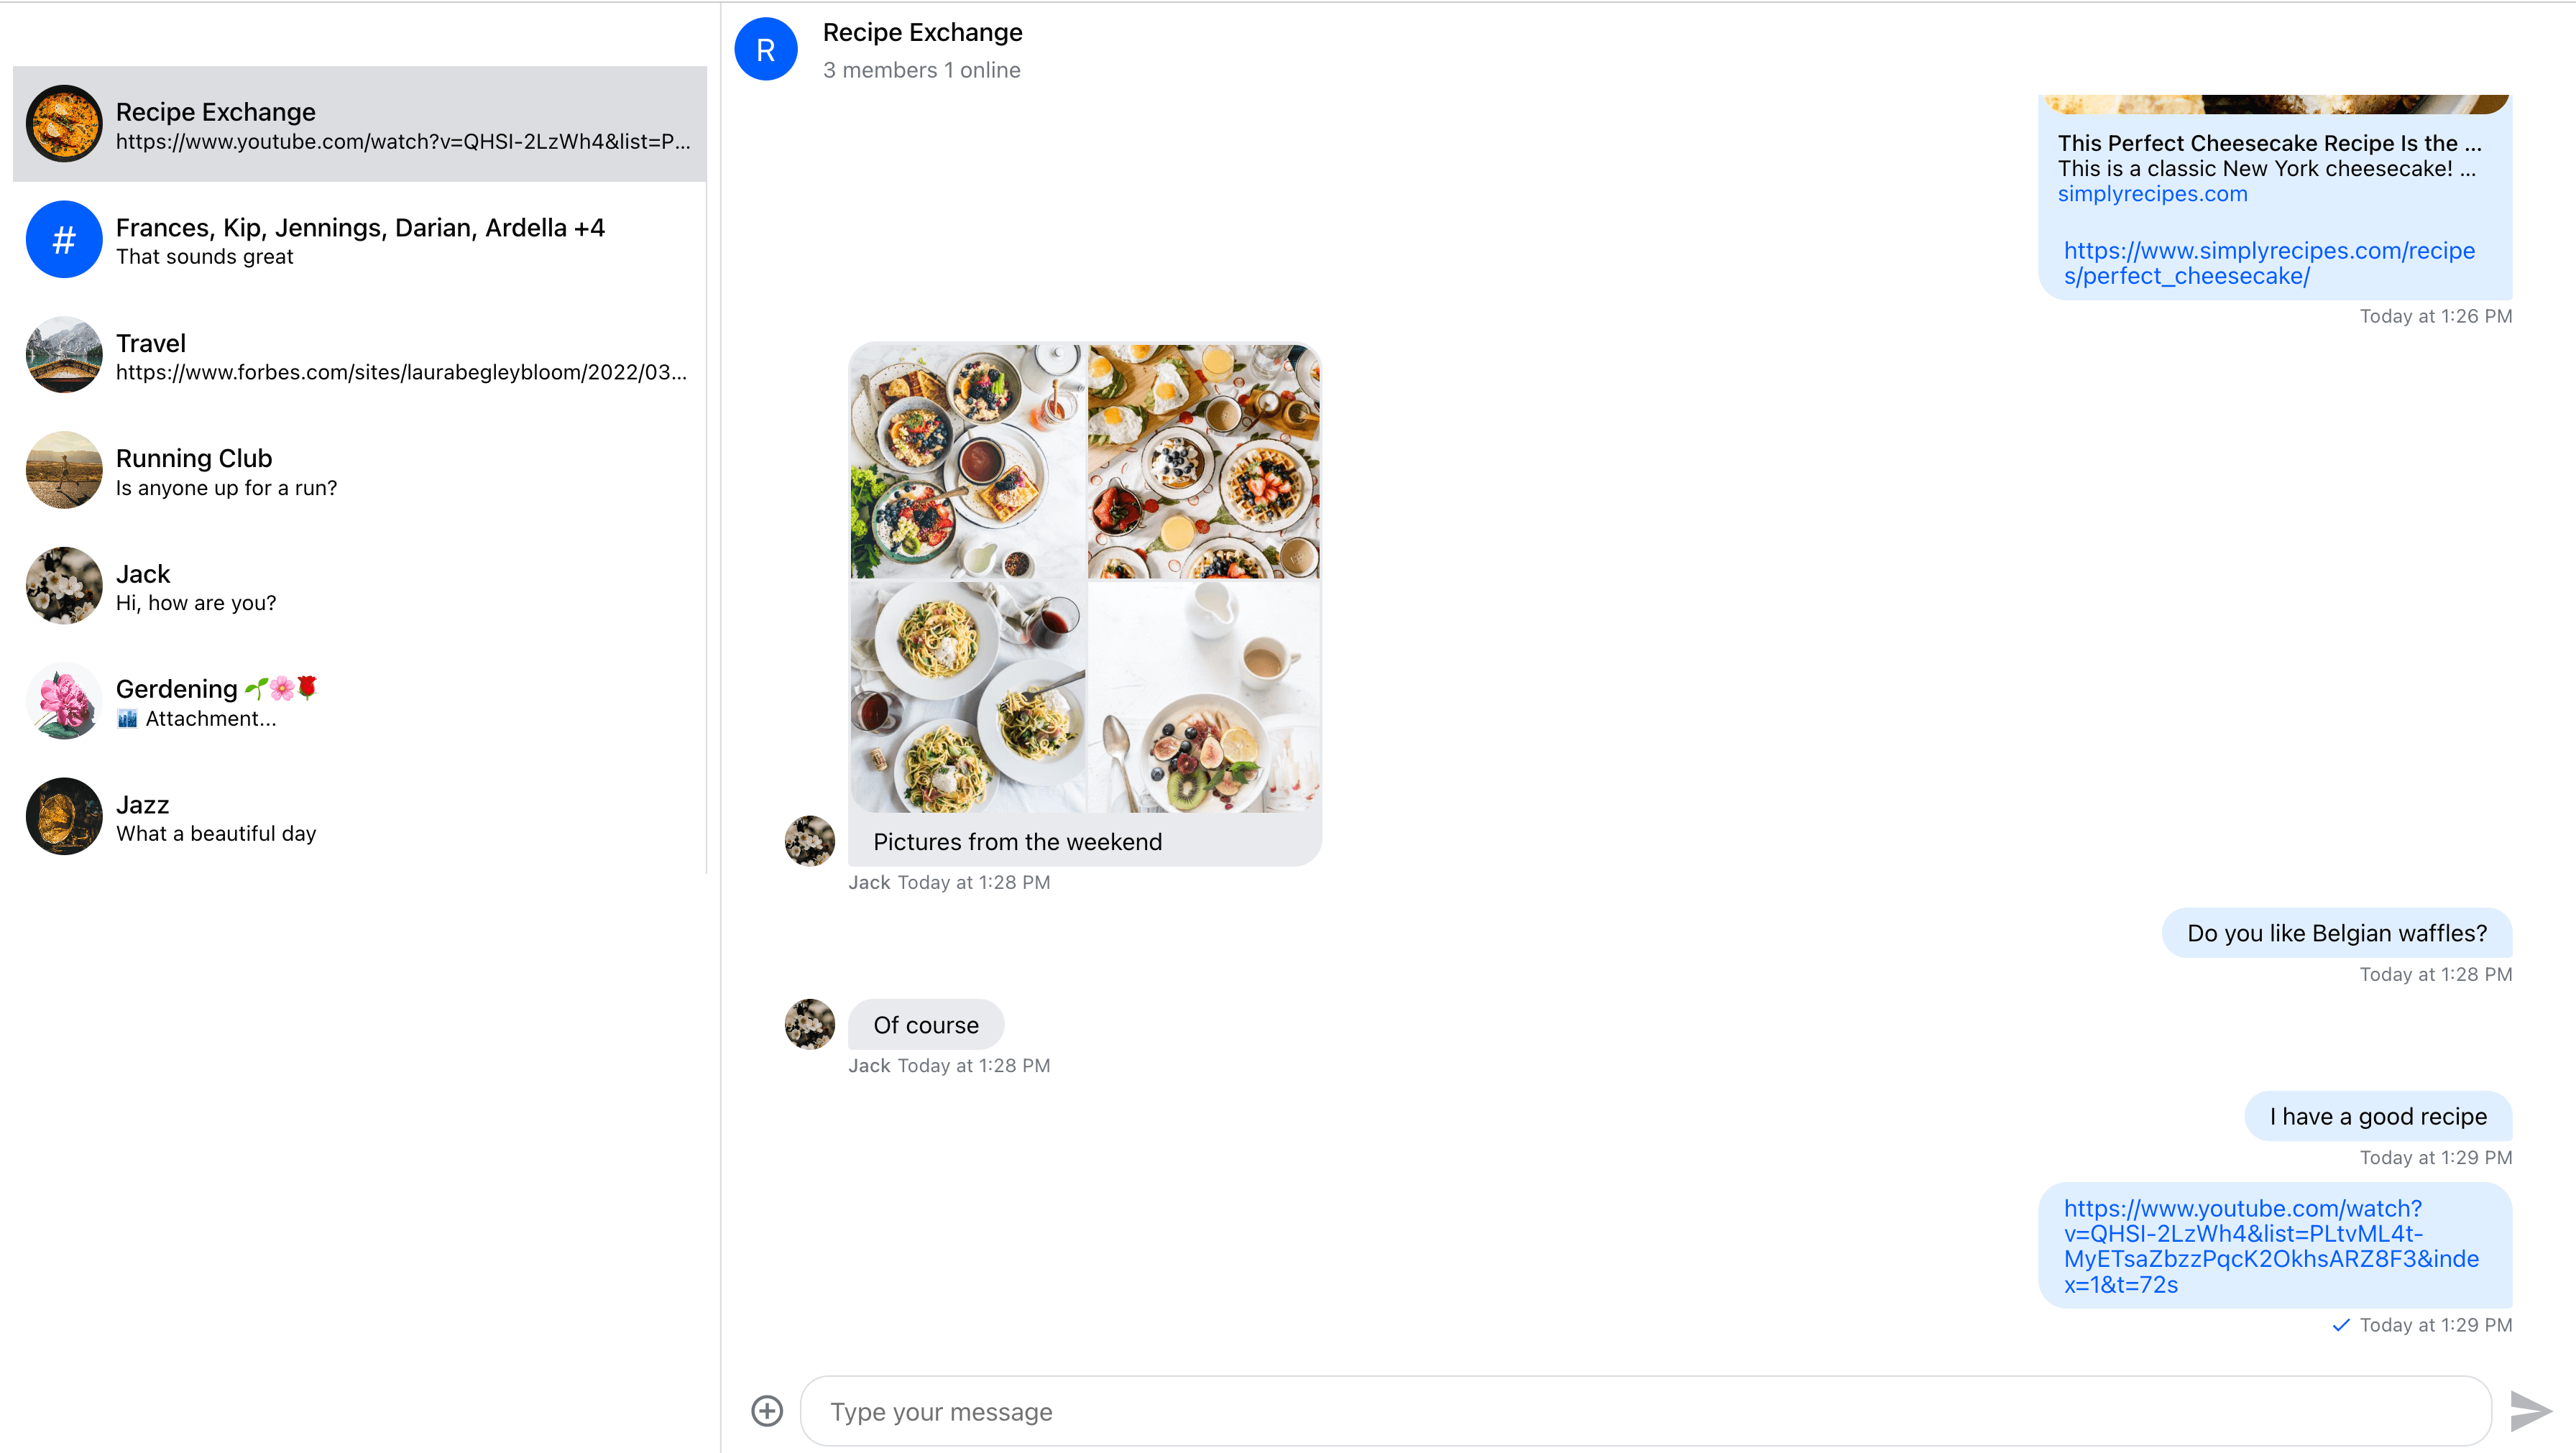
</ion-content>Our chat UI is now ready.
Deploying to iOS and Android
Create a clean build
ionic buildNext, create both the iOS and Android projects:
ionic cap add ios
ionic cap add android
For more information see the Ionic guide
Open the iOS app:
ionic cap open iosThis will open XCode on your machine, you can start the app by clicking the play button on the top toolbar.
Open the Android app:
ionic cap open androidThis will open Android studio on your machine, you can start the app by clicking the play button on the top toolbar.
We've successfully deployed our Stream chat mobile app to iOS and Android.
Push notifications
We have a separate push notification guide to show you how to add push notifications to your mobile apps.