<?xml version="1.0" encoding="utf-8"?>
<merge xmlns:android="http://schemas.android.com/apk/res/android"
    xmlns:app="http://schemas.android.com/apk/res-auto"
    xmlns:tools="http://schemas.android.com/tools"
    tools:parentTag="androidx.constraintlayout.widget.ConstraintLayout">

    <EditText
        android:id="@+id/inputField"
        android:layout_width="0dp"
        android:layout_height="wrap_content"
        app:layout_constraintBottom_toBottomOf="parent"
        app:layout_constraintEnd_toStartOf="@+id/sendButton"
        app:layout_constraintStart_toStartOf="parent"
        app:layout_constraintTop_toTopOf="parent" />

    <Button
        android:id="@+id/sendButton"
        android:layout_width="wrap_content"
        android:layout_height="wrap_content"
        android:text="Send"
        app:layout_constraintEnd_toEndOf="parent"
        app:layout_constraintTop_toTopOf="parent" />

</merge>This is documentation for Stream Chat Android SDK v5, which is no longer actively maintained. For up-to-date documentation, see the latest version (v7).
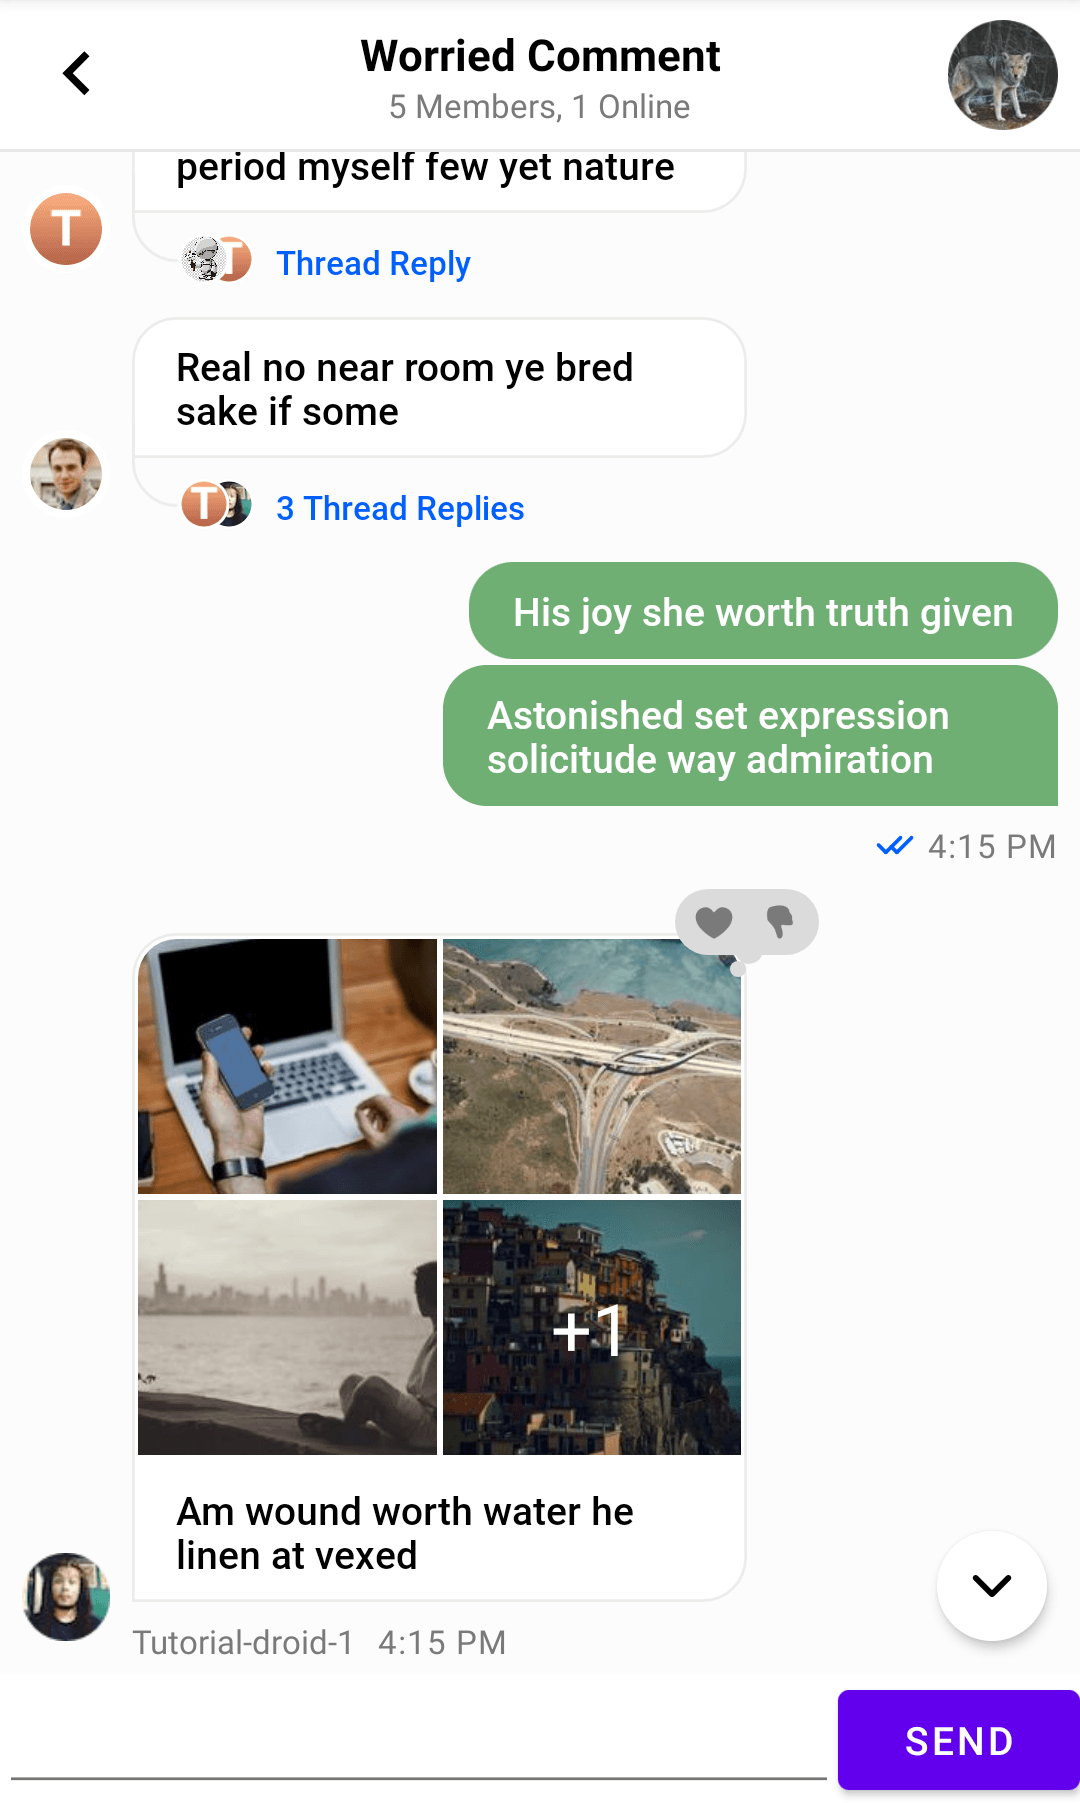
Creating a Custom Message Input View
If the built-in Message Input View and its available customization options don't fit your app's needs, you can create an Input View of your own.
Note that the UI Components Input View supports many advanced features that you'll otherwise have to implement yourself if you want to use them in your app:
- Sending and editing messages
- Handling threads and replies
- Supporting typing indicators
- Browsing for and adding image and file attachments
- Input validation such as a max length
- Commands and mentions
With that, let's see how you can build an Input View from scratch.
This sample is meant to be as simple as possible. You might want to architect your actual custom views in more advanced ways than shown here.
Creating a Layout
For this example, you'll create a custom View that extends ConstraintLayout. It'll inflate the following layout internally, which consists of a simple EditText and a Button.
Create a new class called CustomMessageInput, extending ConstraintLayout and adding the necessary basic View constructors. You can use View Binding to inflate the layout created above and easily access the Views it contains.
class CustomMessageInput : ConstraintLayout {
    constructor(context: Context) : super(context)
    constructor(context: Context, attrs: AttributeSet?) : super(context, attrs)
    constructor(context: Context, attrs: AttributeSet?, defStyleAttr: Int) : super(context, attrs, defStyleAttr)

    val binding = CustomMessageInputBinding.inflate(LayoutInflater.from(context), this)
}
You can add this custom Input View to your layout like so, combining it with other UI Components:
<?xml version="1.0" encoding="utf-8"?>
<androidx.constraintlayout.widget.ConstraintLayout>

    <io.getstream.chat.android.ui.message.list.header.MessageListHeaderView
        android:id="@+id/messageListHeaderView"/>

    <io.getstream.chat.android.ui.message.list.MessageListView
        android:id="@+id/messageListView" />

    <com.example.chattutorial.custominput.CustomMessageInput
        android:id="@+id/messageInputView"
        android:layout_width="0dp"
        android:layout_height="wrap_content"
        app:layout_constraintBottom_toBottomOf="parent"
        app:layout_constraintEnd_toEndOf="parent"
        app:layout_constraintStart_toStartOf="parent" />
</androidx.constraintlayout.widget.ConstraintLayout>
Running the app now shows the new message input view, which you can freely style to fit your app's requirements.
Sending Messages
Time to add basic functionality to the layout.
This requires two new properties in the View. First, it needs the cid of the channel that the message has to be sent to. Secondly, it needs a reference to ChatClient to perform calls via the Stream SDK.
The cid can't be passed in as a constructor parameter, so you'll use a lateinit var for it. Be careful to always set this before attempting to set a message.
lateinit var cid: StringThe ChatClient can always be obtained via the instance() method after it's been initialized in your app:
val chatClient = ChatClient.instance()Finally, you need to set a listener on the Send button to read the current input and send a message. Here's all the new code together:
class CustomMessageInput : ConstraintLayout {
    /* Constructors, binding ... */

    lateinit var cid: String
    val chatClient = ChatClient.instance()

    init {
        binding.sendButton.setOnClickListener {
            // 1
            val text = binding.inputField.text.toString()
            // 2
            val message = Message(cid = cid, text = text)
            // 3
            chatClient.channel(cid).sendMessage(message).enqueue { result ->
                if (result.isSuccess) {
                    // Yay!
                } else {
                    Toast.makeText(context, "Failed to send message", Toast.LENGTH_SHORT).show()
                }
            }
            // 4
            binding.inputField.setText("")
        }
    }
}
Here's what you're doing here, step-by-step:
- Reading the current value from the
inputField. - Creating the
Messageobject to send, passing in thecidof the current channel and thetextthat it should contain. - Using
ChatClientto send a message, with some basic error handling added. Note thatChatClient::channelreturns aChannelClientthat simplifies performing operation in a particular channel. - Clearing the input for the next message.
Finally, don't forget to set the cid after the view is created, like so:
binding.messageInputView.cid = cidSupporting Typing Indicators
Stream uses events for indicating when a user starts or stop typing in a channel. In a custom Input View, you'll have to send these events if you want to support typing indicators in your app.
First, create a Runnable object within the View that will send a the "typing stopped" event when called:
val stopTyping: Runnable = Runnable {
    chatClient.channel(cid).stopTyping(parentId = null).enqueue()
}
Note that enqueue is called without a callback, so you're not checking whether or not the operation succeeded or what its result was. This is simplification as these events are not usually high priority.
The parentId here would be the ID of the parent message in case you're typing in a thread (see below about supporting threading).
Then, inside the init block, add a TextWatcher to the inputField that will detect changes in the text input:
binding.inputField.addTextChangedListener(object : TextWatcher {
    override fun beforeTextChanged(s: CharSequence?, start: Int, count: Int, after: Int) {}
    override fun onTextChanged(s: CharSequence?, start: Int, before: Int, count: Int) {}
    override fun afterTextChanged(s: Editable?) {
        // 1
        if (s.isNullOrEmpty()) {
            post(stopTyping)
            return
        }

        // 2
        chatClient.channel(cid).keystroke(parentId = null).enqueue()

        // 3
        removeCallbacks(stopTyping)
        postDelayed(stopTyping, 5000L)
    }
})
In this snippet, you:
- Check if the input is now empty, in this case you can immediately send a "typing stopped" event.
- Send a keystroke event.
- Remove all pending 'typing stopped events', and schedule a new one to be sent in a couple seconds from now.
You can use more advanced logic for sending these events in your own application, this is a basic example.
Editing Messages
Stream allows users to edit existing messages. By default, this can be triggered from the Message List component, by long tapping a message to access various actions.
To support this, you'll need to store the message being edited and add a new method that lets users set this property:
var messageToEdit: Message? = null

fun editMessage(message: Message) {
    messageToEdit = message
    binding.inputField.setText(message.text)
}
The input field is also updated here to reflect the original text of the message.
You might want to add additional UI and listeners to cancel a pending edit and clear this value. You could also update the text / icon of the Send button when a message is being edited.
Next, the listener of the Send button has to be updated:
binding.sendButton.setOnClickListener {
    val text = binding.inputField.text.toString()

    val toEdit = messageToEdit
    if (toEdit != null) {
        // 1
        val message = toEdit.copy(text = text)
        chatClient.channel(cid).updateMessage(message).enqueue { result ->
            if (result.isError) {
                Toast.makeText(context, "Failed to edit message", Toast.LENGTH_SHORT).show()
            }
        }
    } else {
        // 2
        val message = Message(cid = cid, text = text)
        chatClient.channel(cid).sendMessage(message).enqueue { /* ... */ }
    }

    // 3
    binding.inputField.setText("")
    messageToEdit = null
}- Editing a message is done by copying the original message and updating its text, then using the
updateMessagemethod onChatClient. - Sending a new message is the same as before.
- As a last step, you clear the message under edit.
Finally, connect the Input View to the Message List to trigger edits from the list:
binding.messageListView.setMessageEditHandler(binding.messageInputView::editMessage)Handling Threads
Message List View has built-in support for threads, and your custom Input View can be integrated with threads as well.
For this, you'll need to keep track of an additional value within the view: the current parent message.
var parentMessage: Message? = nullAdd a pair of methods to be able to update the value of this property:
fun setActiveThread(parentMessage: Message) {
    messageToEdit = null
    binding.inputField.setText("")

    this.parentMessage = parentMessage
}

fun resetThread() {
    messageToEdit = null
    binding.inputField.setText("")

    parentMessage = null
}
When entering or exiting a thread, it's a good idea to clear the current input as well as any pending edits.
To send a message to a thread, modify the sending code like so:
val message = Message(cid = cid, text = text)
parentMessage?.let { parent ->
    message.parentId = parent.id
}
chatClient.channel(cid).sendMessage(message).enqueue { /* ... */ }
This sets the parentId value on the newly created message if there is a parent message available.
Another message property related to threading is showInChannel. Setting this to true will show a message sent to a thread in the main channel as well. You can add additional UI to let users choose this option, for example, the UI Components message input implementation shows a checkbox for this.
To connect this with the thread handling of the Message List View, add the following calls in your screen's implementation (this assumes that you're also using the default Message List Header View):
messageListViewModel.mode.observe(this) { mode ->
    when (mode) {
        is Thread -> {
            messageListHeaderViewModel.setActiveThread(mode.parentMessage)
            binding.messageInputView.setActiveThread(mode.parentMessage)
        }
        Normal -> {
            messageListHeaderViewModel.resetThread()
            binding.messageInputView.resetThread()
        }
    }
}
Finally, if you've added typing event support, make sure to update both the keystroke and stopTyping calls to include the parent ID now that threading is supported:
chatClient.channel(cid).keystroke(parentId = parentMessage?.id).enqueue()
chatClient.channel(cid).stopTyping(parentId = parentMessage?.id).enqueue()
Full Source Code
Here's the full source code of a custom message input view that includes all of the features from above:
class CustomMessageInput : ConstraintLayout {

    constructor(context: Context) : super(context)
    constructor(context: Context, attrs: AttributeSet?) : super(context, attrs)
    constructor(context: Context, attrs: AttributeSet?, defStyleAttr: Int) : super(context, attrs, defStyleAttr)

    val binding = CustomMessageInputBinding.inflate(LayoutInflater.from(context), this)
    lateinit var cid: String
    val chatClient = ChatClient.instance()

    val stopTyping: Runnable = Runnable {
        chatClient.channel(cid).stopTyping(cid = cid, parentId = parentMessage?.id).enqueue()
    }

    var messageToEdit: Message? = null
    var parentMessage: Message? = null

    init {
        binding.sendButton.setOnClickListener {
            val text = binding.inputField.text.toString()

            val toEdit = messageToEdit
            if (toEdit != null) {
                val message = toEdit.copy(text = text)
                chatClient.channel(cid).updateMessage(message).enqueue { result ->
                    if (result.isError) {
                        Toast.makeText(context, "Failed to edit message", Toast.LENGTH_SHORT).show()
                    }
                }
            } else {
                val message = Message(cid = cid, text = text)
                parentMessage?.let { parent ->
                    message.parentId = parent.id
                    message.showInChannel
                }
                chatClient.channel(cid).sendMessage(message).enqueue { result ->
                    if (result.isSuccess) {
                        // Yay!
                    } else {
                        Toast.makeText(context, "Failed to send message", Toast.LENGTH_SHORT).show()
                    }
                }
            }

            binding.inputField.setText("")
            messageToEdit = null
        }

        binding.inputField.addTextChangedListener(object : TextWatcher {
            override fun beforeTextChanged(s: CharSequence?, start: Int, count: Int, after: Int) {}
            override fun onTextChanged(s: CharSequence?, start: Int, before: Int, count: Int) {}
            override fun afterTextChanged(s: Editable?) {
                if (s.isNullOrEmpty()) {
                    post(stopTyping)
                    return
                }

                chatClient.channel(cid).keystroke(parentId = parentMessage?.id).enqueue()

                removeCallbacks(stopTyping)
                postDelayed(stopTyping, 5000L)
            }
        })
    }

    fun editMessage(message: Message) {
        messageToEdit = message
        binding.inputField.setText(message.text)
    }

    fun resetThread() {
        messageToEdit = null
        binding.inputField.setText("")

        parentMessage = null
    }

    fun setActiveThread(parentMessage: Message) {
        messageToEdit = null
        binding.inputField.setText("")

        this.parentMessage = parentMessage
    }

}