call.camera.registerFilter((inputStream) => {
  // Set up your processing pipeline
  // Return { output: MediaStream, stop: () => void }
});Video Compositing
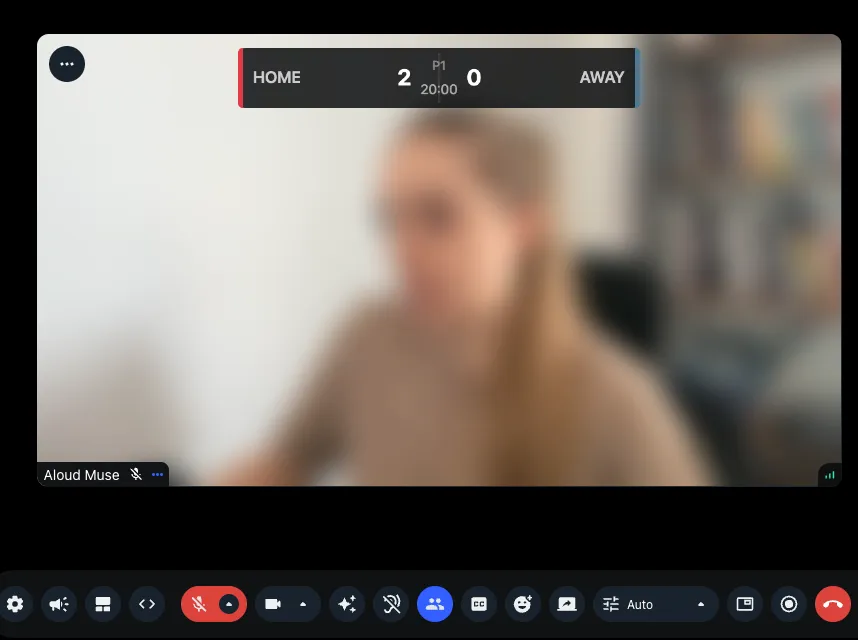
This cookbook shows you how to embed custom visuals directly into the video stream before it is sent over WebRTC. Using
the SDK's registerFilter API, you can intercept every frame from the camera, composite anything onto it (scoreboards,
logos, text, graphics), and publish the result. Because the compositing happens before the track reaches the SFU,
everything you draw is visible to all participants, captured in recordings, and present in livestream outputs.
Use cases include live scoreboards, branded overlays, watermarks, picture-in-picture composites, dynamic data visualizations, and any per-frame visual effect you can draw on a canvas.
How it works
A camera filter receives the raw MediaStream from the camera and returns a new one:
The input stream contains the live camera frames. Your job is to build a pipeline that takes each frame, draws your visuals on top, and outputs the modified frames as a new stream. The SDK publishes this output stream instead of the raw camera feed.
How you build that pipeline is up to you. You could use the
browser's Insertable Streams API,
a <video> element feeding a <canvas> with captureStream(), or any other approach that produces a MediaStream.
The SDK doesn't care about the internals, it only needs the output stream and a stop callback for cleanup.
Using BaseVideoProcessor
If you don't want to build and manage the frame processing pipeline yourself, the SDK provides BaseVideoProcessor in
@stream-io/video-filters-web. It handles the pipeline setup, canvas management, browser fallbacks for environments
without Insertable Streams, abort/error handling, and performance stats. You extend it and implement two methods:
initialize()runs once before processing starts (set up your rendering context, load assets)transform(frame)called for every frame, receives aVideoFrame, returns a new one with your modifications
The base class provides this.canvas, an OffscreenCanvas that automatically resizes to match the incoming video
dimensions.
import { BaseVideoProcessor } from "@stream-io/video-filters-web";

class MyOverlay extends BaseVideoProcessor {
  private ctx!: OffscreenCanvasRenderingContext2D;

  constructor(
    track: MediaStreamVideoTrack,
    private readonly data: { label: string },
  ) {
    super(track);
  }

  protected async initialize() {
    this.ctx = this.canvas.getContext("2d")!;
  }

  protected async transform(frame: VideoFrame): Promise<VideoFrame> {
    const w = frame.displayWidth;
    const h = frame.displayHeight;

    this.ctx.drawImage(frame, 0, 0, w, h);

    this.ctx.fillStyle = "rgba(0,0,0,0.6)";
    this.ctx.fillRect(10, 10, 120, 30);
    this.ctx.fillStyle = "#fff";
    this.ctx.font = "16px sans-serif";
    this.ctx.fillText(this.data.current.label, 18, 30);

    return new VideoFrame(this.canvas, { timestamp: frame.timestamp });
  }

  protected get processorName() {
    return "my-overlay";
  }
}
Register it with the camera:
call.camera.registerFilter((inputStream) => {
  const [videoTrack] = inputStream.getVideoTracks();
  if (!videoTrack) return { output: inputStream };

  const processor = new MyOverlay(videoTrack, data);

  return {
    output: processor.start().then((track) => new MediaStream([track])),
    stop: () => processor.stop(),
  };
});
Rendering and performance
In initialize() you pick a rendering context for this.canvas. The choice affects how you draw but not the output
format. Both produce a new VideoFrame(this.canvas, { timestamp }) at the end of transform.
Canvas 2D (getContext('2d')) is the simplest option. Text, shapes, images, and basic compositing are
straightforward with the standard 2D API. For most overlays this is all you need.
WebGL2 (getContext('webgl2')) moves the per-frame compositing to the GPU. This matters at higher resolutions (
1080p+) or when combining multiple layers. With Canvas 2D, ctx.drawImage(frame) copies the full frame through the CPU
on every frame. With WebGL2, the video frame is uploaded as a texture and stays on the GPU throughout.
A practical middle ground is to combine both: use Canvas 2D to render the overlay (where text and shapes are easy) to a
small separate OffscreenCanvas, then use WebGL2 only for the per-frame blend. The overlay texture is uploaded to the
GPU only when the data changes. Per frame, you upload the video frame as a second texture and blend them in a single
draw call.