final url = call.state.value.egress.hlsPlaylistUrl;Watching a Livestream
This guide demonstrates how to build advanced UIs for watching livestreams in your Flutter applications using Stream's Video SDK.
This cookbook assumes you already know how to join a livestream call.
If you haven't completed the Livestream Tutorial yet, we recommend doing so before proceeding.
If you're building apps that broadcast livestreams from mobile devices, check out our Mobile Livestreaming Broadcasting Guide for essential performance optimization strategies and mobile-specific best practices.
Overview
Stream's Video SDK supports two methods for watching livestreams:
- HLS (HTTP Live Streaming) - enables reliable large-scale broadcasting with broad device compatibility and adaptive quality. While it has higher latency (5-30 seconds), it excels at reaching large audiences with stable playback
- WebRTC - provides ultra-low latency streaming (sub-second) - perfect for interactive experiences like live auctions or Q&As where real-time engagement is critical
HLS Streaming
We can then obtain the HLS URL by querying the hlsPlaylistURL from call.state:
To view HLS streaming with quality selection and playback controls, we recommend using the lecle_yoyo_player package.
WebRTC Streaming
For WebRTC livestreams, you can either:
- Use our pre-built
LivestreamPlayercomponent - Create your own custom implementation
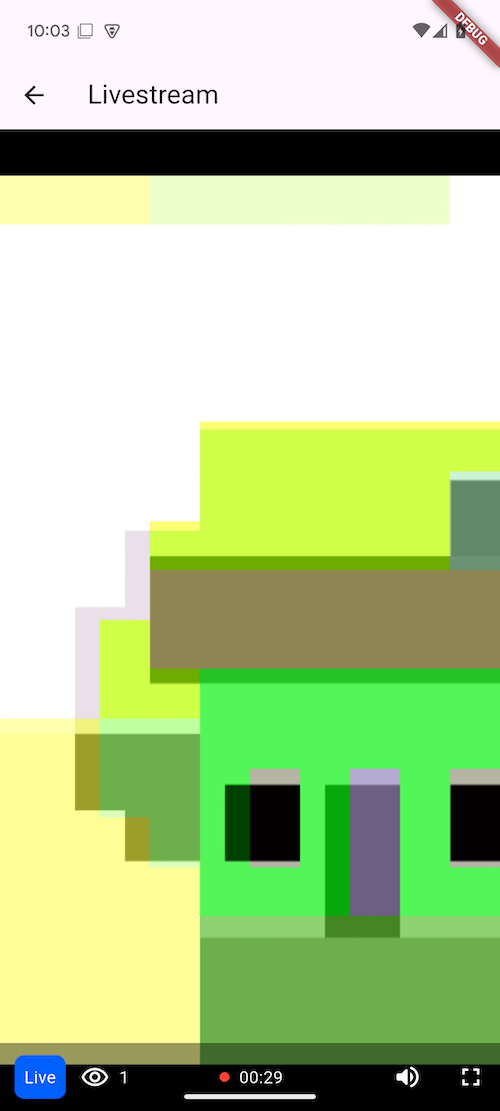
Using the LivestreamPlayer
Our LivestreamPlayer widget provides a complete livestreaming experience with these built-in features:
- Live indicator showing when the stream is active
- Real-time livestream duration display
- Viewer/participant counter
- Full-screen mode toggle
- Multiple hosts support with configurable layouts
- Screen sharing with spotlight or grid mode
- Handling various livestream states (backstage, ended, not connected, reconnecting)
- Recordings list displayed when the livestream has ended
- Picture-in-picture support
Basic Implementation
To use the LivestreamPlayer, simply provide a Call instance:
LivestreamPlayer(call: call);Join Behaviour
The LivestreamPlayer supports three join behaviours via the joinBehaviour property:
| Value | Description |
|---|---|
autoJoinAsap | Automatically joins the livestream as soon as possible — backstage or live, depending on permissions. This is the default. |
autoJoinWhenLive | Automatically joins the livestream only when it goes live. |
manualJoin | Does not automatically join. You control when to call join() on the Call object. |
Customization Options
The LivestreamPlayer supports extensive customization:
| Property | Description | Default |
|---|---|---|
joinBehaviour | Defines the behavior for automatically joining the livestream. | autoJoinAsap |
connectOptions | Call options used when joining the livestream. | Microphone and camera disabled |
showParticipantCount | Controls visibility of participant count. | true |
showRecordingsWhenEnded | Controls whether recordings are displayed when the livestream has ended. | true |
startInFullscreenMode | Whether the livestream should start in fullscreen (cover) mode. | false |
videoFit | Controls whether the video fits within bounds (contain) or fills the space (cover). | VideoFit.contain |
showMultipleHosts | Enables displaying multiple host video tracks simultaneously. | false |
layoutMode | Layout mode for multiple hosts: grid, spotlight, or pictureInPicture. | ParticipantLayoutMode.grid |
screenShareMode | How screen shares are displayed: spotlight (separate view) or grid (replaces host video). | LivestreamScreenShareMode.spotlight |
allowDiagnostics | Enables double-tap to toggle call diagnostics overlay. | false |
backButtonBuilder | Custom builder for the back button. | None |
livestreamEndedWidgetBuilder | Custom builder for when the livestream has ended. | Default ended view with recordings |
livestreamBackstageWidgetBuilder | Custom builder for backstage mode view. | Default backstage view |
livestreamControlsWidgetBuilder | Custom builder for livestream controls overlay. | Default controls with live info bar |
videoPlaceholderBuilder | Custom builder for the video placeholder when video is unavailable. | StreamUserAvatar |
videoRendererBuilder | Custom builder for the video renderer. | Default renderer |
livestreamHostsUnavailableBuilder | Custom builder shown when connected but no hosts have video enabled. | Default "hosts unavailable" view |
livestreamNotConnectedBuilder | Custom builder shown when the livestream is not connected. Receives migration and reconnection state. | Default "not connected" view |
livestreamFastReconnectingOverlayBuilder | Custom overlay builder shown during fast reconnection. | None |
livestreamHostsParticipantBuilder | Custom builder for the hosts video display area. | Default hosts view |
livestreamHostsParticipantsFilter | Function to select which participants are treated as hosts. | Participants with video enabled |
onCallDisconnected | Callback when the call disconnects. Receives CallDisconnectedProperties with the disconnect reason. | Leaves call and pops route |
onRecordingTapped | Callback when a recording is tapped in the ended view. | None |
onFullscreenTapped | Callback when the fullscreen button is tapped. | Toggles VideoFit between cover and contain |
pictureInPictureConfiguration | Configuration for picture-in-picture mode. | Default PictureInPictureConfiguration |
Minimal Player Example
To create a minimal player without the default controls panel:
LivestreamPlayer(
  call: call,
  startInFullscreenMode: true,
  livestreamControlsWidgetBuilder: (context, call) => const SizedBox.shrink(),
)
This configuration preserves the built-in handling of backstage mode and ended states, while hiding the default controls panel. This gives you complete flexibility to build custom controls and overlays on top of the video player.
Multiple Hosts
To display multiple hosts in a grid layout:
LivestreamPlayer(
  call: call,
  showMultipleHosts: true,
  layoutMode: ParticipantLayoutMode.grid,
);
When showMultipleHosts is false (the default), only the first streaming participant is shown.
You can also provide a custom filter to select which participants are treated as hosts:
LivestreamPlayer(
  call: call,
  showMultipleHosts: true,
  livestreamHostsParticipantsFilter: (participants) {
    return participants.where((p) => p.roles.contains('host')).toList();
  },
);
Screen Sharing
The LivestreamPlayer supports screen sharing with two display modes:
LivestreamScreenShareMode.spotlight(default) — the screen share is displayed as a separate spotlight viewLivestreamScreenShareMode.grid— the screen share replaces the host's video in the grid layout
LivestreamPlayer(
  call: call,
  showMultipleHosts: true,
  screenShareMode: LivestreamScreenShareMode.spotlight,
);
Handling Livestream States
The LivestreamPlayer handles several connection and lifecycle states. You can customize the UI for each:
LivestreamPlayer(
  call: call,
  livestreamBackstageWidgetBuilder: (context, call) {
    return const Center(child: Text('The host is preparing. Stay tuned!'));
  },
  livestreamEndedWidgetBuilder: (context, call) {
    return const Center(child: Text('This livestream has ended.'));
  },
  livestreamNotConnectedBuilder: (context, properties) {
    if (properties.isReconnecting) {
      return const Center(child: Text('Reconnecting...'));
    }
    return const Center(child: CircularProgressIndicator());
  },
  livestreamHostsUnavailableBuilder: (context, properties) {
    return const Center(child: Text('Waiting for a host to start streaming...'));
  },
);
Building a Custom Livestream Player
You can create your own livestream player component for complete control. Use PartialCallStateBuilder for efficient state-driven UI that only rebuilds when the specific state you observe changes:
@override
Widget build(BuildContext context) {
  return SafeArea(
    child: PartialCallStateBuilder(
      call: _call,
      selector: (state) => (
        isBackstage: state.isBackstage,
        hasEnded: state.endedAt != null,
      ),
      builder: (context, data) {
        if (data.hasEnded) {
          return const Center(child: Text('Livestream has ended'));
        }

        if (data.isBackstage) {
          return const Center(
            child: Text('Host is backstage. Stream will begin soon.'),
          );
        }

        return _buildLivestreamContent(context);
      },
    ),
  );
}
Accessing Livestream Tracks
To render the actual livestream video, you need to have access to the livestream track (or tracks).
If there is only one video track (you only have one person livestreaming), you can get it with the following code:
final streamingParticipant =
          callState.callParticipants.firstWhere((e) => e.isVideoEnabled);
If you have multiple hosts that are livestreaming, and you want to show them all, you can fetch the hosts by role:
final streamingParticipants = callState.callParticipants
    .where((p) => p.roles.contains('host'))
    .toList();
To render the video track you can use our StreamCallParticipant widget:
StreamCallParticipant(
  key: ValueKey(participant.uniqueParticipantKey),
  call: call,
  participant: streamingParticipant,
  showConnectionQualityIndicator: false,
  showParticipantLabel: false,
  showSpeakerBorder: false,
)
Additional Resources
For more Video SDK examples, check out our Flutter Cookbook samples on GitHub.
On this page: