Adding Ringing and CallKit
Adding Ringing And CallKit To Your Application
Introduction
This guide details how to add an end-to-end call flow (ringing) to your Flutter application.
Ringing is done through a custom interface for Android and CallKit for iOS. An end-to-end call flow allows you to add an immersive calling experience to your application.
Ringing requires push/VoIP notifications to be sent to your device. Stream Video sends push/VoIP notifications to members that have at least one registered device.
To receive push notifications from Stream Video, you'll need to:
- Configure your push notification provider on the Stream Dashboard.
- Add the client-side integration. For Flutter this guide demonstrates using Firebase Cloud Messaging (FCM) for Android and Apple Push Notification Service (APNs) for iOS devices.
To get the best experience we strongly suggest using APNs for iOS. While our goal is to ensure compatibility with both providers on iOS, Firebase is not yet fully supported.
Integrating Firebase for Android
Step 1 - Get the Firebase Credentials
These credentials are the private key file for your service account, in Firebase console.
To generate a private key file for your service account in the Firebase console:
Open Settings > Service Accounts.
Click Generate New Private Key, then confirm by clicking Generate Key.
Securely store the JSON file containing the key.
This JSON file contains the credentials that need to be uploaded to Stream’s server, as explained in the next step.
Step 2 - Upload the Firebase Credentials to Stream
You now need to upload your Firebase credentials using the Stream dashboard.
Go to the dashboard of your video project at the Stream website.
Open the Push Notifications tab under Video & Audio.
Select New Configuration and select Firebase.
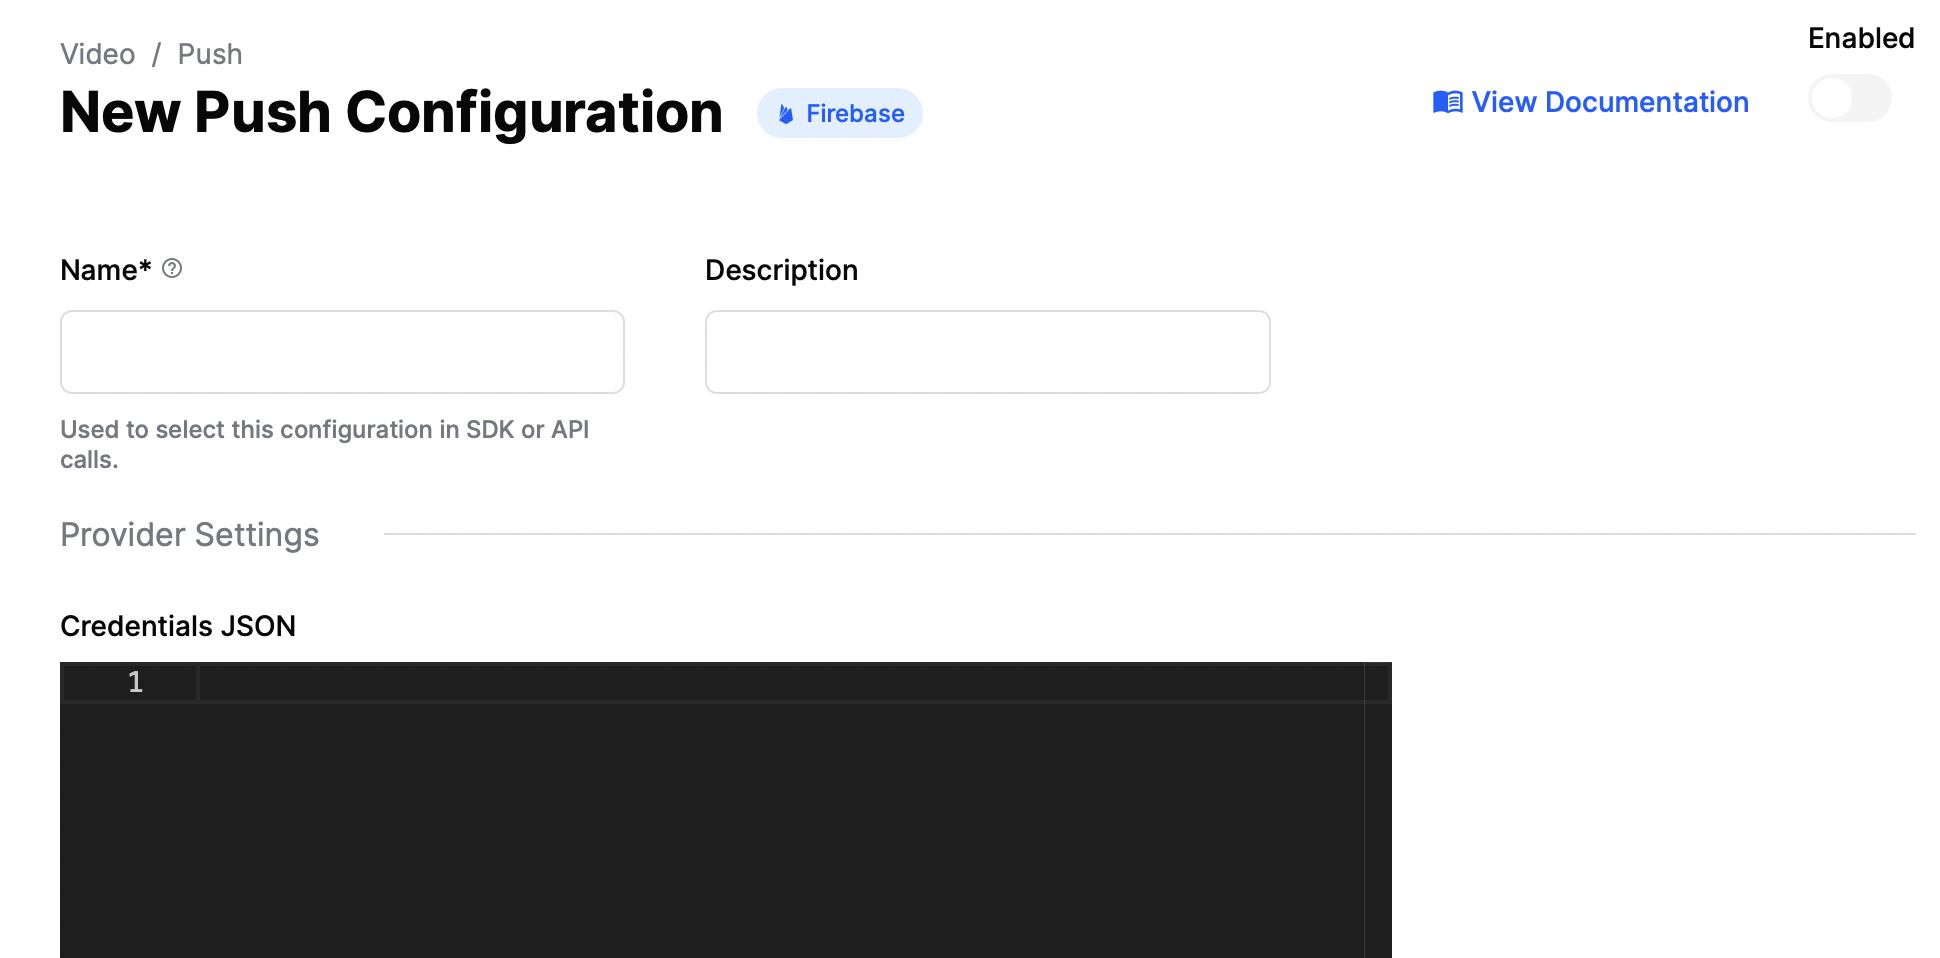
Add a name for your push provider in the Name field. You will use this name later in the code to identify which provider to use for Android notifications.
Add your previously generated Firebase Credentials in the Credentials JSON field.
Enable this provider using toggle button.
Click Create and your push provider should be ready.
Step 3 - Add dependencies to your app
To integrate push notifications in your Flutter app, you need to use the firebase_messaging package.
Follow the Flutter Firebase documentation to set up the plugin for Android and iOS. Make sure you complete additional setup described here and here.
Once that's done, FCM should be able to send push notifications to your devices.
Step 4 - Add native permissions
Add these permissions to AndroidManifest.xml in order to support video calling:
<uses-feature android:name="android.hardware.camera"/>
<uses-feature android:name="android.hardware.camera.autofocus"/>
<uses-permission android:name="android.permission.INTERNET"/>
<uses-permission android:name="android.permission.CAMERA"/>
<uses-permission android:name="android.permission.RECORD_AUDIO"/>
<uses-permission android:name="android.permission.ACCESS_NETWORK_STATE"/>
<uses-permission android:name="android.permission.CHANGE_NETWORK_STATE"/>
<uses-permission android:name="android.permission.MODIFY_AUDIO_SETTINGS"/>
<uses-permission android:name="android.permission.BLUETOOTH" android:maxSdkVersion="30"/>
<uses-permission android:name="android.permission.BLUETOOTH_ADMIN" android:maxSdkVersion="30"/>
<uses-permission android:name="android.permission.BLUETOOTH_CONNECT"/>
<uses-permission android:name="android.permission.POST_NOTIFICATIONS"/>
Step 5 - Add code to listen to push notifications
We recommend storing user credentials locally when the user logs in so you can log the user in when a push notification is received.
Add the following code in your
main.dartas global functions to listen to background notifications:Replace
yourUserCredentialsGetMethod()with your implementation to get logged in user credentialsFor
androidPushProvideruse the provider name created in Step 2For
iosPushProvideruse the provider name we will create later in APN integrationAdd app icon Asset in Xcode for displaying in CallKit screen dedicated button (named
IconMaskin the code below). See details here
// As this runs in a separate isolate, we need to setup the app again.
@pragma('vm:entry-point')
Future<void> _firebaseMessagingBackgroundHandler(RemoteMessage message) async {

  // Initialise Firebase
  await Firebase.initializeApp(options: DefaultFirebaseOptions.currentPlatform);

  try {
    // Get stored user credentials
    var credentials = yourUserCredentialsGetMethod();
    if (credentials == null) return;

    // Initialise StreamVideo
    StreamVideo(
      // ...
      // Make sure you initialise push notification manager
      pushNotificationManagerProvider: StreamVideoPushNotificationManager.create(
        iosPushProvider: const StreamVideoPushProvider.apn(
          name: 'your-ios-provider-name',
        ),
        androidPushProvider: const StreamVideoPushProvider.firebase(
          name: 'your-fcm-provider',
        ),
        pushParams: const StreamVideoPushParams(
          appName: kAppName,
          ios: IOSParams(iconName: 'IconMask'),
        ),
      ),
    );

    // Pass it along to the handler
    await _handleRemoteMessage(message);
  } catch (e, stk) {
    debugPrint('Error handling remote message: $e');
    debugPrint(stk.toString());
  }

  StreamVideo.reset();
}

Future<void> _handleRemoteMessage(RemoteMessage message) async {
  await StreamVideo.instance.handleVoipPushNotification(message.data);
}
In a high-level widget in your app, add this code to listen to FCM messages:
@override
void initState() {
  ...
  _observeFcmMessages()
}

_observeFcmMessages() {
  FirebaseMessaging.onBackgroundMessage(_firebaseMessagingBackgroundHandler);
  _fcmSubscription = FirebaseMessaging.onMessage.listen(_handleRemoteMessage);
}
The code until this point handles calls for the background and foreground state of the app. To handle calls from a terminated state, we need to add some additional code.
In a high-level widget, add this method and call it from the initState() method:
Add navigator key to MaterialApp widget: navigatorKey: _navigatorKey.
final _navigatorKey = GlobalKey<NavigatorState>();

@override
void initState() {
  //...
  _tryConsumingIncomingCallFromTerminatedState();
}

void _tryConsumingIncomingCallFromTerminatedState() {
  if (_navigatorKey.currentContext == null) {
    // App is not running yet. Postpone consuming after app is in the foreground
    WidgetsBinding.instance.addPostFrameCallback((timeStamp) {
      _consumeIncomingCall();
    });
  } else {
    // no-op. If the app is already running we'll handle it via events
  }
}

Future<void> _consumeIncomingCall() async {
  final calls = await StreamVideo.instance.pushNotificationManager?.activeCalls();
  if (calls == null || calls.isEmpty) return;

  final callResult = await StreamVideo.instance.consumeIncomingCall(
    uuid: calls.first.uuid!,
    cid: calls.first.callCid!,
  );

  callResult.fold(success: (result) async {
      final call = result.data;
      await call.accept();

      //Navigate to call screen <---- IMPLEMENT NAVIGATION HERE
    }, failure: (error) {
      debugPrint('Error consuming incoming call: $error');
    });
}
Step 6 - Request notification permission from user
For Android 13+ you need to request the POST_NOTIFICATIONS permission. You can do it using the permission_handler package.
Remember to follow official best practices (especially showing prompt before the request).
Integrating APNs for iOS
Step 1 - Get the iOS certificate for push notifications
Generate push notification service key here. Make sure you select Apple Push Notifications service SSL (Sandbox & Production).
You will need to create Certificate Signing Request - follow this steps
Convert the aps.cer file you created in the last step to a .p12 certificate file using keychain access. Make sure that you configure no password for the p12 file.
Add app.cer to login keychain
Find it in Certificate tab, right click and export as .p12 file
Remember not to set any password while exporting
Step 2 - Upload the certificate and create a push provider
Go to the dashboard of your video project at the Stream website.
Open the Push Notifications tab under Video & Audio.
Select New Configuration and select APN.
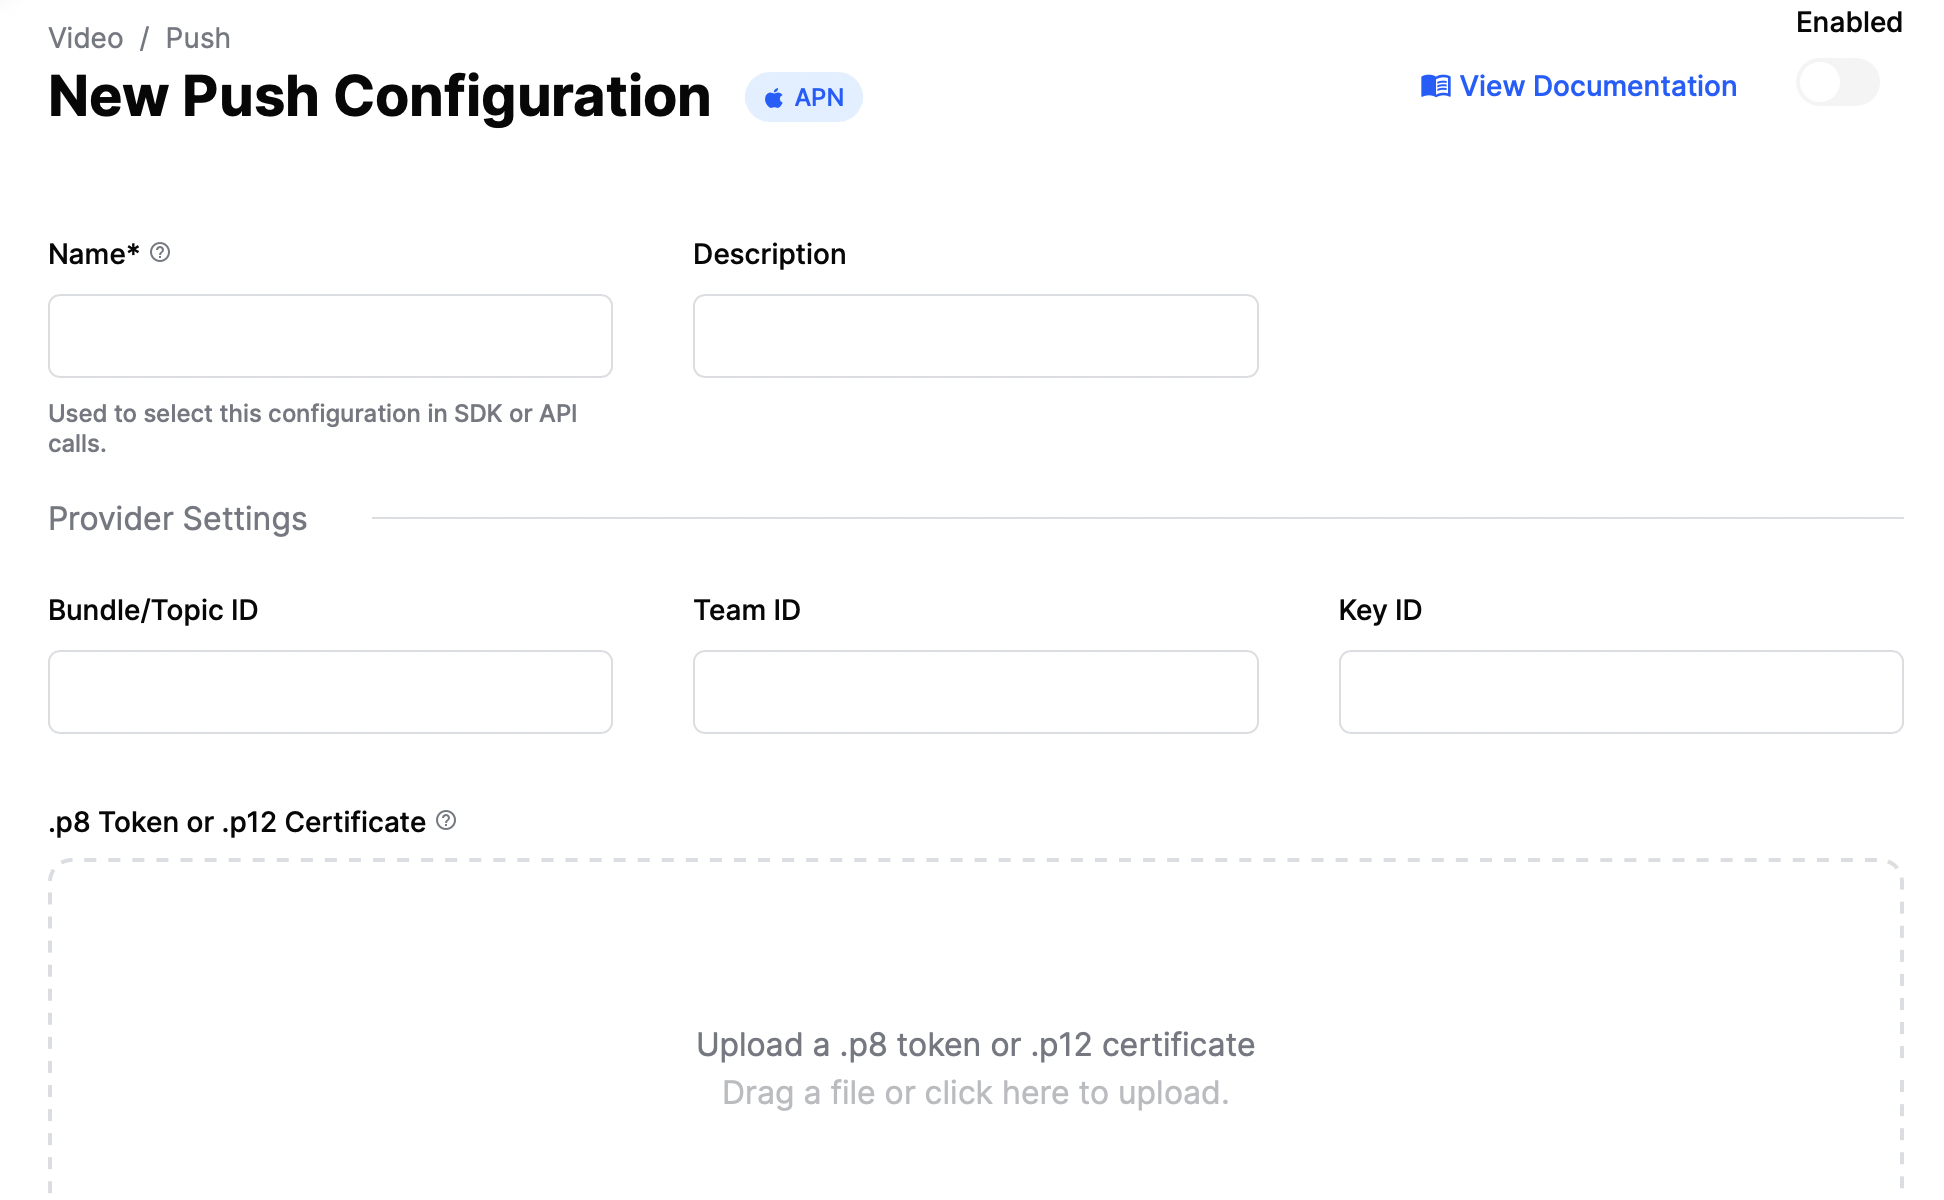
Add a name for your push provider in the Name field. This is the name used while setting up iOS push notifications in the code we did earlier
Add your previously generated P12 file with your additional Apple information.
Enable this provider using toggle button
Click Create and your push provider should be ready.
Step 3 - Add dependencies
There are no dependencies on the Flutter side that you need to add specifically for iOS.
Step 4 - Add native permissions
Add these permissions to Info.plist in order to support video calling:
<key>NSCameraUsageDescription</key>
<string>$(PRODUCT_NAME) Camera Usage!</string>
<key>NSMicrophoneUsageDescription</key>
<string>$(PRODUCT_NAME) Microphone Usage!</string>
<key>UIApplicationSupportsIndirectInputEvents</key>
<true/>
<key>BGTaskSchedulerPermittedIdentifiers</key>
<array>
     <string>$(PRODUCT_BUNDLE_IDENTIFIER)</string>
</array>
<key>UIBackgroundModes</key>
<array>
    <string>audio</string>
    <string>fetch</string>
    <string>processing</string>
    <string>remote-notification</string>
    <string>voip</string>
</array>
Step 5 - Add code to handle CallKit events
In a high-level widget in your app, add this code to listen to CallKit events:
final _callKitEventSubscriptions = Subscriptions();

@override
void initState() {
  ...
  _observeCallKitEvents()
}

void _observeCallKitEvents() {
  final streamVideo = StreamVideo.instance;
  _callKitEventSubscriptions.addAll([
    streamVideo.onCallKitEvent<ActionCallAccept>(_onCallAccept),
    streamVideo.onCallKitEvent<ActionCallDecline>(_onCallDecline),
    streamVideo.onCallKitEvent<ActionCallEnded>(_onCallEnded),
    // You can add additional events if you need to handle them
    // As an example, handling mute events from CallKit
  ]);
}

void _onCallAccept(ActionCallAccept event) async {
  final streamVideo = StreamVideo.instance;

  final uuid = event.data.uuid;
  final cid = event.data.callCid;
  if (uuid == null || cid == null) return;

  final call = await streamVideo.consumeIncomingCall(uuid: uuid, cid: cid);
  final callToJoin = call.getDataOrNull();
  if (callToJoin == null) return;

  var acceptResult = await callToJoin.accept();

  // Return if cannot accept call
  if(acceptResult.isFailure) {
    debugPrint('Error accepting call: $call');
    return;
  }

  // Data for next screen
  final extra = (
    call: callToJoin,
    connectOptions: const CallConnectOptions(),
  );

  // Navigate to next screen if needed
}

void _onCallDecline(ActionCallDecline event) async {
  final streamVideo = StreamVideo.instance;

  final uuid = event.data.uuid;
  final cid = event.data.callCid;
  if (uuid == null || cid == null) return;

  final call = await streamVideo.consumeIncomingCall(uuid: uuid, cid: cid);
  final callToReject = call.getDataOrNull();
  if (callToReject == null) return;

  final result = await callToReject.reject();
  if (result is Failure) {
    debugPrint('Error rejecting call: ${result.error}');
  }
}

void _onCallEnded(ActionCallEnded event) async {
  final streamVideo = StreamVideo.instance;

  final uuid = event.data.uuid;
  final cid = event.data.callCid;
  if (uuid == null || cid == null) return;

  final call = streamVideo.activeCall;
  if (call == null || call.callCid.value != cid) return;

  final result = await call.leave();
  if (result is Failure) {
    debugPrint('Error leaving call: ${result.error}');
  }
}

@override
void dispose() {
  // ...
  _callKitEventSubscriptions.cancelAll();
}
Remember to implement navigation in a marked line.
Please add an additional extension at the end of the class / in a different file that we added to make subscriptions simpler:
extension on Subscriptions {
  void addAll<T>(Iterable<StreamSubscription<T>?> subscriptions) {
    for (var i = 0; i < subscriptions.length; i++) {
      final subscription = subscriptions.elementAt(i);
      if (subscription == null) continue;

      add(i + 100, subscription);
    }
  }
}
If you need to manage the CallKit call, you can use the StreamVideo.pushNotificationManager. As an example, let's
say you want to end all calls on the CallKit side, you can end them this way:
StreamVideo.instance.pushNotificationManager?.endAllCalls();
Step 6 - Add callback to handle call in terminated state
When an iOS app is terminated, the Flutter engine is not running. The engine needs to be started up to handle Stream call events whenever a call is received by the app. The Stream SDK performs the job of running a Flutter engine instance whenever a call is received. However, on the app side, a callback handle needs to be registered that will connect to StreamVideo.
@pragma('vm:entry-point')
Future<void> _backgroundVoipCallHandler() async {
  WidgetsFlutterBinding.ensureInitialized();

  // Get stored user credentials
  var credentials = yourUserCredentialsGetMethod();
  if (credentials == null) return;

  // Initialise StreamVideo
  StreamVideo(
    // ...
    // Make sure you initialise push notification manager
    pushNotificationManagerProvider: StreamVideoPushNotificationManager.create(
      iosPushProvider: const StreamVideoPushProvider.apn(
        name: 'your-ios-provider-name',
      ),
      androidPushProvider: const StreamVideoPushProvider.firebase(
        name: 'your-fcm-provider',
      ),
      pushParams: const StreamVideoPushParams(
        appName: kAppName,
        ios: IOSParams(iconName: 'IconMask'),
      ),
    ),
  );
}
The _backgroundVoipCallHandler method should then be set when StreamVideo is initialised:
  StreamVideo(
    ...,
    backgroundVoipCallHandler: _backgroundVoipCallHandler,
  );
Step 7 - Add native code to the iOS project
In your iOS project, add the following imports to your AppDelegate.swift:
import UIKit
import Flutter
import stream_video_push_notification
In the same file, add an extra line to your AppDelegate class which registers the app for push notifications:
override func application(
    _ application: UIApplication,
    didFinishLaunchingWithOptions launchOptions: [UIApplication.LaunchOptionsKey: Any]?
) -> Bool {
    GeneratedPluginRegistrant.register(with: self)

    // Register for push notifications.
    StreamVideoPKDelegateManager.shared.registerForPushNotifications()

    return super.application(application, didFinishLaunchingWithOptions: launchOptions)
}
Registering a Device With Stream Backend
Once you configure a push provider and set it up on the Stream dashboard, a device that is supposed to receive push notifications needs to be registered on the Stream backend.
Device registration is carried out in the SDK every time a user logs in and does not need to be implemented in your app.