Joining and Creating Calls
With authentication out of the way, we can now focus on creating and joining calls. Before proceeding, we highly recommend that you read the previous section on authentication, as the two are closely related.
Creating Calls
To create a call, we first call the makeCall function on the StreamVideo class and pass it the call type and ID. The most common call type is default, which enables full audio and video transmission. However, as we will learn later, there are multiple call types (and even custom types) from which you can choose based on your use case.
final call = StreamVideo.instance.makeCall(callType: StreamCallType(), id: 'Your-call-ID');
Calling makeCall returns a Call object for us to work with. However, it does neither connect nor start transmitting data automatically. To create and join the call, we must then invoke getOrCreate on the returned object.
final call = StreamVideo.instance.makeCall(callType: StreamCallType(), id: 'Your-call-ID');
await call.getOrCreate(); // New
Although we are not passing any parameters to getOrCreate in the above example, it is important to note a few things:
- Members: Upon creation, we can supply a list of user IDs we would like to immediately add to the call.
- Ringing: If ringing is set to
true, Stream will send a notification to the users on the call, triggering the platform call screen on iOS and Android.
Depending on call permissions settings, call member may have different permissions than other users joining the call. For example, call can be configured so only members can join. See here.
By default, calling getOrCreate assigns admin permission to each user who is supplied during creation.
When call is already active you can still manage members:
final call = client.makeCall(callType: StreamCallType(), id: 'my-call-id');
call.getOrCreate(memberIds: ['alice', 'bob']);

// grant access to more users
await call.updateCallMembers(updateMembers: [const UserInfo(id: 'charlie', role: 'call_member')]);
// or
await call.addMembers([const UserInfo(id: 'charlie', role: 'call_member')]);

// remove access from some users
await call.updateCallMembers(removeIds: ['charlie']);
// or
await call.removeMembers(['charlie']);
Call CRUD Operations
With calls, we make it easy to perform basic create, read, update, and delete (CRUD) operations on calls providing the user has sufficient permissions.
For example, once a call is created a user can call.update the information on the call by adding custom metadata such as a name, description, or any other arbitrary Map<String, Object> to the call before getOrCreate is invoked.
call.update(custom: {'name': 'My first Call'});
await call.getOrCreate();
Using the update method, a variety of settings can also be applied before the call is created such as:
- Ring
- Audio
- Video
- ScreenShare
- Recording
- Transcription
- Backstage
- Geofencing
Joining Calls
To join a call that already exists, you must first know two things:
- The
callTypeof the existing call - The
IDof the existing call
Similar to the flow of creating a call, we can use makeCall to construct a Call class for us to perform operations on.
final call = StreamVideo.instance.makeCall(callType: StreamCallType(), id: 'My-existing-call-ID');
Next, with our class instantiated, we can connect to the call and SFU by invoking join.
await call.join();
Unlike the call creation flow and functions, the user must have sufficient permissions to join the call or a VideoError will be returned. All users connected via the join() function have the permission type of user by default and are limited in the actions they can perform.
Restricting access
You can restrict access to a call by tweaking the Call Type permissions and roles. A typical use case is to restrict access to a call to a specific set of users -> call members.
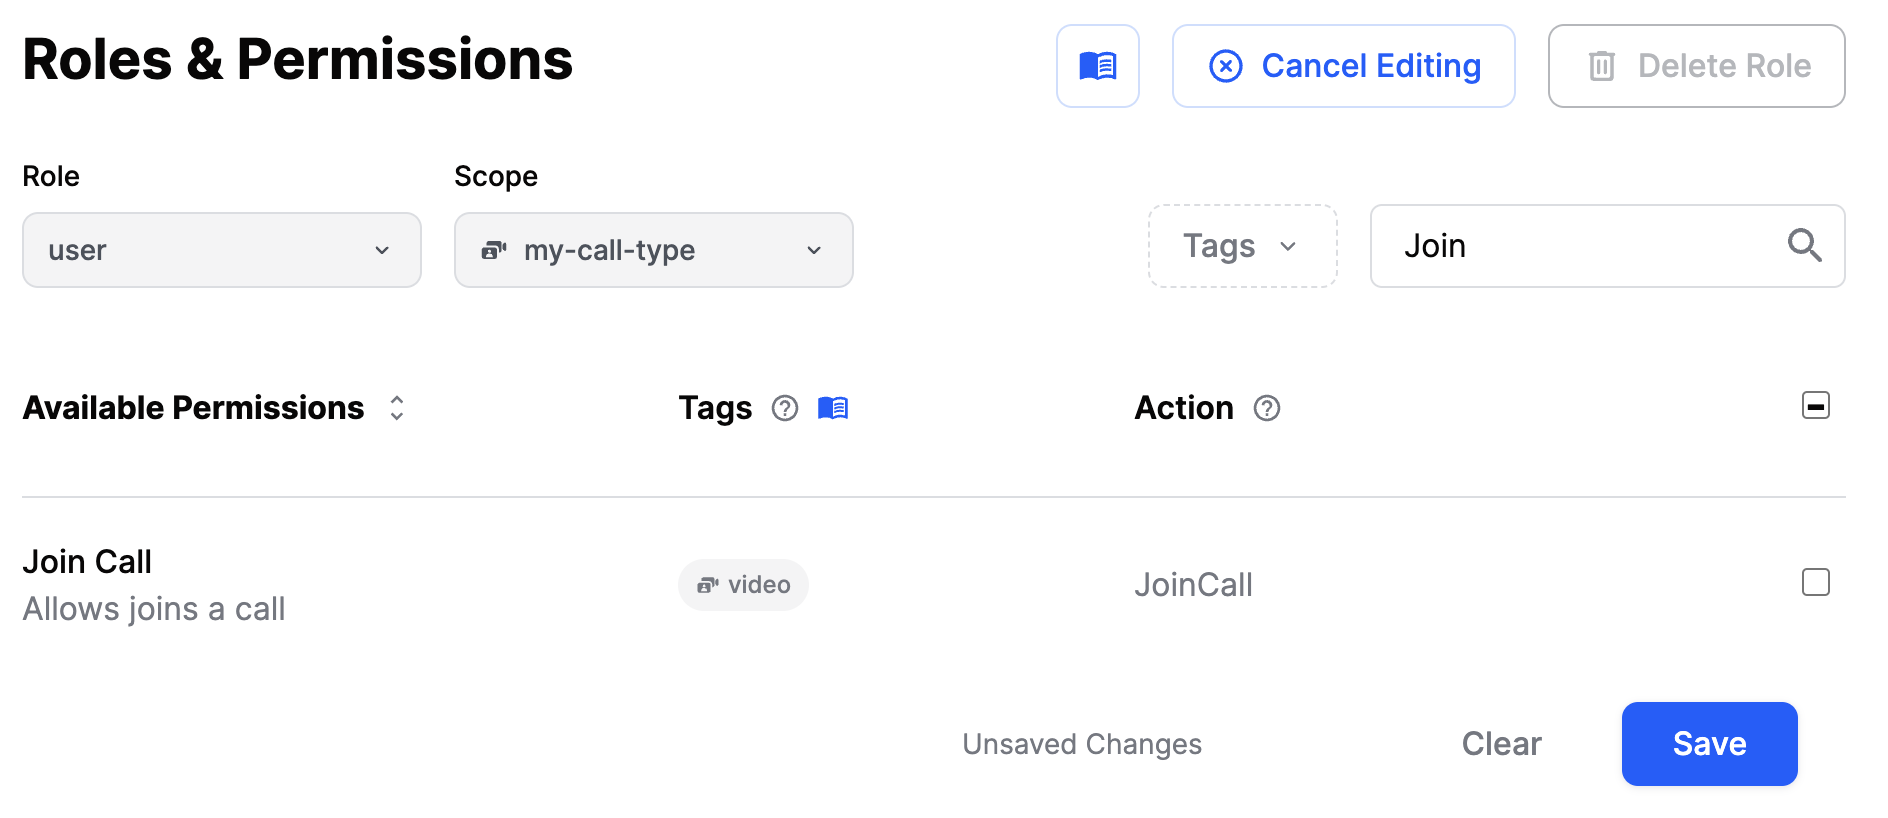
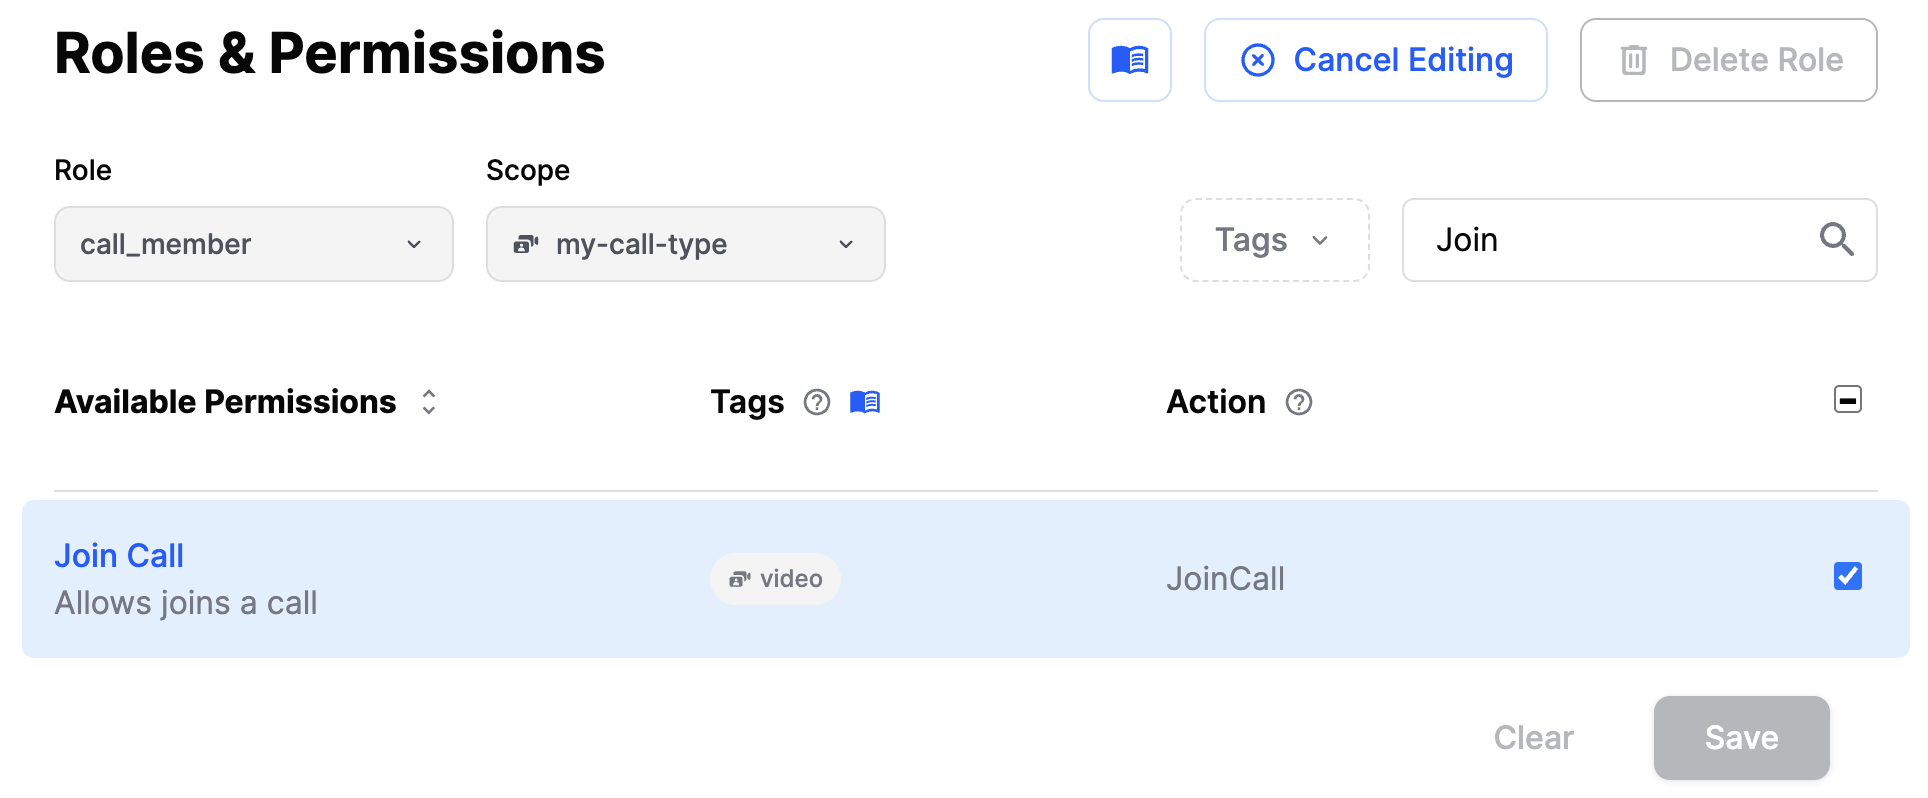
On our dashboard, navigate to the Video & Audio -> Roles & Permissions section and select the appropriate role and scope. In this example, we will use my-call-type scope.
By default, all users unless specified otherwise, have the user role.
We start by removing the JoinCall permission from the user role for the my-call-type scope. It will prevent regular users from joining a call of this type.

Next, let's ensure that the call_member role has the JoinCall permission for the my-call-type scope. It will allow users with the call_member role to join a call of this type.

That's it. In just a few lines, we have created our first calls, and they are ready for the world to join. To learn how to observe events and the state of a call, please read the next chapter.