import { Text, StyleSheet } from "react-native";
import {
  StreamVideoParticipant,
  ParticipantLabelProps,
} from "@stream-io/video-react-native-sdk";

// A custom ParticipantLabel component that shows participant's name and if its a dominant speaker
const CustomParticipantLabel = ({ participant }: ParticipantLabelProps) => {
  const participantLabel = participant?.name ?? participant?.id;

  return <Text style={styles.label}>{participantLabel}</Text>;
};

const styles = StyleSheet.create({
  label: {
    backgroundColor: "gray",
    padding: 10,
    color: "white",
  },
});Custom Label
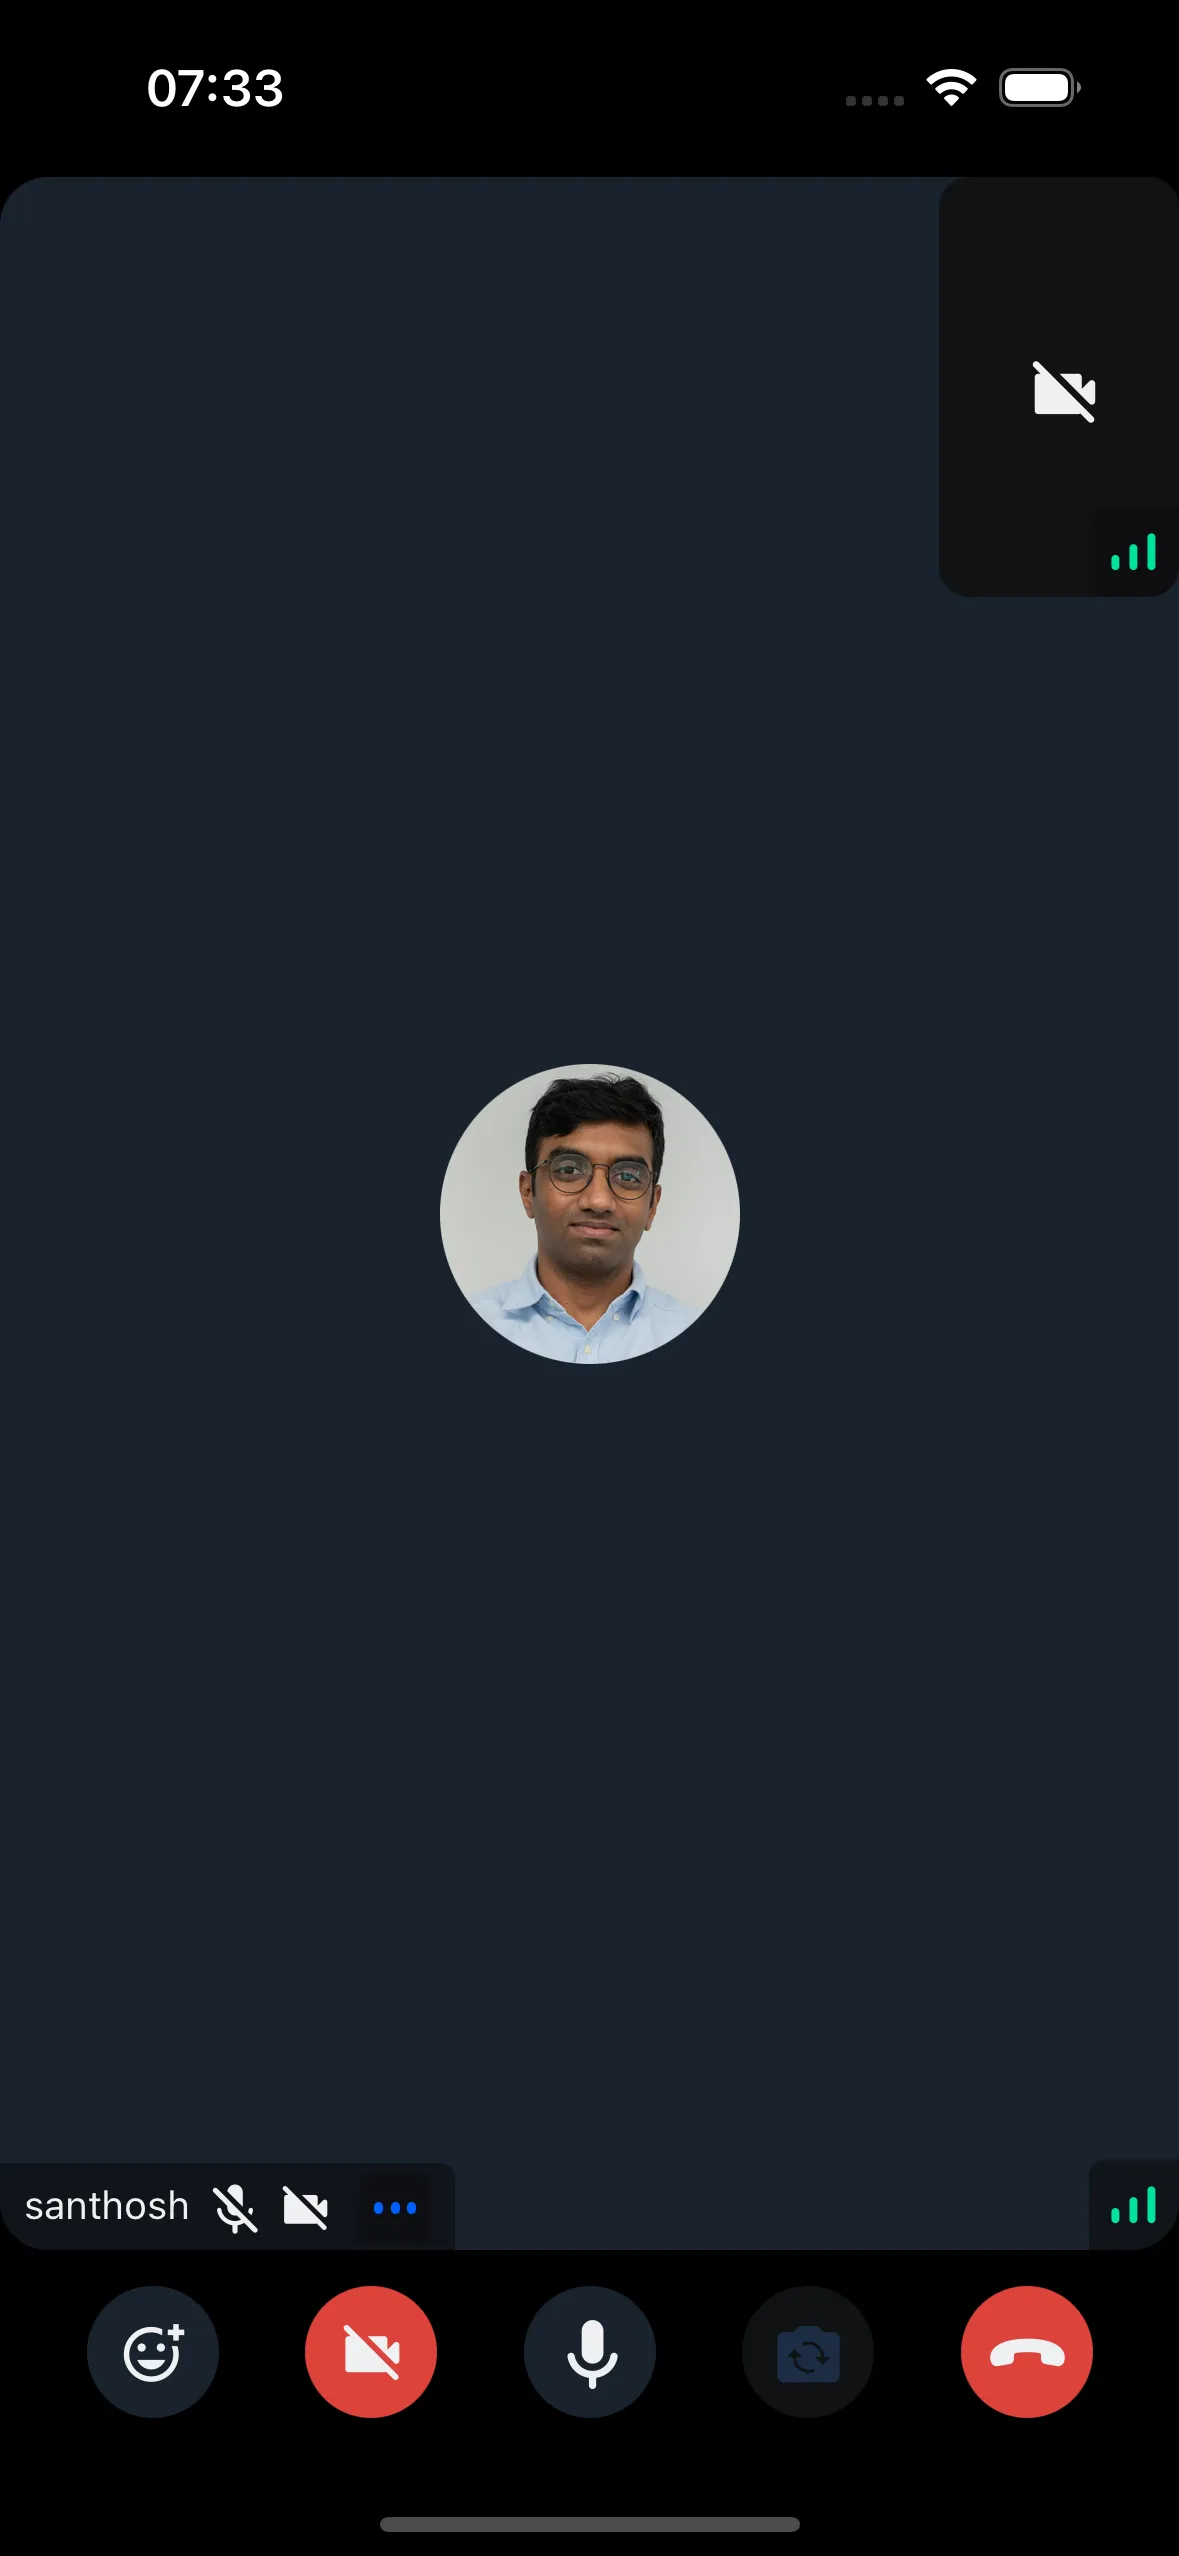
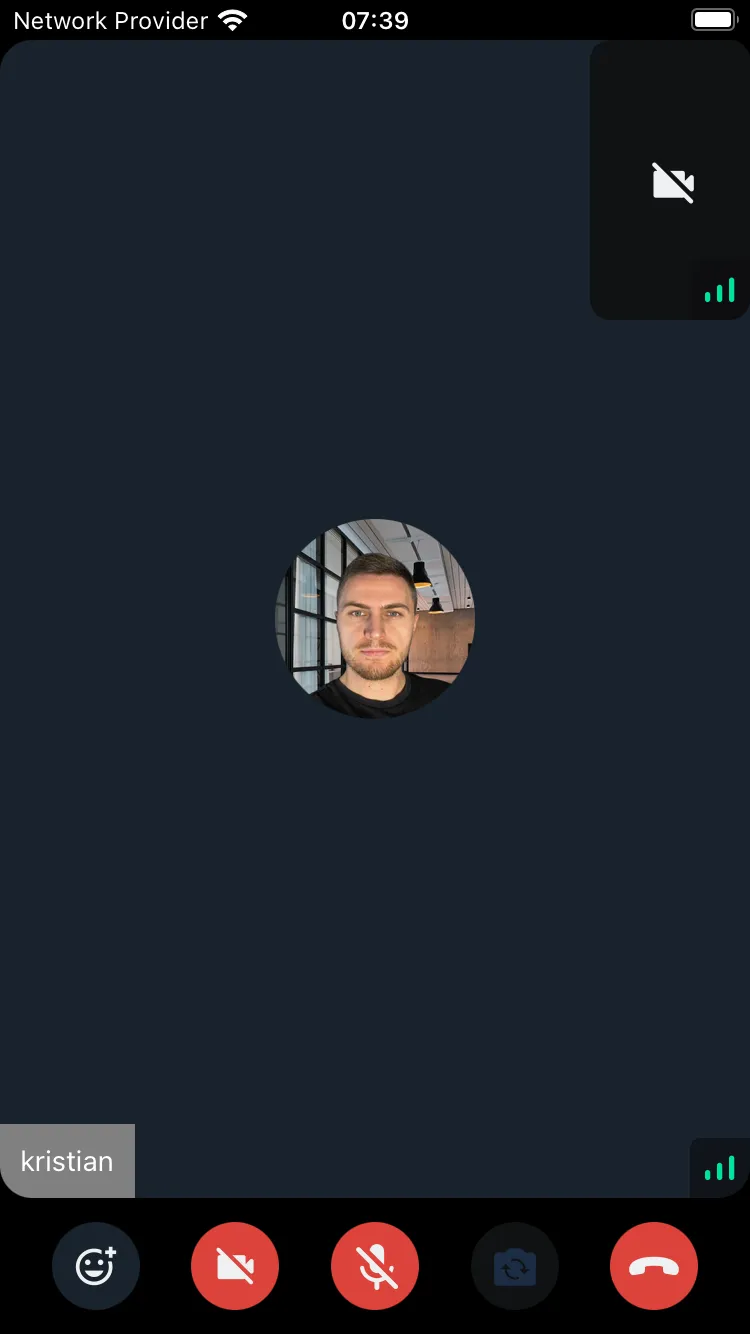
Stream's UI components include a participant label displaying name and microphone status.
Best Practices
- Keep labels concise - Show only essential information (name, mute status)
- Position consistently - Place labels in the same location for all participants
- Ensure readability - Use sufficient contrast against video backgrounds
- Handle long names - Truncate or wrap names that exceed available space
The default component may not meet all design requirements. This guide covers customization options.
Custom Participant Label
Customize the participant label by passing your own component to CallContent.
Example:
Final Steps
Pass the custom component to the ParticipantLabel prop of CallContent:
import {
  Call,
  CallContent,
  StreamCall,
} from "@stream-io/video-react-native-sdk";

const VideoCallUI = () => {
  let call: Call;
  // your logic to create a new call or get an existing call

  return (
    <StreamCall call={call}>
      <CallContent ParticipantLabel={CustomParticipantLabel} />
    </StreamCall>
  );
};
Access participant data using hooks from useCallStateHooks:
- useParticipants - Returns details for all participants
- useRemoteParticipants - Returns details for remote participants only
- useConnectedUser / useLocalParticipant - Returns local participant details