import { StreamChat } from "stream-chat";

const client = StreamChat.getInstance("api_key");Overview
Building chat from scratch in React Native is complex: state, styling, message grouping, read states, context menus, and more. Stream Chat for React Native provides a flexible, customizable UI so you can ship quickly and tailor the experience.
Before starting, install stream-chat-react-native as directed in the getting started guide.
Best Practices
- Create a single
StreamChatclient instance and reuse it throughout the app. - Connect users with secure server-generated tokens; use developer tokens only for local testing.
- Use
useCreateChatClientor manage connect/disconnect explicitly to avoid duplicate connections. - Initialize channels once and remove setup code after creation to avoid accidental duplicates.
- Wrap UI in
OverlayProviderandChatat the highest sensible level to keep contexts consistent.
Creating a Chat Client
Stream Chat for React Native uses stream-chat, Stream's JavaScript client.
stream-chat is included as a dependency.
You don't have to explicitly install stream-chat in your project.
Sign up for a Free subscription to get your API key.
Connecting a User
Tokens authenticate users. Typically, you send the token from your backend when the user registers or logs in. See Tokens & Authentication for details. You can use a developer token for local testing.
Call connectUser with the user object and user_token after creating the client.
await client.connectUser(
  {
    id: "jlahey",
    name: "Jim Lahey",
    image: "https://i.imgur.com/fR9Jz14.png",
  },
  "user_token",
);
Avoid repeated connectUser calls; reconnecting without disconnecting will warn and can throw.
To disconnect, call disconnectUser.
await client.disconnectUser();You can also use useCreateChatClient from stream-chat-react-native/stream-chat-expo to handle connect/disconnect automatically.
Creating a Channel
Channels hold messages and interactions. Create one before rendering UI components.
A channel type controls settings for a channel. There are 5 defaults:
commercegaminglivestreammessagingteam
You can also define custom channel types.
A channel must be initialized with either an id or a list of members. If you pass members, the backend auto-generates an id.
You can't add or remove members from a channel created using a members list.
You can add custom data as long as the total custom fields size is less than 5KB.
For this guide, create a channel once (by id or members list) and remove the setup code after.
/**
 *  Channel created using a channel id
 */
const channel = client.channel("messaging", "the_park", {
  name: "The Park",
});
/**
* Channel created using a members list
*/
const channel = client.channel("messaging", {
members: ["jlahey", "rlafleur"],
name: "The Park",
});To create this channel on the server you must call create on the new channel instance.
await channel.create();For on-the-fly channel creation, call watch to create and subscribe to updates.
Configuring UI Components
With a client, a connected user, and a channel, you can set up UI components.
All major components rely on React contexts provided by top-level Providers.
Overlay Provider
OverlayProvider is the top-level provider. It enables message actions, the full-screen image viewer, and the AttachmentPicker as a keyboard-style view.
You can use it with defaults or customize via props.
For details, see the OverlayProvider docs, including how to use the OverlayProvider with React Navigation.
import { OverlayProvider } from "stream-chat-react-native";

export const Screen = () => (
  <OverlayProvider>{/** App components */}</OverlayProvider>
);
Chat
Chat is the next provider below OverlayProvider and is required. Wrap the entire app or a specific screen. It requires client (the StreamChat instance you created).
See the Chat component docs for theming and translations.
import { StreamChat } from "stream-chat";
import { Chat, OverlayProvider } from "stream-chat-react-native";

const client = StreamChat.getInstance("api_key");

export const App = () => (
  <OverlayProvider>
    <Chat client={client}>{/** App components */}</Chat>
  </OverlayProvider>
);
import { StreamChat } from "stream-chat";
import { Chat } from "stream-chat-react-native";
const client = StreamChat.getInstance("api_key");
export const Screen = () => (
<Chat client={client}>{/** App components */}</Chat>
);import { OverlayProvider } from "stream-chat-react-native";
import { Screen } from "./Screen";
export const App = () => (
<OverlayProvider>
<Screen />
</OverlayProvider>
);Channel List
ChannelList renders channels the user can access. Provide onSelect to handle navigation or store the selected Channel.
See the ChannelList component docs for filtering and sorting.
Render ChannelList inside the providers above. The example assumes the client and user are already set up.
import { StreamChat } from "stream-chat";
import { ChannelList, Chat, OverlayProvider } from "stream-chat-react-native";

const client = StreamChat.getInstance("api_key");

export const App = () => (
  <OverlayProvider>
    <Chat client={client}>
      <ChannelList />
    </Chat>
  </OverlayProvider>
);
These components render a FlatList of channels for the connected user.
Channel
Channel wraps the chat UI and provides contexts. It is the main entry point for customizing the chat experience.
For customization and keyboard offsets, see the Channel component docs.
Channel requires the channel prop, a StreamChat Channel instance. Create it as above, read it from client.activeChannels, or store it from ChannelList.
import React, { useState } from "react";
import { Channel as ChannelType, StreamChat } from "stream-chat";
import { ChannelList, Chat, OverlayProvider } from "stream-chat-react-native";

const client = StreamChat.getInstance("api_key");

export const App = () => {
  const [channel, setChannel] = useState<ChannelType>();

  return (
    <OverlayProvider>
      <Chat client={client}>
        {channel ? (
          <Channel channel={channel}>{/** App components */}</Channel>
        ) : (
          <ChannelList onSelect={setChannel} />
        )}
      </Chat>
    </OverlayProvider>
  );
};
Message List
Channel alone renders no UI. Add MessageList to render messages. It has no required props and works out of the box with Channel.
For FlatList props or threads, see the MessageList component docs.
import React, { useState } from "react";
import { Channel as ChannelType, StreamChat } from "stream-chat";
import { ChannelList, Chat, OverlayProvider } from "stream-chat-react-native";

const client = StreamChat.getInstance("api_key");

export const App = () => {
  const [channel, setChannel] = useState<ChannelType>();

  return (
    <OverlayProvider>
      <Chat client={client}>
        {channel ? (
          <Channel channel={channel}>
            <MessageList />
          </Channel>
        ) : (
          <ChannelList onSelect={setChannel} />
        )}
      </Chat>
    </OverlayProvider>
  );
};
Message Input
To send messages, render MessageInput below MessageList. It has no required props.
Set keyboardVerticalOffset on Channel based on your header height (0 in this example).
For customization or thread usage, see the MessageInput component docs.
import React, { useState } from "react";
import { Channel as ChannelType, StreamChat } from "stream-chat";
import { ChannelList, Chat, OverlayProvider } from "stream-chat-react-native";

const client = StreamChat.getInstance("api_key");

export const App = () => {
  const [channel, setChannel] = useState<ChannelType>();

  return (
    <OverlayProvider>
      <Chat client={client}>
        {channel ? (
          <Channel channel={channel} keyboardVerticalOffset={0}>
            <MessageList />
            <MessageInput />
          </Channel>
        ) : (
          <ChannelList onSelect={setChannel} />
        )}
      </Chat>
    </OverlayProvider>
  );
};
This renders a channel list and swaps in a functional message list + input when a channel is selected.
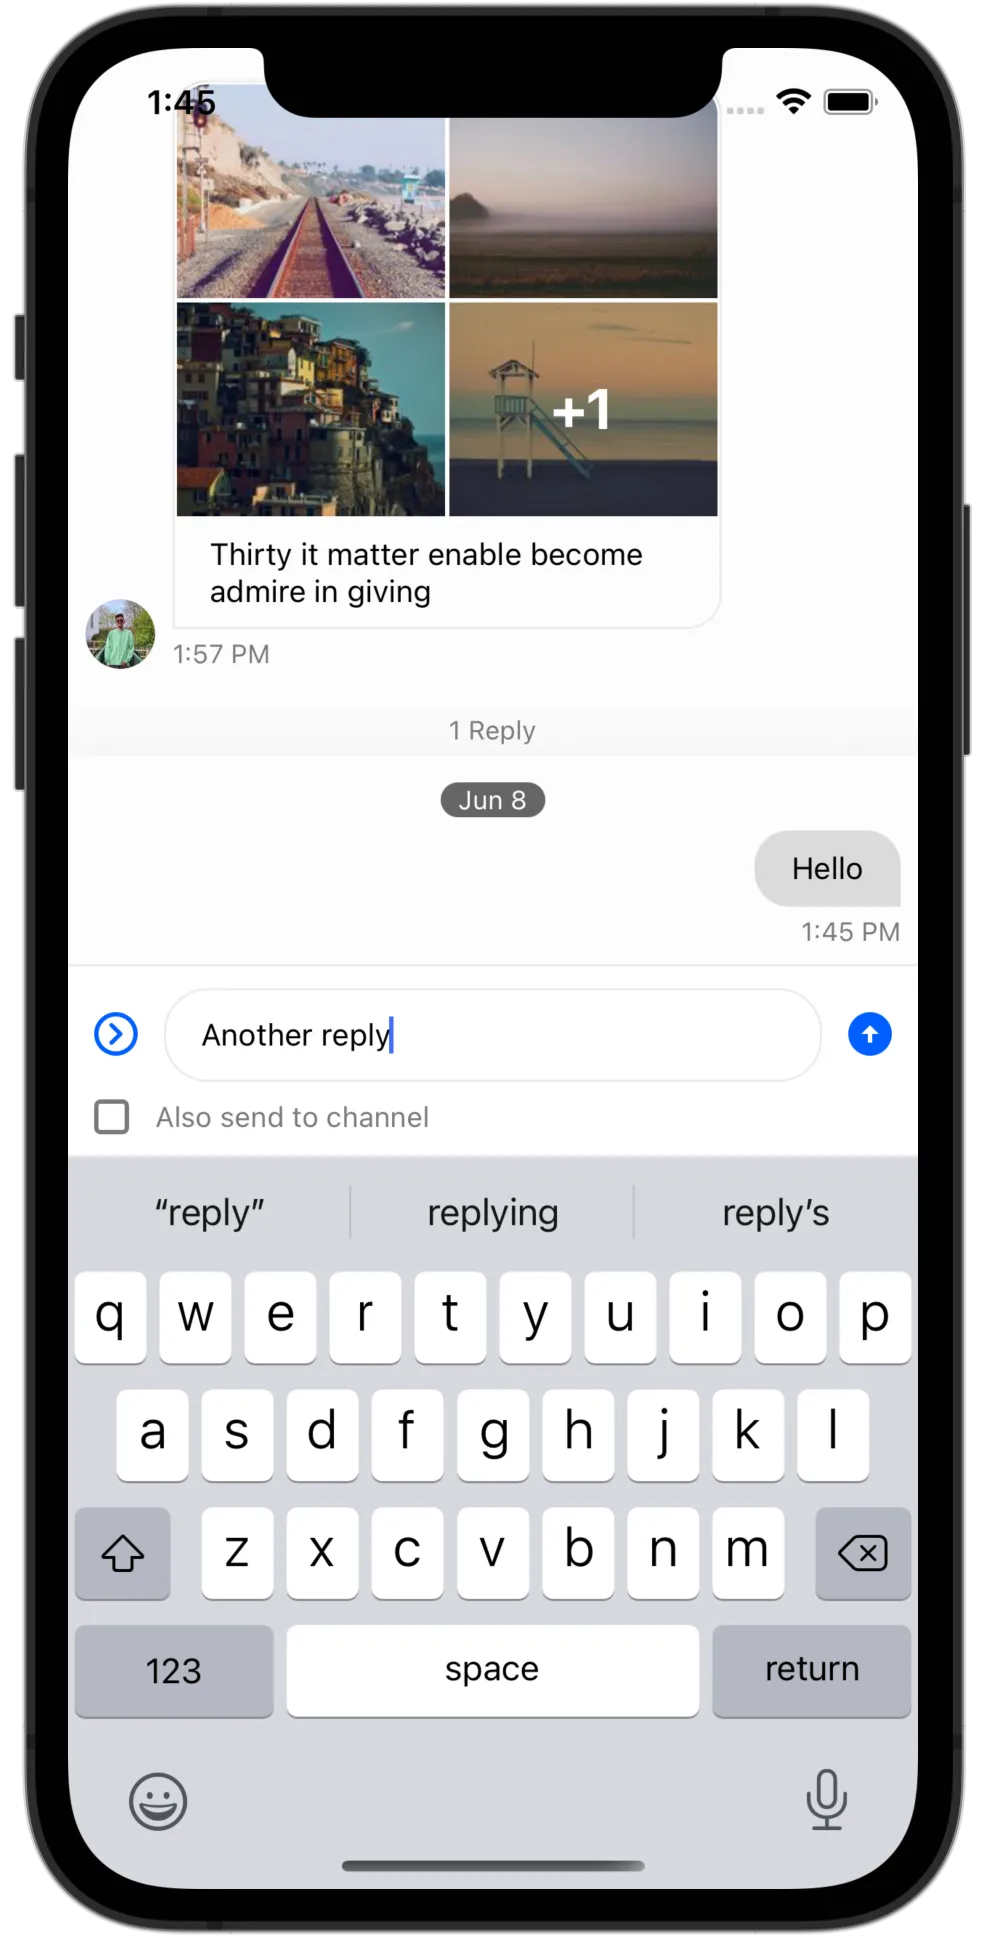
Thread
Thread renders threaded replies. On mobile, threads typically live on a separate screen, so you must handle selection and navigation. Use onThreadSelect on MessageList to set a thread state and render Thread. This example has no back navigation (pseudo-navigation only).
For onThreadDismount and other details, see the Thread component docs.
import React, { useState } from "react";
import { Channel as ChannelType, LocalMessage, StreamChat } from "stream-chat";
import { ChannelList, Chat, OverlayProvider } from "stream-chat-react-native";

const client = StreamChat.getInstance("api_key");

export const App = () => {
  const [channel, setChannel] = useState<ChannelType>();
  const [thread, setThread] = useState<LocalMessage | null>();

  return (
    <OverlayProvider>
      <Chat client={client}>
        {channel ? (
          <Channel
            channel={channel}
            keyboardVerticalOffset={0}
            thread={thread}
            threadList={!!thread}
          >
            {thread ? (
              <Thread />
            ) : (
              <>
                <MessageList onThreadSelect={setThread} />
                <MessageInput />
              </>
            )}
          </Channel>
        ) : (
          <ChannelList onSelect={setChannel} />
        )}
      </Chat>
    </OverlayProvider>
  );
};
Summary
- Create a
StreamChatclient, connect a user, and pass the client toChat(insideOverlayProvider). - Render
ChannelList, then use the selectedChannelto renderMessageList+MessageInput. - Use
ThreadandonThreadSelectfor threaded replies.