StreamVideo(
      // ...
       options: const StreamVideoOptions(
        // It's important to keep connections alive when the app is in the background to properly handle incoming calls while the app is in the background
        keepConnectionsAliveWhenInBackground: true,
      ),
      // Make sure you initialise push notification manager
      pushNotificationManagerProvider: StreamVideoPushNotificationManager.create(
        iosPushProvider: const StreamVideoPushProvider.apn(
          name: 'your-ios-provider-name',
        ),
        androidPushProvider: const StreamVideoPushProvider.firebase(
          name: 'your-fcm-provider',
        ),
        pushConfiguration: const StreamVideoPushConfiguration(
          ios: IOSPushConfiguration(iconName: 'IconMask'),
        ),
      ),
);Push Providers Configuration
Configuring Push Notification Manager
To handle push notifications in your Flutter app, configure the pushNotificationManagerProvider in the StreamVideo instance. This manager handles device token registration, incoming call notifications, and listening to call events (e.g., ending a call on the callee's side when the caller ends the call).
When creating a StreamVideo instance, pass a pushNotificationManagerProvider parameter. This parameter is an instance of StreamVideoPushNotificationManager, which is created using the StreamVideoPushNotificationManager.create() method.
For
androidPushProvideruse the provider name created in Firebase integrationFor
iosPushProvideruse the provider name created in APN integrationAdd app icon asset in Xcode for displaying dedicated app button in CallKit screen (named
IconMaskin the code below). See details here
Configuring Push Providers
For the best experience, we strongly recommend using **APNs** for **iOS** and **Firebase** for **Android**. While compatibility with both providers on iOS is a goal, Firebase support for iOS is not yet fully available.
Creating Firebase Provider
Get the Firebase Credentials
In order for our backend to send push notifications through Firebase Cloud Messaging (FCM) we need to authenticate it with Firebase. This authentication ensures that only authorized services can send notifications on behalf of your app. To allow us to do this you must manually provide a service account private key.
Follow these steps to generate the private key file:
In the Firebase console, navigate to Settings > Service Accounts.
Click Generate New Private Key, then confirm by clicking Generate Key.
Download the JSON file and store it securely, as it grants access to Firebase resources.
In the next step, you’ll upload this JSON file to Stream’s server to complete the setup.
Upload the Firebase Credentials to Stream
To upload your Firebase credentials to Stream dashboard:
Go to the dashboard of your video project at the Stream website.
Open the Push Notifications tab under Video & Audio.
Select New Configuration and select Firebase.
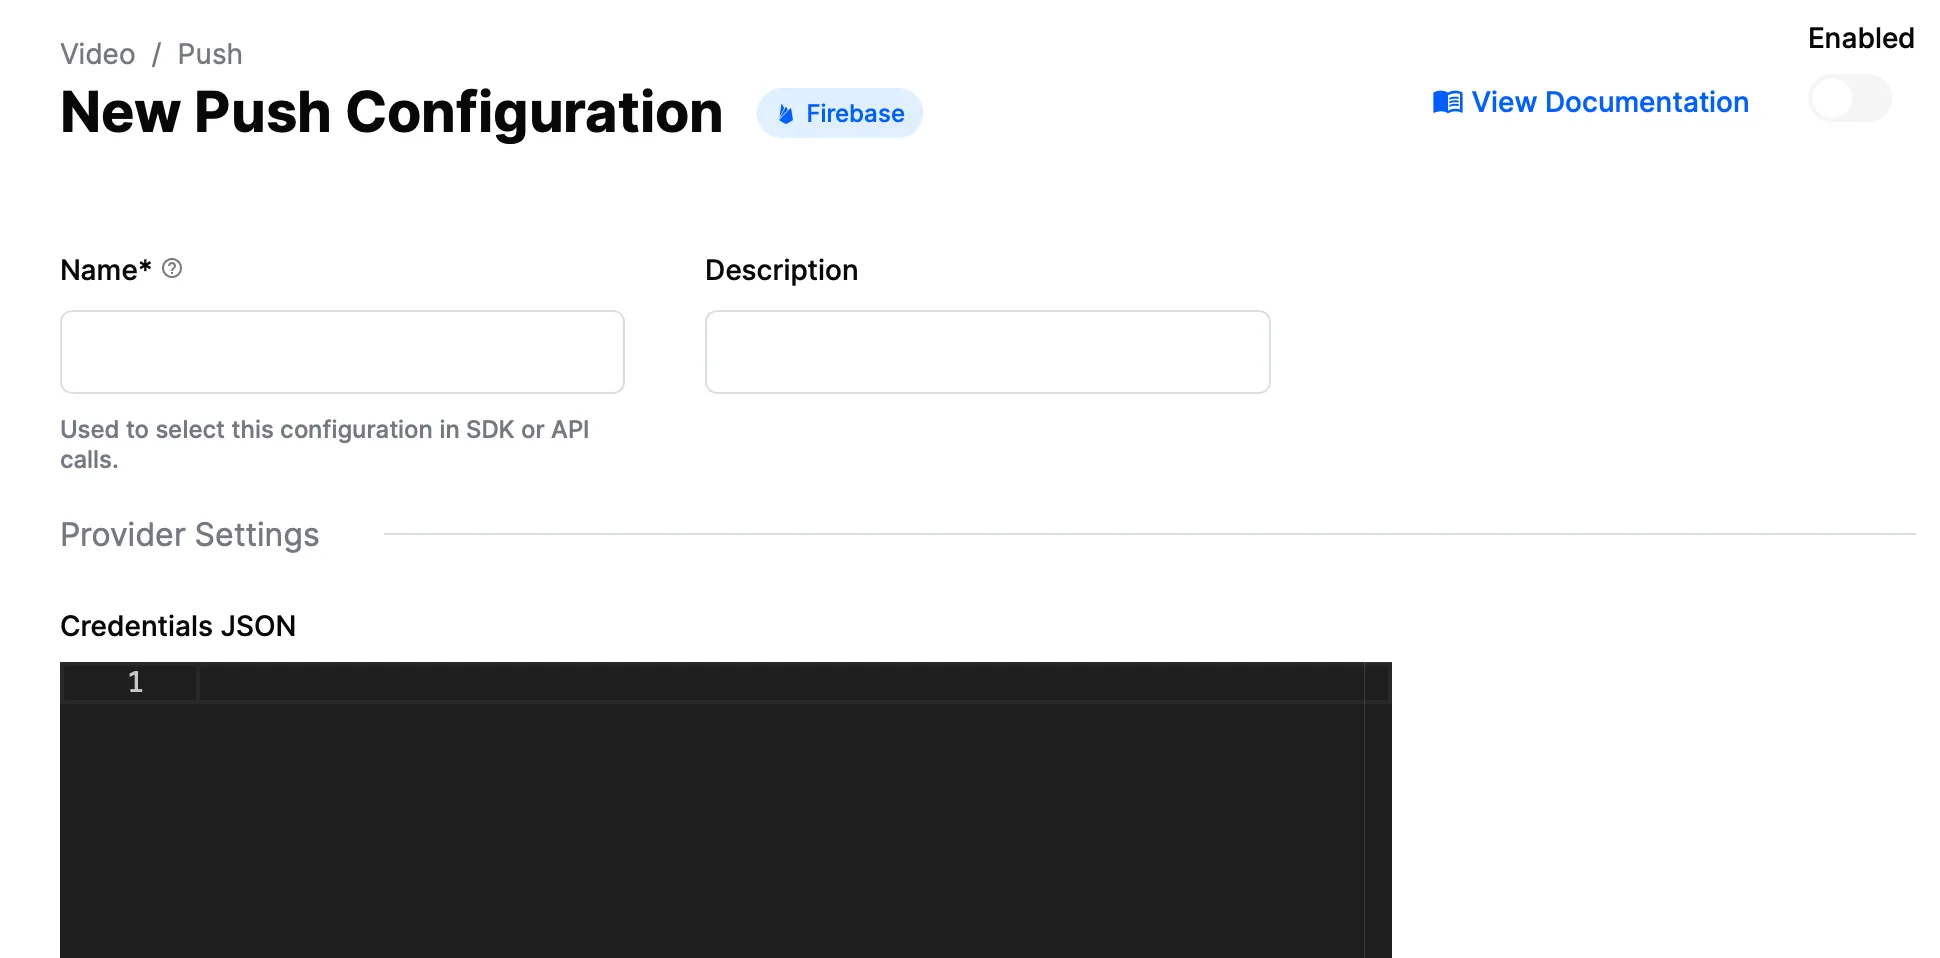
Provide a name for the push provider in the Name field. This name will be referenced in your code to identify the provider.
Upload the previously generated Firebase credentials JSON file in the Credentials JSON field.
Enable this provider using toggle button.
Click Create to finalize the configuration.
Add dependencies to your app
To integrate push notifications, include the firebase_messaging package in your Flutter app.
Follow the Flutter Firebase documentation for setup instructions for both Android and iOS.
Once set up, FCM will handle push notifications for your devices. Remember to initialize the Firebase when your app starts:
await Firebase.initializeApp(
      options: DefaultFirebaseOptions.currentPlatform,
    );
Creating APNs Provider
Prerequisites:
- Paid Apple developer account
- Registered App ID with Push Notification capability enabled.
Delivering push notifications to iOS apps requires establishing an authenticated connection with APNs. There are two authentication options — a token-based approach using a .p8 key or a certificate-based approach using a .p12 file. You only need to set up one of them. We recommend using a .p8 key.
Getting a .p8 key (Recommended)
The .p8 authentication key is the preferred method because a single key works across all your apps and doesn't expire, unlike .p12 certificates which must be renewed annually.
Sign in to your Apple Developer Account and navigate to Certificates, Identifiers & Profiles > Keys.
Click the + (plus) button to register a new key.
Give your key a descriptive name (e.g., "Stream Push Key") and tick the Apple Push Notifications service (APNs) checkbox. Make sure Sandbox & Production is selected under the APNs configuration, then click Continue followed by Register.
Click Download to save the
.p8file. Store it in a secure location — Apple only lets you download this file once.
Important: Apple limits you to two
.p8keys per developer account. If you already have two and need a new one, you must revoke an existing key first — and any service relying on the revoked key will stop working.
- Make a note of the following values — you'll need them when configuring the push provider in the Stream Dashboard:
- Key ID — shown on the key details page and also embedded in the
.p8filename (e.g.,AuthKey_ABC123.p8). - Team ID — displayed in the upper-right corner of your Apple Developer account.
- Bundle ID — your app's identifier, found under Identifiers in your developer account or in Xcode > your target > Signing & Capabilities.
- Key ID — shown on the key details page and also embedded in the
Getting a .p12 certificate file (Alternative to p8)
In Apple's Developer Portal, select Apple Push Notifications service SSL (Sandbox & Production), then click Continue.
Create a Certificate Signing Request (CSR) by following these steps.
Convert the .cer file into a .p12 certificate file using Keychain Access:
- Add the .cer file to the login keychain.
- Find it under the Certificates tab, right-click, and export it as a .p12 file.
- Ensure no password is set when exporting.
Upload the certificate and create a push provider
To configure APNs in the Stream dashboard:
Go to the dashboard of your video project at the Stream website.
Open the Push Notifications tab under Video & Audio.
Select New Configuration and select APN.
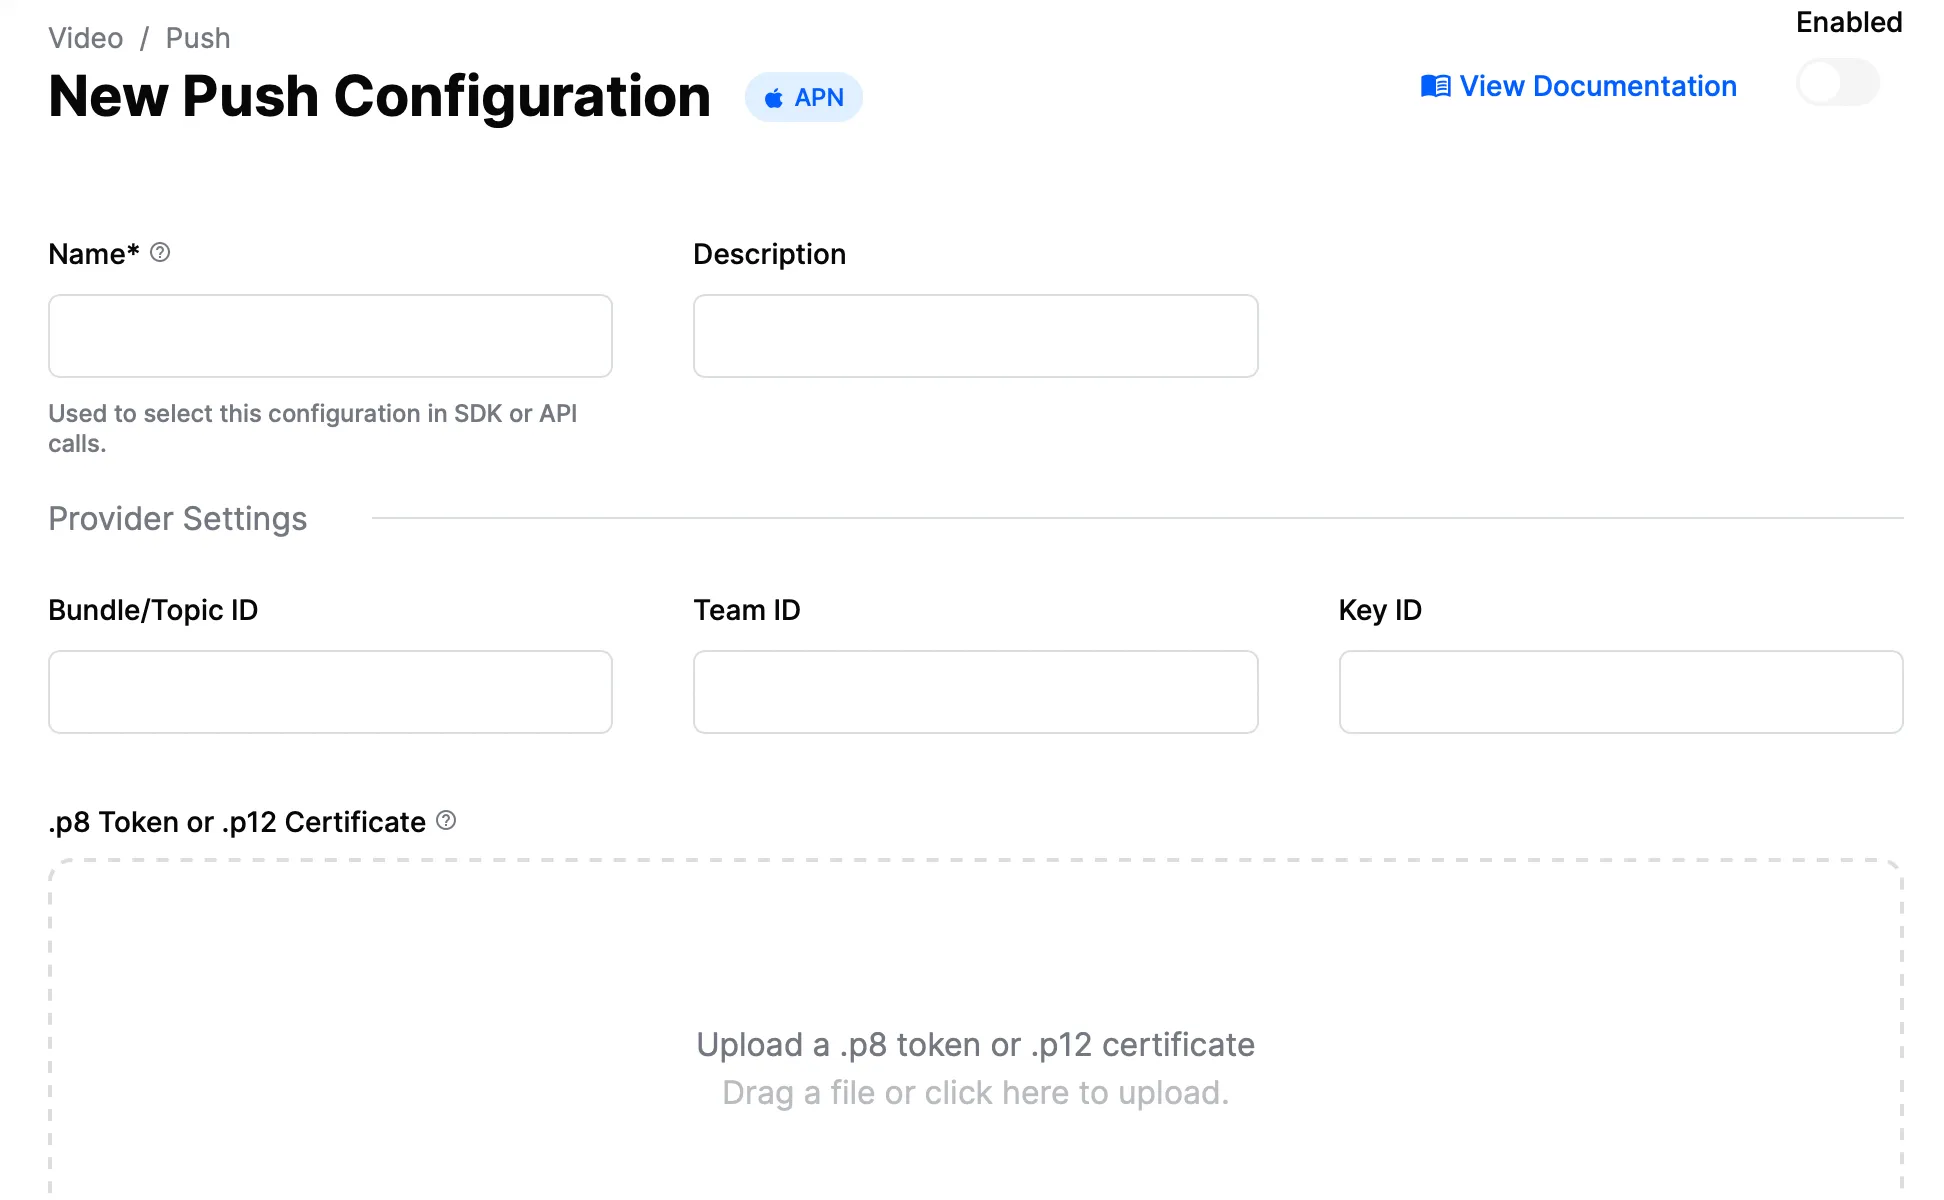
Provide a name for the push provider in the Name field. This name will be used in your code to configure iOS push notifications.
Upload the .p8 key or .p12 file with the required Apple details.
Enable this provider using toggle button.
Click Create to finalize the configuration.
Now that the providers are configured, the next step is to handle push notifications:
- For regular push notifications, refer to this guide.
- For VoIP/ringing notifications:
- iOS: Follow this guide.
- Android: Refer to this guide.
On this page: