















Native Image Picker
This guide helps you comply with Google Play's Android photo/video permissions policy.
To enable the native image picker, follow these steps for iOS and Android.
Best Practices
- Remove legacy storage permissions to align with modern Android policies.
- Follow the picker’s post-install steps before debugging UI issues.
- Use
handleAttachButtonPressfor logic changes andAttachButtonfor UI changes. - Keep custom pickers aligned with the default attachment workflow.
- Test camera and gallery flows on both platforms to confirm permissions.
Step 1: Uninstall the media library
Uninstall the media library if you previously installed it (it's optional).
yarn remove @react-native-camera-roll/camera-rollyarn remove expo-media-libraryOn Android, you can remove READ_EXTERNAL_STORAGE and WRITE_EXTERNAL_STORAGE from AndroidManifest.xml.
Remove the following lines from the AndroidManifest.xml file:
<uses-permission android:name="android.permission.READ_EXTERNAL_STORAGE"/>
<uses-permission android:name="android.permission.WRITE_EXTERNAL_STORAGE"/>
Step 2: Install the native image picker
Install the native image picker by running the following command:
yarn add react-native-image-pickernpx expo install expo-image-pickerThis provides a native UI for gallery selection, camera capture, and file picking.
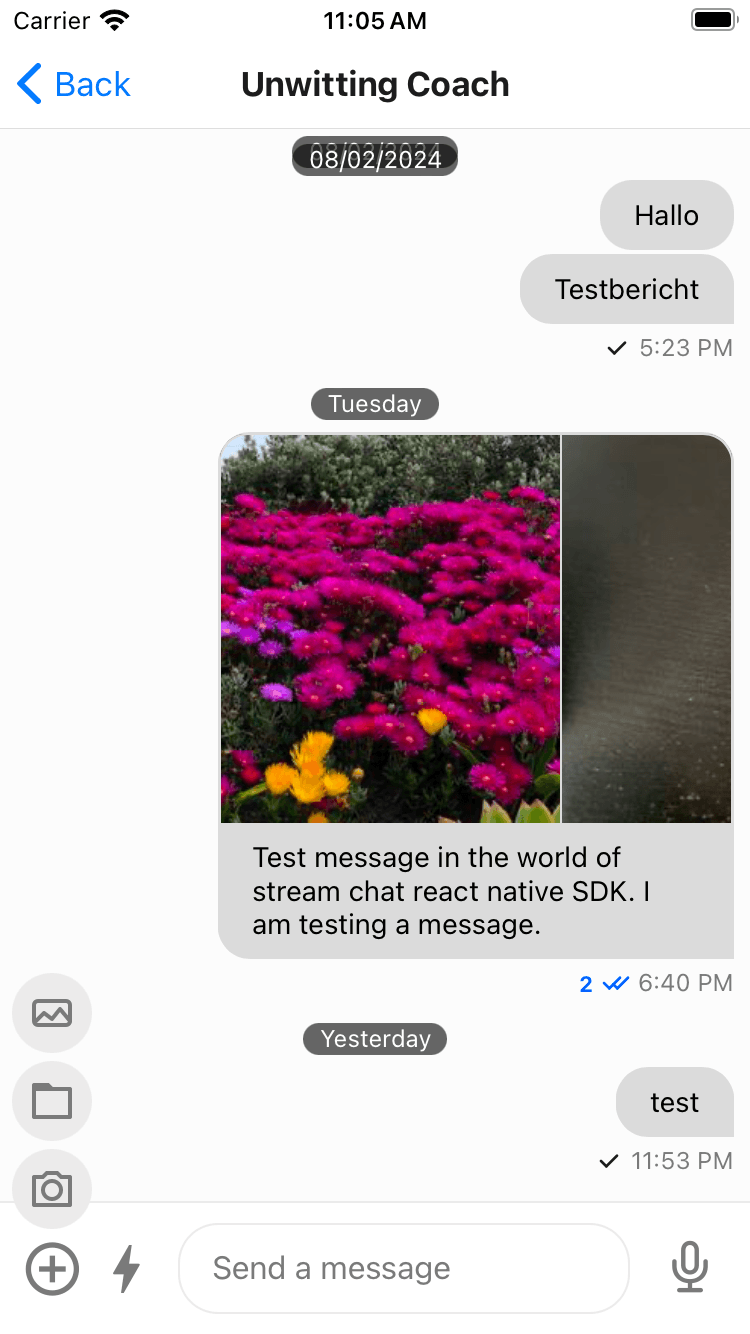
No permissions are required for the native image picker on Android.
Please follow the post installation steps as mentioned in the react-native-image-picker.
Step 3: Add customization (optional)
Customize AttachButton behavior by passing handleAttachButtonPress to Channel.
import { useCallback } from "react";
import { Channel } from "stream-chat-react-native";

const App = () => {
  const handleAttachButtonPress = useCallback(async () => {
    // Your custom logic here
  }, []);

  return (
    <Channel
      channel={channel}
      handleAttachButtonPress={handleAttachButtonPress}
    />
  );
};
The other alternative is customizing the AttachButton component itself.
import { AttachButton } from "stream-chat-react-native";

const CustomAttachButton = (props) => {
  const { onPress } = props;

  const handlePress = async () => {
    // Your custom logic here
  };

  return <AttachButton onPress={handlePress} />;
};

const App = () => {
  return <Channel channel={channel} AttachButton={CustomAttachButton} />;
};