import { View, StyleSheet } from "react-native";
import { RTCView } from "@stream-io/react-native-webrtc";
const CustomVideoRenderer = ({ participant }: VideoRendererProps) => {
const { videoStream } = participant;
return (
<View style={styles.background}>
<RTCView
streamURL={videoStream?.toURL()}
style={styles.stream}
objectFit="cover"
/>
</View>
);
};
const styles = StyleSheet.create({
background: {
...StyleSheet.absoluteFillObject,
alignItems: "center",
justifyContent: "center",
},
stream: {
height: 250,
width: 250,
borderRadius: 125,
},
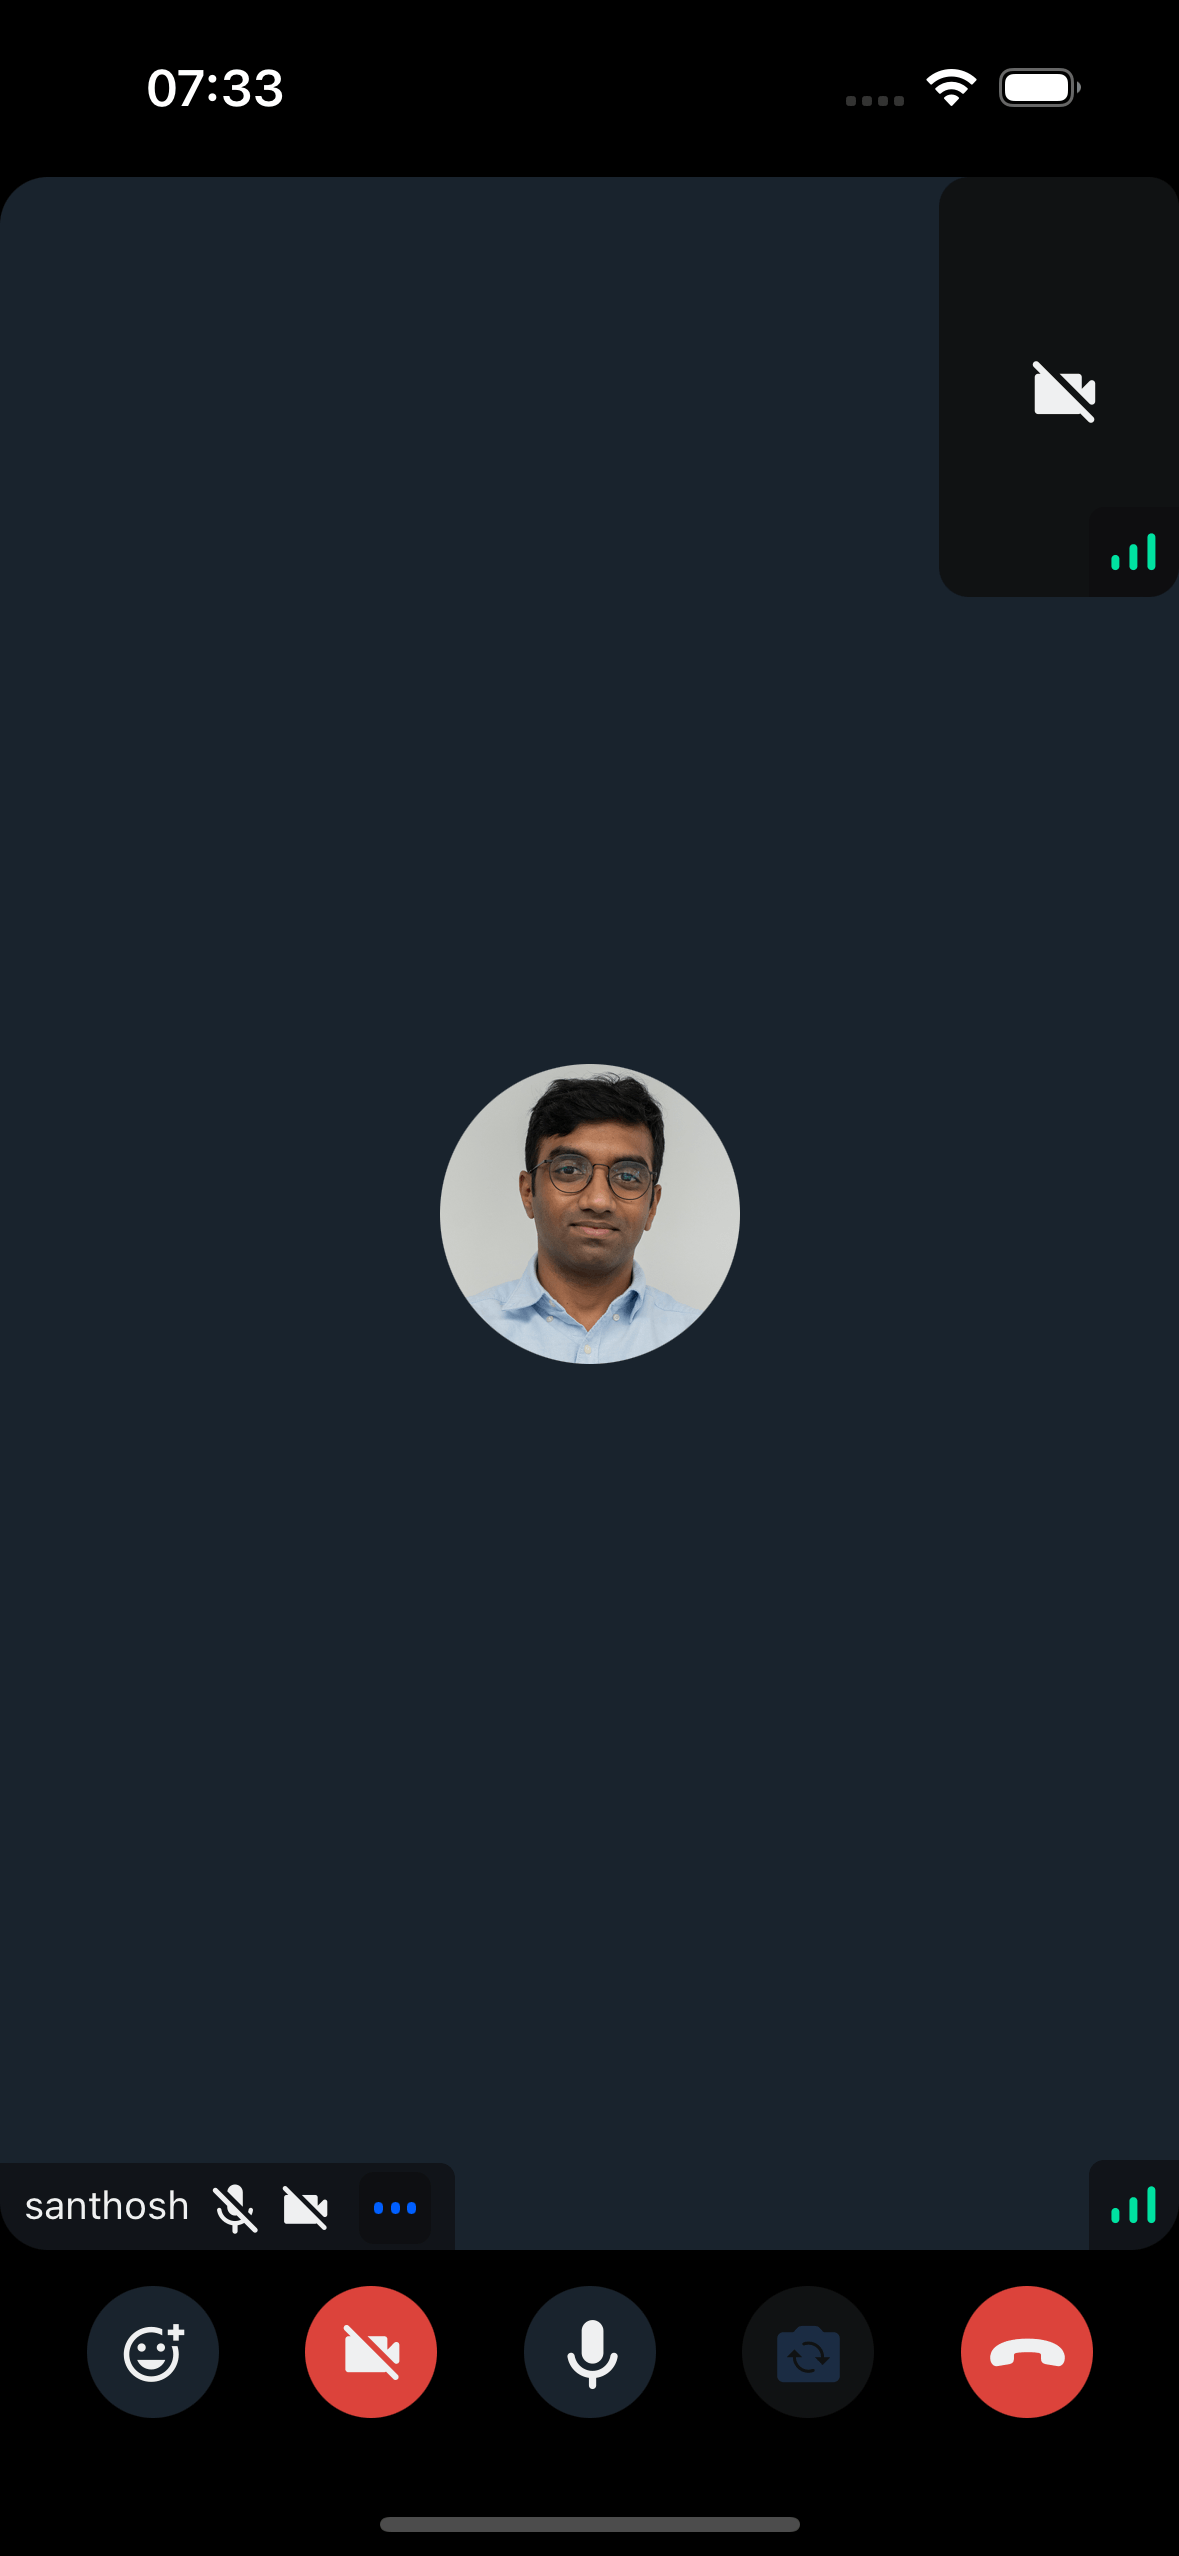
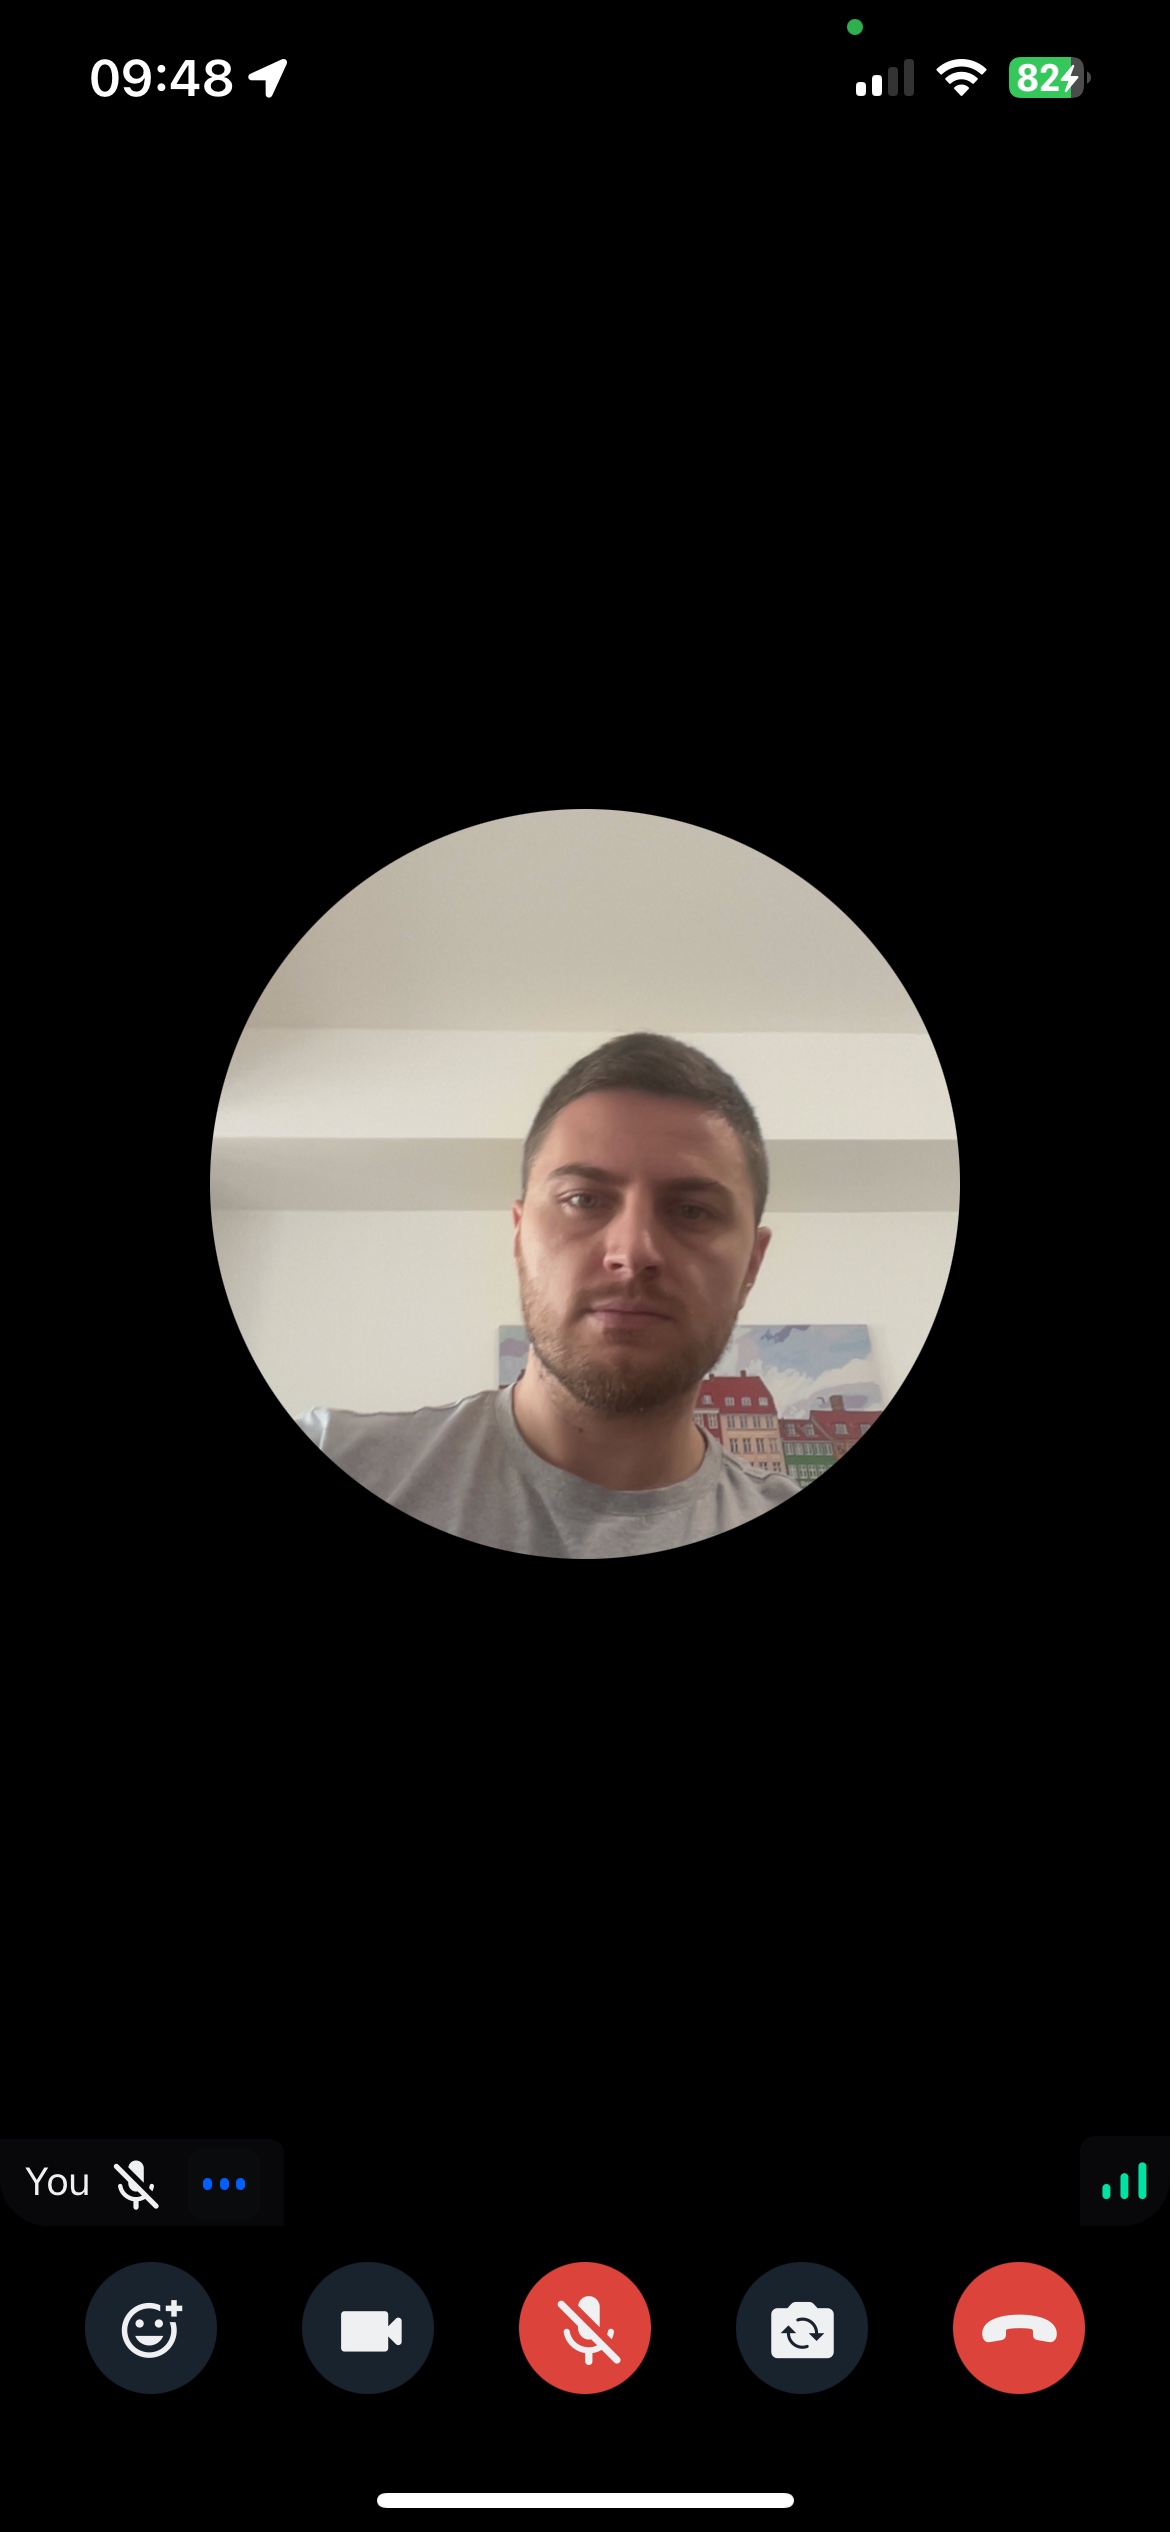
});Video Renderer
The video renderer is the core UI component for displaying participant video in real-time during calls.
Best Practices
- Optimize performance - Use
objectFit="cover"for consistent video scaling - Handle video unavailability - Display fallback content when video streams are missing
- Consider aspect ratios - Account for different camera orientations and resolutions
- Test on devices - Verify rendering performance on both iOS and Android
The default component may not meet all design requirements. This guide covers customization options.
Custom Video Renderer
Customize the video renderer by passing your own component to CallContent.
Example:
Final Steps
Pass the custom component to the VideoRenderer prop of CallContent:
import {
  Call,
  CallContent,
  StreamCall,
} from "@stream-io/video-react-native-sdk";

const VideoCallUI = () => {
  let call: Call;
  // your logic to create a new call or get an existing call

  return (
    <StreamCall call={call}>
      <CallContent VideoRenderer={CustomVideoRenderer} />
    </StreamCall>
  );
};
Access participant data using hooks from useCallStateHooks:
- useParticipants - Returns details for all participants
- useRemoteParticipants - Returns details for remote participants only
- useConnectedUser / useLocalParticipant - Returns local participant details