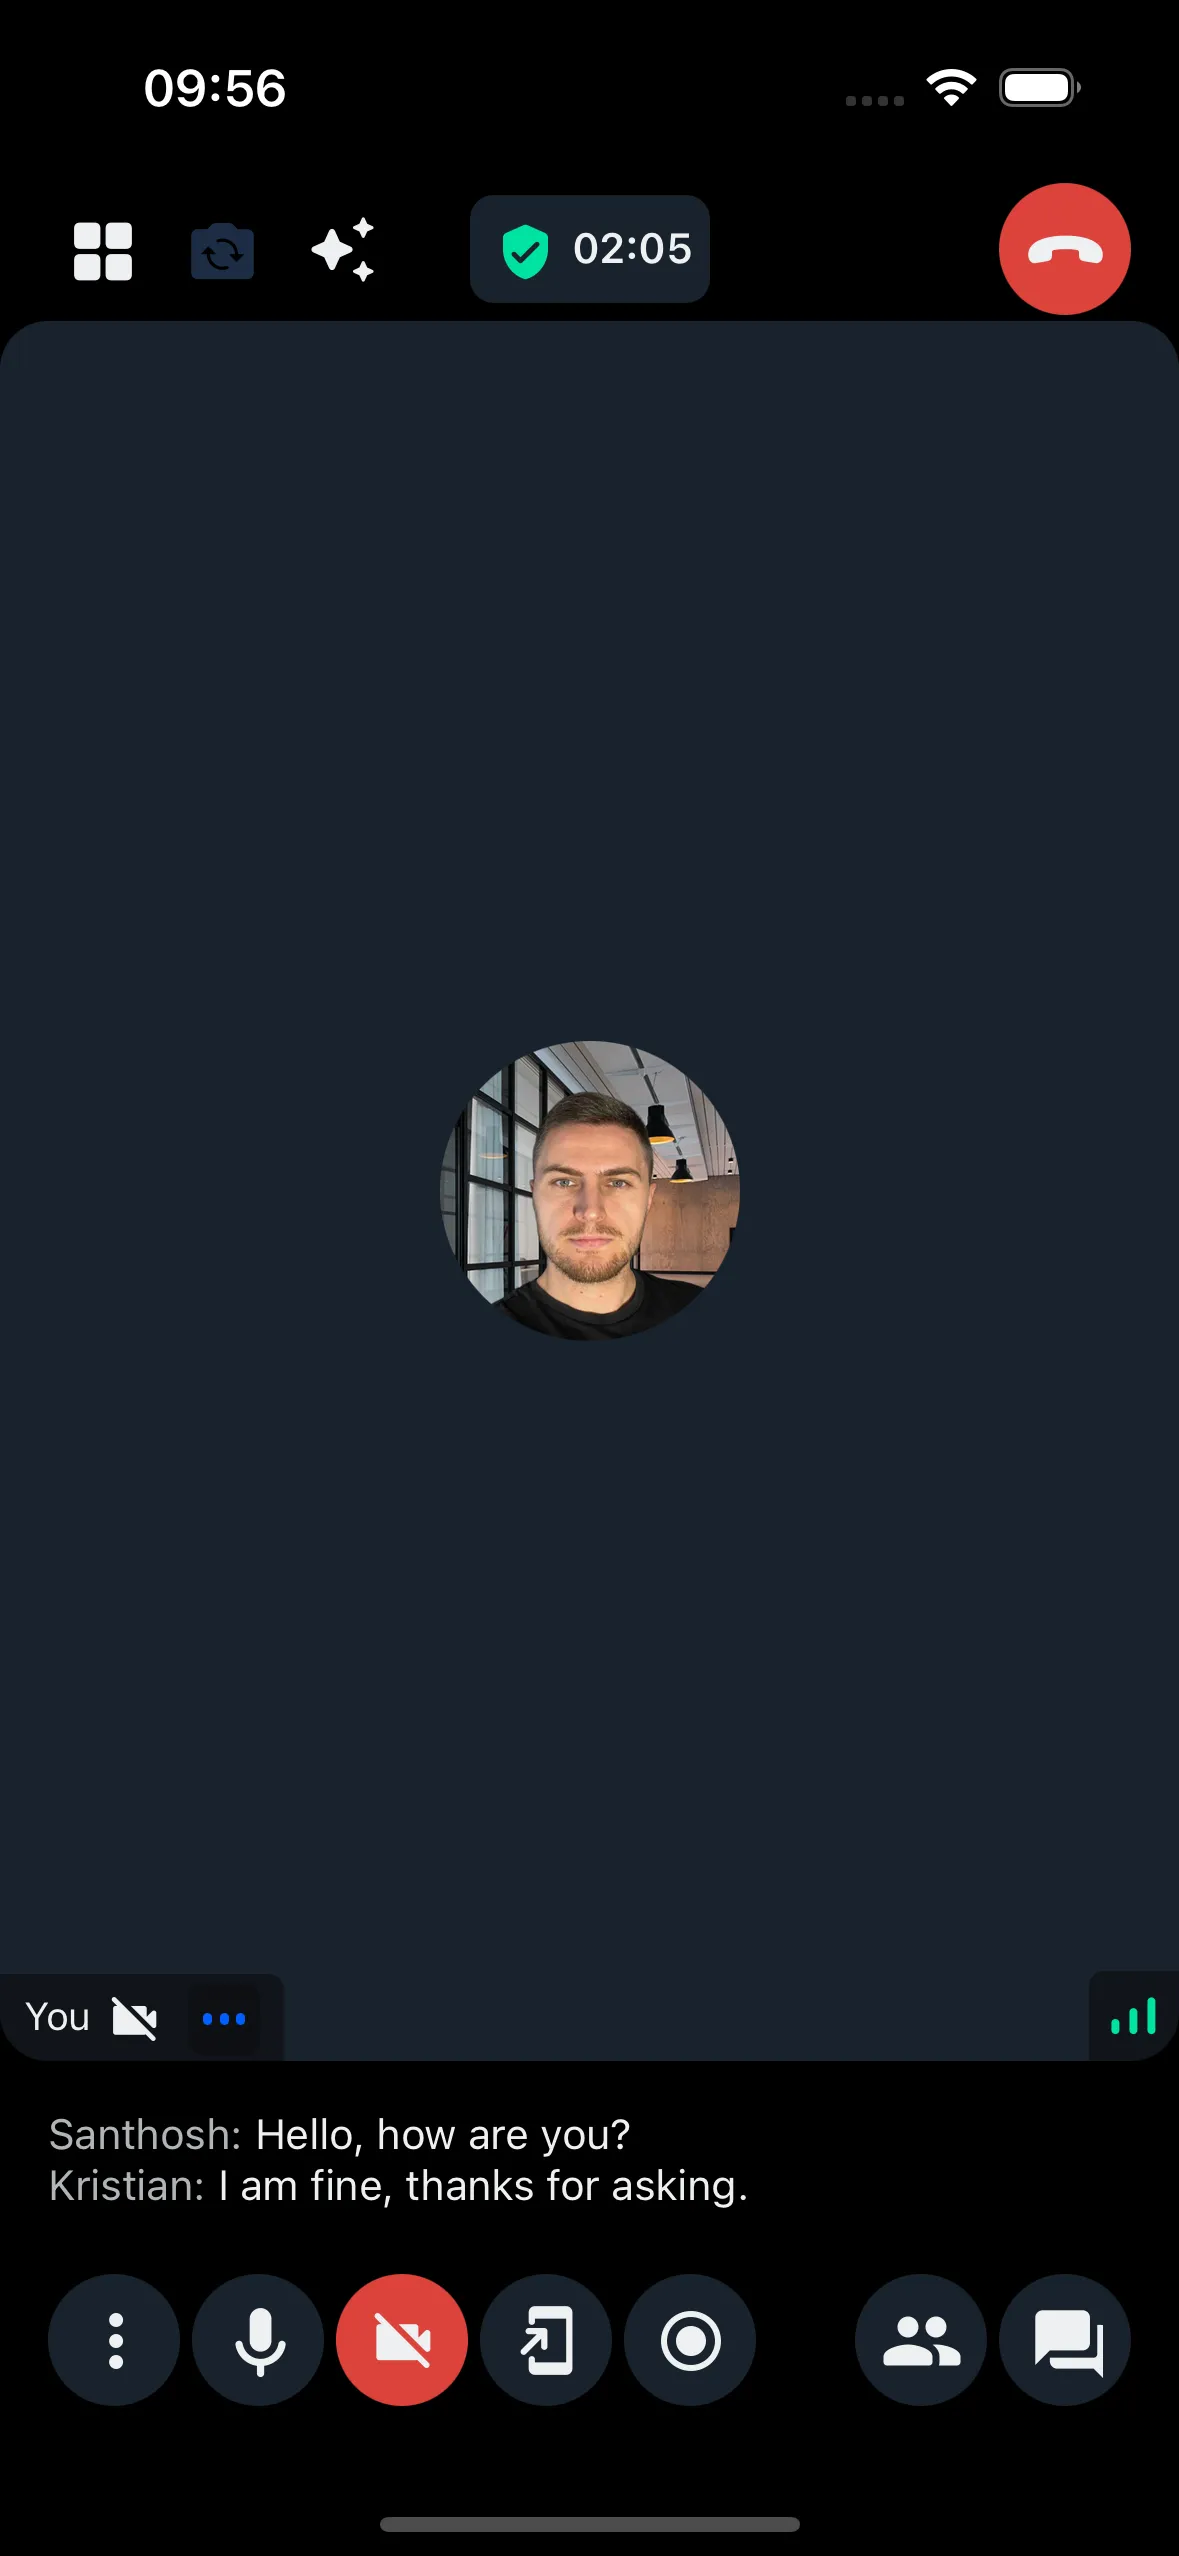
await call.startClosedCaptions(); // start closed captionsClosed Captions
The Stream API supports real-time closed captioning (subtitles) for calls. This guide covers building a closed captioning UI.
Best Practices
- Position captions clearly - Display at bottom without obscuring video
- Handle speaker identification - Show who is speaking
- Manage caption history - Limit visible captions to avoid clutter
- Respect permissions - Check user capabilities before showing toggle

Prerequisites
Enable closed captioning in the Stream Dashboard. Set Closed Captions Mode for your call type:
- Available - Feature can be enabled manually
- Auto-on - Feature enables automatically when call starts
Starting and stopping closed captions
For Auto-on mode, captions start automatically. For Available mode, start manually:
Stop captions:
await call.stopClosedCaptions(); // stop closed captionsUsers need permission to start/stop captioning. Starting/stopping affects all participants.
For per-participant control, use Auto-on mode but render captions conditionally based on client-side preference.
Rendering closed captions
Closed Captions UI
Access captions via useCallClosedCaptions hook:
Example:
import { StyleSheet, Text, View } from "react-native";
import { useCallStateHooks } from "@stream-io/video-react-native-sdk";

export const ClosedCaptions = () => {
  const { useCallClosedCaptions } = useCallStateHooks();
  const closedCaptions = useCallClosedCaptions();
  return (
    <View style={styles.rootContainer}>
      {closedCaptions.map(({ user, start_time, text }) => (
        <View style={styles.closedCaptionItem} key={`${user.id}/${start_time}`}>
          <Text style={styles.speakerName}>{user.name}:</Text>
          <Text style={styles.closedCaption}>{text}</Text>
        </View>
      ))}
    </View>
  );
};

const styles = StyleSheet.create({}); // omitted for brevity
By default, this hook exposes two most recent captions. Tweak visibility settings if needed.
Toggling closed captions
Users need start/stop permission (configure in Dashboard Permissions section).
Toggle button with permission check:
Example:
import {
  useCall,
  useCallStateHooks,
  OwnCapability,
} from "@stream-io/video-react-native-sdk";
import { Pressable, Text } from "react-native";

export const ToggleClosedCaptionsButton = () => {
  const call = useCall();
  const { useIsCallCaptioningInProgress, useHasPermissions } =
    useCallStateHooks();

  const isCaptioningInProgress = useIsCallCaptioningInProgress();
  const canToggle = useHasPermissions(
    OwnCapability.START_CLOSED_CAPTIONS_CALL,
    OwnCapability.STOP_CLOSED_CAPTIONS_CALL,
  );

  return (
    <Pressable
      disabled={!canToggle}
      onPress={() => {
        if (isCaptioningInProgress) {
          call.stopClosedCaptions();
        } else {
          call.startClosedCaptions();
        }
      }}
    >
      <Text>
        {isCaptioningInProgress ? "Disable" : "Enable"} closed captions
      </Text>
    </Pressable>
  );
};
Starting/stopping affects all participants. For individual control, use Auto-on with conditional rendering based on client-side preference.
Add these components anywhere in your call UI.
Advanced usage
Override the default Close Caption Mode
Override the call type's default mode when creating a call:
await call.getOrCreate({
  data: {
    settings_override: {
      transcription: {
        mode: "available",
        closed_caption_mode: "available",
      },
    },
  },
});
Tweak visibility settings
Defaults: maximum 2 captions visible, 2.7 seconds visibility per caption.
Customize settings:
call.updateClosedCaptionSettings({
  visibilityDurationMs: 2700, // maximum duration a caption can stay visible
  maxVisibleCaptions: 2, // maximum number of captions visible at one time
});
Setting both visibilityDurationMs and maxVisibleCaptions to zero keeps captions indefinitely.
Build your own logic
Subscribe to caption events for custom logic:
import { type CallClosedCaption } from "@stream-io/video-react-native-sdk";

const call = client.call(type, id);
const unsubscribe = call.on("call.closed_caption", (e: CallClosedCaption) => {
  console.log("Closed caption event:", e);
});

unsubscribe(); // remember to unsubscribe