Apple push notification service
Configure Stream Video push notifications using Apple Push Notification service (APNs).
Prerequisites:
- Paid Apple developer account
- Registered App ID with Push Notification capability enabled.
Delivering push notifications to iOS apps requires establishing an authenticated connection with APNs. There are two authentication options — a token-based approach using a .p8 key or a certificate-based approach using a .p12 file. You only need to set up one of them. We recommend using a .p8 key.
Getting a .p8 key (Recommended)
The .p8 authentication key is the preferred method because a single key works across all your apps and doesn't expire, unlike .p12 certificates which must be renewed annually.
Sign in to your Apple Developer Account and navigate to Certificates, Identifiers & Profiles > Keys.
Click the + (plus) button to register a new key.
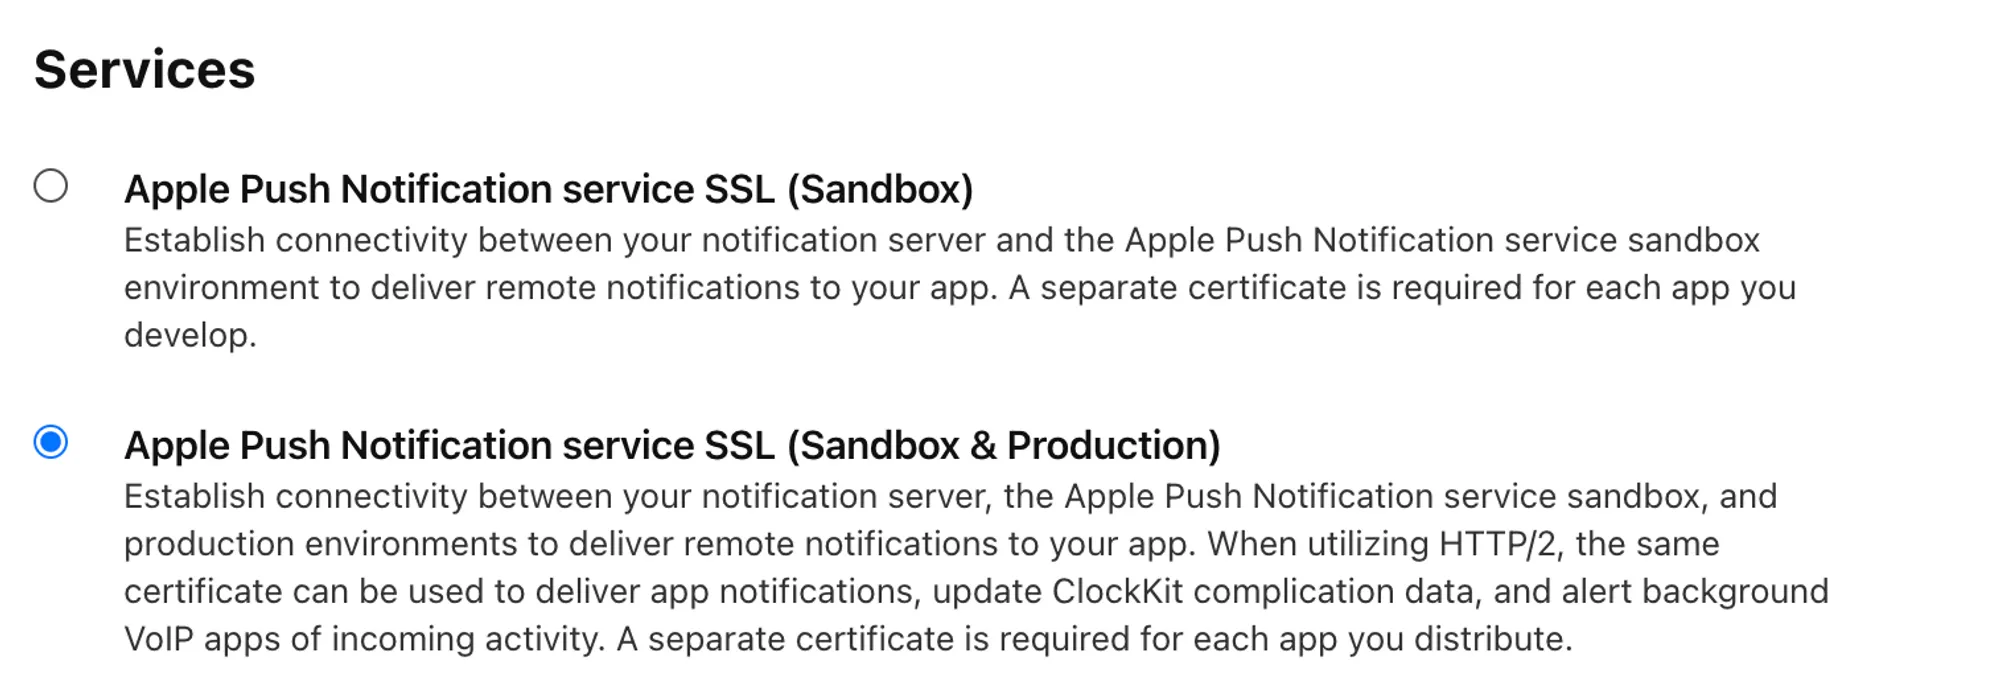
Give your key a descriptive name (e.g., "Stream Push Key") and tick the Apple Push Notifications service (APNs) checkbox. Make sure Sandbox & Production is selected under the APNs configuration, then click Continue followed by Register.
Click Download to save the
.p8file. Store it in a secure location — Apple only lets you download this file once.
Important: Apple limits you to two
.p8keys per developer account. If you already have two and need a new one, you must revoke an existing key first — and any service relying on the revoked key will stop working.
- Make a note of the following values — you'll need them when configuring the push provider in the Stream Dashboard:
- Key ID — shown on the key details page and also embedded in the
.p8filename (e.g.,AuthKey_ABC123.p8). - Team ID — displayed in the upper-right corner of your Apple Developer account.
- Bundle ID — your app's identifier, found under Identifiers in your developer account or in Xcode > your target > Signing & Capabilities.
- Key ID — shown on the key details page and also embedded in the
Getting a .p12 certificate file (Alternative to p8)
- In Apple's Developer Portal, select Apple Push Notifications service SSL (Sandbox & Production), then click Continue.
Choose your App ID and click Continue.
Create and upload a Certificate Signing Request (CSR) (instructions), then click Continue.
Download the .cer file.
Convert the .cer file to .p12:
- Double-click the .cer file to add it to the login keychain
- Open Applications > Utilities > Keychain Access
- Select the "login" keychain
- In the Certificates tab, right-click the certificate and export as .p12
- Leave the password empty when exporting
Upload the certificate and create a push provider
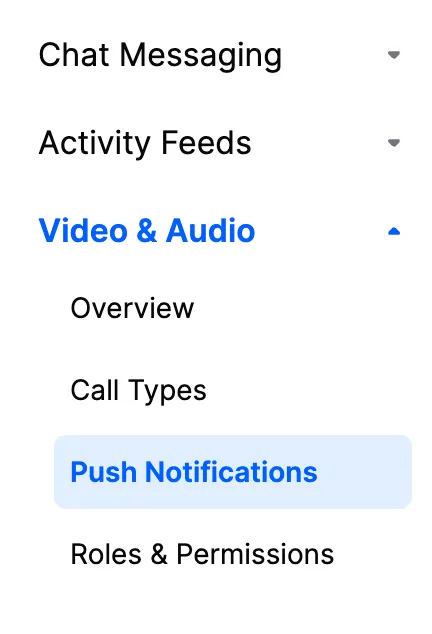
In the Stream Dashboard, select Push Notifications:
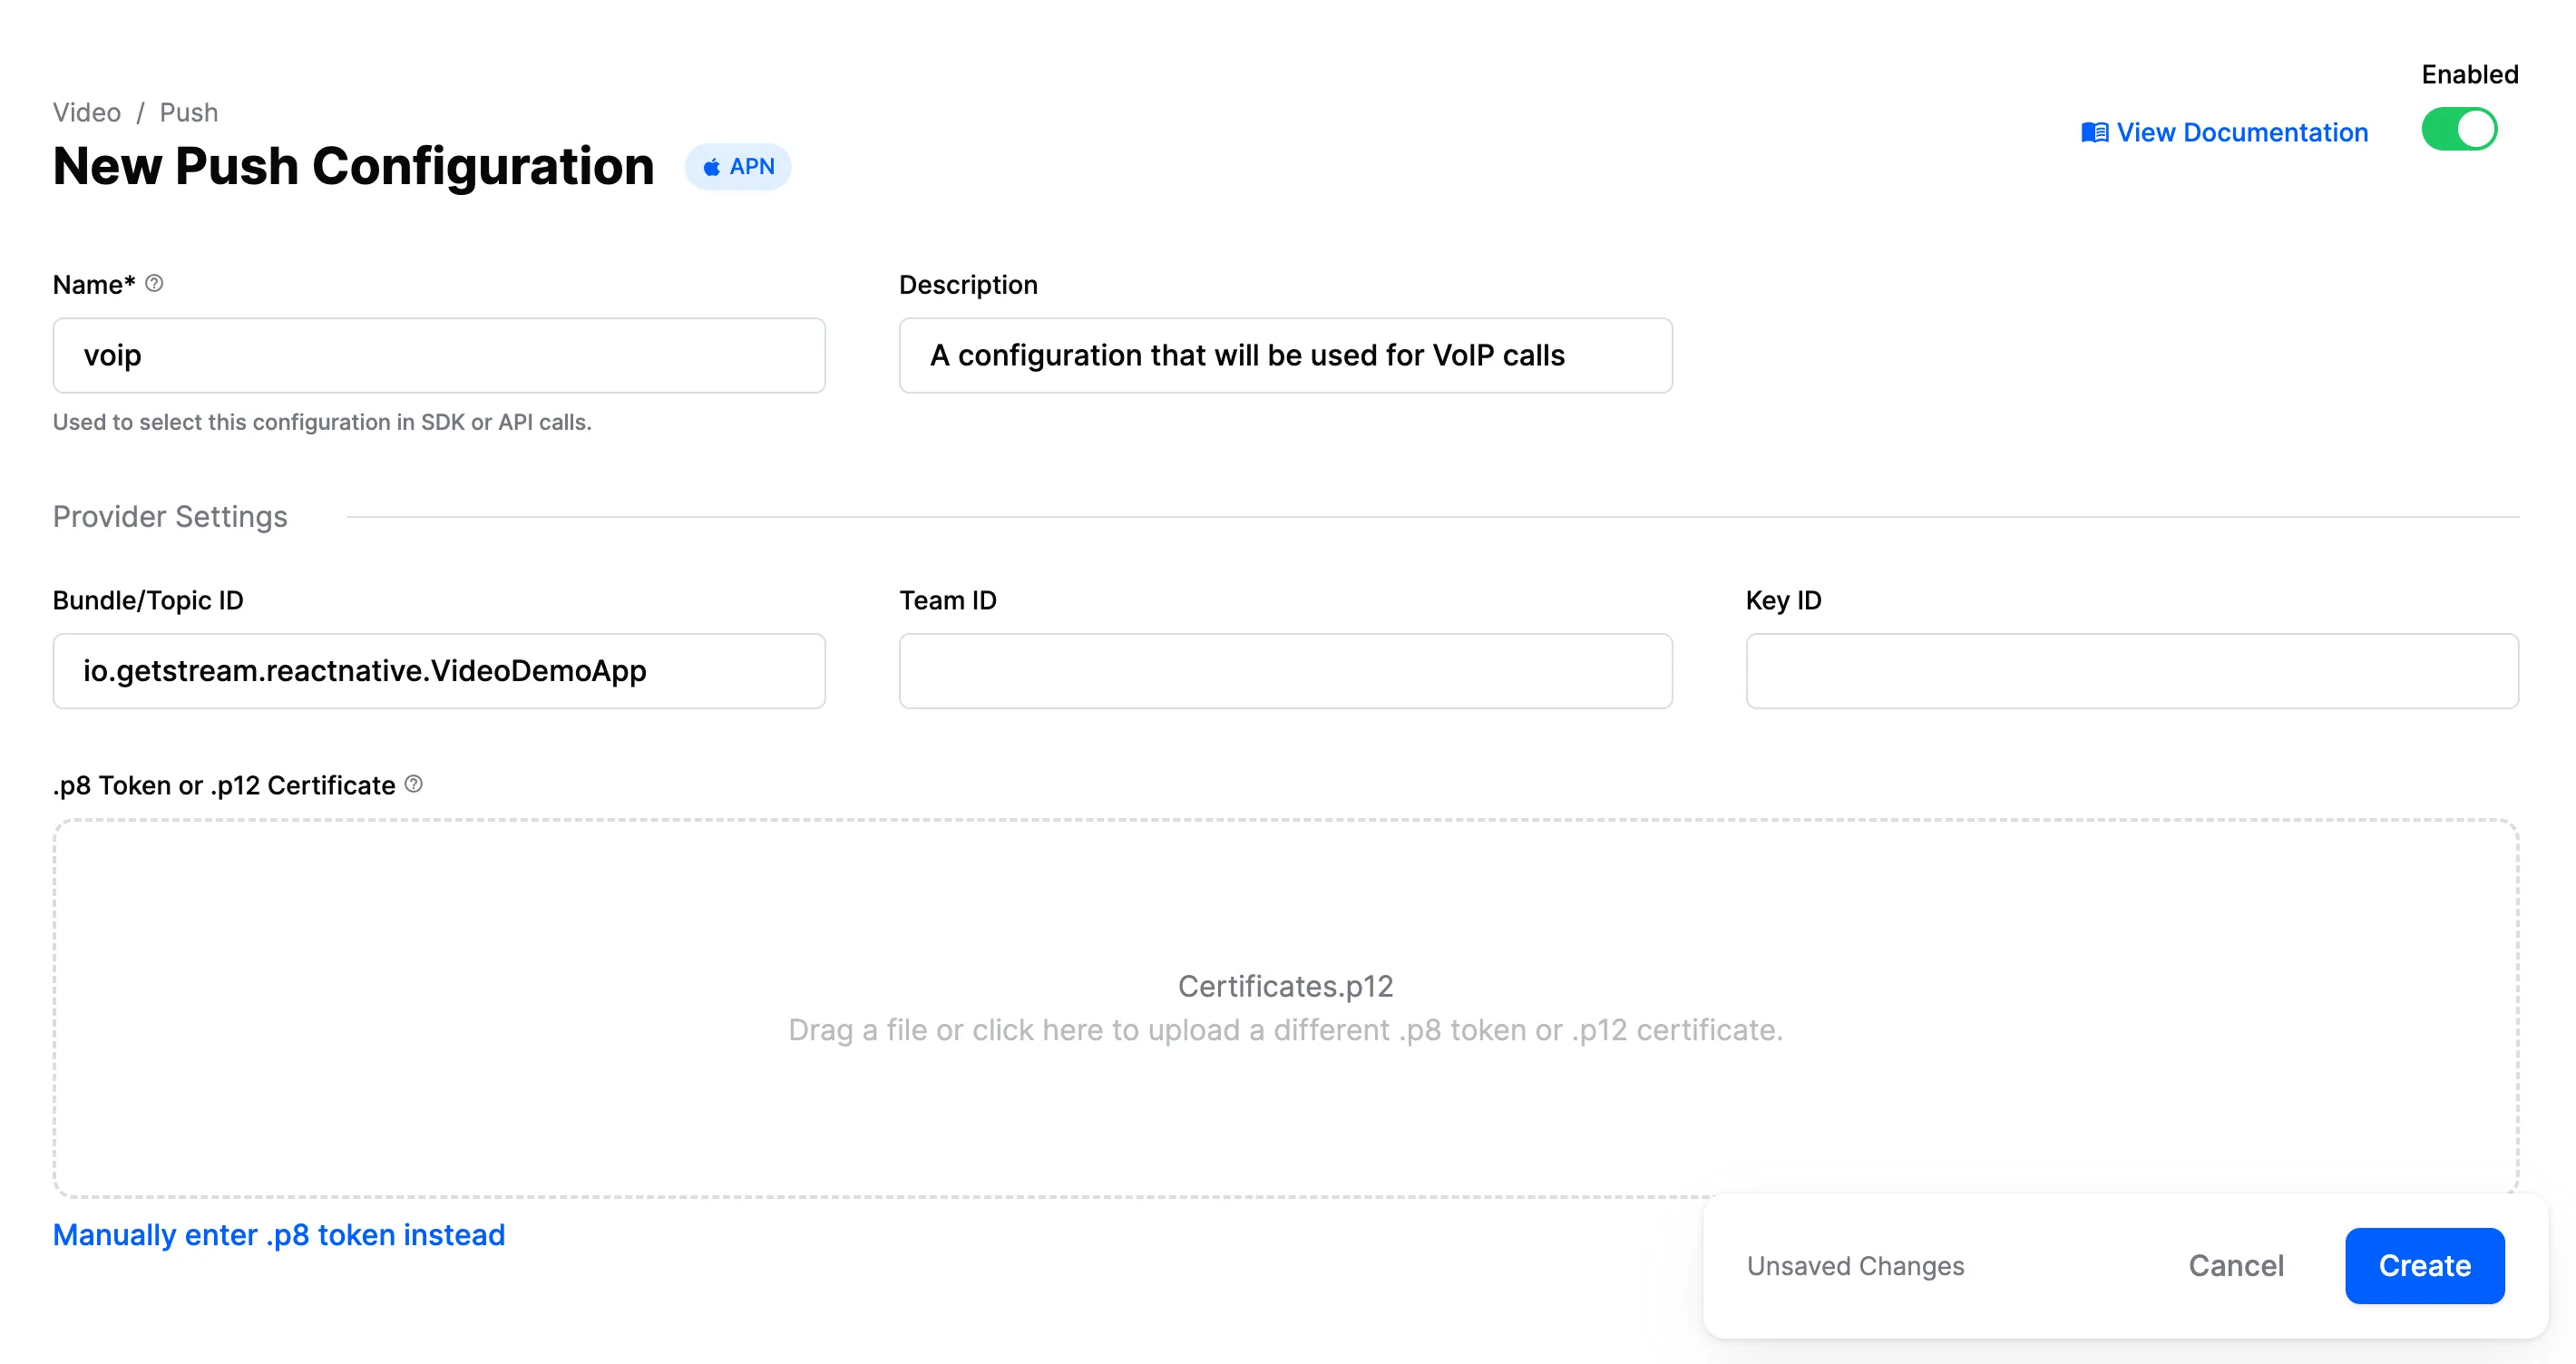
Click New Configuration and select the APN provider. Configure these fields:
| Field Name | Description |
|---|---|
Name | Provider identifier used in SDK/API calls |
Description | Optional description for identifying this configuration |
Bundle/Topic ID | Your app's bundle ID for push notifications |
TeamID | Apple Team ID (found in top right of Apple developer account) |
KeyID | p8 key identifier (found in keys section of Apple developer account) |
.p8 Token or .p12 Certificate | Authentication token or certificate for sending push notifications |
Configuration steps:
- Enter a name in the Name field (used in your code)
- Add your app's bundle ID
- Upload the .p8 key or .p12 file with the required Apple details
- Enable the provider using the toggle
- Click Create
Example configuration using voip as the name: