<action android:name="android.intent.action.VIEW" />Deep Linking
This guide covers deep linking into video calls, extracting call IDs from URLs, and starting calls directly.
Step 1 - Native Setup
Prerequisites before following this guide is having an application with our Stream Video SDK integrated. You can follow our tutorials for the same to get started with an application.
Follow this guide for Android deep linking setup.
Creating Intent Filters
Add intent filters to AndroidManifest.xml at /android/app/src/main/AndroidManifest.xml:
- action - ACTION_VIEW for Google Search reachability
- data - URI format tags with
android:schemeattribute minimum
<data android:scheme="http" />
<data android:scheme="https" />
<!-- The URL here must exclude the scheme -->
<data android:host="`YOUR URL HERE`" />- category - DEFAULT and BROWSABLE required for browser link resolution
<category android:name="android.intent.category.DEFAULT" />
<category android:name="android.intent.category.BROWSABLE" />
Complete intent filter:
<intent-filter android:autoVerify="true">
    <action android:name="android.intent.action.VIEW" />
    <category android:name="android.intent.category.DEFAULT" />
    <category android:name="android.intent.category.BROWSABLE" />
    <data android:scheme="http" />
    <data android:scheme="https" />
    <!-- Example: "stream-calls-dogfood.vercel.app” -->
    <data android:host="`YOUR URL HERE`" />
</intent-filter>
Adding Asset Links
Android App Links use Digital Asset Links API for automatic URL-to-app routing without user selection.
Verification steps:
Add
autoVerifyattribute to intent filters (as shown above)Declare association by hosting Digital Asset Links JSON at:
https://domain.name/.well-known/assetlinks.jsonGenerate assetlink.json using this tool:
- Hosting site name - Deep linking URL
- App package name - Found in
MainActivity.javapackage declaration - App package fingerprint (SHA256) - See this guide
Adding deep linking support in AppDelegate
Link RCTLinking to handle incoming app links. Add to AppDelegate.m or AppDelegate.mm:
#import <React/RCTLinkingManager.h>

- (BOOL)application:(UIApplication *)application
   openURL:(NSURL *)url
   options:(NSDictionary<UIApplicationOpenURLOptionsKey,id> *)options
{
  return [RCTLinkingManager application:application openURL:url options:options];
}

- (BOOL)application:(UIApplication *)application continueUserActivity:(nonnull NSUserActivity *)userActivity
 restorationHandler:(nonnull void (^)(NSArray<id<UIUserActivityRestoring>> * _Nullable))restorationHandler
{
 return [RCTLinkingManager application:application
                  continueUserActivity:userActivity
                    restorationHandler:restorationHandler];
}
Setting up a URL scheme
In Xcode, open YOUR_APP_NAME/ios/app-name.xcworkspace, select project > Info tab > URL types:
- Identifier - Your bundle ID
- URL Schemes - Your URL prefix
- Role - Editor

Setting up Universal schemes
If your app is using Universal Links, you will need to add the following code as well.
- (BOOL)application:(UIApplication *)application continueUserActivity:(nonnull NSUserActivity *)userActivity
 restorationHandler:(nonnull void (^)(NSArray<id<UIUserActivityRestoring>> * _Nullable))restorationHandler
{
 return [RCTLinkingManager application:application
                  continueUserActivity:userActivity
                    restorationHandler:restorationHandler];
}
Adding Associated Domains Entitlement
In Signing & Capabilities, add Associated Domains entitlement for Universal Links and web credentials support.
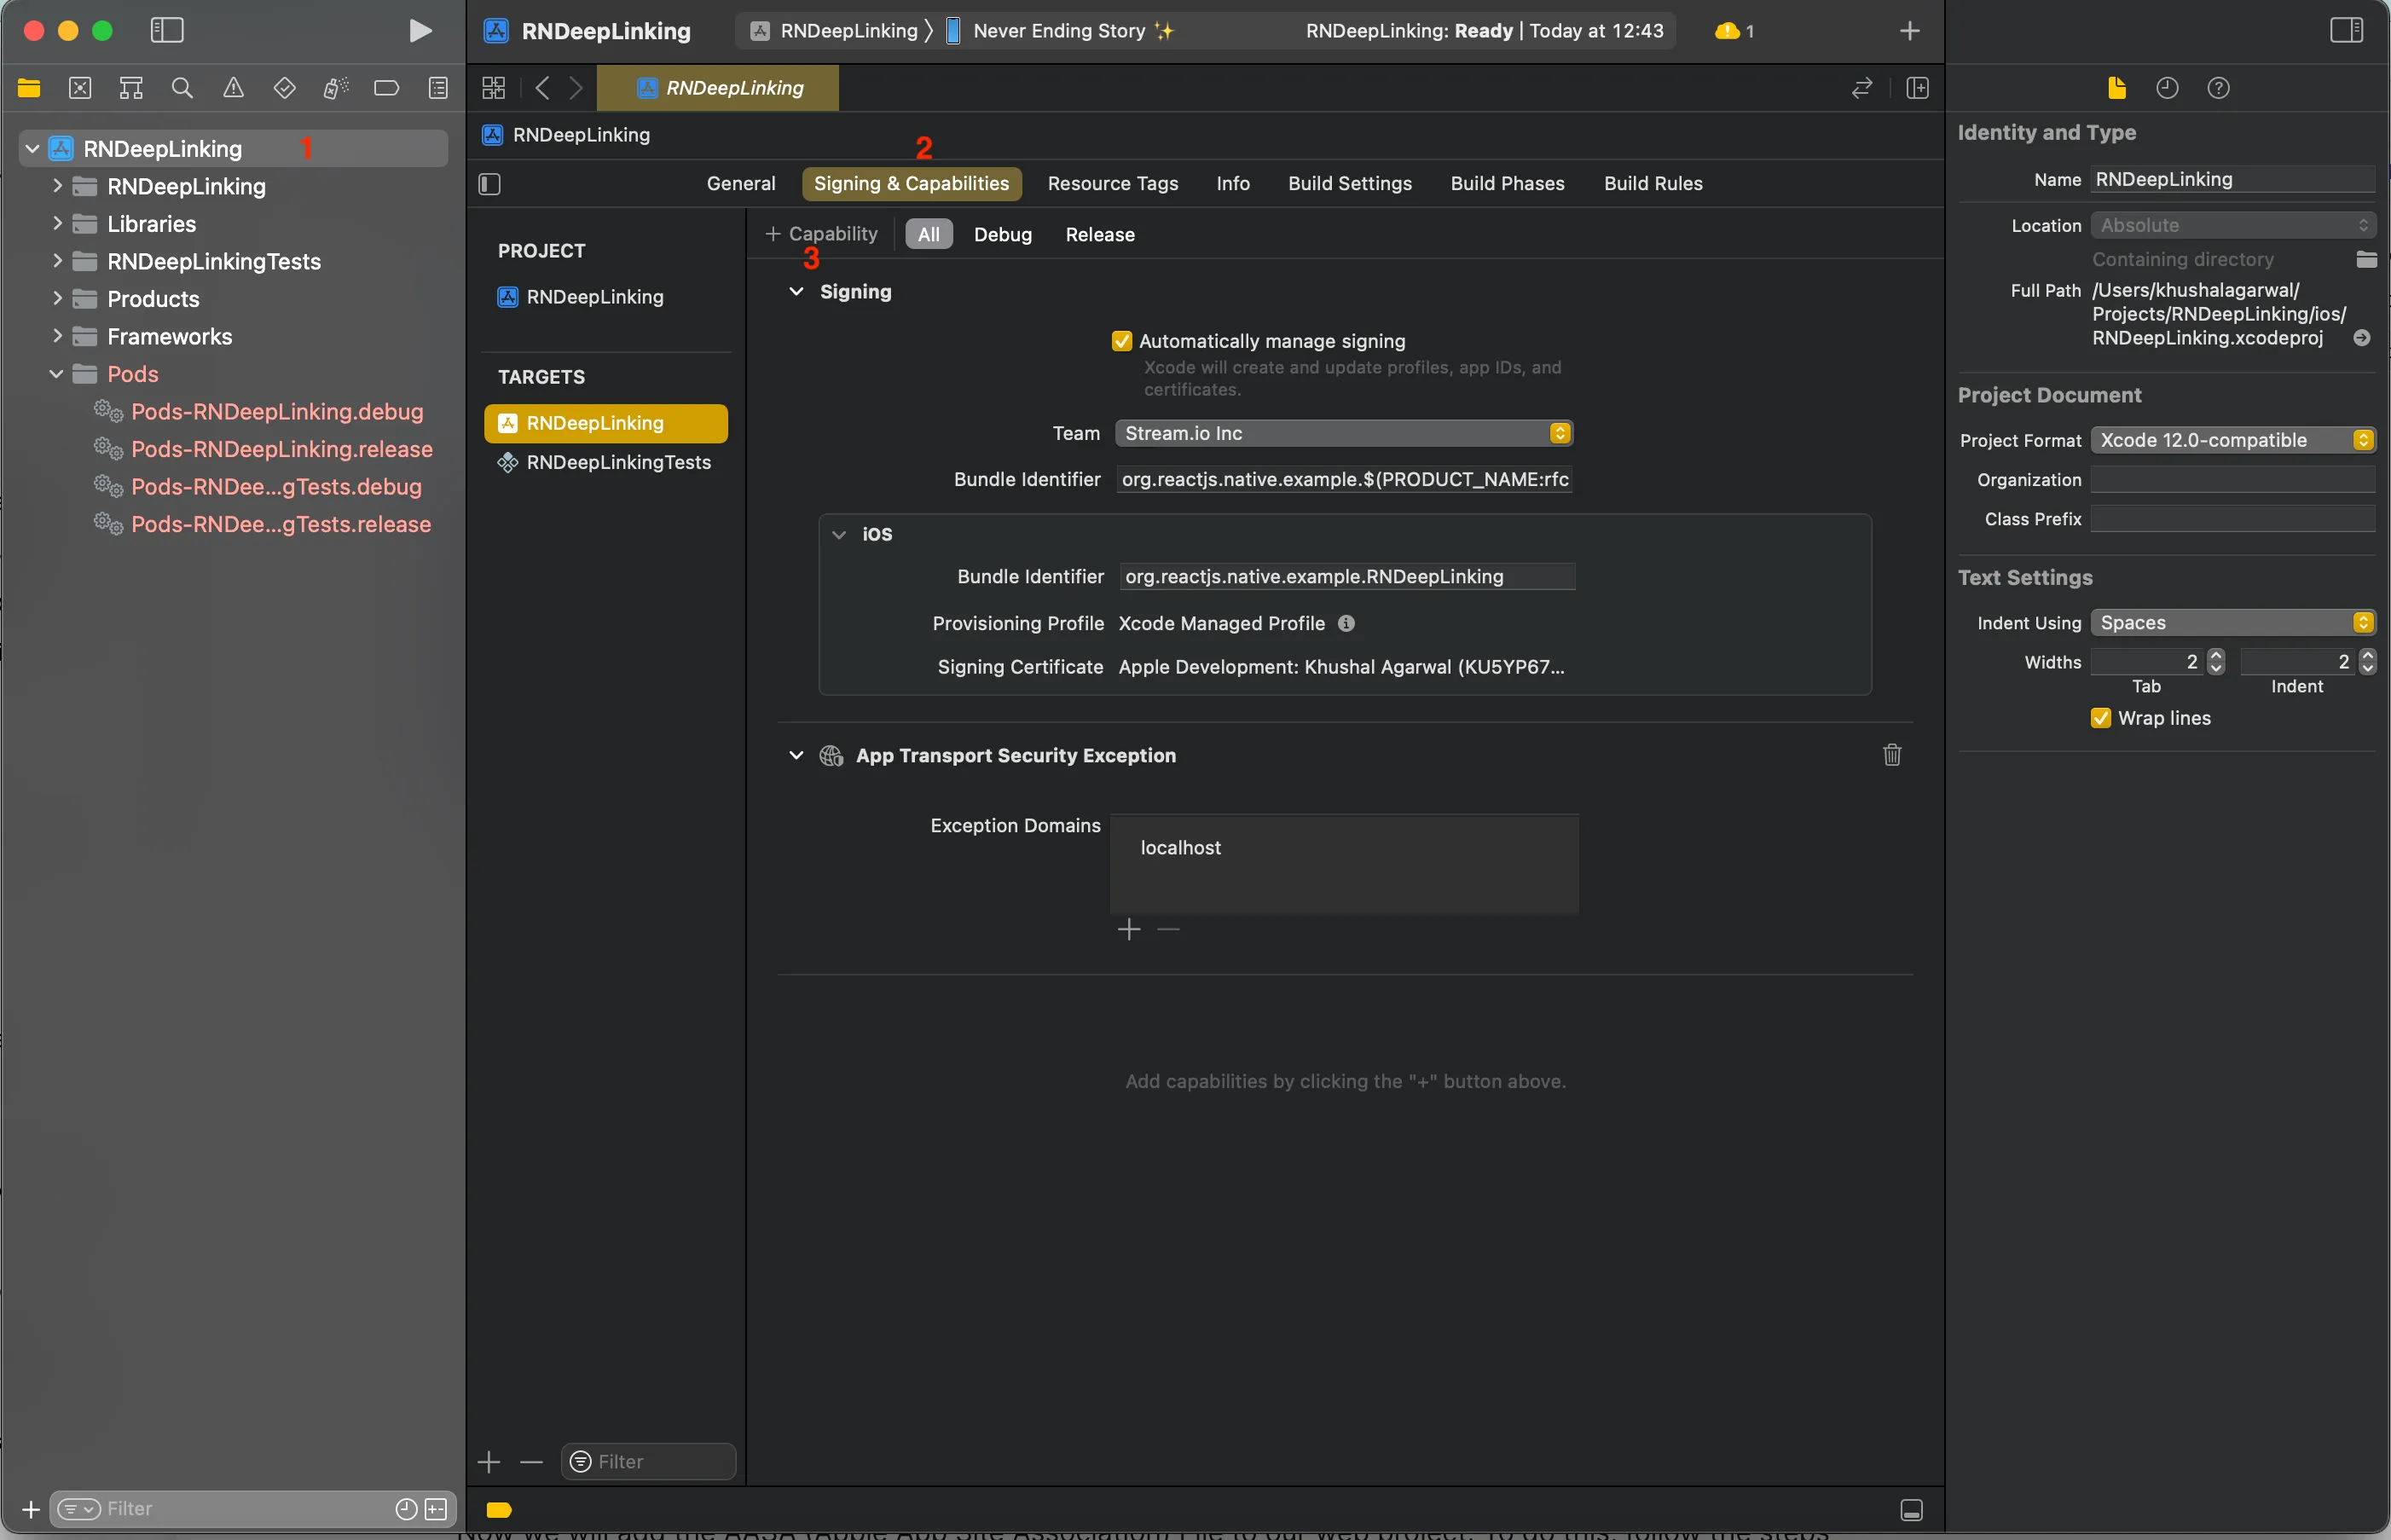
- Click + near Capability, search Associated Domains, add it
- Add
applinks:your-domain.com
This creates a .entitlements file in ios/YOUR_APP_NAME.
Create AASA file at https://domain.name/.well-known/apple-app-site-association:
{
  "applinks": {
    "apps": [],
    "details": [
      {
        "appID": ["<TeamID>.com.example.myapp"],
        "paths": ["*"]
      }
    ]
  }
}
Notes:
- appID - Prefix Bundle ID with Team ID from Membership page
- paths - URIs to support; use wildcard (*) for dynamic segments
- apps - Must be empty array
Step 2 - Using the Linking API
Use React Native's Linking API:
- App not open - Use
getInitialURL()to get initial URL - App open - Listen via
addEventListener('url', callback)
Example:
const App = () => {
  useEffect(() => {
    const parseAndSetCallID = (url: string | null) => {
      const matchResponse = url?.match(`YOUR REGEX HERE`); // To match the paths and handle them accordingly
      if (matchResponse?.length) {
        // Your custom setup here.
      }
    };
    const { remove } = Linking.addEventListener("url", ({ url }) => {
      parseAndSetCallID(url);
    });
    const configure = async () => {
      const url = await Linking.getInitialURL();
      parseAndSetCallID(url);
    };
    configure();
    return remove;
  }, []);
};
Extract call ID from URL, start the call, and navigate accordingly.
Recap
- Android - Intent filters in AndroidManifest,
assetlinks.jsonon domain - iOS - RCTLinking in AppDelegate,
apple-app-site-associationon domain - Handling - Use React Native Linking API
Questions or feedback? Reach out to our team.