Apple Push Notification service (APNs)
This page shows you how to receive Stream Video push notifications to make VoIP Calls with CallKit using Apple Push Notification service (APNs).
In order to get started, you would need have a paid Apple developer account, and an app id with push notifications enabled.
Create VoIP certificate
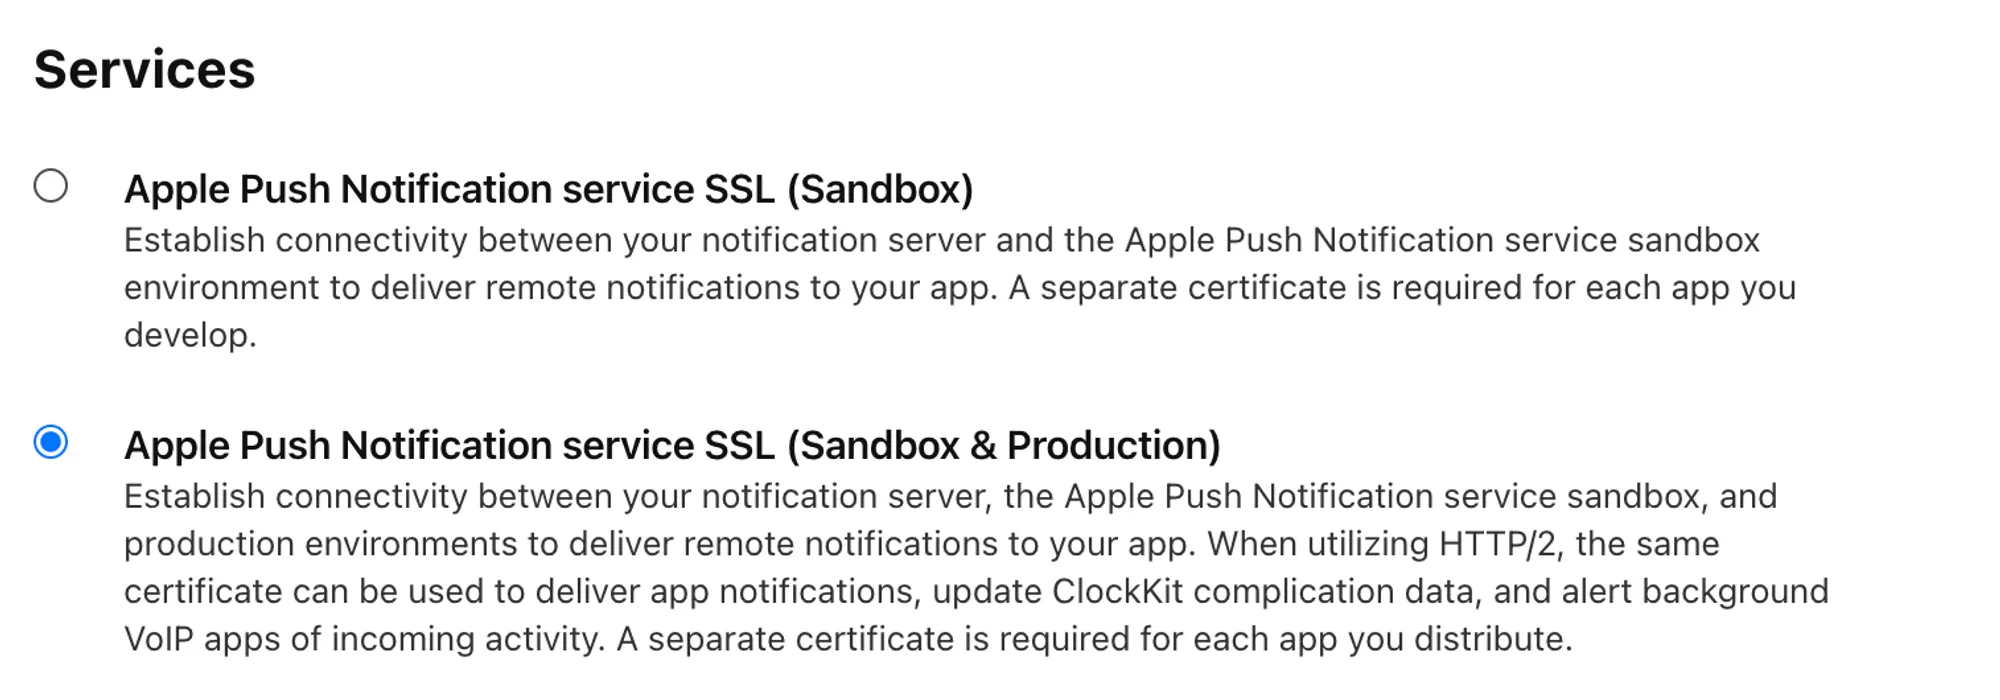
Next, you need to create a VoIP calling certificate. In order to do that, go to your Apple developer account, select “Certificates, Identifiers & Profiles” and create a new certificate. Make sure to select "Apple Push Notification service SSL (Sandbox & Production)", located under the “Services” section. Follow the steps to create the required certificate.

After you’ve created the certificate, you would need to convert the aps.cer file to a .p12 certificate file using keychain access and upload it to our dashboard.
Make sure that you configure no password for the p12 file.
Dashboard Configuration
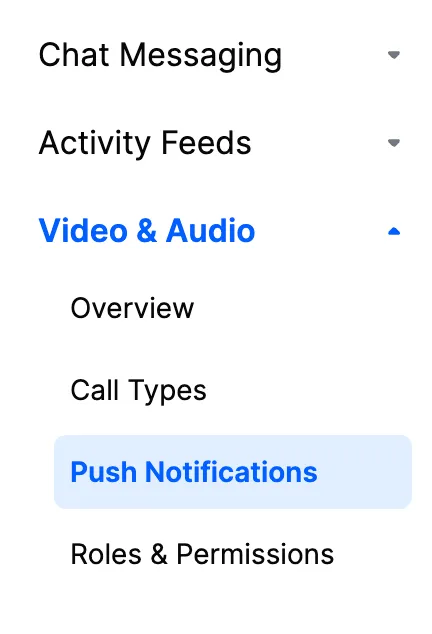
In order to configure VoIP Push Notifications, you need to visit your app’s Stream Dashboard page. From there, select the Push Notifications menu option as you can see in the image below:

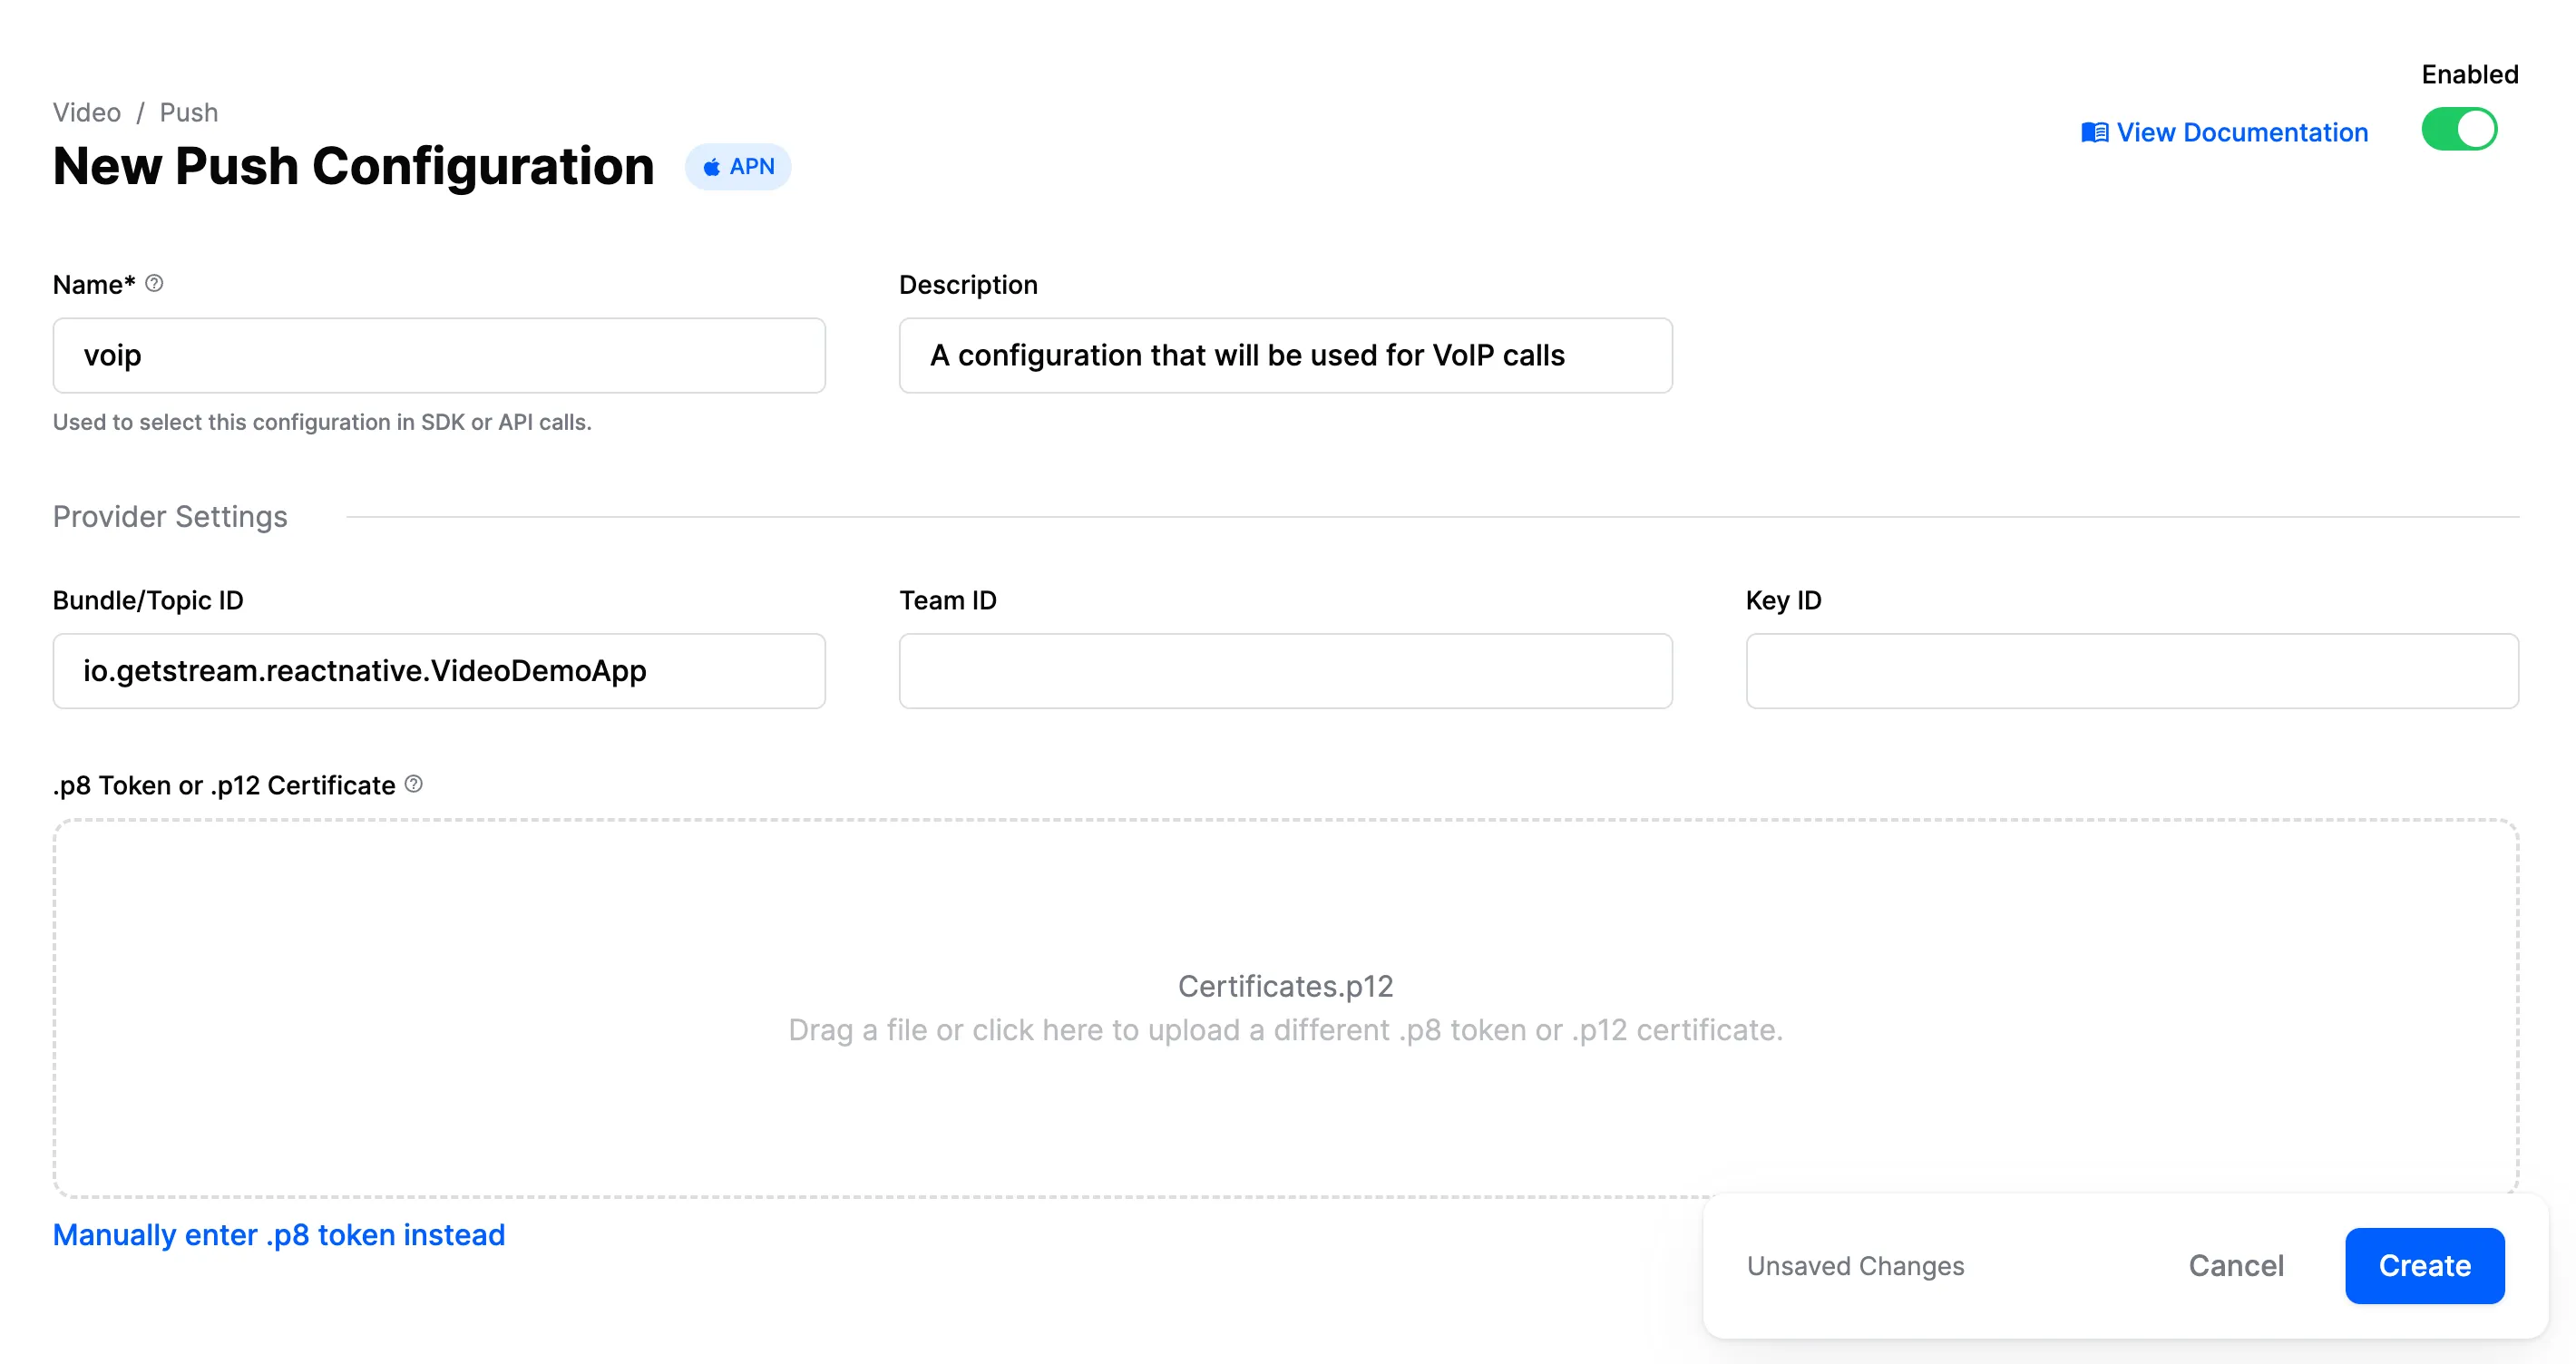
From there you can create a new configuration by clicking the New Configuration button. After selecting the APN Provider, you will be asked to provide the following information:
| Field Name | Usage description |
|---|---|
Name | Used to select this configuration in SDK or API calls. |
Description | Allows you to set a description on the configuration to help identify its usage in your app’s context. |
Bundle/Topic ID | Your app’s bundle id to which the notification will be pushed to. |
TeamID | The Team ID is generated by Apple for your developer account. Can be found in the top right of your Apple developer account. |
KeyID | This is the unique identifier for the p8 authentication key. You can find your Key ID in the keys section of your Apple developer account. |
.p8 Token or .p12 Certificate | The token or certificate that will be used to send the push notification. |
For our example, we are using voip as name and we are filling the remaining information as you can see in the image below:
