import { OverlayProvider, Chat, ThreadList } from "stream-chat-react-native";

const ThreadListScreen = () => {
  return (
    <OverlayProvider>
      <Chat client={client}>
        <ThreadList />
      </Chat>
    </OverlayProvider>
  );
};
This is beta documentation for Stream Chat React Native SDK v9. For the latest stable version, see the latest version (v8)
.
Custom Thread List
This cookbook shows how to build a custom screen with ThreadList and a banner for unread threads.
Best Practices
- Keep
ThreadListwithinChatso it has access to client state and contexts. - Use
isFocusedto avoid unnecessary updates when the screen is not visible. - Reuse
onThreadSelectso thread navigation stays consistent across the app. - Keep custom
ThreadListItemlightweight to maintain scroll performance. - Pull unread counts from the state store to avoid extra client queries.
Prerequisites
A screen that shows a Thread and a working chatClient are required. Examples use React Navigation, but any navigation library works.
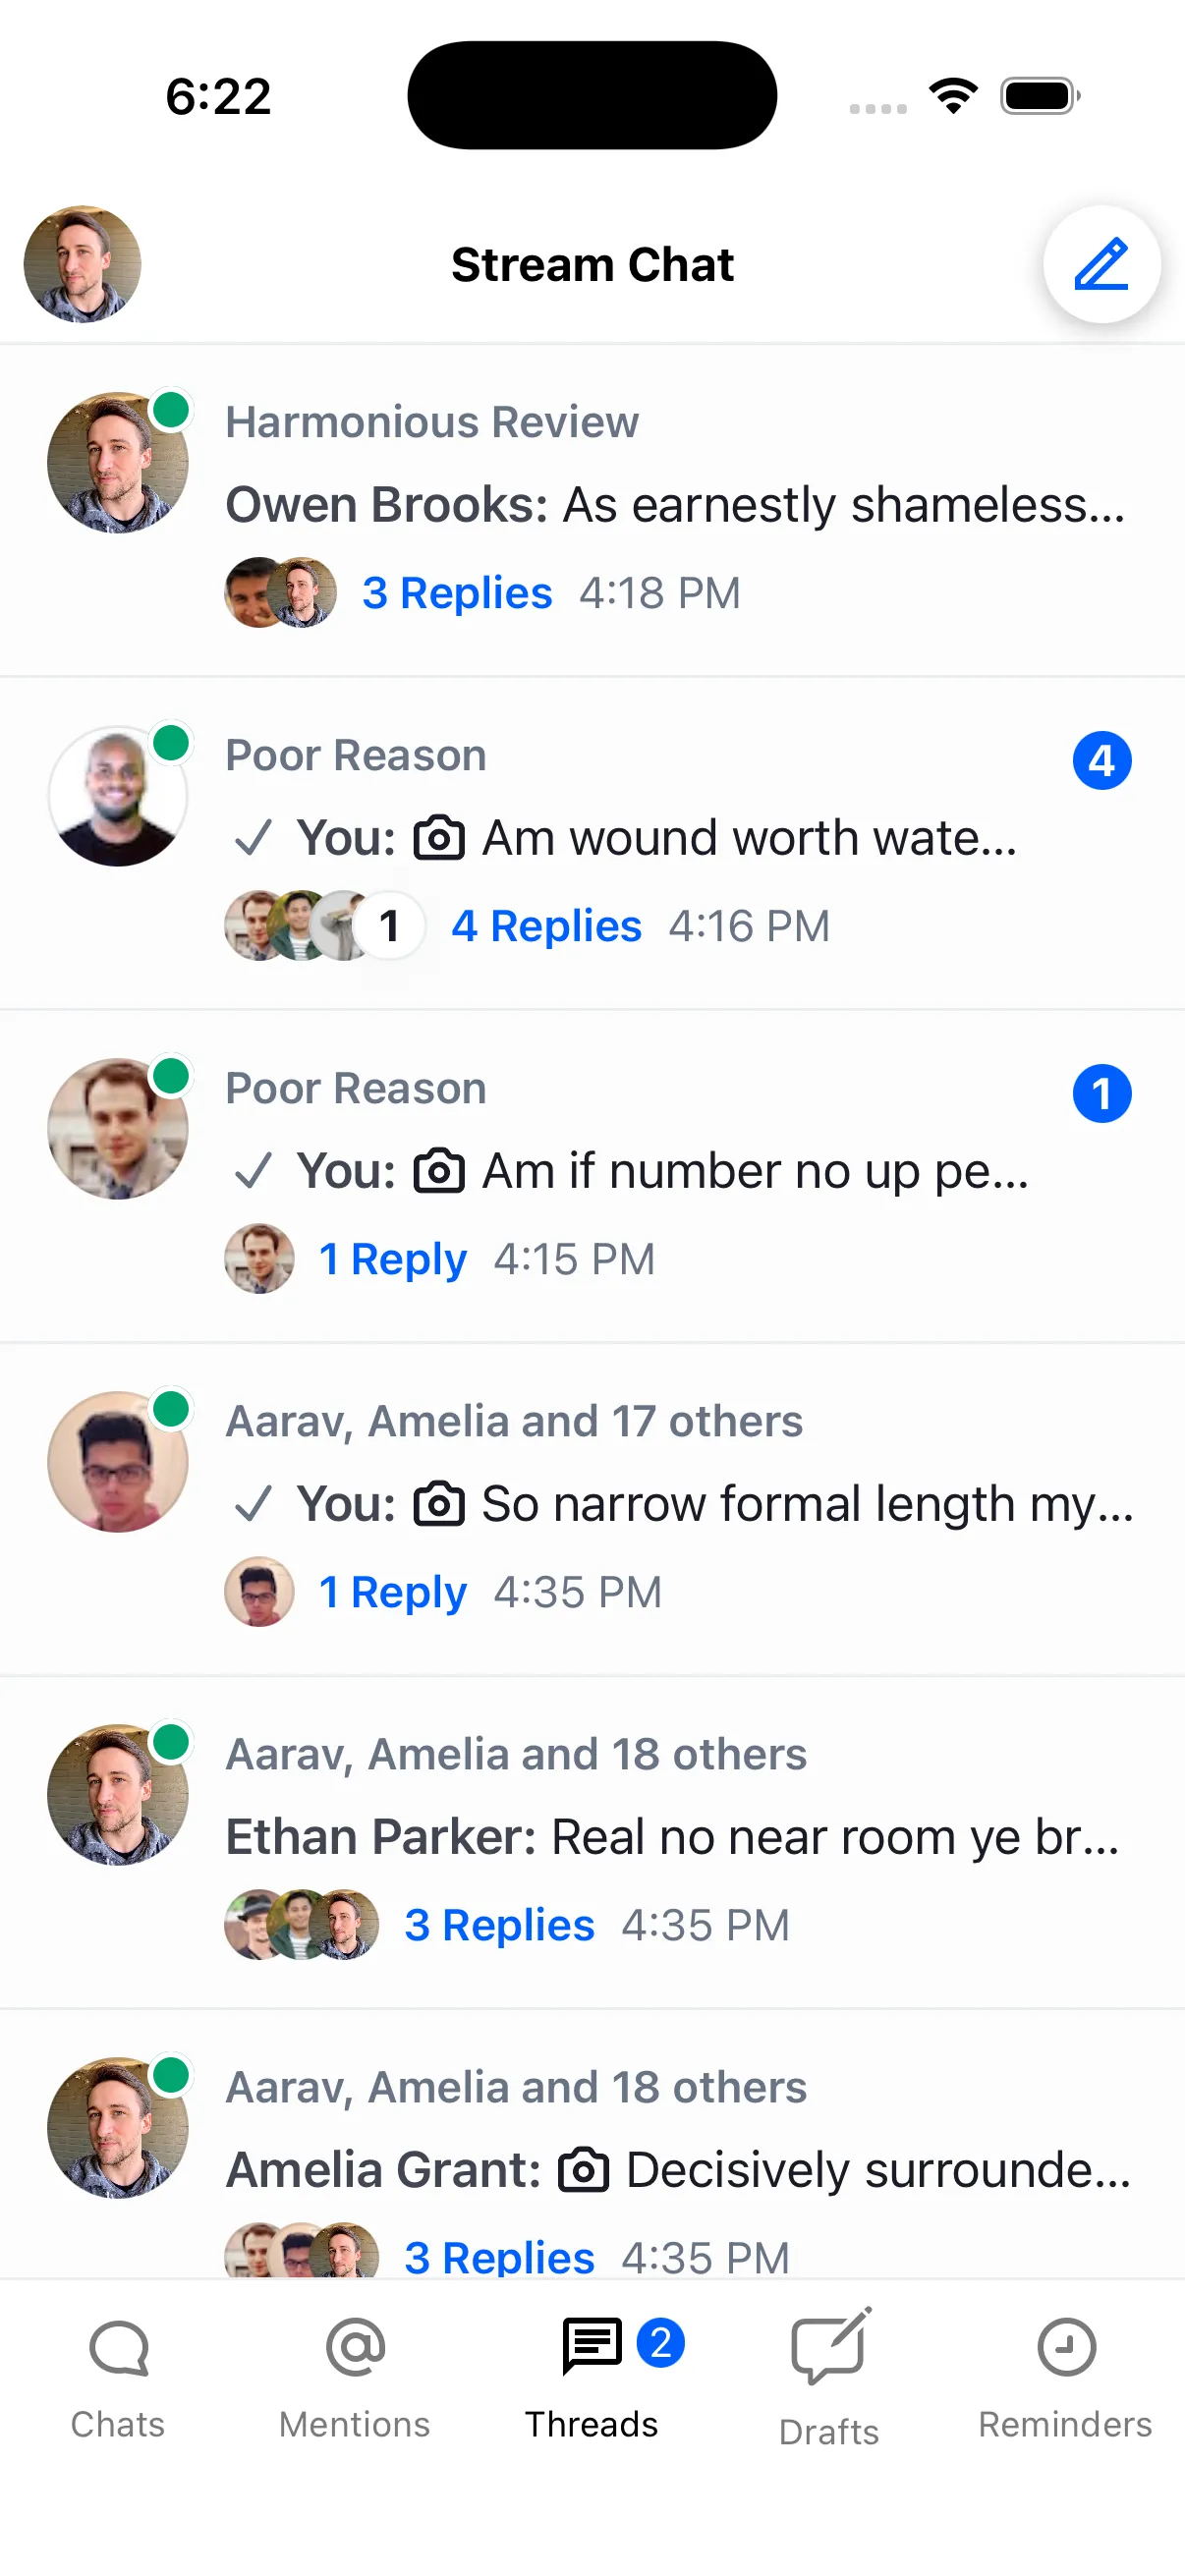
Creating the Screen
Add ThreadList to a new screen:
This renders the user's threads with the default UI.
Optimizing with Focus State
Update the list only when the screen is focused using isFocused. This is useful when ThreadList lives in a tab that stays mounted:
import { OverlayProvider, Chat, ThreadList } from "stream-chat-react-native";
// any navigation library hook/method can be used for this
import { useIsFocused } from "@react-navigation/native";

const ThreadListScreen = () => {
  const isFocused = useIsFocused();
  return (
    <OverlayProvider>
      <Chat client={client}>
        <ThreadList isFocused={isFocused} />
      </Chat>
    </OverlayProvider>
  );
};
Handling Thread Navigation
Now the list refreshes only when focused. Next, handle item taps and navigate to the thread:
import { OverlayProvider, Chat, ThreadList } from "stream-chat-react-native";
// any navigation library hook/method can be used for this
import { useNavigation, useIsFocused } from "@react-navigation/native";

const ThreadListScreen = () => {
  const isFocused = useIsFocused();
  const navigation = useNavigation();
  return (
    <OverlayProvider>
      <Chat client={client}>
        <ThreadList
          isFocused={isFocused}
          onThreadSelect={(thread, channel) => {
            navigation.navigate("ThreadScreen", {
              thread,
              channel,
            });
          }}
        />
      </Chat>
    </OverlayProvider>
  );
};
Overriding ThreadListItem
Override ThreadListItem to render a custom layout per item. This example shows only the thread ID:
import { TouchableOpacity, Text } from "react-native";
import type { LocalMessage } from "stream-chat";
import {
  OverlayProvider,
  Chat,
  ThreadList,
  useThreadsContext,
  useThreadListItemContext,
} from "stream-chat-react-native";

// any navigation library hook/method can be used for this
import { useNavigation, useIsFocused } from "@react-navigation/native";

const ThreadListItem = () => {
  const { onThreadSelect } = useThreadsContext();
  const { channel, thread, parentMessage } = useThreadListItemContext();
  return (
    <TouchableOpacity
      style={{ backgroundColor: "red", padding: 5 }}
      onPress={() => {
        if (onThreadSelect) {
          onThreadSelect(
            { thread: parentMessage as LocalMessage, threadInstance: thread },
            channel,
          );
        }
      }}
    >
      <Text>{thread?.id}</Text>
    </TouchableOpacity>
  );
};

const ThreadListScreen = () => {
  const isFocused = useIsFocused();
  const navigation = useNavigation();
  return (
    <OverlayProvider>
      <Chat client={client}>
        <ThreadList
          isFocused={isFocused}
          onThreadSelect={(thread, channel) => {
            navigation.navigate("ThreadScreen", {
              thread,
              channel,
            });
          }}
          ThreadListItem={ThreadListItem}
        />
      </Chat>
    </OverlayProvider>
  );
};
When overriding the item, pass the required parameters to onThreadSelect() so navigation continues to work.
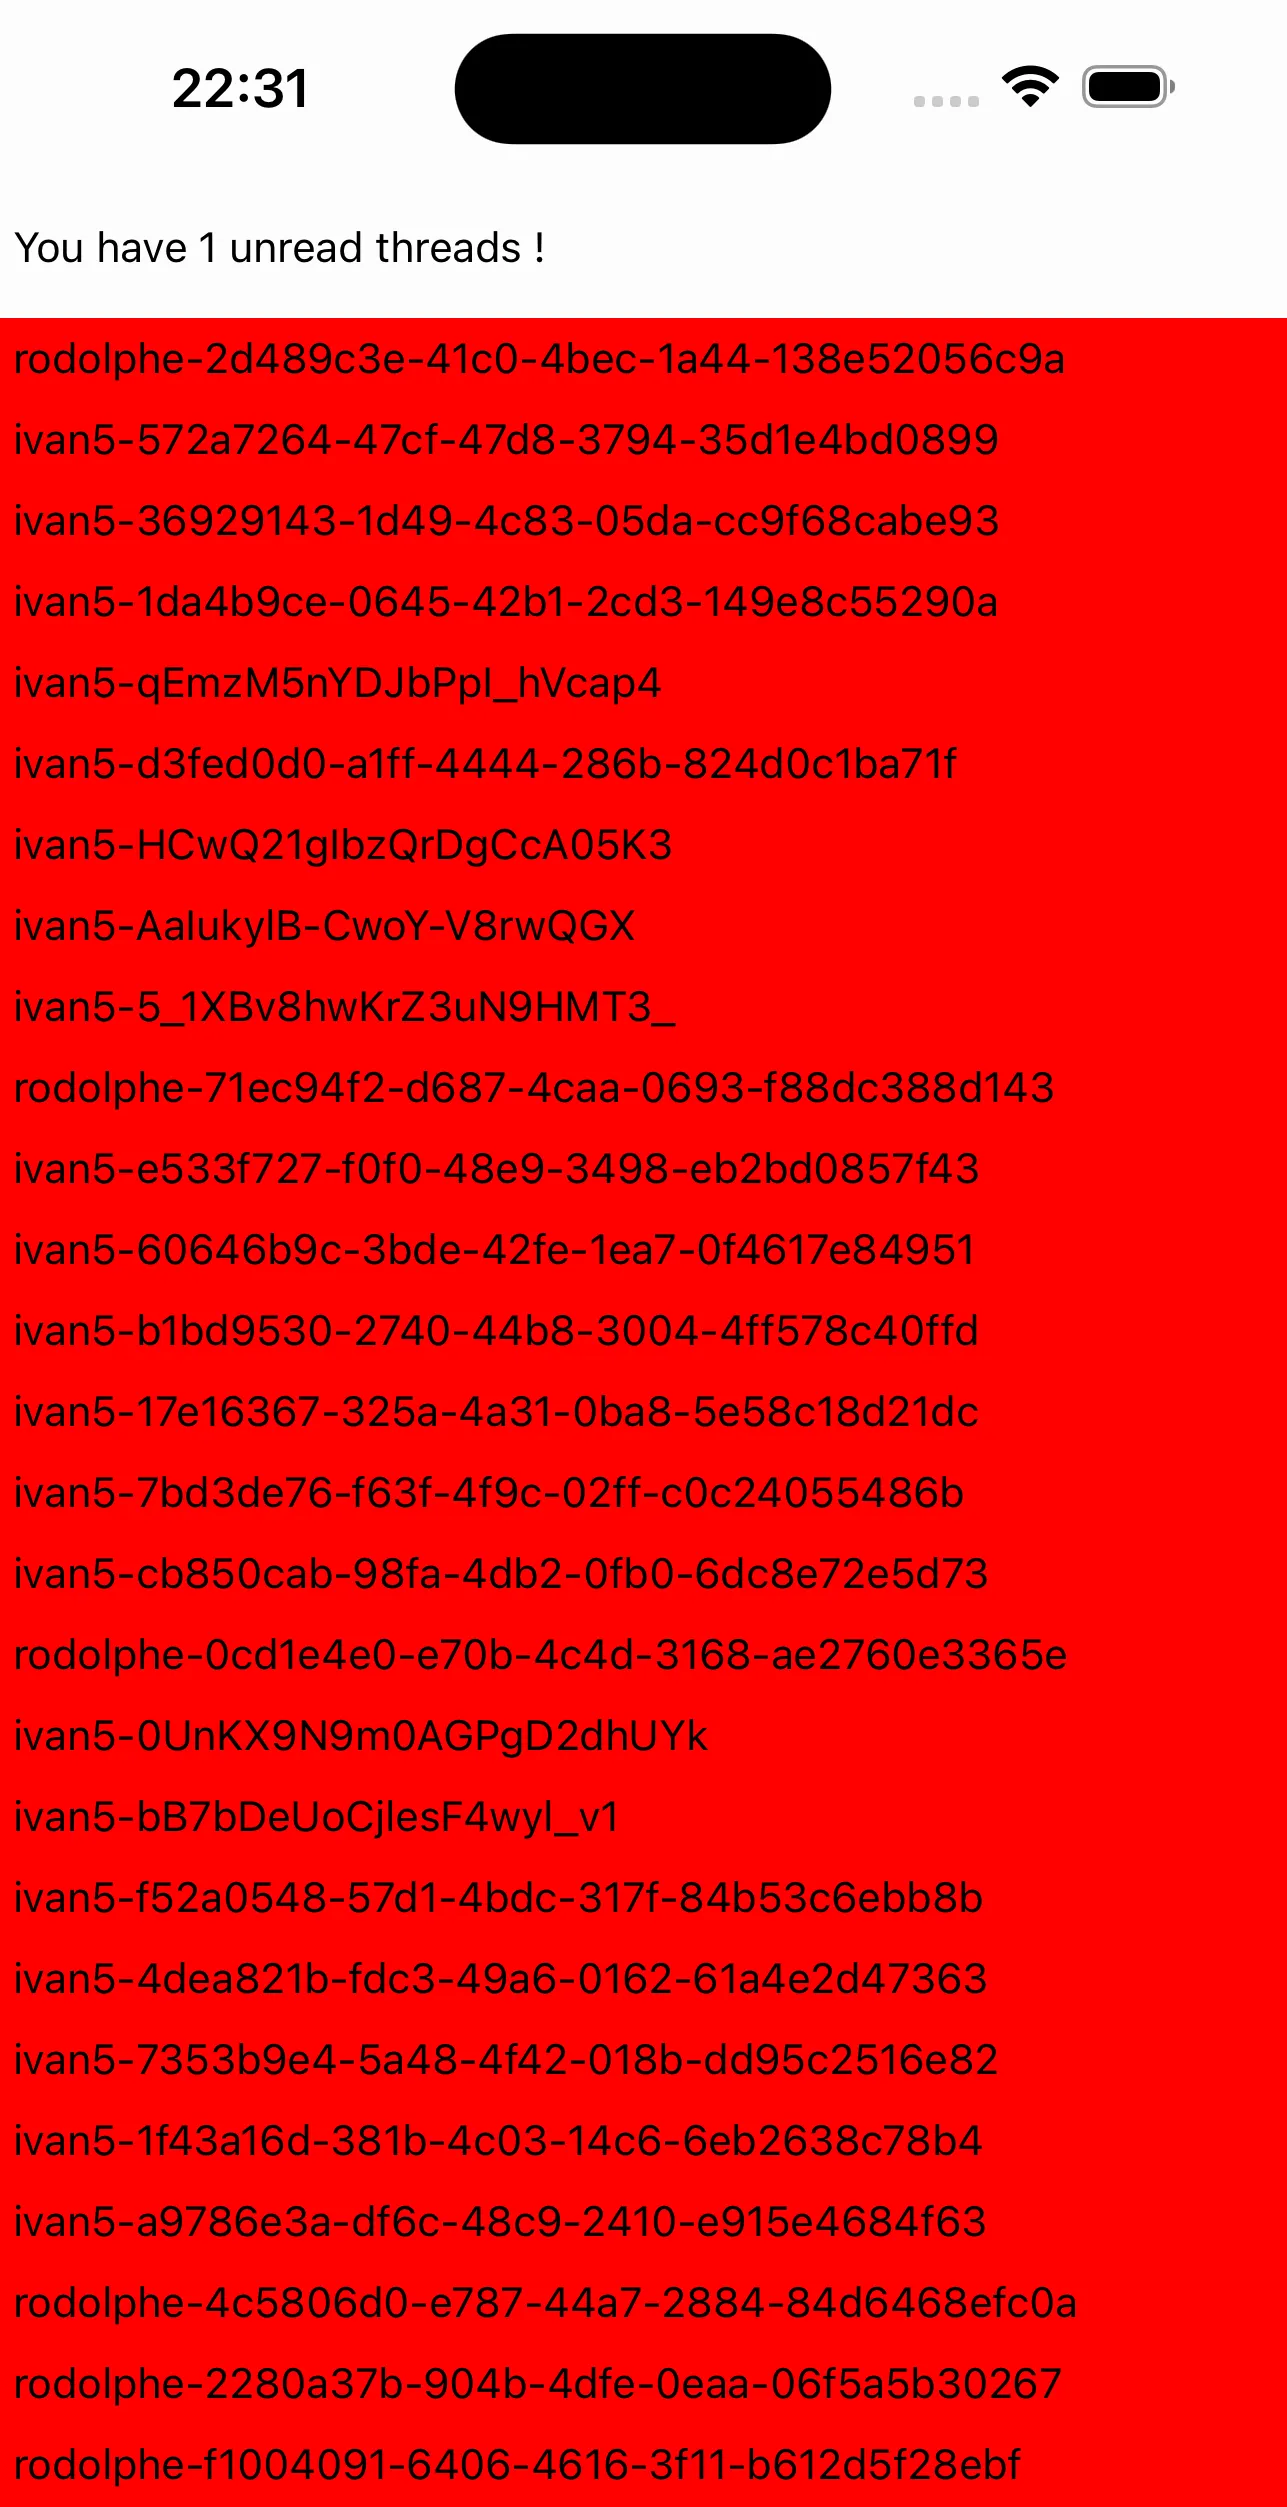
Adding an Unread Threads Banner
Add a banner above the list that shows the unread thread count. Use the state store and useStateStore to read the count reactively:
import { TouchableOpacity, Text, View } from "react-native";
import {
  OverlayProvider,
  Chat,
  ThreadList,
  useThreadsContext,
  useThreadListItemContext,
  useStateStore,
} from "stream-chat-react-native";
import type { LocalMessage } from "stream-chat";
import { ThreadManagerState } from "stream-chat";
// any navigation library hook/method can be used for this
import { useNavigation, useIsFocused } from "@react-navigation/native";

// ...

const selector = (nextValue: ThreadManagerState) => [
  nextValue.unreadThreadCount,
];

const CustomBanner = () => {
  const [unreadCount] = useStateStore(client?.threads?.state, selector);

  return (
    <View style={{ paddingVertical: 15, paddingHorizontal: 5 }}>
      <Text>You have {unreadCount} unread threads !</Text>
    </View>
  );
};

const ThreadListScreen = () => {
  const isFocused = useIsFocused();
  const navigation = useNavigation();
  return (
    <OverlayProvider>
      <Chat client={client}>
        {/* The banner must be a child of <Chat /> to access client state */}
        <CustomBanner />
        <ThreadList
          isFocused={isFocused}
          onThreadSelect={(thread, channel) => {
            navigation.navigate("ThreadScreen", {
              thread,
              channel,
            });
          }}
          ThreadListItem={ThreadListItem}
        />
      </Chat>
    </OverlayProvider>
  );
};
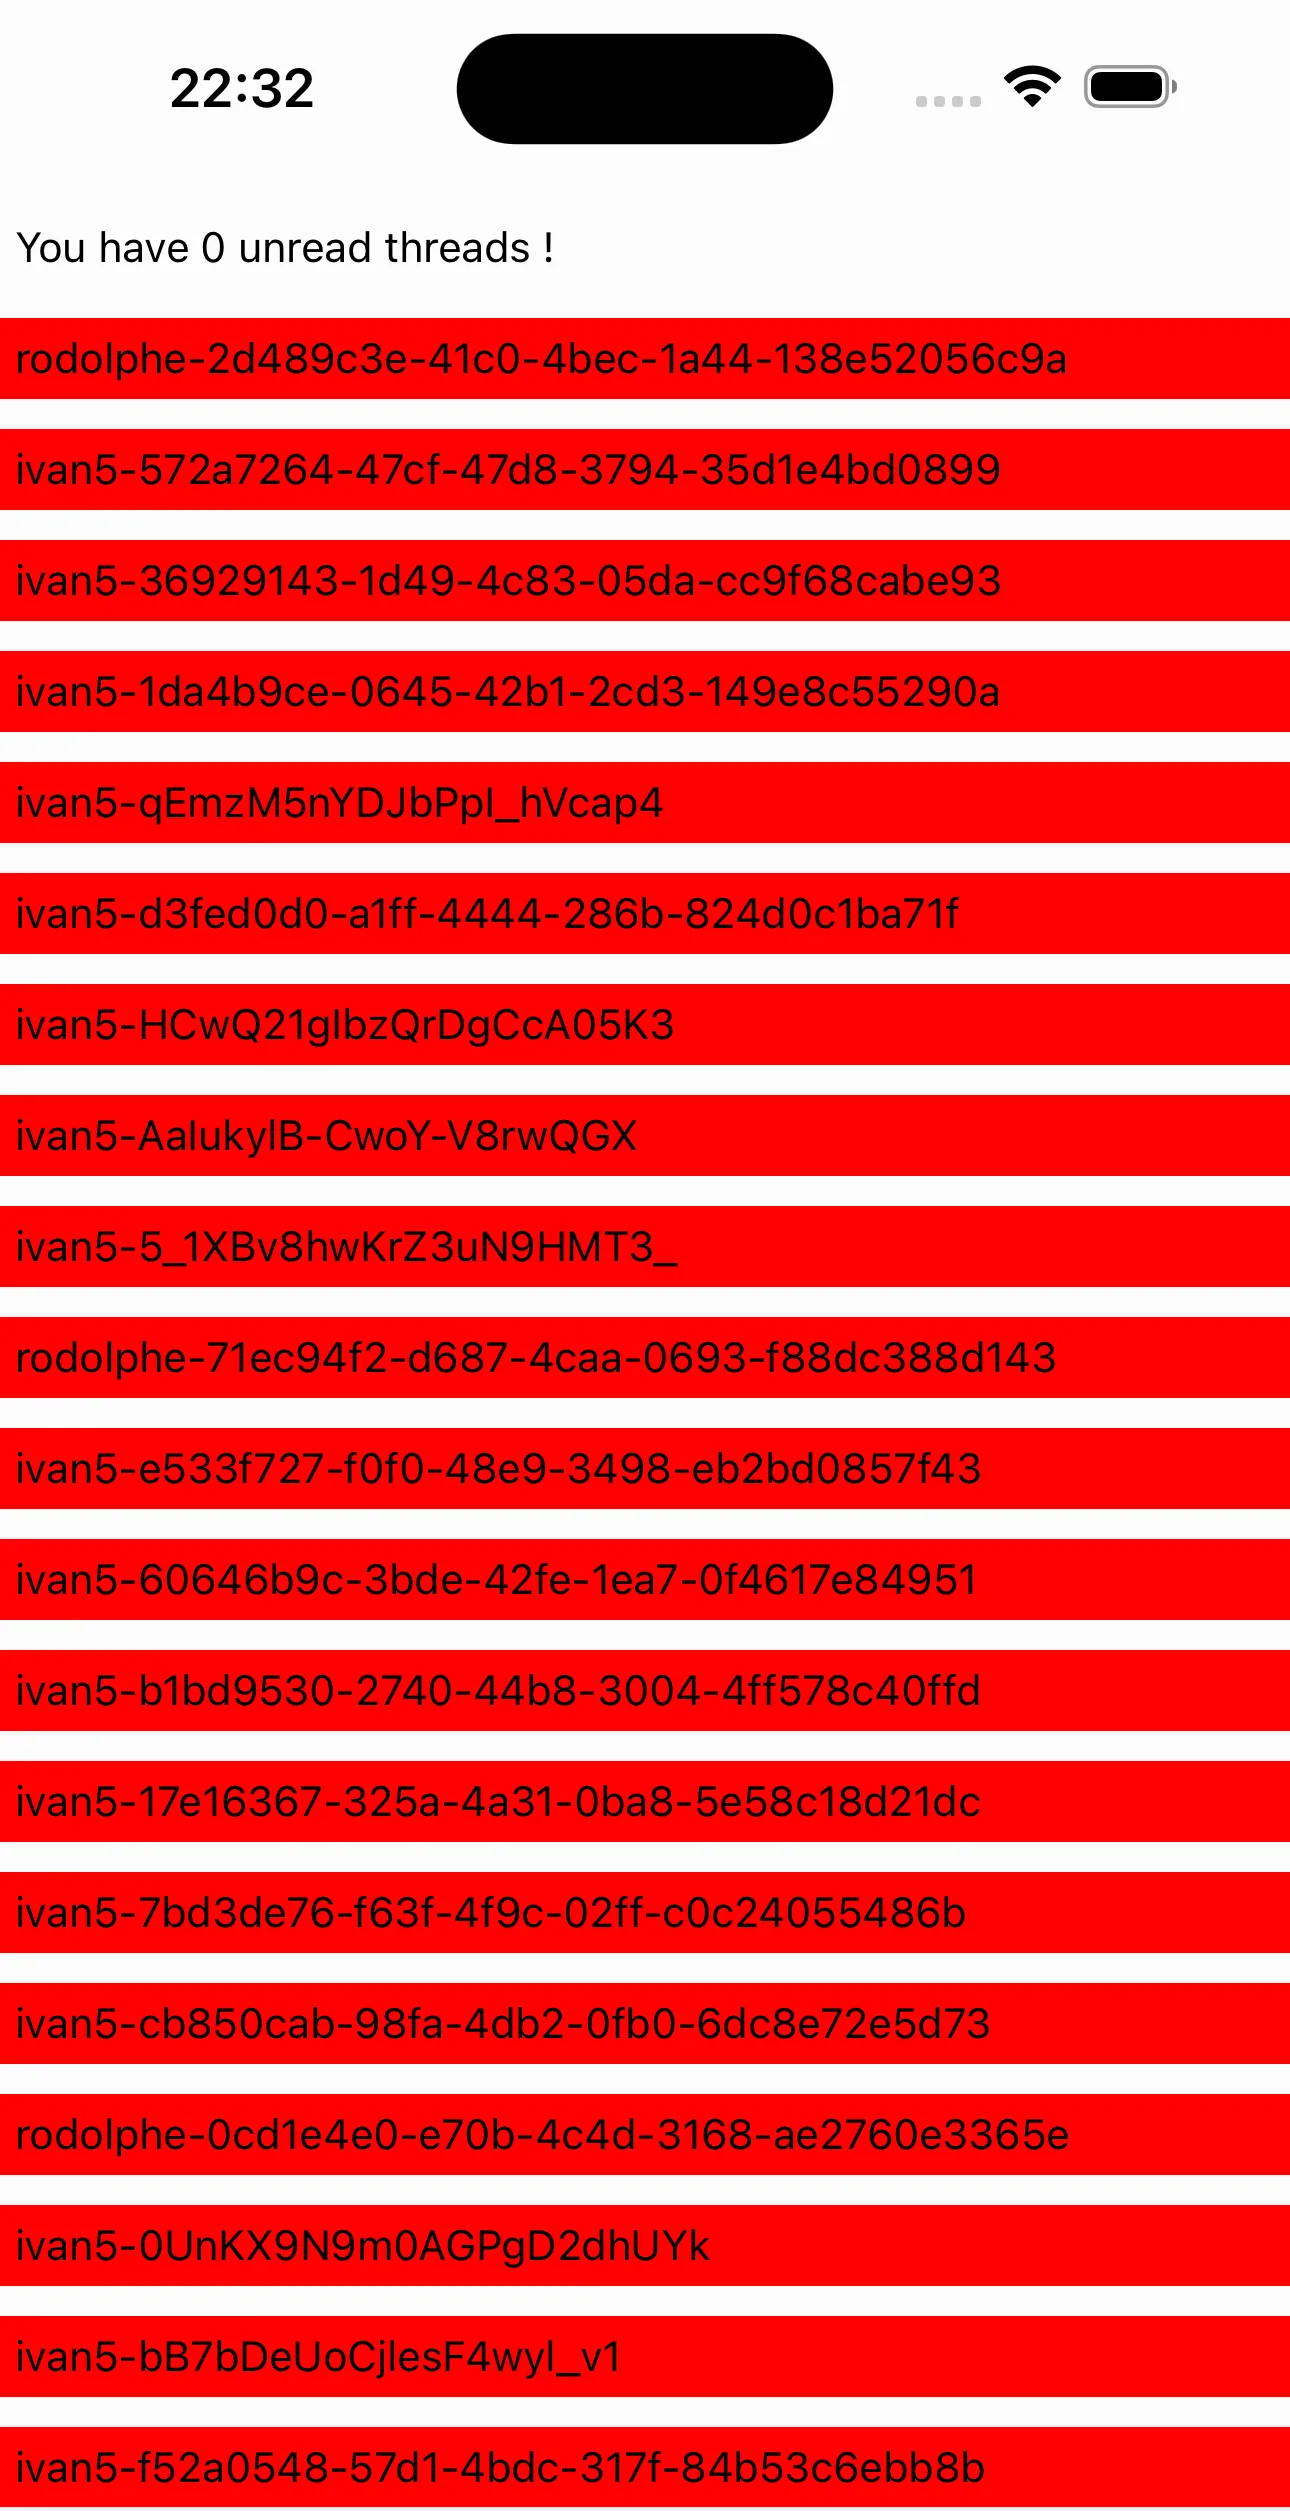
Customizing List Spacing
Add spacing between items using FlatList props via additionalFlatListProps:
// ...

const ItemSeparatorComponent = () => <View style={{ paddingVertical: 5 }} />;

const ThreadListScreen = () => {
  const isFocused = useIsFocused();
  const navigation = useNavigation();
  return (
    <OverlayProvider>
      <Chat client={client}>
        <CustomBanner />
        <ThreadList
          isFocused={isFocused}
          onThreadSelect={(thread, channel) => {
            navigation.navigate("ThreadScreen", {
              thread,
              channel,
            });
          }}
          ThreadListItem={ThreadListItem}
          additionalFlatListProps={{
            ItemSeparatorComponent,
          }}
        />
      </Chat>
    </OverlayProvider>
  );
};
You now have a fully customized ThreadList.