Create the Signaling Client HTML Page
Overview
In the previous lesson, you’ve learned how to build the 1:1 peer-to-peer signaling client and communicate with the signaling server to exchange SDP messages. Now, let’s take the next step and create an HTML page that empowers you to establish peer-to-peer connection via the signaling server.
First, create an index.html file that contains a button and two videos (local and remote):
Now that everything is prepared, it's time to proceed with the simulation!
Running the WebRTC Demo
To get started, remember to run the signaling server by entering the following command in your terminal:
Now let’s run the signaling clients. If you run the index.html file, you’ll see the result below:

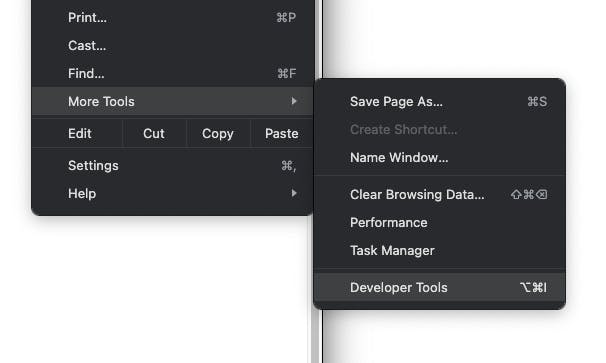
We highly recommend logging into the client on your web browser and observing the console messages. If you're using Google Chrome, you can access the console messages by navigating to More Tools → Developer Tools in the menu.
If you encounter a CORS policy issue, such as the error message below, it's advisable to run your signaling client page with a hosting solution. We also recommend utilizing Simple Web Server, a tool that enables you to host your local website effortlessly.

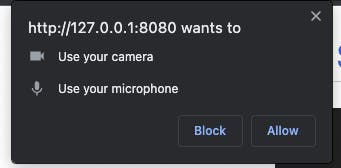
Now if you click the ‘join’ button, you need to grant those camera and microphone permissions to allow signaling clients to communicate with media streams.
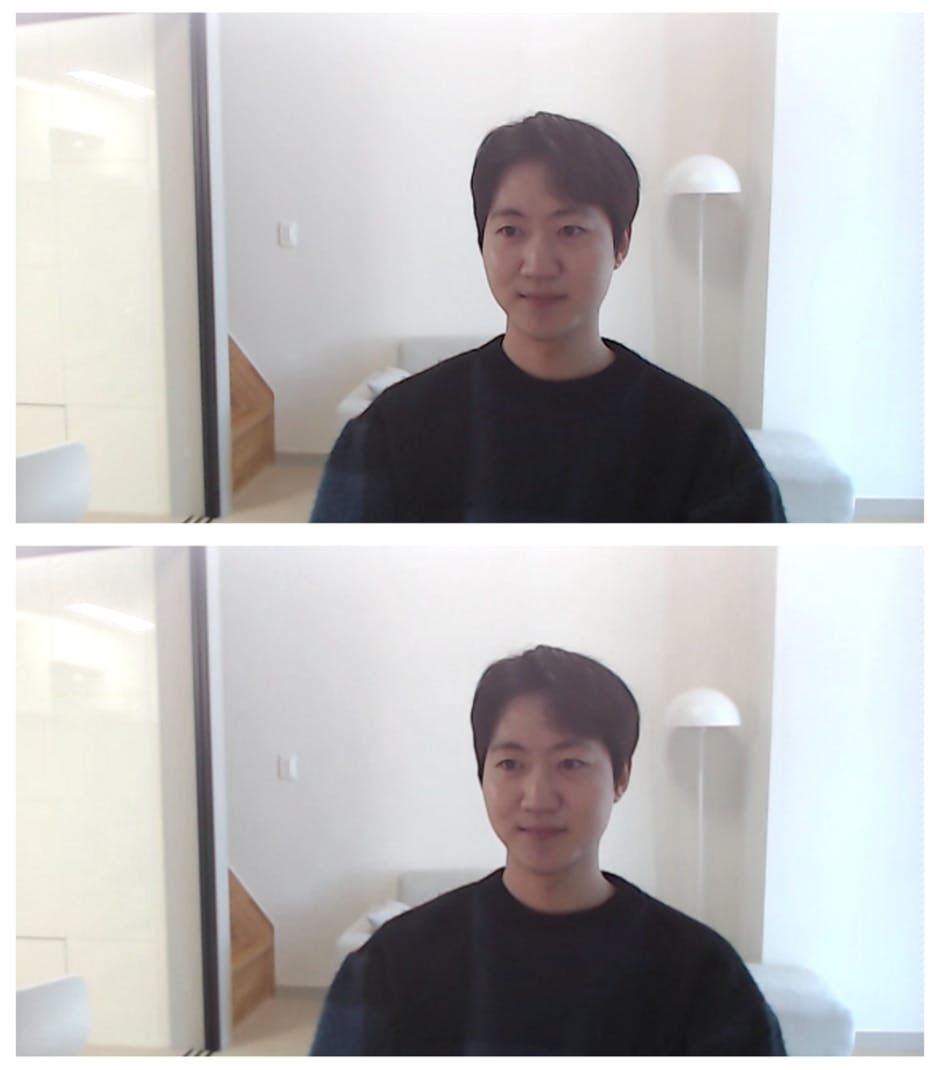
You're all set! You can now open two separate web browsers to test the signaling peer connection. The expected result can be observed below:
Conclusion
This marks the completion of the process of building the signaling server and establishing a server-based peer-to-peer connection. You can find all the source code for this lesson in the GitHub repository. Moreover, this lesson marks the conclusion of Module One. Keep in mind that there are various approaches to implementing the WebRTC architecture, including MCU and SFU. In Module Two, you will delve into the comprehensive concepts and architectures of WebRTC.