graph LR
    subgraph "Input"
        A[User Speaks]
    end

    subgraph "Processing"
        B[VAD Detects Speech] --> C[STT Converts to Text]
        C --> D[LLM Generates Response] --> E[TTS Converts to Speech]
    end

    subgraph "Output"
        F[Bot Responds in Call]
    end

    A --> B
    E --> F

    style A fill:#e1f5fe
    style F fill:#e8f5e8
    style B fill:#fff3e0
    style C fill:#fff3e0
    style D fill:#fff3e0
style E fill:#fff3e0Build an AI Conversation Pipeline
In this tutorial you will build a voice-first chatbot that joins a Stream video call, listens to you, understands what you said and replies with natural-sounding speech. You will combine several Stream Python AI plugins into a single pipeline:
- Silero VAD to detect when a participant starts and stops speaking
- Deepgram STT to turn speech into text
- OpenAI Realtime to generate a response from an LLM
- ElevenLabs TTS to speak the response out loud
There’s a complete working version of this tutorial on GitHub. We will recreate it step by step, so you understand every moving piece.
Prerequisites
Before you begin you need:
- A Stream app API key and secret
- Python 3.10 or later
- API keys for Deepgram, OpenAI and ElevenLabs
- uv or your preferred package manager
If you don’t have a Stream account, create one here. Then sign in to the Dashboard and create a Stream App, which will give you an API key and secret.

Project Structure
Create a new directory called conversation_bot and create the following structure:
conversation_bot/
├── main.py
├── .env
└── pyproject.toml
Installation
In your terminal, uv add the dependencies to your project. It includes the SDK, the plugins we’ll use and a dependency for reading .env files.
uv add "getstream[webrtc]" --prerelease=allow
uv add getstream-plugins-silero>=0.1.0
uv add getstream-plugins-deepgram>=0.1.1
uv add getstream-plugins-openai>=0.1.0
uv add getstream-plugins-elevenlabs>=0.1.0
uv add python-dotenv>=1.1.1
Environment Setup
Add the following to the .env file and fill in the values with your API keys for each service.
STREAM_API_KEY=your-stream-api-key
STREAM_API_SECRET=your-stream-api-secret

DEEPGRAM_API_KEY=your-deepgram-api-key
OPENAI_API_KEY=your-openai-api-key
ELEVENLABS_API_KEY=your-elevenlabs-api-key

EXAMPLE_BASE_URL=https://pronto.getstream.io
Now, we’re ready to start coding.
Write the Code
Initialize Core Objects
Open main.py and add this:
from dotenv import load_dotenv
from getstream import Stream

# Load the contents of the .env file
load_dotenv()

# Create a Stream client using the env vars that were loaded
client = Stream.from_env()
Create Users and a Call
We create a bot user as well as a user ID for you, the developer, to access the call and see it in your browser.
import uuid
from getstream.models import UserRequest

# This function creates a Stream user
def create_user(client: Stream, id: str, name: str) -> None:
    """Create a user with a unique Stream ID."""
    from getstream.models import UserRequest
    user_request = UserRequest(id=id, name=name)
    client.upsert_users(user_request)

# Create a user for you to join the call
user_id = f"example-user-{str(uuid.uuid4())}"
create_user(client, user_id, "Me")
user_token = client.create_token(user_id, expiration=3600) # Allows you to authenticate yourself and join the call

# Create a bot user that will join the call
bot_id = f"llm-audio-bot-{str(uuid.uuid4())}"
create_user(client, bot_id, "LLM Bot")

# Create the call
call_id = str(uuid.uuid4())
call = client.video.call("default", call_id)
call.get_or_create(data={"created_by_id": bot_id})
Open the Call in a Browser
This will allow us to view the call in a web browser whenever we run the code, which is useful for testing.
We use the token we generated above to authenticate the user (you!) here.
from urllib.parse import urlencode
import webbrowser, os

base_url = f"{os.getenv('EXAMPLE_BASE_URL')}/join/"
params = {"api_key": client.api_key, "token": user_token, "skip_lobby": "true"}
url = f"{base_url}{call_id}?{urlencode(params)}"
print(f"Opening browser to: {url}")
webbrowser.open(url)
You can run this with
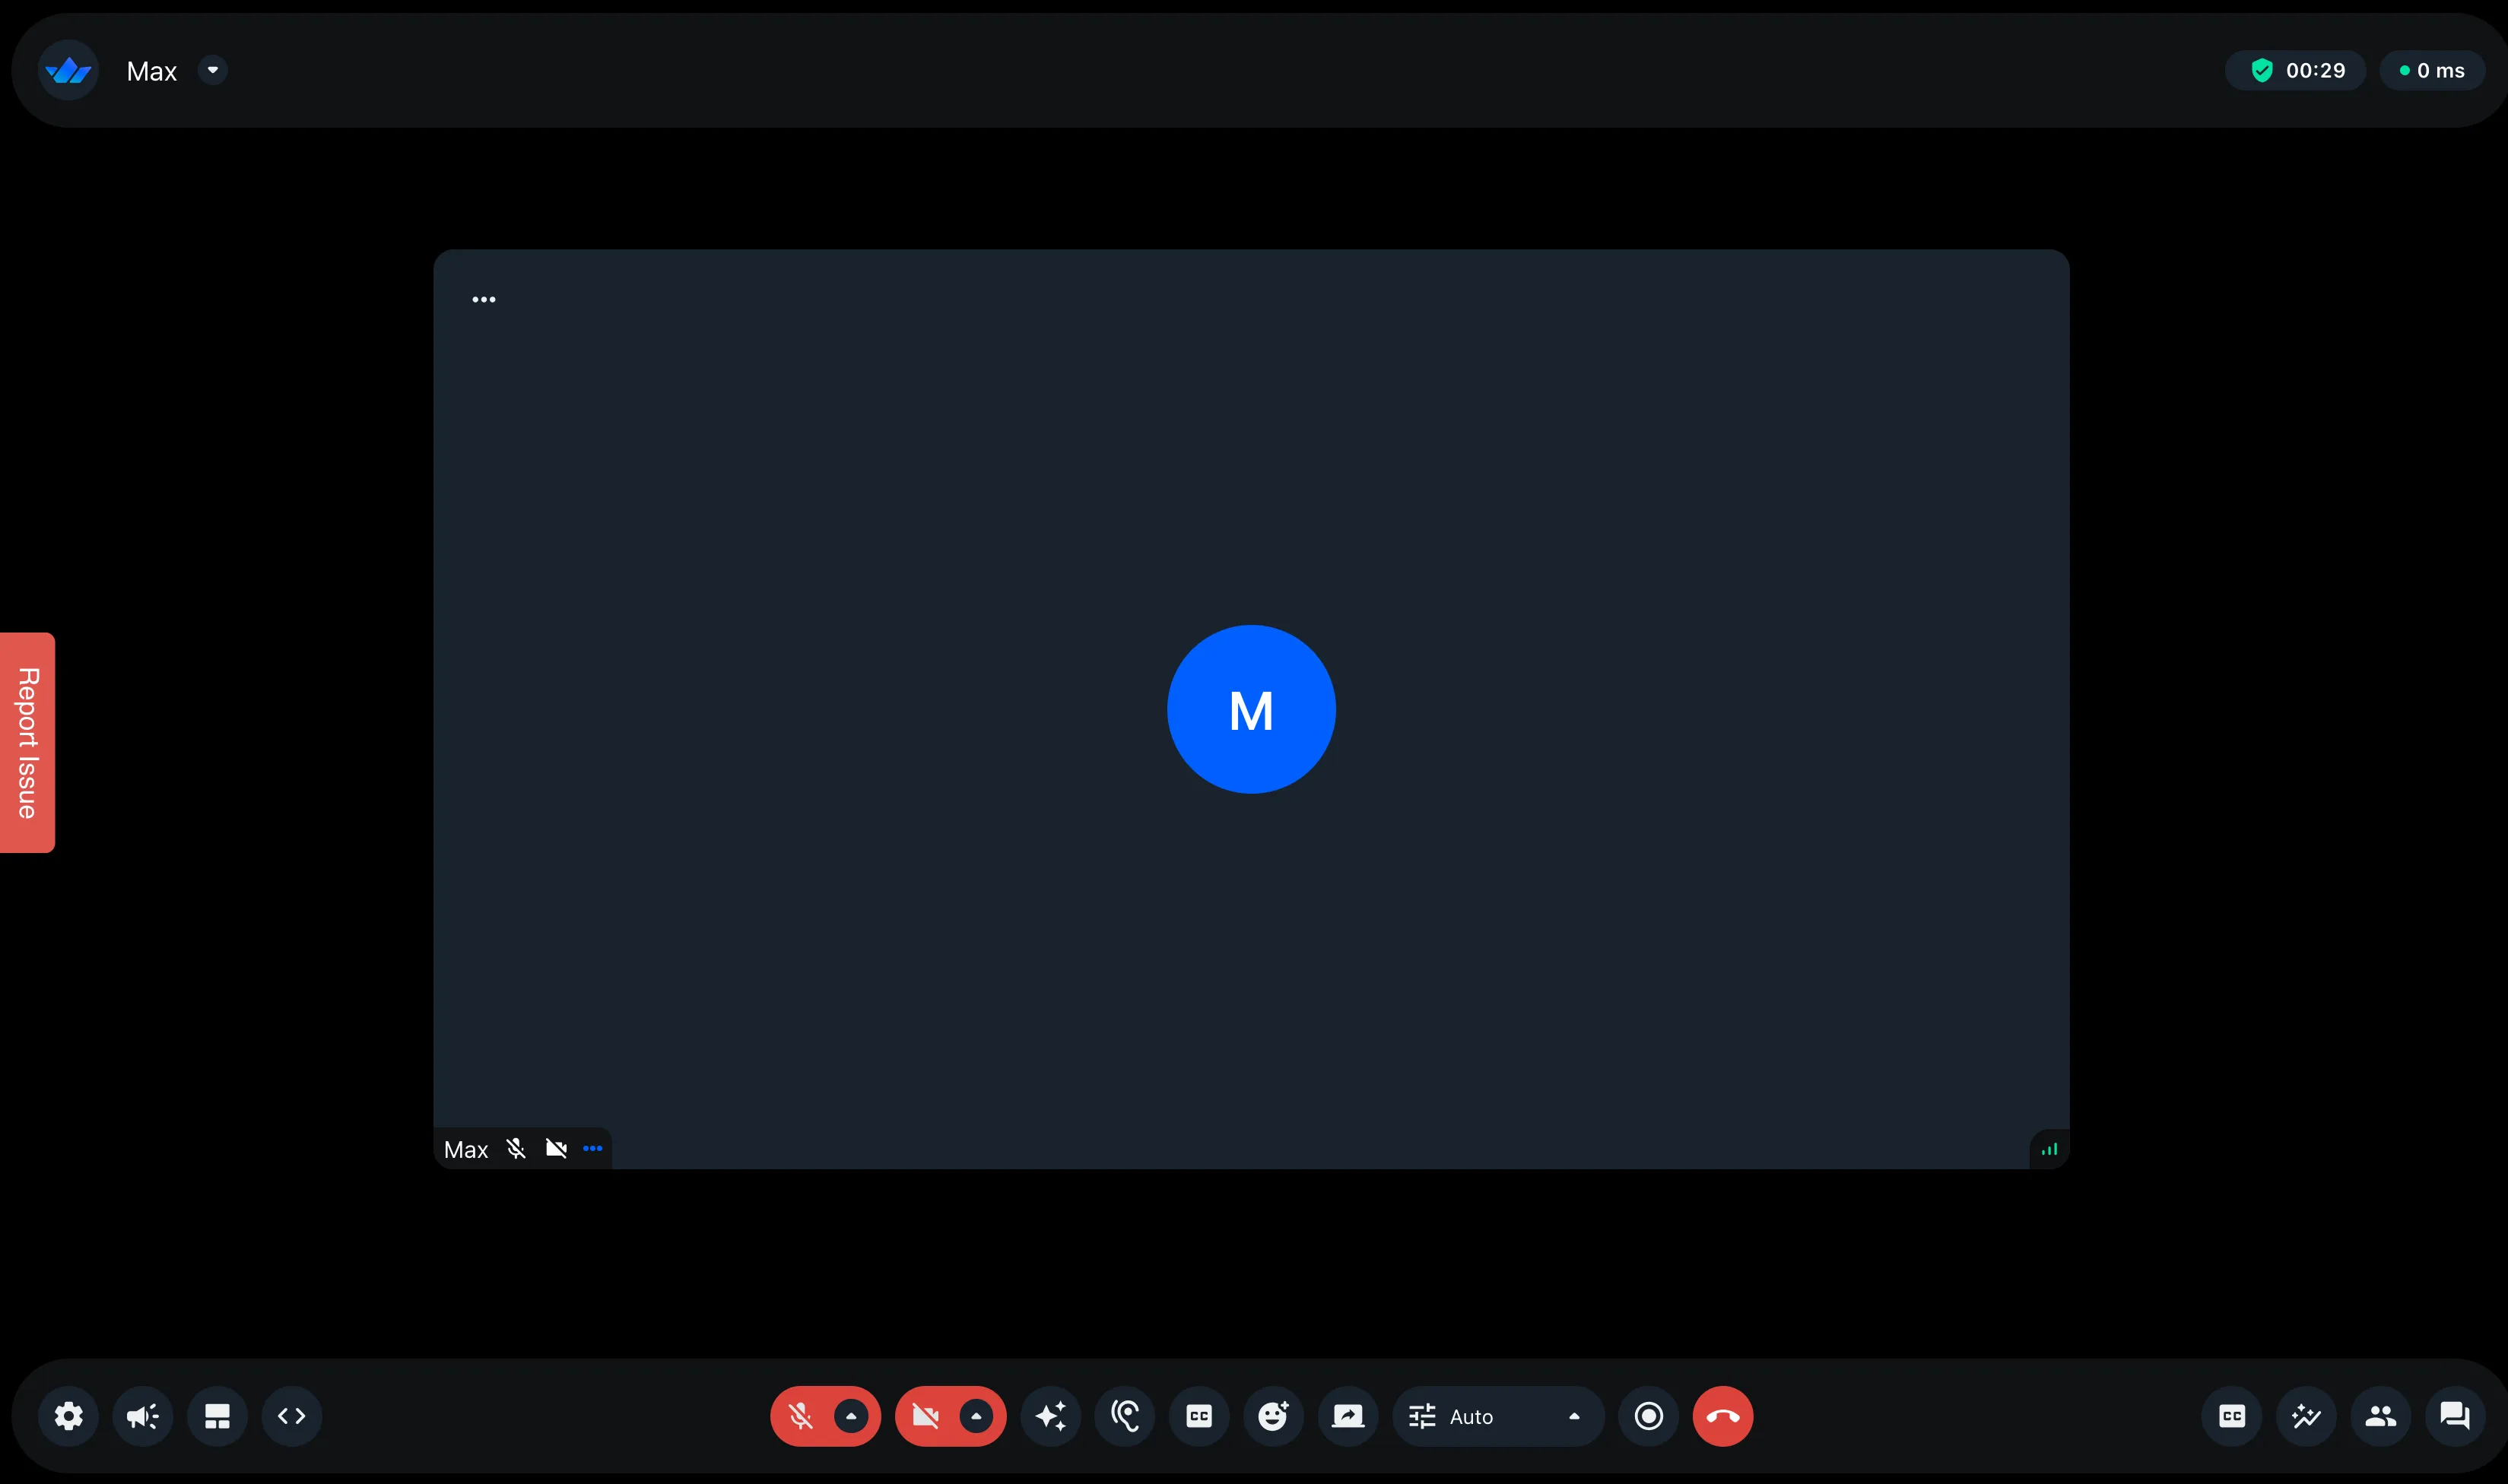
uv run main.pyand it will open your browser and add you to a Stream video call. It might be a bit lonely right now as there’s no bot, we haven’t added that into the call yet! We’ll do that next.

Stop the program running, and let’s continue.
Initialize Plugins
Now we’ll set up the objects we need for the bot. We’ll instantiate plugin classes and set the output track so the bot can speak in the call.
import os

from openai import OpenAI
from getstream.plugins.silero import SileroVAD
from getstream.plugins.deepgram import DeepgramSTT
from getstream.plugins.elevenlabs import ElevenLabsTTS
from getstream.video.rtc import audio_track

# Initialize the plugin classes
audio = audio_track.AudioStreamTrack(framerate=16000)
vad = SileroVAD()
stt = DeepgramSTT()
tts = ElevenLabsTTS(voice_id="VR6AewLTigWG4xSOukaG")  # Using a default ElevenLabs voice code available to all users
openai_client = OpenAI(api_key=os.getenv("OPENAI_API_KEY"))

# Connect TTS output to the audio track
tts.set_output_track(audio)
Connect the Bot and Wire the Pipeline
The bot is controlled by events. When various events are emitted, we catch them, do some audio or text processing and pass the result to one of our plugins to make the next step happen.
This diagram shows how we will connect the plugins together:
graph LR
    subgraph "User Input"
        A[User Speaks]
    end

    subgraph "Stream Plugin Pipeline"
        B[Silero VAD] --> C[Deepgram STT]
        C --> D[OpenAI LLM] --> E[ElevenLabs TTS]
    end

    subgraph "Output"
        F[Bot Responds]
    end

    A --> B
    E --> F

    style A fill:#e1f5fe
    style F fill:#e8f5e8
    style B fill:#fff3e0
    style C fill:#fff3e0
    style D fill:#fff3e0
    style E fill:#fff3e0
First, let’s add the bot to the call.
from getstream.video.rtc.track_util import PcmData
import time
from typing import Any

async with await rtc.join(call, bot_id) as connection:
    # Add the audio track to the call so the bot can speak
    await connection.add_tracks(audio=audio)

    # Send a welcome message
    await tts.send("Welcome, my friend. How's it going today?")
We’ll now set up an event that fires when audio is received by the Python SDK and sends audio to Silero to be categorised into speech/not speech.
    @connection.on("audio")
    async def on_audio(pcm: PcmData, user):
        # Process incoming audio through VAD
        await vad.process_audio(pcm, user)
Once the VAD has processed incoming audio and determined speech is detected, this event fires and sends the audio to Deepgram to be transcribed.
    @vad.on("audio")
    async def on_speech_detected(pcm: PcmData, user):
        # When VAD detects speech, send it to STT
        print(f"Speech detected from user: {user}")
        await stt.process_audio(pcm, user)  # Transcribes the audio
When the STT has finished transcribing, this event fires and sends the transcript to OpenAI
    @stt.on("transcript")
    async def on_transcript(text: str, user: Any, metadata: dict[str, Any]):
        print(f"User said: {text}")

        # Send to OpenAI for response
        response = openai_client.responses.create(
            model="gpt-4o",
            input=f"You are a helpful and friendly assistant. Respond to the user's message in a conversational way. Here's the message: {text}",
        )

        llm_response = response.output_text
        print(f"LLM response: {llm_response}")
Now we have a response, in the same on_transcript function we convert the response to speech and send back to the call.
        await tts.send(llm_response)

    # Run the whole thing in a loop
    await connection.wait()
Run and Talk
Now we’re ready to run the script with the added chatbot. Run with:
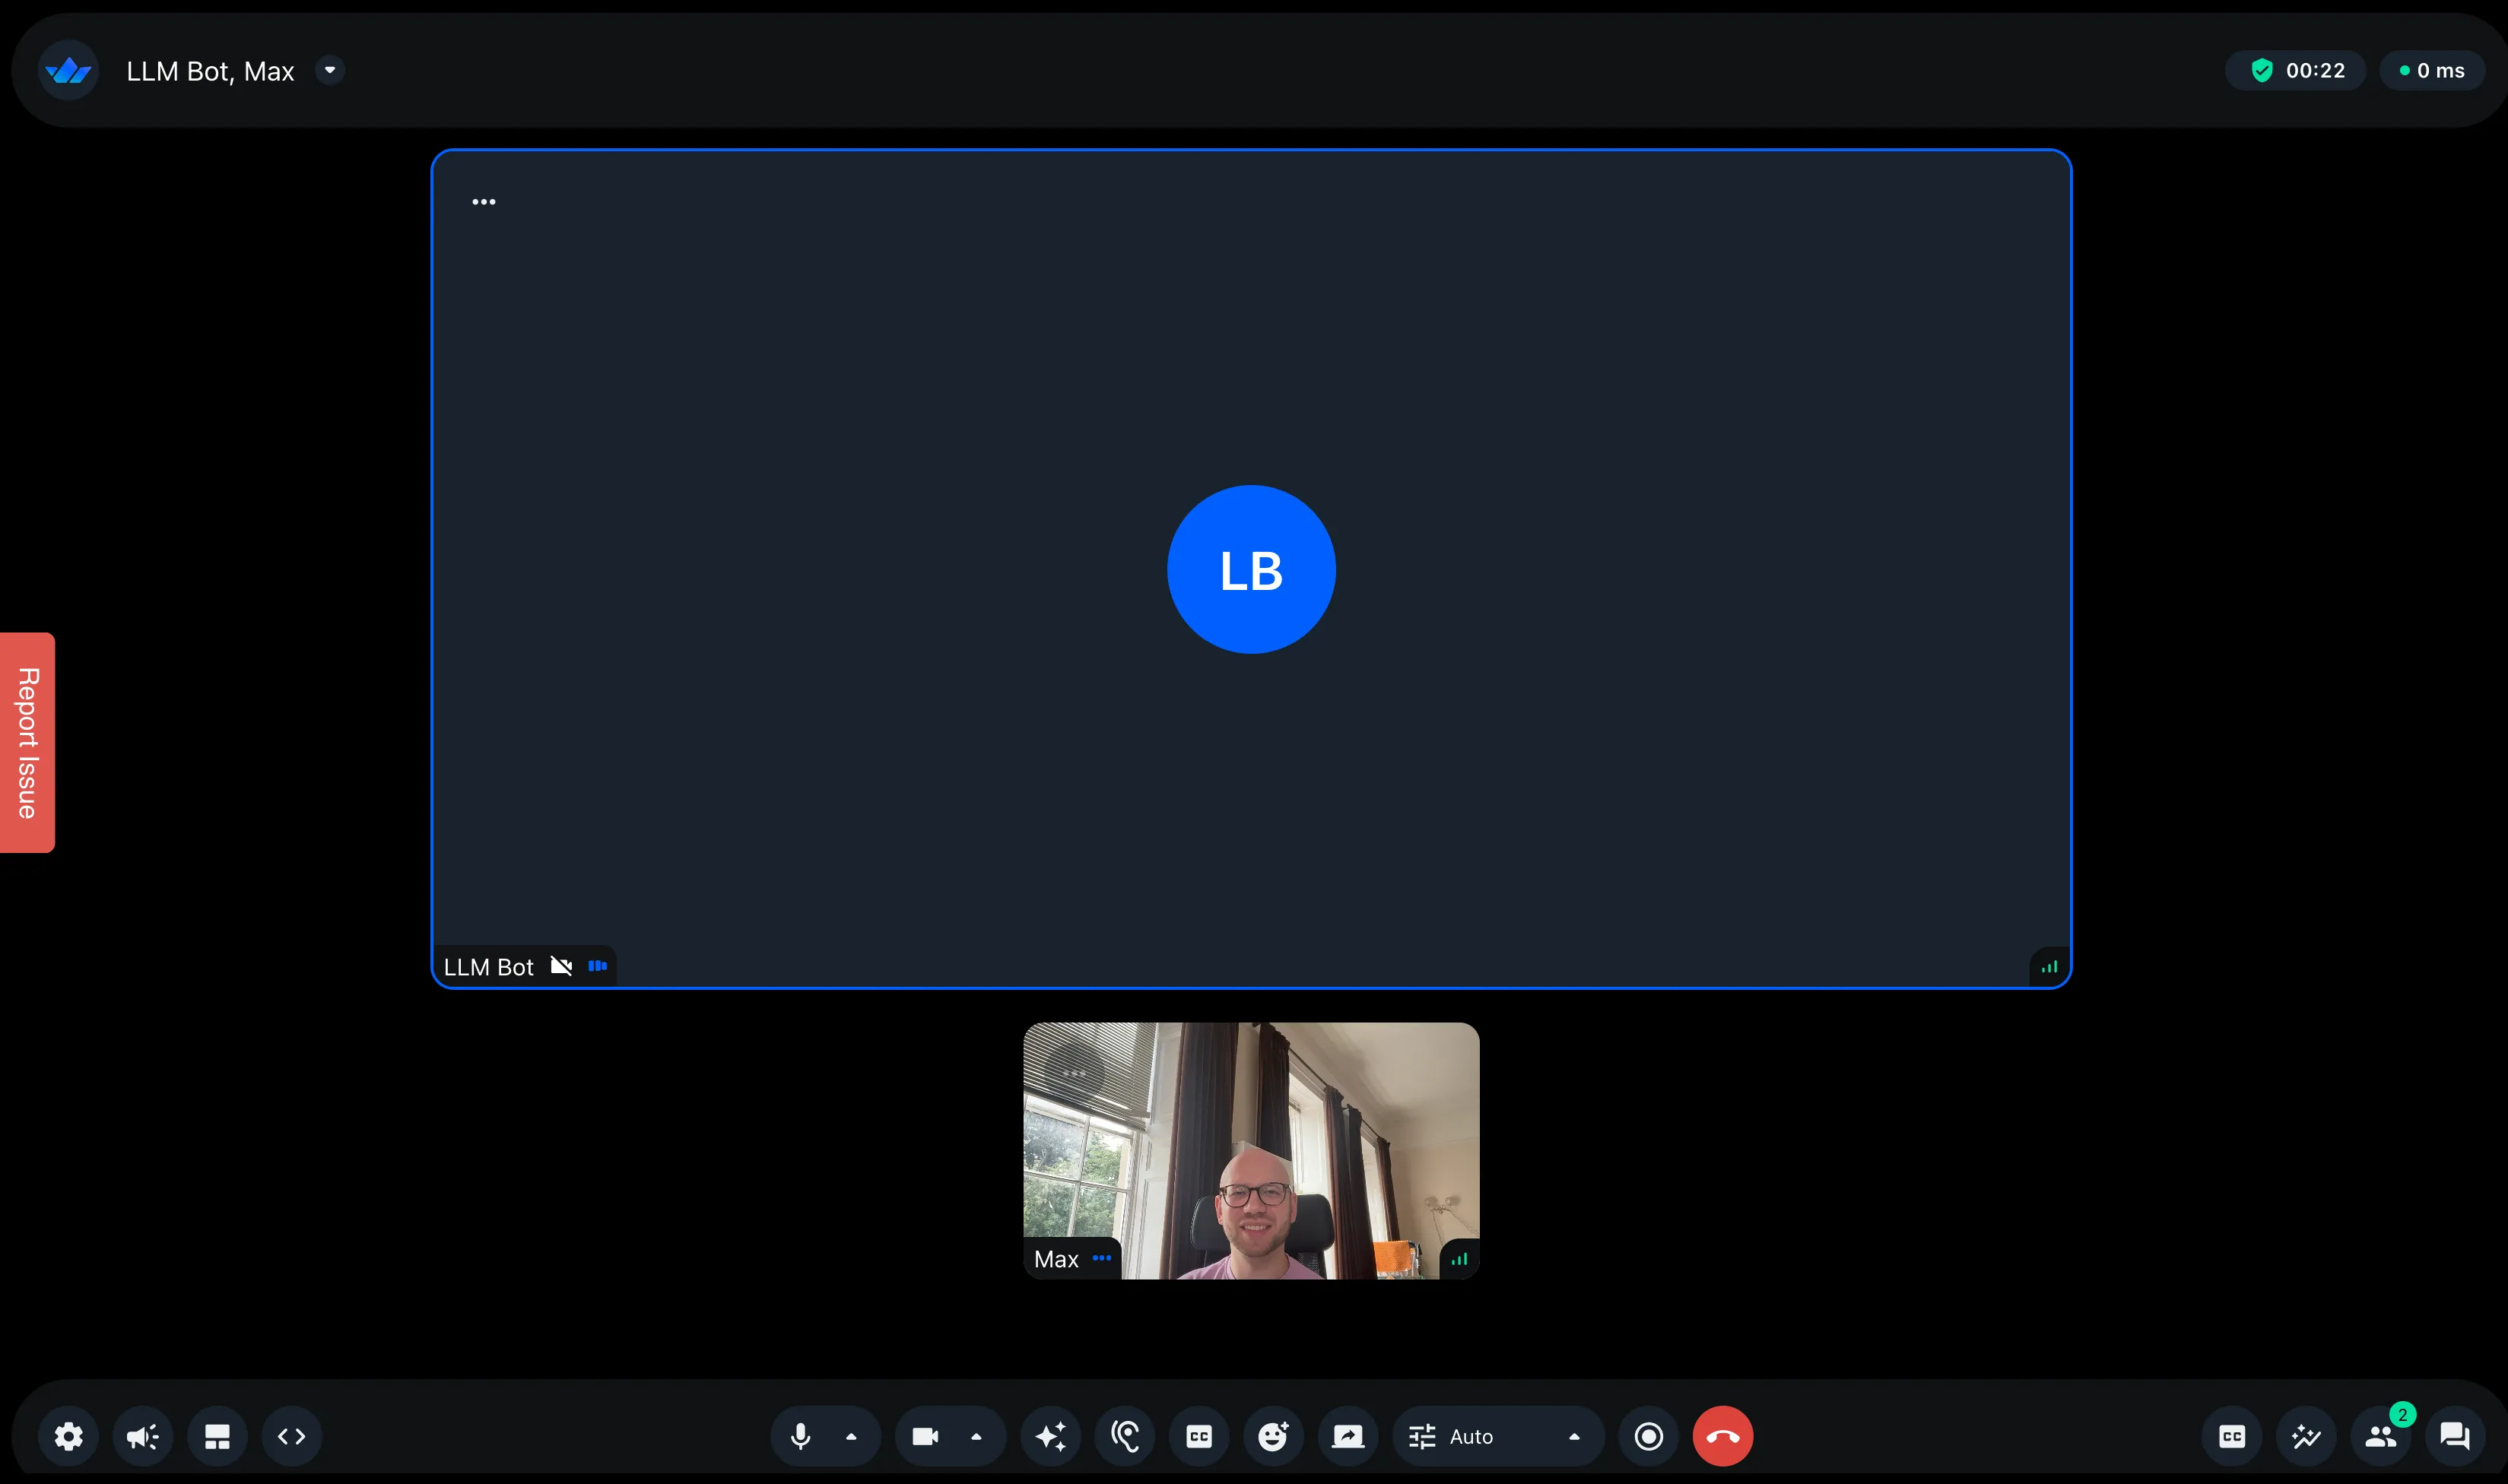
uv run main.pyNow you can have a conversation with the bot!

In the terminal, you’ll see output from the events that have been triggered. Below, you can see the words the user says to the LLM, then the response the LLM sends back. This way, you can monitor what happens in the conversation.
1754495770.246409 got text from user user_id: "example-user-fcc0f0c7-21cf-412c-ade2-b2965a2a8416"
session_id: "bd91f64e-de59-4544-b83e-f491f9926dd6"
published_tracks: TRACK_TYPE_AUDIO
joined_at {
  seconds: 1754495765
  nanos: 112511602
}
track_lookup_prefix: "b25a4aa63ce6905u"
connection_quality: CONNECTION_QUALITY_EXCELLENT
name: "Max"
roles: "user"
, with metadata {'confidence': 1.0, 'words': [{'word': 'doing', 'start': 0.16, 'end': 0.39999998, 'confidence': 1.0}, {'word': 'well', 'start': 0.39999998, 'end': 0.63, 'confidence': 0.9941406}], 'is_final': True, 'channel_index': [0, 1]}will send the transcript to the LLM: doing well
HTTP Request: POST https://api.openai.com/v1/responses "HTTP/1.1 200 OK"
1754495773.125642 LLM response: That's great to hear! What's been going well for you lately?
HTTP Request: POST https://api.elevenlabs.io/v1/text-to-speech/VR6AewLTigWG4xAGyelG/stream?output_format=pcm_16000 "HTTP/1.1 200 OK"
Text-to-speech synthesis completed
What You’ve Built
You combined three different Stream integrations to build a closed-loop conversation agent.
The event-driven architecture makes it easy to swap components or add new features like moderation. You can now:
- Swap Deepgram for another STT provider
- Change the OpenAI prompt or model to alter the bot’s personality
- Replace ElevenLabs with another TTS provider for offline speech synthesis
- Add interruption logic to stop the bot when users start speaking
- Add moderation to the video call
Explore the full sample project on GitHub for production-ready error handling and reconnection logic.