uv add "getstream[webrtc]" --prerelease=allowQuickstart Tutorial
Get up and running with the Stream Python AI SDK.
This guide will walk you through building a simple, real-time voice assistant with the OpenAI Realtime API.
You'll learn how to:
- Install the SDK
- Initialise the Stream client
- Create users
- Set up a Stream Call
- Create a basic speech-to-speech pipeline with the OpenAI plugin to communicate with the OpenAI Realtime API
At the end, you'll have a working bot that listens and talks, as well as a foundation to build more advanced agents.
A working version of this project can be found in our examples folder on GitHub.
Prerequisites
Before installing the Stream Python AI SDK, make sure you have:
- Stream Account: You'll need an account which can be created from the Stream Dashboard.
- Python 3.10+.
- Package Manager: We recommend using
uvfor faster dependency management, though any package manager will do. We'll give instructions in this tutorial foruv.
Installation
In this tutorial, we use uv to install the Stream Python AI SDK:
We also need to install the Stream OpenAI plugin. You can do this with:
uv add getstream-plugins-openai>=0.1.0Environment Setup
1. Get Stream Credentials:
- Go to Stream Dashboard
- Create a new app or select an existing one

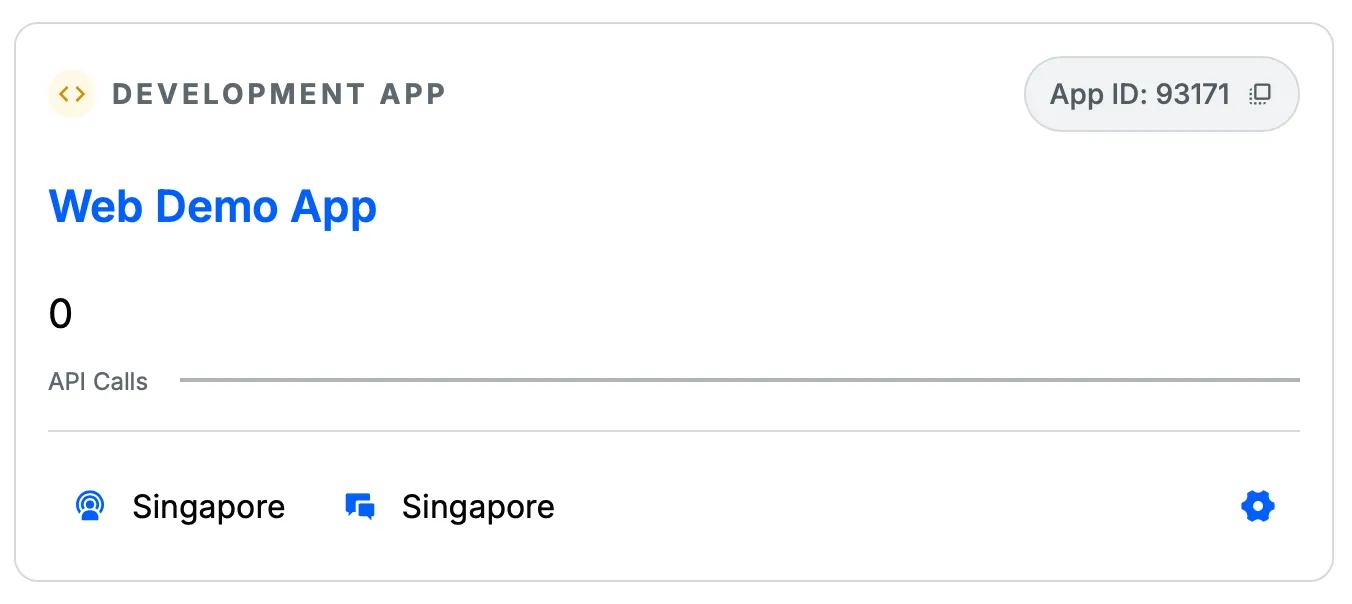
- Copy your API Key and API Secret

2. Set Environment Variables:
All the plugins defined in the SDK try to get their API keys from environment variables by default.
For a project, we recommend creating a .env file containing your Stream API key and secret as well as any required plugin API keys like this:
STREAM_API_KEY=your-stream-api-key
STREAM_API_SECRET=your-stream-api-secret
STREAM_BASE_URL=https://video.stream-io-api.com/
OPENAI_API_KEY=sk-your-openai-api-key
These values then need to be loaded before you can use any plugins. We'll use the python-dotenv package to do this.
uv add python-dotenv>=1.1.1Initialising Stream Objects
Set Up the Stream Client
We need to set up the Stream client. The client gets the API key and other values from environment variables. As a result, we also need to load the environment variables before creating the client.
from dotenv import load_dotenv
from getstream import Stream

# Load environment variables
load_dotenv()

# Initialize Stream client from environment variables
client = Stream.from_env()
You now have a client you can use for the rest of this tutorial!
Set Up a Stream Call
Before we create a call, we'll create two users - one to represent us and one to represent the OpenAI bot we'll add later. We can generate random user IDs using uuid4() and then create the users using client.upsert_users().
from getstream.models import UserRequest

# Generates a new user ID and creates a new user
user_id = f"user-{uuid4()}"
client.upsert_users(UserRequest(id=user_id, name="My User"))

# We create a token we'll use later to join the call
user_token = client.create_token(user_id, expiration=3600)

# Generate a user ID for the OpenAI bot we'll add
bot_user_id = f"openai-realtime-speech-to-speech-bot-{uuid4()}"
client.upsert_users(UserRequest(id=bot_user_id, name="OpenAI Realtime Speech to Speech Bot"))
To create a call, we can generate an ID and then use client.video.call() to create the call data. We can then use call.get_or_create() to signal the backend to create the call.
from uuid import uuid4

# Create a call with a new generated ID
call_id = str(uuid4())
call = client.video.call("default", call_id)
call.get_or_create(data={"created_by_id": bot_user_id})
Open the Call in Your Web Browser
Add this snippet to your code to open the call in a browser:
import webbrowser
from urllib.parse import urlencode

base_url = f"{os.getenv('EXAMPLE_BASE_URL')}/join/"

# The token is the user token we generated from the client before.
params = {"api_key": client.api_key, "token": user_token, "skip_lobby": "true"}

url = f"{base_url}{call_id}?{urlencode(params)}"

try:
    webbrowser.open(url)
except Exception as e:
    print(f"Failed to open browser: {e}")
    print(f"Please manually open this URL: {url}")
When you run this, it should open your default browser to the Stream video call you've created. Awesome! Let's add the speech-to-speech AI so we can have a real conversation.
Creating a Speech-To-Speech pipeline using OpenAI
To initialise the OpenAI plugin, you can use the OpenAIRealtime class.
You can provide the API key, model, instructions, and the default voice to use.
The API key will be fetched from the aforementioned .env file by default.
from getstream.plugins.openai.sts import OpenAIRealtime

sts_bot = OpenAIRealtime(
    model="gpt-4o-realtime-preview",
    instructions="You are a friendly assistant; reply in a concise manner.",
    voice="alloy",
)
You can connect to the call using sts_bot.connect() and passing in the call details and bot user ID.
You can send a message from the human side of the conversation using sts_bot.send_user_message() method.
try:
    # Connect OpenAI bot
    async with await sts_bot.connect(call, agent_user_id=bot_user_id) as connection:

        # Sends a message to OpenAI from the user side
        await sts_bot.send_user_message("Give a very short greeting to the user.")

except Exception as e:
    # Handle exception
finally:
    # Delete users when done
    client.delete_users([user_id, bot_user_id])
Post adding this, you will have a video call with an OpenAI bot integrated.
Wrapping Up
Congratulations, you've now built a basic speech-to-speech pipeline with the Stream Python AI SDK and the OpenAI Plugin. Your voice assistant can join a call, process live audio, and respond using OpenAI in real time.
With this, you are now set to integrate Stream calls and AI plugins into your application.
Check out our examples folder to see practical implementations of various AI plugins and get inspiration for your own projects.
You can look at the detailed documentation for the OpenAI plugin to understand all the possible functionality here.
Troubleshooting & Feedback
If you run into any issues:
- Double-check that your environment variables in the
.envfile are correct. - Ensure you've installed all the required dependencies.