Configuring Moderation Policy
What is Moderation Policy?
A policy has two essential components:
- Policy Key: A unique identifier for the policy.
- In the case of the chat product, the policy key defines the context of the policy. For example,
chatfor a global policy that applies to all channels,chat:messagingfor a policy that applies to a channel type "messaging," orchat:messaging:generalfor a policy that applies to a channel with the ID "general" within the "messaging" channel type. - In the case of the feeds product, currently, the only policy key supported is
feeds:default. - In the case of any custom moderation use case, the policy key can be any string that uniquely identifies the policy.
- In the case of the chat product, the policy key defines the context of the policy. For example,
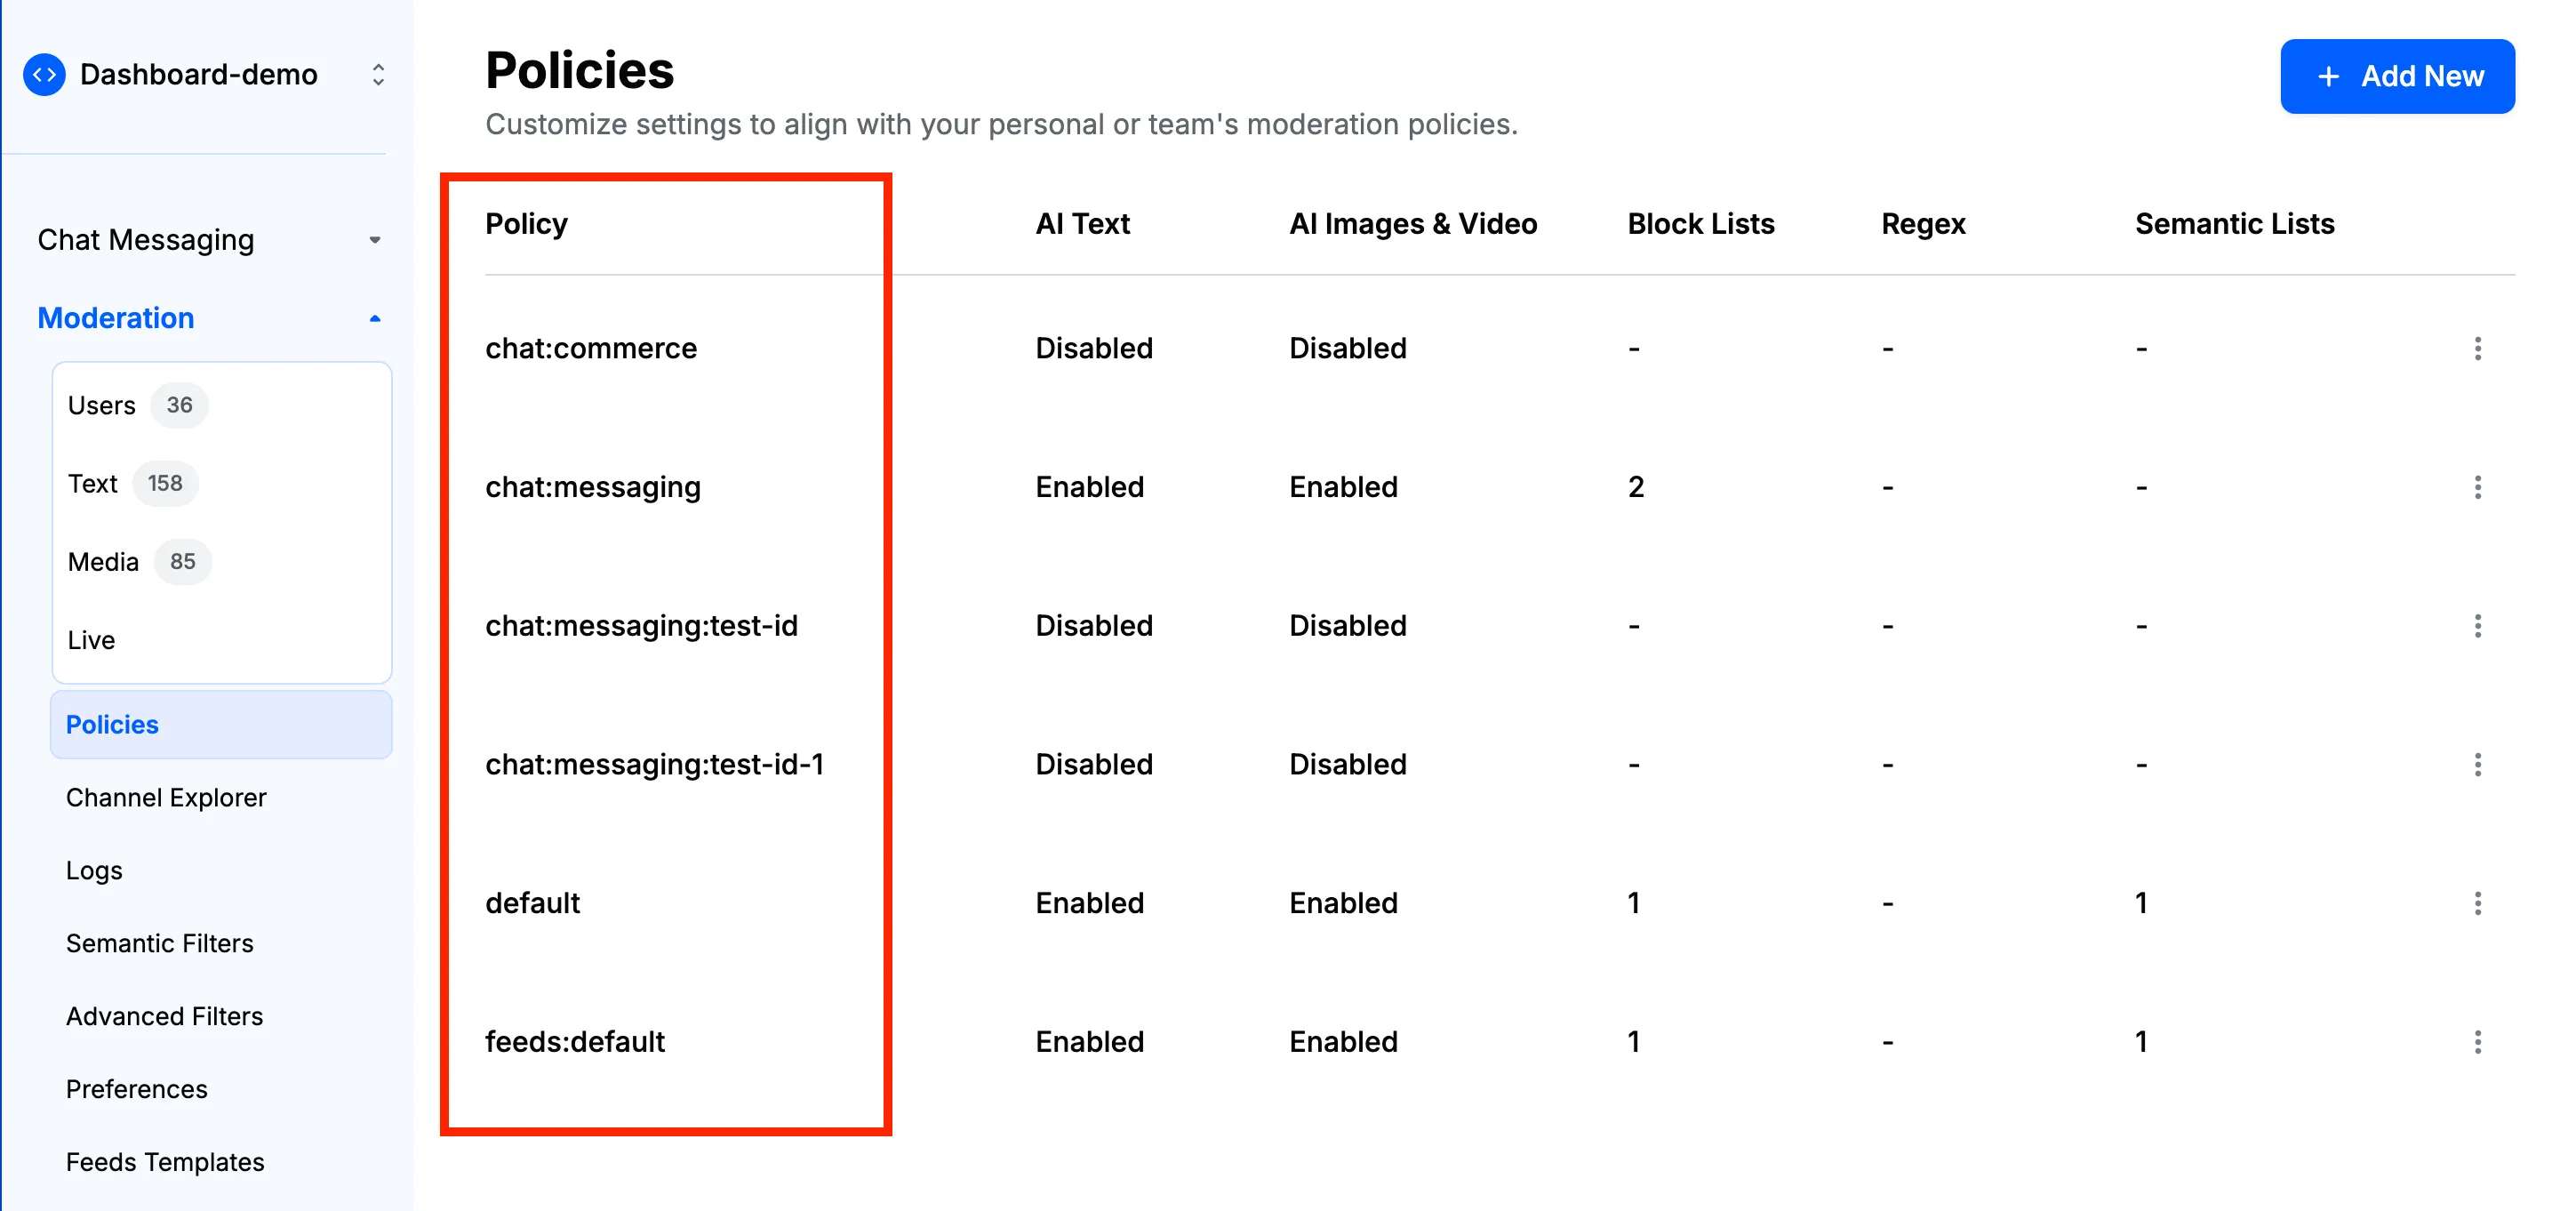
- Policy Rules: A rule is basically the action to be taken for a specific harm. A policy can have multiple rules, and each rule defines the action to be taken for a specific harm. Rules in plain simple language look something like this:
- If text contains 'Self Harm', then 'block' the message.
- If an image attachment contains 'Nudity', then 'flag' the message.
- If text contains the word 'b*llsh*t', then 'shadow block' the message.
- If text has semantic similarity with the phrase 'I will kill you', then 'block' the message.
- ... and so on.
Create a New Policy
You can quickly create a new policy from the Stream Dashboard. The following sections will guide you through the process of creating a new policy for different products.
Policy for Chat Moderation
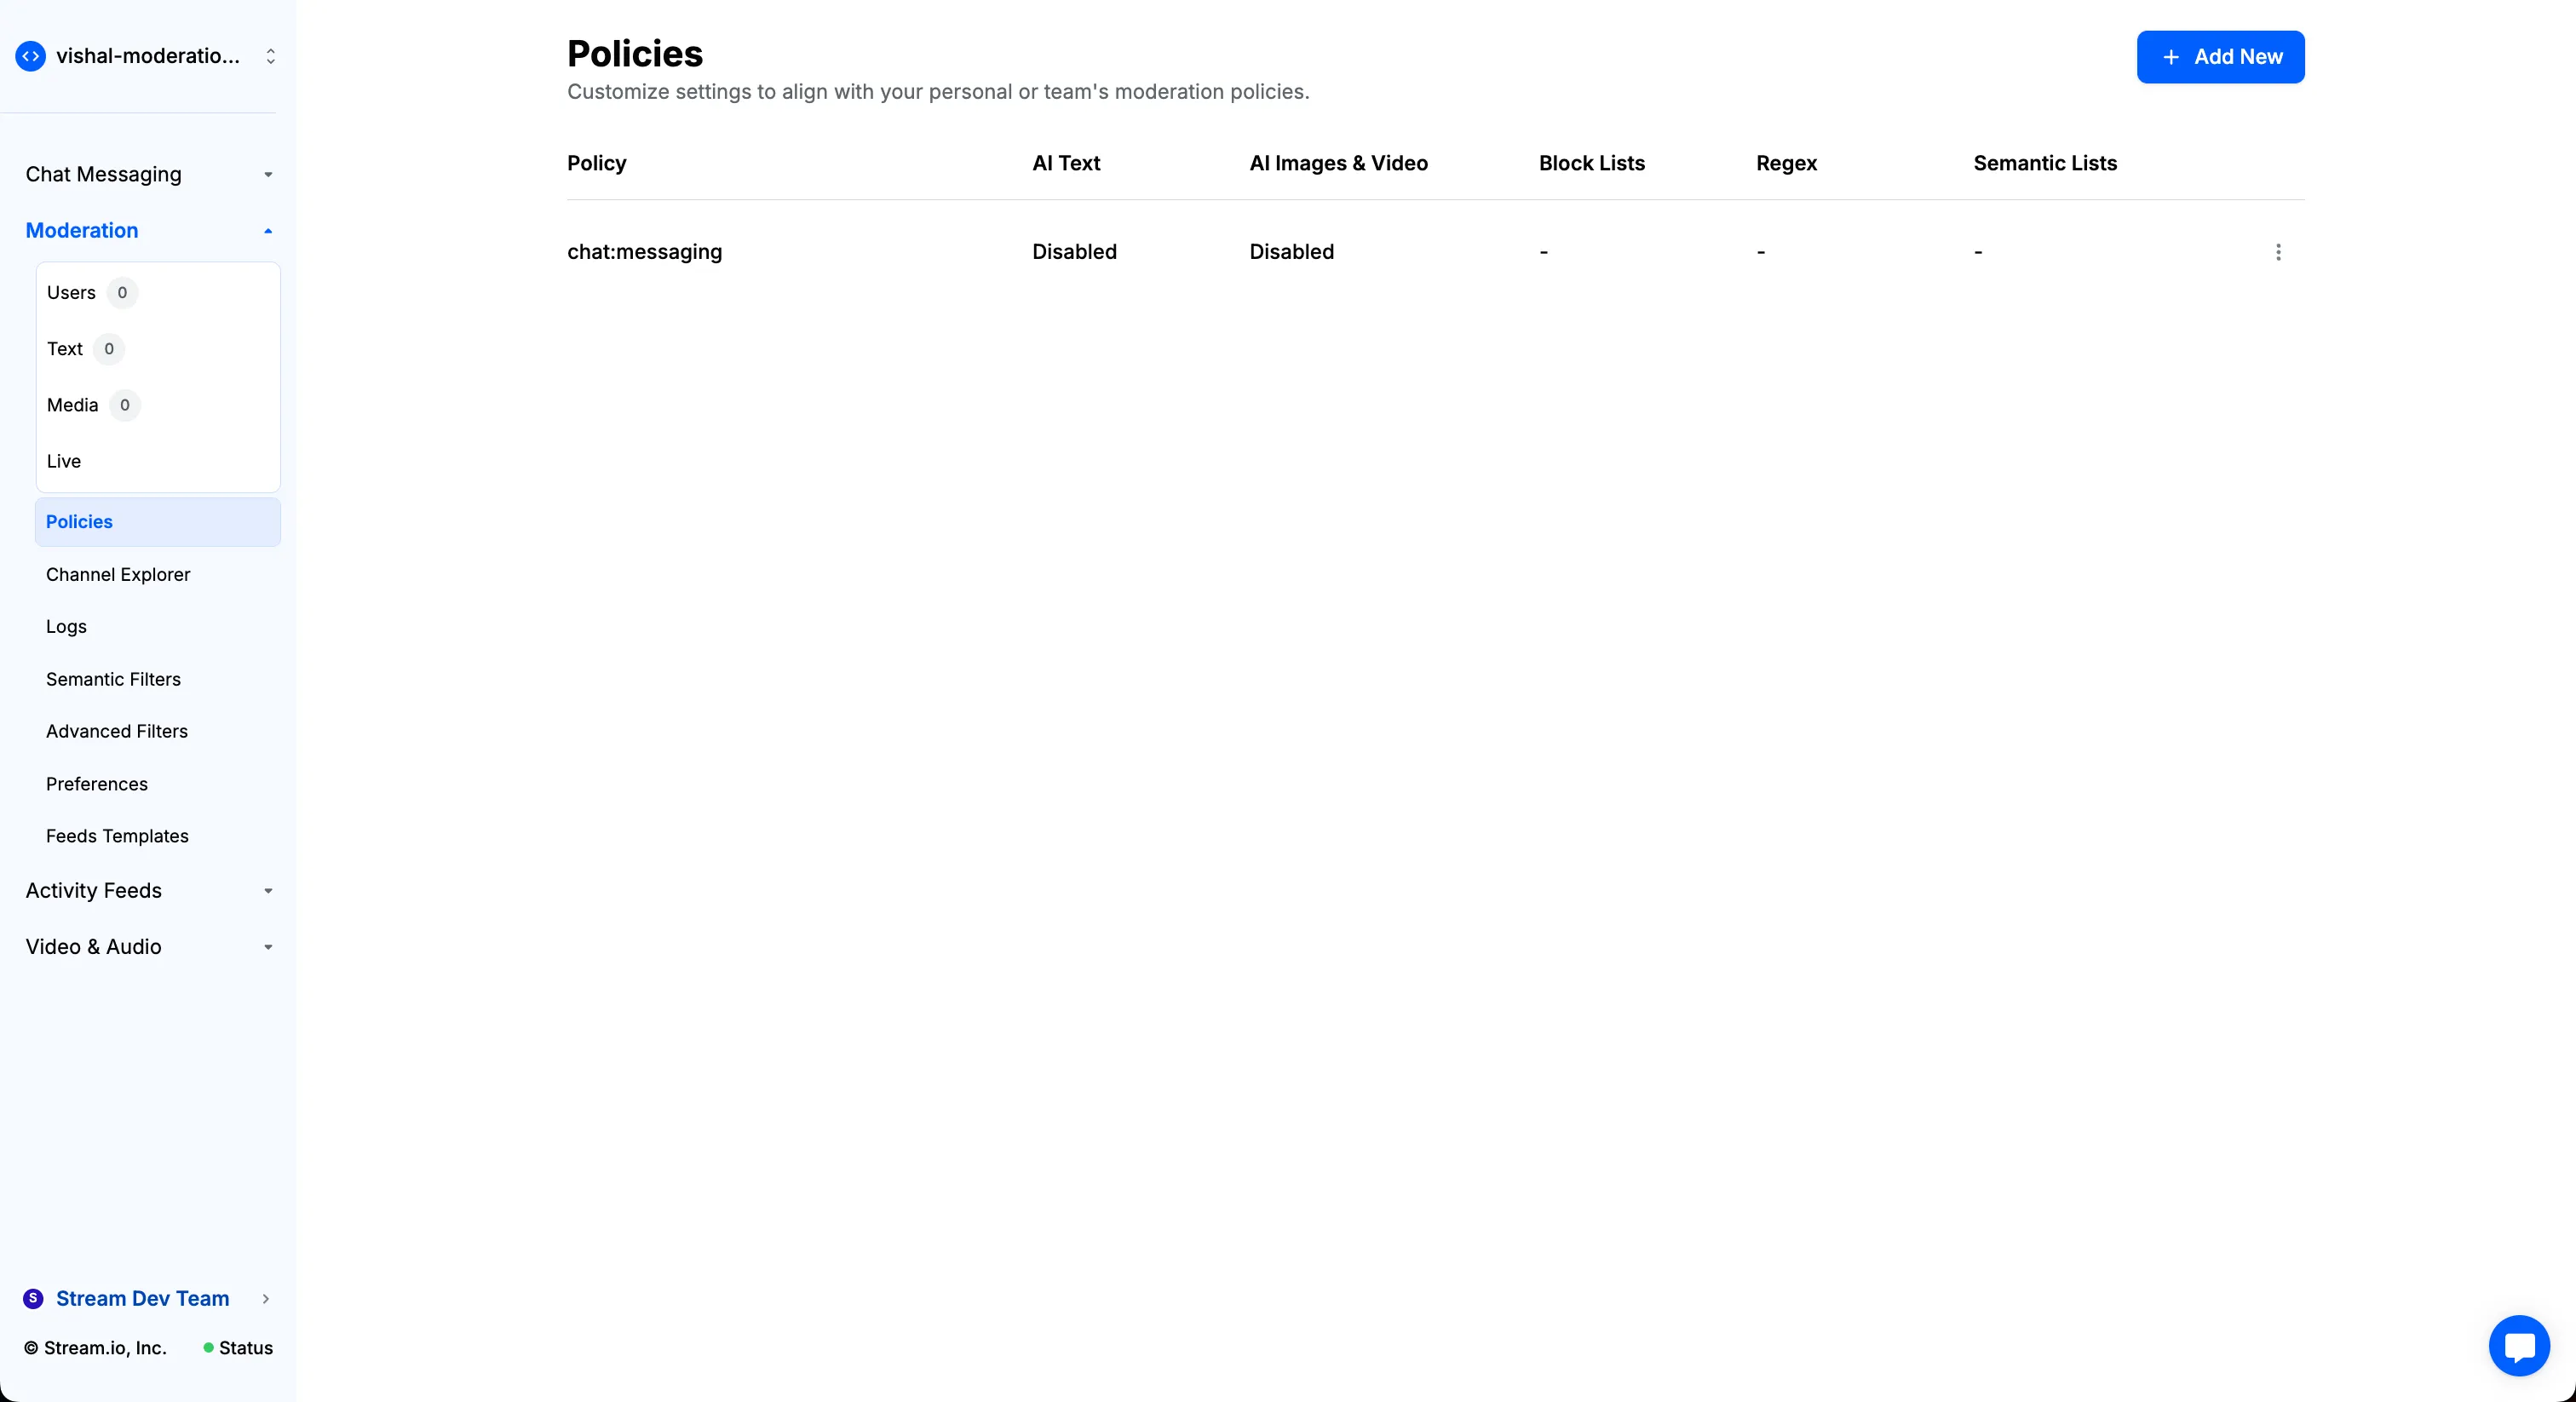
- Go to the "Policies" page on the dashboard (Moderation → Policies) and click on the "+ Add New" button.
- Select "Chat" within the "Select Product" dropdown. You'll see options to specify Channel Type and Channel ID, which allow you to control the scope of your moderation policy:
- No Channel Type or ID specified: The policy applies globally to all channels in your chat application.
- Channel Type specified only: The policy applies to all channels of that specific type (e.g., all "messaging" channels).
- Both Channel Type and ID specified: The policy applies only to that specific channel instance.
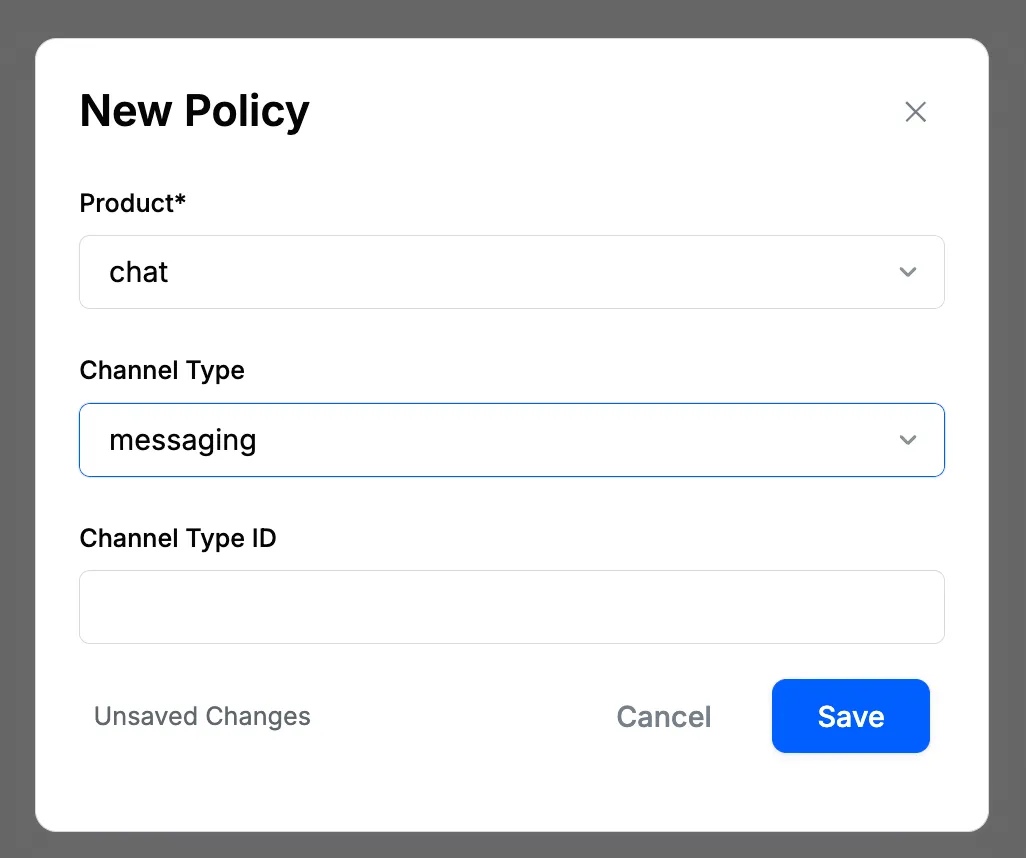
- After you hit "Save," this new policy will be created for your app. The unique identifier for the chat moderation policy looks like the following:
chat:{channel_type}:{channel_id}.
Policy for Feeds v2 Moderation
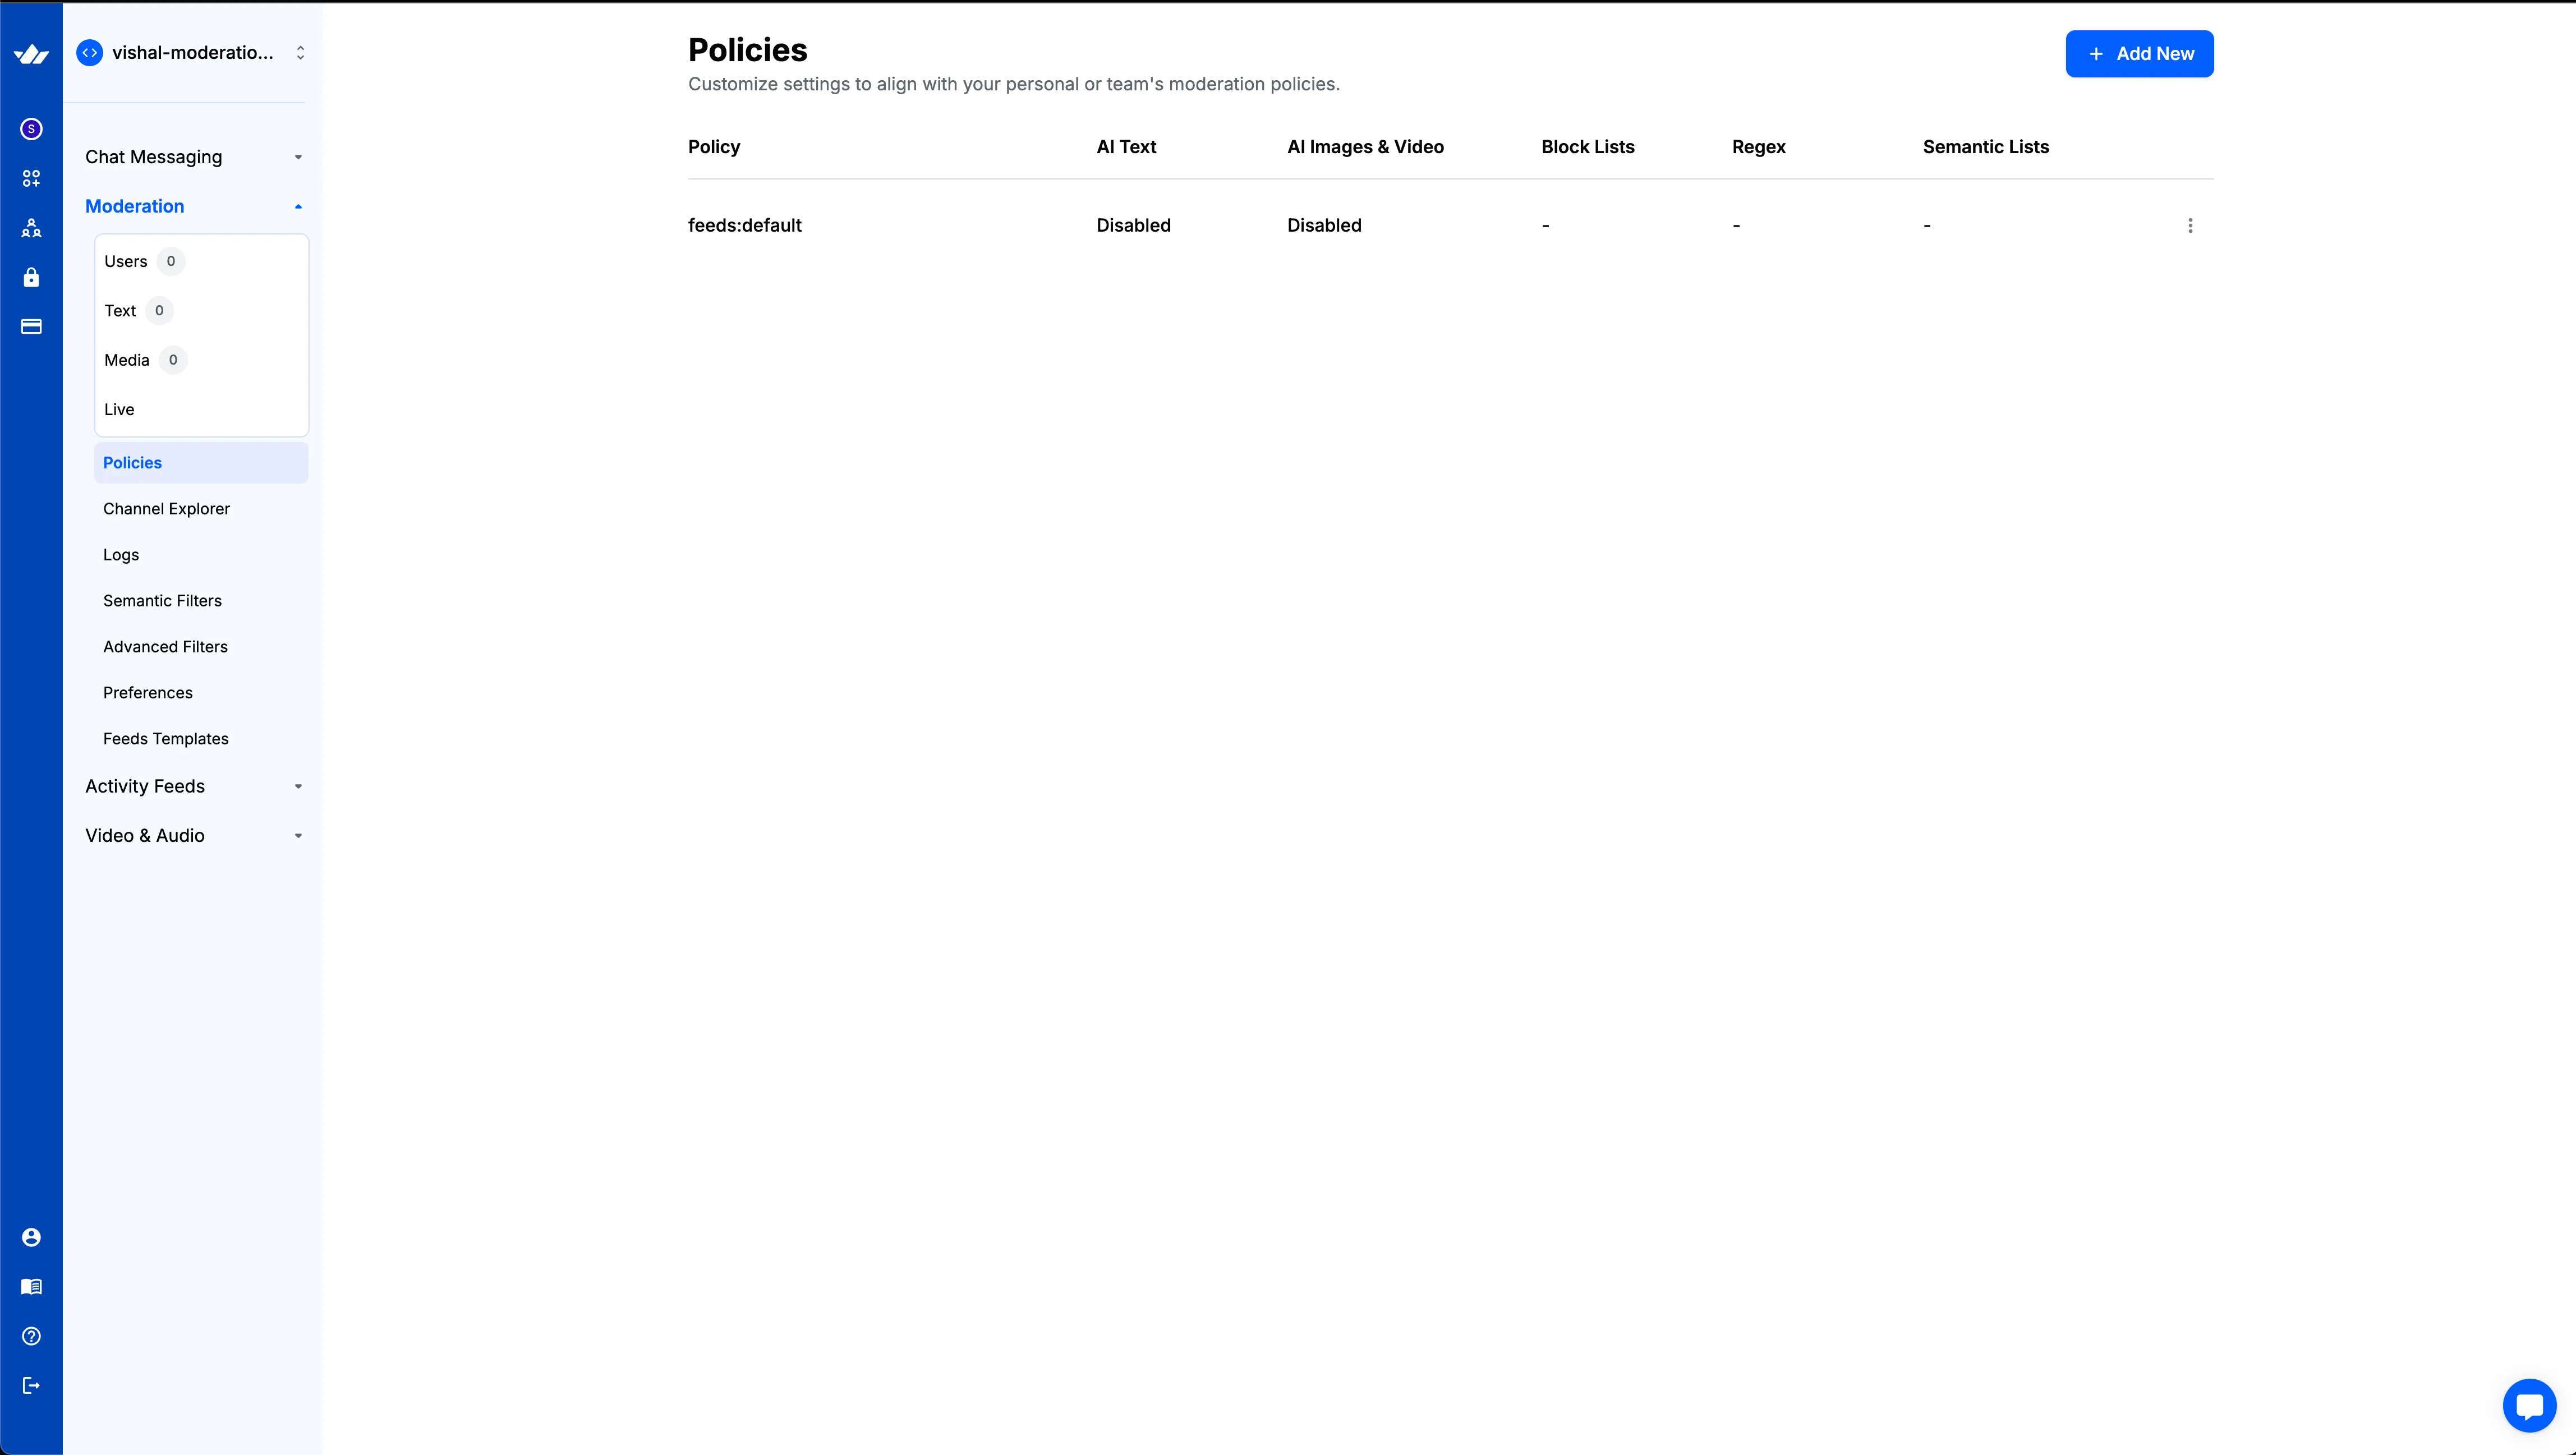
- Go to the "Policies" page on the dashboard (Moderation → Policies) and click on the "+ Add New" button.
- Select “Feeds” within the “Select Product” dropdown and press “Save.”
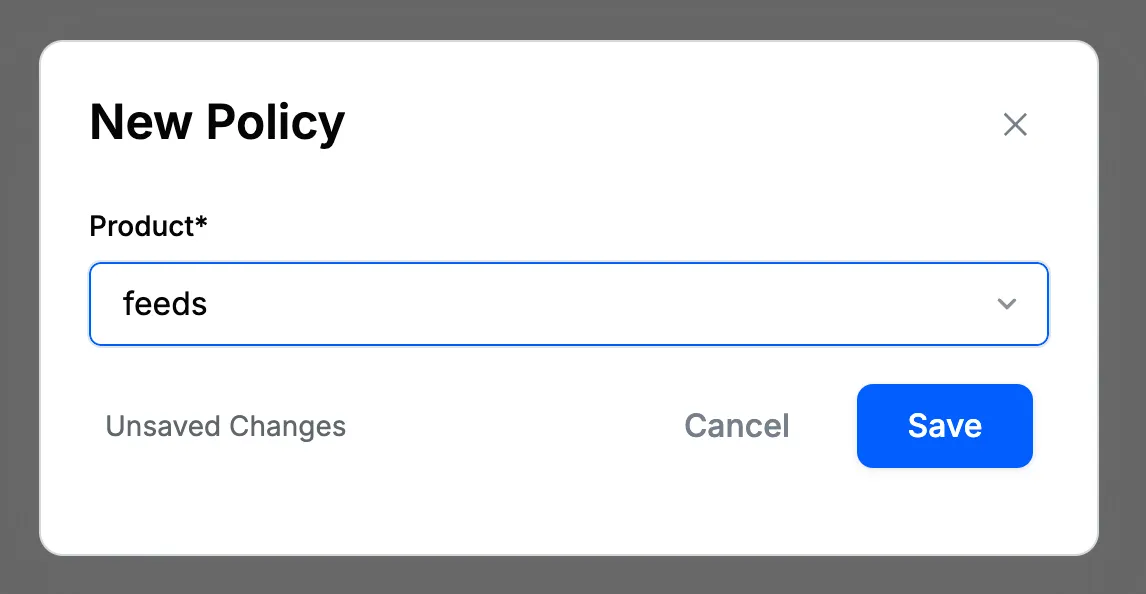
- After you hit “Save,” this new policy will be created for your app. The unique identifier for the feeds moderation policy looks like the following:
feeds:default.
Policy for Custom Content Moderation
- Go to the "Policies" page on the dashboard (Moderation → Policies) and click on the "+ Add New" button.
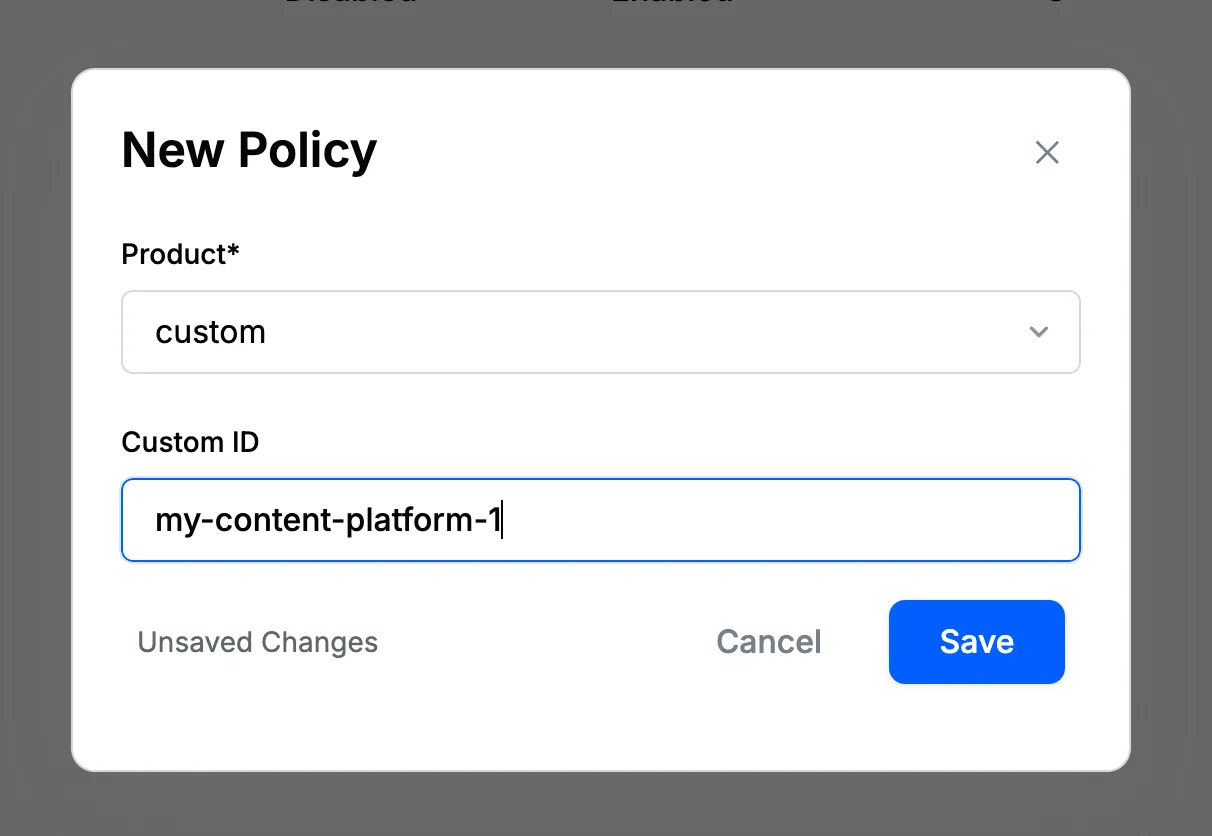
- Select "Custom" within the "Select Product" dropdown.
- Provide a unique identifier for the policy.
- After you hit "Save," this new policy will be created for your app. The unique identifier for the custom moderation policy looks like the following:
custom:{id}.
Setup Policy for Text Moderation
Stream provides three powerful approaches to text moderation:
Blocklist and Regex Filters: Create custom word lists and regex patterns to block unwanted content and domains.
AI Semantic Filters: Use AI to detect harmful content by finding messages semantically similar to known harmful phrases.
AI Harm Engine: An advanced ML model that detects nuanced harmful content across languages in real-time.
When harmful content is detected, Stream can take several actions:
Stream supports several moderation actions when harmful content is detected:
The following actions are handled out-of-the-box for Chat and Activity Feeds products. However, for custom content moderation, you need to implement these actions in your backend, depending on your use case.
Flag marks content for moderator review while keeping it visible. This is ideal for borderline cases that need human review, collecting training data, and monitoring patterns.
Block prevents content from being delivered or displayed. This is best used for clear policy violations, harmful/illegal content, and obvious spam.
Shadow Block shows content only to the sender, creating an illusion of normal delivery. This approach helps handle bad actors subtly while preventing escalation and allowing behavior observation.
The following actions are available for chat content moderation:
Bounce and Flag returns the message to the sender with an explanation, prompting correction. If the corrected message still violates guidelines, it flags the content for moderator review to assess further action.
Bounce and Block returns the message to the sender with an explanation, prompting correction. If the corrected message still fails to comply, it is automatically removed from the platform.
In the following sections, we'll explore how to configure each type of moderation rule and combine them with these actions for comprehensive content filtering.
Setup Blocklist and Regex Filters
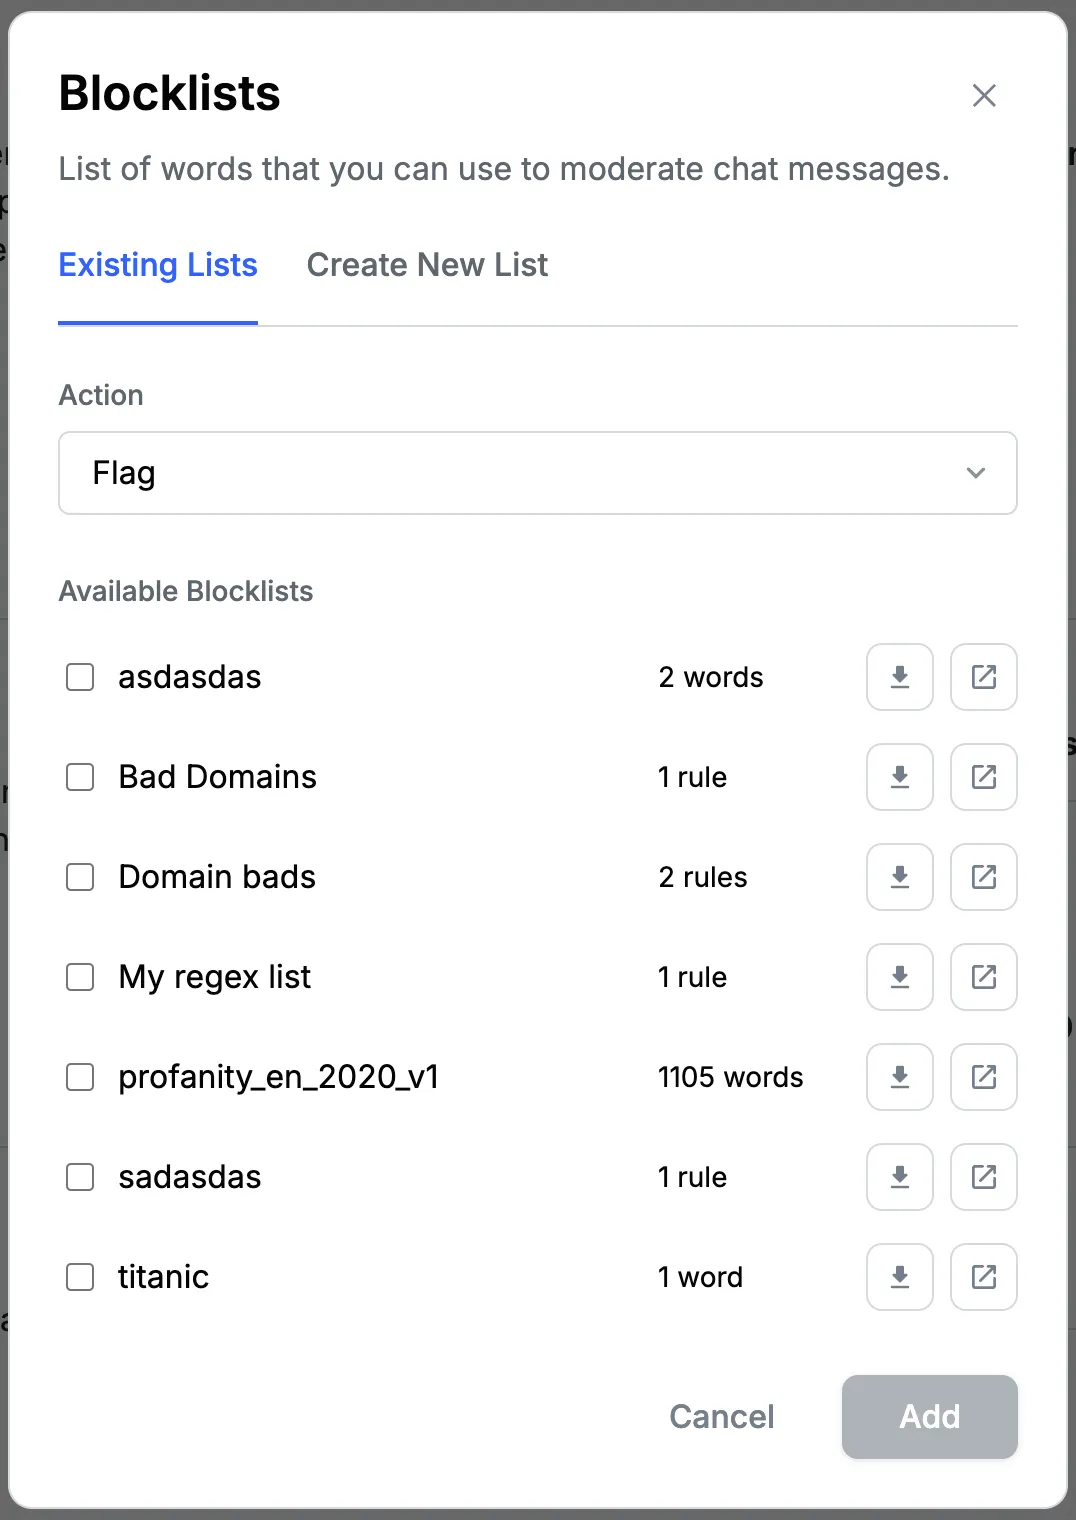
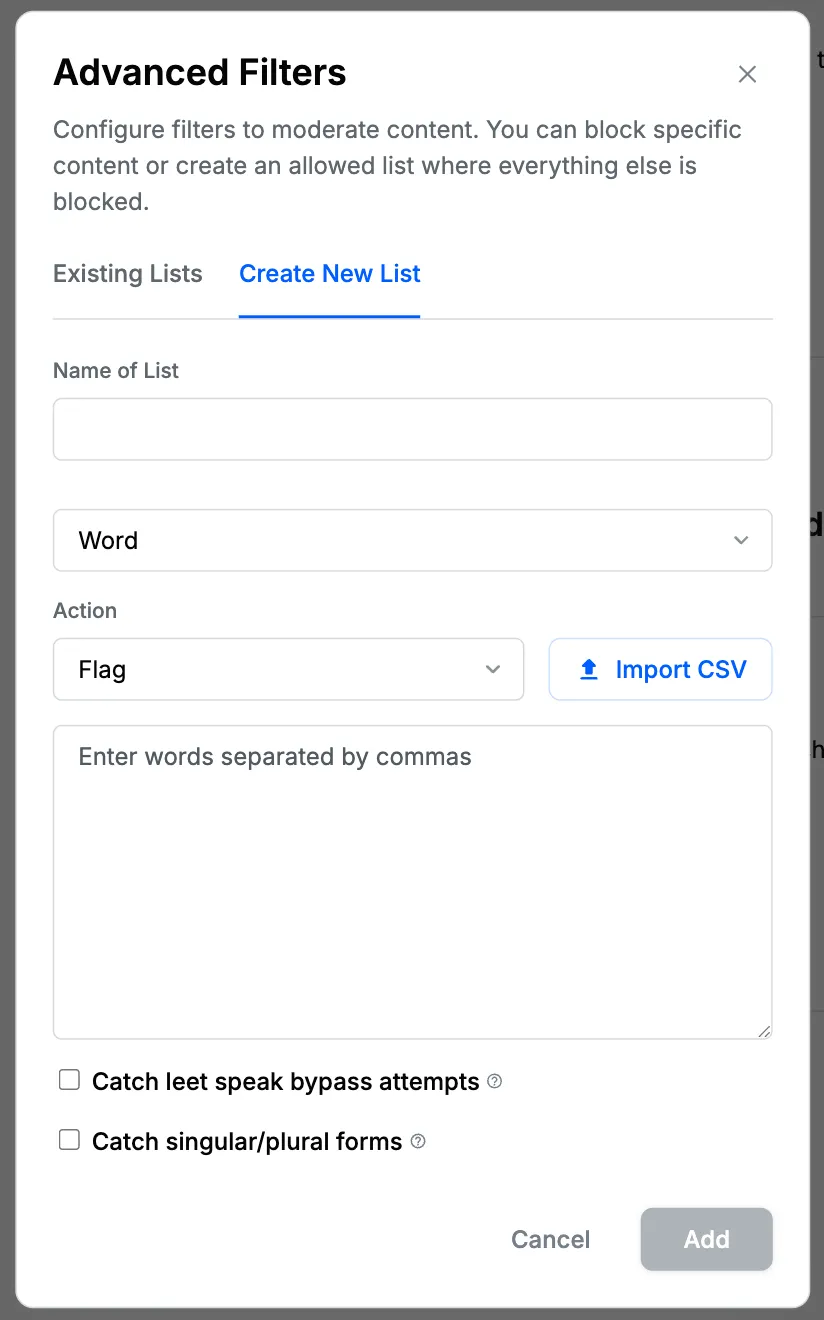
To create a blocklist, simply press the "+ Add New" button under the "Block Lists and Regex Filters" section.
Here you can either assign any existing blocklist (which you may have created in the past) to the current policy, or you can create a new blocklist and assign it to the current policy.
Stream provides a built-in blocklist called
profanity_en_2020_v1, which contains over a thousand of the most common profane words.
To create a new blocklist:
- Give your blocklist a name.
- Choose the type of blocklist you want to create: Word, Regex, Email, Domain.
- Add words/regex/emails/domains you want to block.
- For Word blocklists, optionally enable advanced detection features:
- Catch leet speak bypass attempts: Detects common character substitutions of blocked words.
- Catch singular/plural forms: Detects singular/plural variations of blocked words.
- Choose the action to be taken when content matches these words/regex/emails/domains: Flag, Block, Shadow Block.
- Click "Add" to activate your new blocklist.
Please refer to Blocklists and Regex Filters for more details about blocklists.
Setup Semantic Filters
Make sure to go through the Creating A Policy section as a prerequisite.
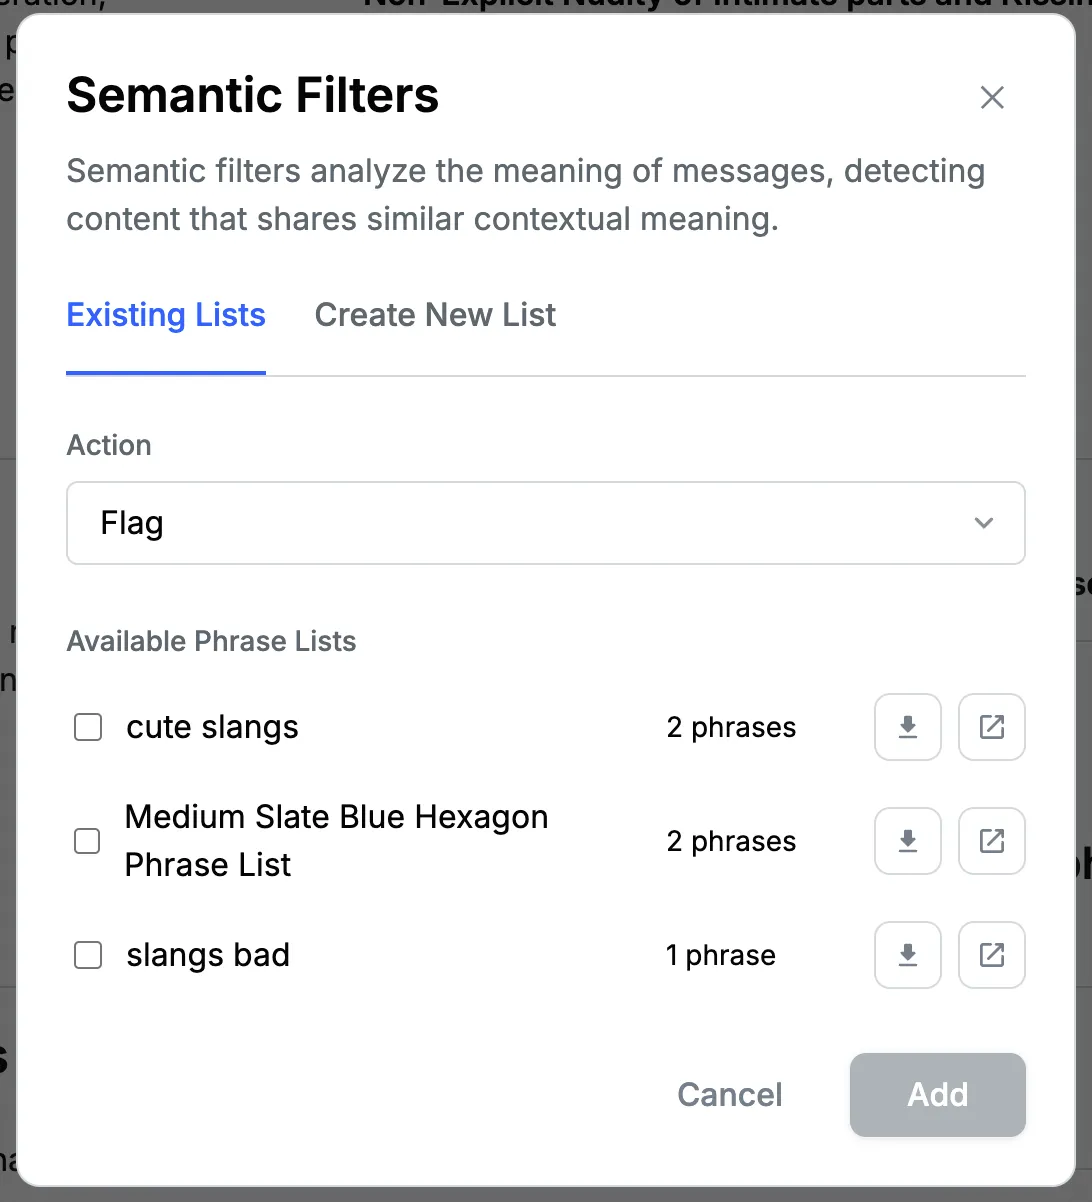
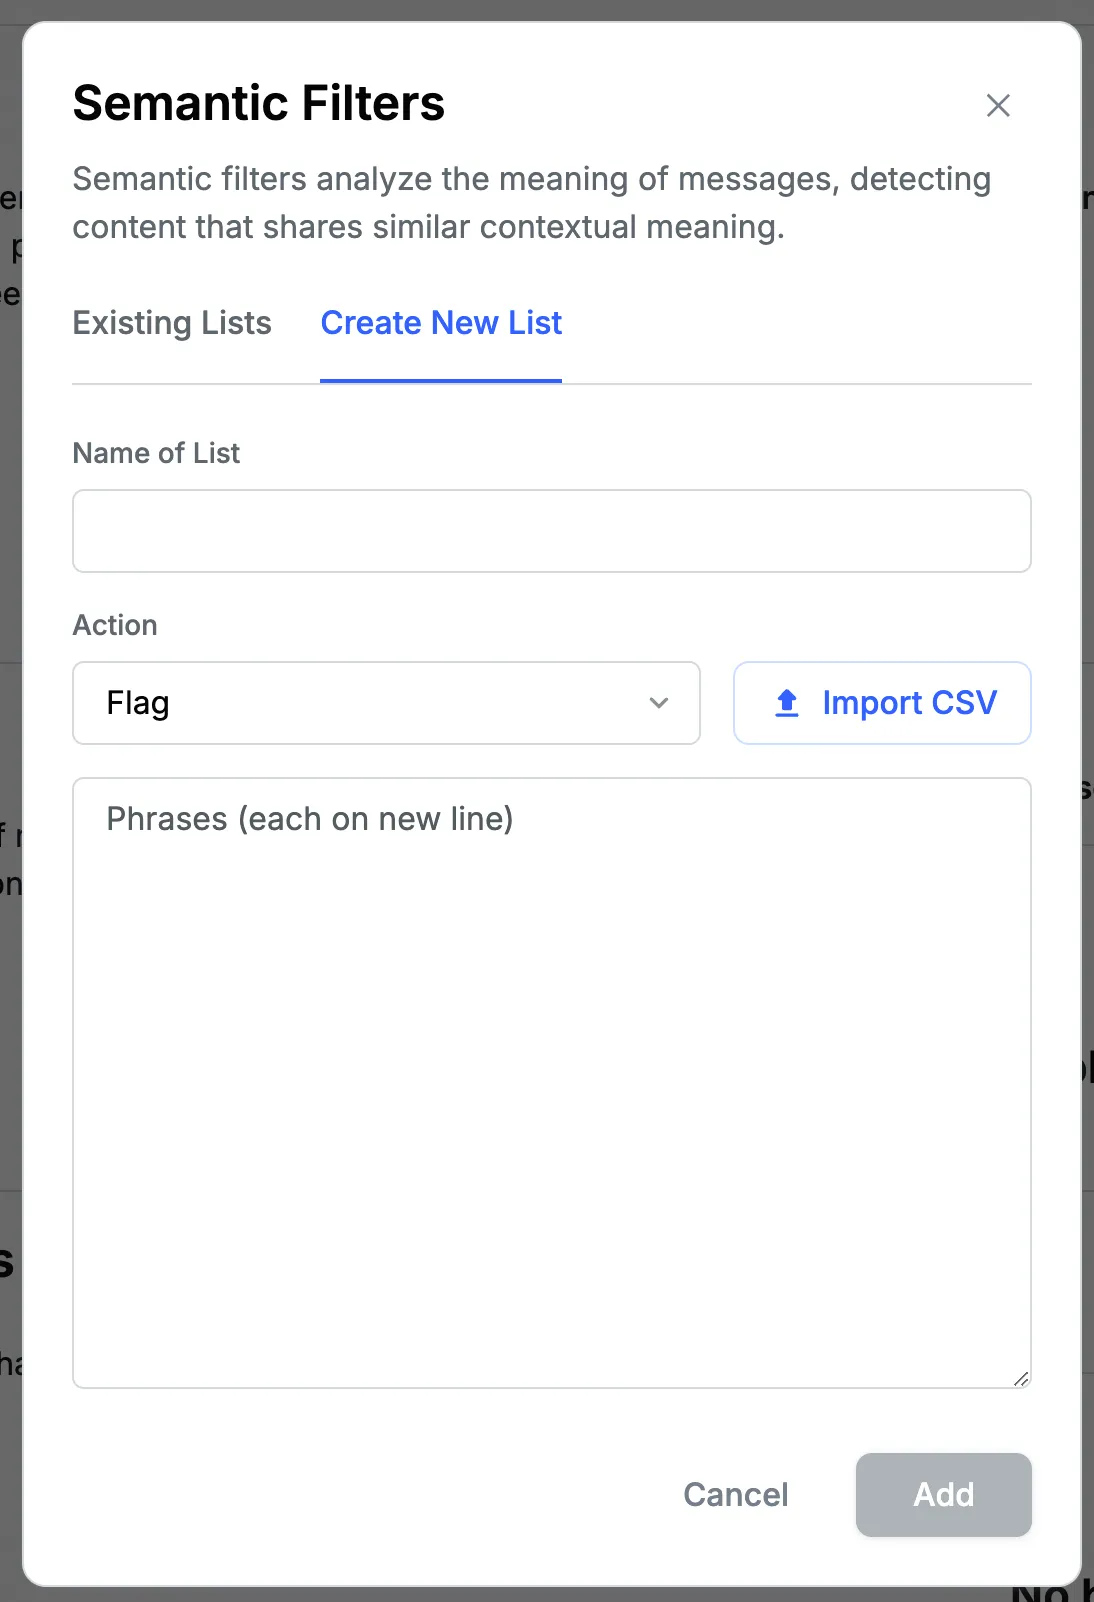
To set up semantic filters, in the "Semantic Filters" section on the policy page, click on the "+ Add New" button. Here you can either choose from existing lists (which you may have created in the past) or quickly create a new semantic filter list.
To create a new semantic filter list:
- Give your semantic filter a name and description.
- Add seed phrases that represent the type of content you want to filter. These phrases should capture the essence of the harmful or unwanted content. For example,
- If you want to filter out content related to hate speech, you might add seed phrases like "I hate [group]", "[group] should die", or "All [group] are [negative attribute]". These seed phrases help the AI understand the type of content you want to moderate.
- Choose the action to be taken when content matches these semantic filters: Flag, Block, Shadow Block.
- Click "Add" to activate your new semantic filter.
Please refer to Semantic Filters for more details about semantic filters.
Setup AI Text (Harm Engine)
To set up the AI Harm Engine, navigate to the "AI Text" section in your moderation policy. Here, you'll find a comprehensive list of harm categories that our advanced AI can detect. These categories cover a wide range of potential issues, from harassment and hate speech to spam and explicit content.
For each harm category, you can choose the appropriate action: Flag, Block, Shadow Block. You can also adjust the sensitivity level for certain toxic categories, allowing you to fine-tune the moderation to your specific needs. Remember, it's often best to start with more lenient settings and adjust as you learn more about your community's needs.

Please refer to AI Text for more details about the AI Text moderation engine.
Setup Policy for Image Moderation
Image moderation is an essential component of content moderation, especially for platforms that allow users to share visual content. Stream's image moderation capabilities use advanced AI to detect potentially harmful or inappropriate images.
Make sure to go through the Creating A Policy section as a prerequisite.
Here's how to set up image moderation in your policy:
- Navigate to the "Image Moderation" section in your moderation policy settings.
- You'll find various categories of image content that can be moderated, such as nudity, violence, or hate symbols.
- For each category, choose the appropriate action: Flag, Block, or Shadow Block.
- You can also set a confidence threshold. This threshold represents the level of certainty at which the AI system considers its classification to be accurate. A higher threshold means the AI is more confident about its detection. You can adjust this threshold based on your moderation needs—a lower threshold will catch more potential violations but may increase false positives, while a higher threshold will be more selective but might miss some borderline cases.
Image moderation works asynchronously to avoid latency in your application. Thus, content will be sent successfully at first, but will be moderated in the background. If the image is found to be inappropriate, the content will be flagged or blocked.

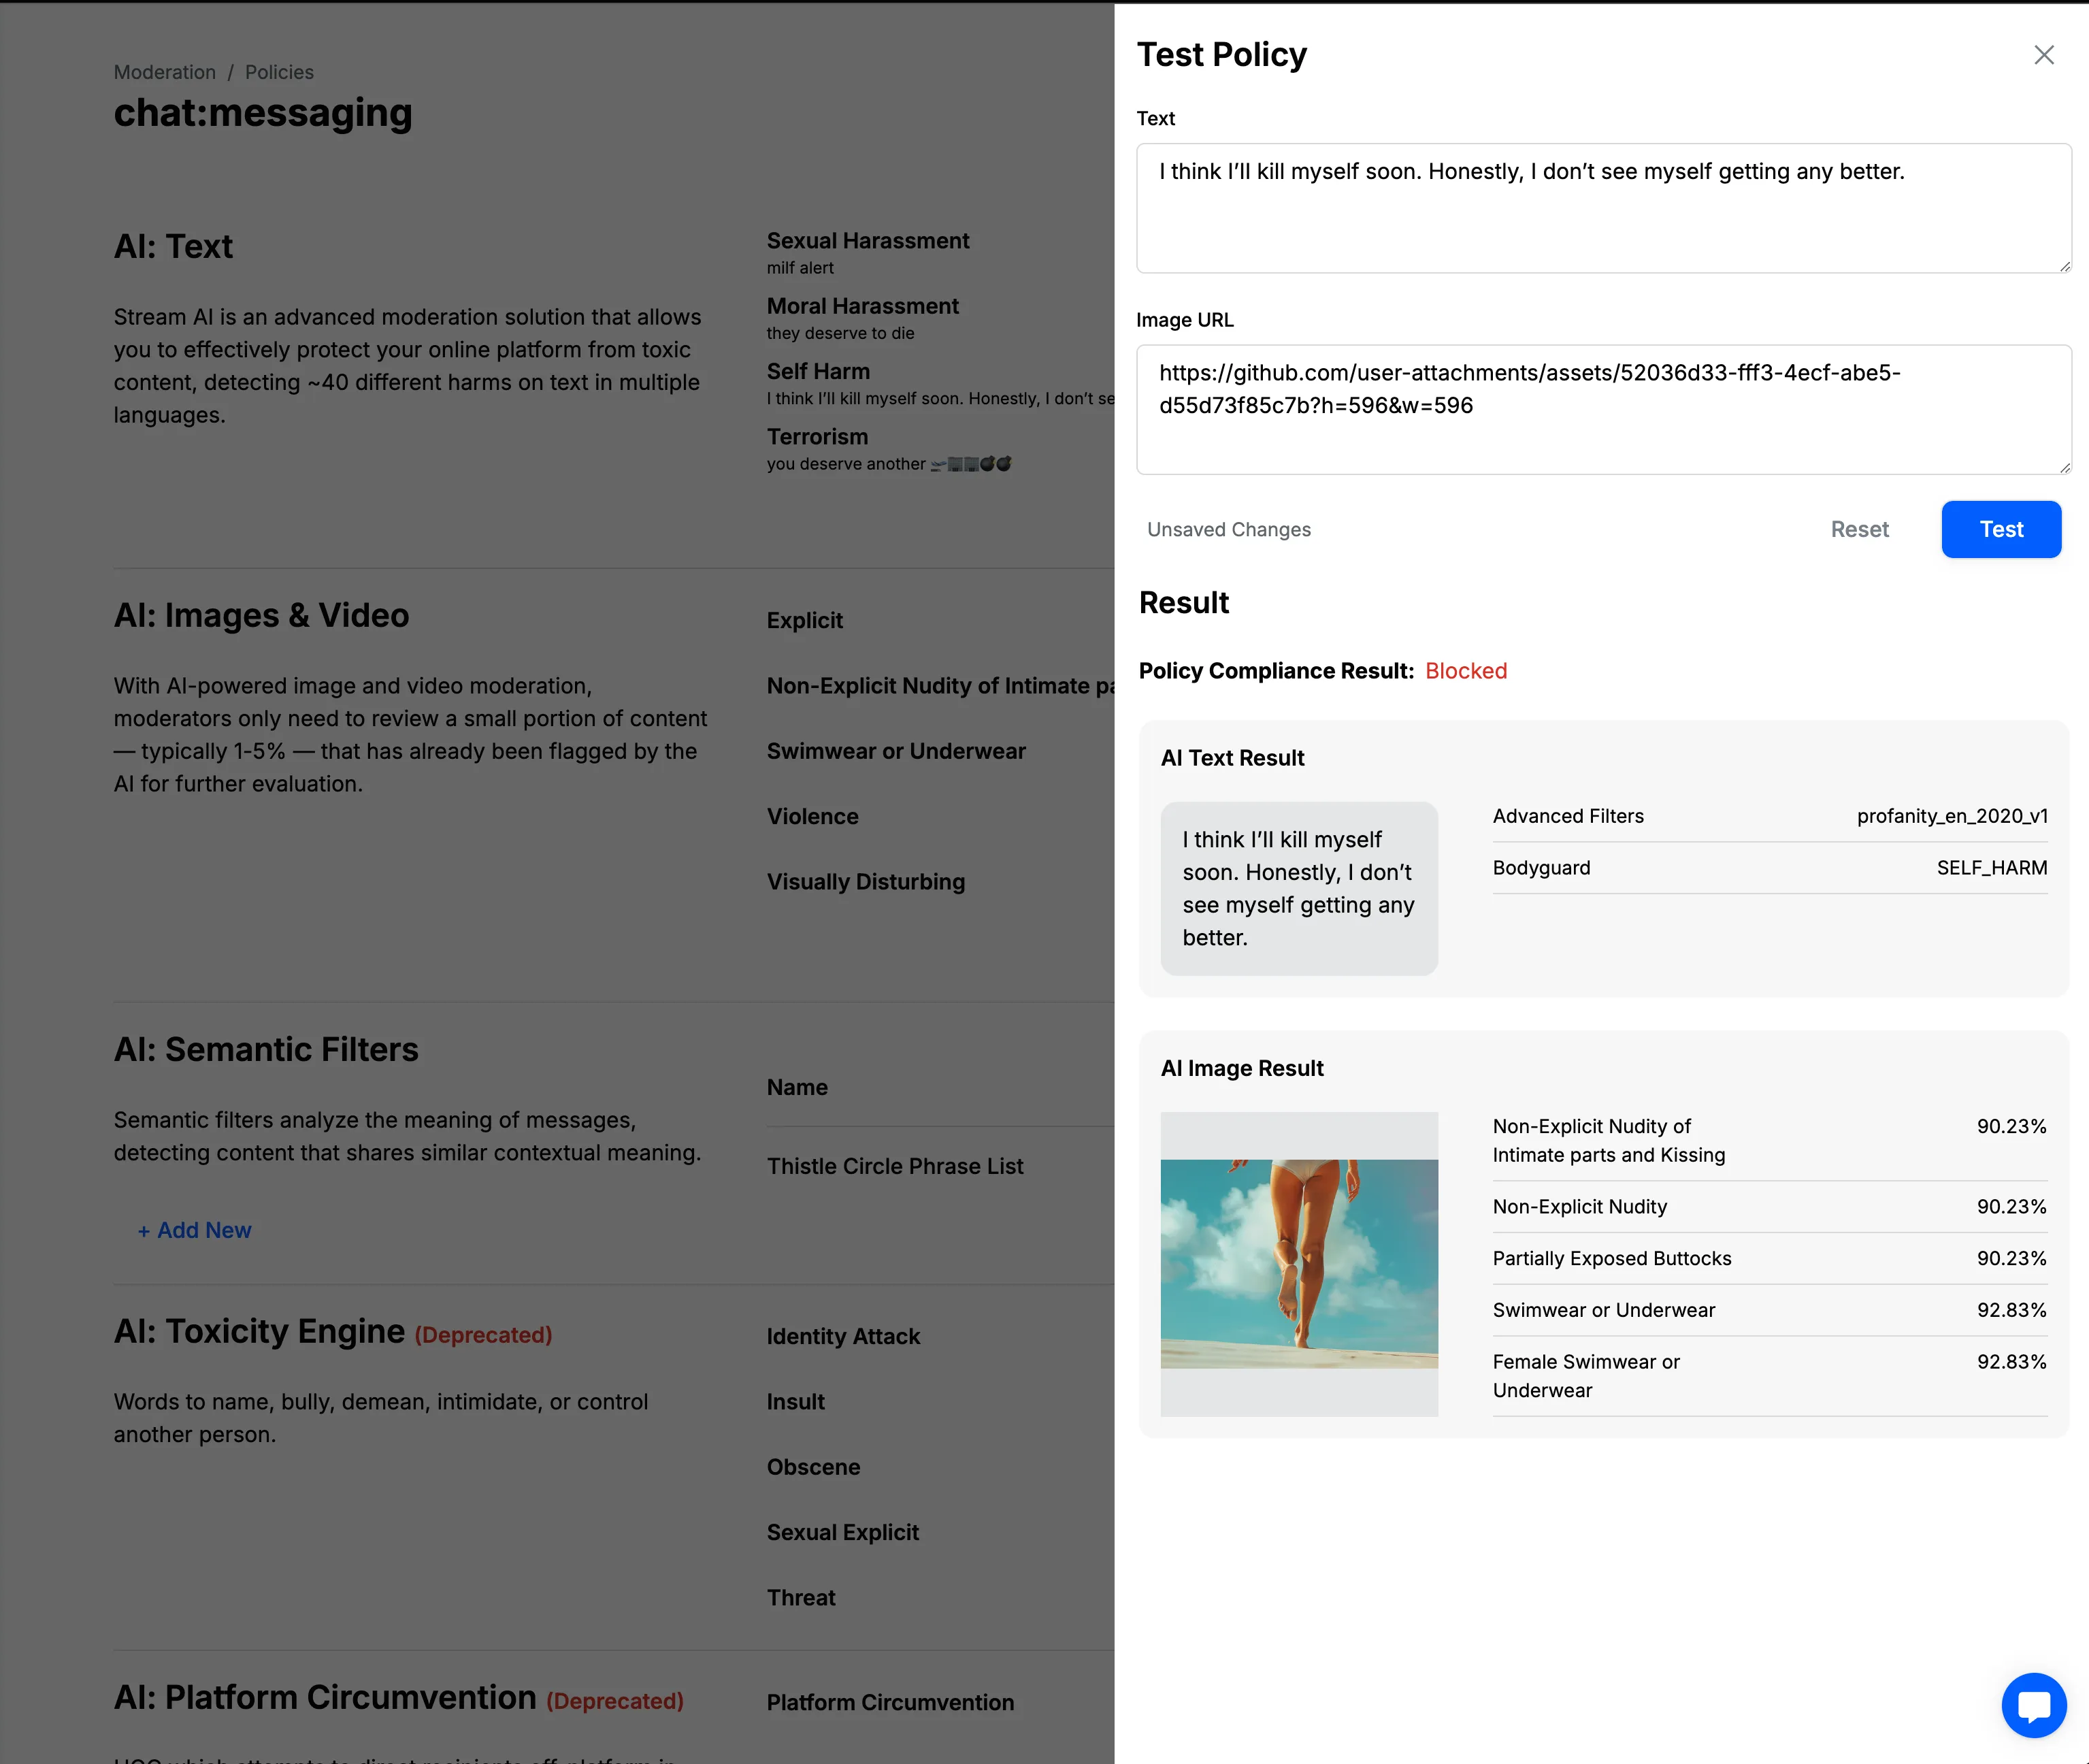
Test Moderation Policy
You can quickly test how the moderation policy behaves directly from the dashboard. Click the "Test" button in the upper right corner of the page. A side drawer will appear where you can enter text and add image URLs. After clicking "Confirm," you'll see the result—the action that would be taken if a user tried to send such a message.
